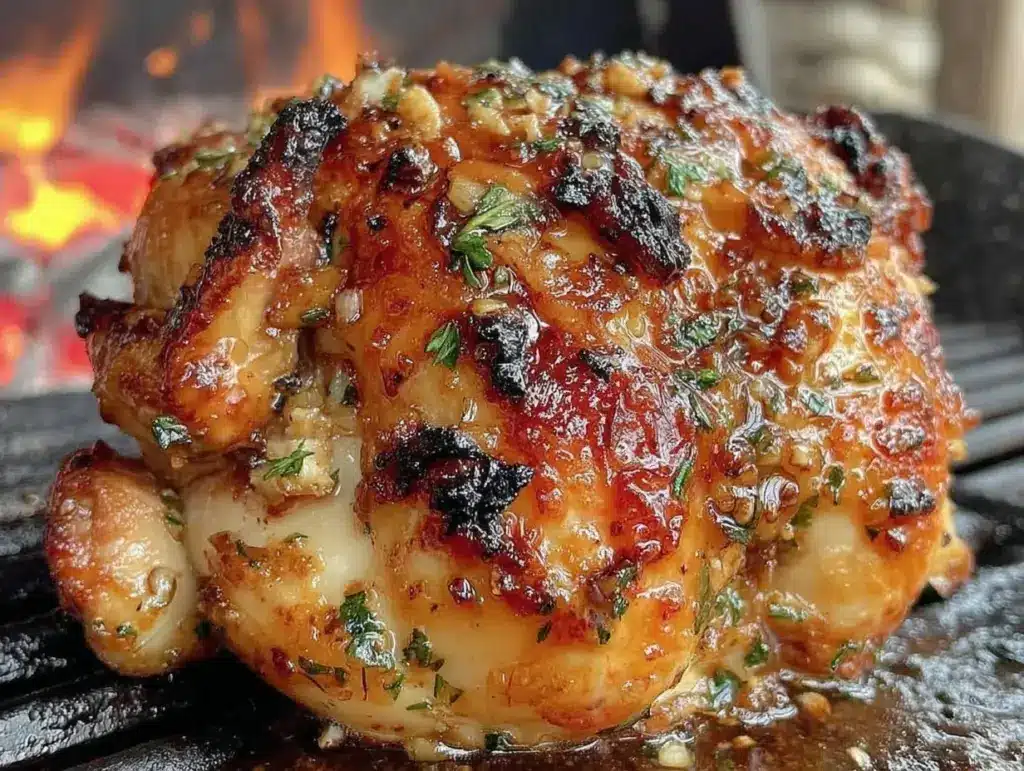
“You’re telling me the chicken stands on a can? Seriously?” That was my initial reaction the first time a buddy insisted I try this method at a backyard BBQ. Honestly, I thought it was just a gimmick—some quirky trick that might not live up to the hype. But as the smoke curled and the skin crisped up to a golden brown, I found myself hooked. The aroma was intoxicating, a blend of smoky char and subtle beer sweetness that filled the air and had neighbors wandering over with curious noses. What really got me was the juicy inside contrasted with that perfectly crispy skin. No dry bites, no guessing if it’s cooked through—just a reliable, mouthwatering meal every single time.
That day, I realized this wasn’t just another grill hack; it was a way to make chicken feel like a celebration. The beer can acts like a little flavor bomb from the inside out, keeping the meat moist and infusing it with a faint, toasty richness that’s impossible to replicate with standard roasting or grilling. Since then, I’ve made this crispy beer can chicken recipe more times than I can count—sometimes for spontaneous dinners, other times for weekend get-togethers where everyone asks for seconds before the plates are even cleared.
What sticks with me is how approachable this recipe really is. You don’t need fancy ingredients or a complicated setup. All it takes is a whole chicken, a can of your favorite beer, and a simple seasoning mix that brings out the smoky flavor without overpowering the natural taste. If you’re like me and enjoy a bit of casual weekend grilling but want that “wow” factor, this method quietly delivers every time without fuss or stress. It’s the kind of recipe that makes you pause, savor, and think, “Yep, this is exactly how grilled chicken should be.”
So if you’re ready for a juicy, smoky flavor with irresistibly crispy skin—without hours of babysitting the grill—this beer can chicken on the grill recipe is about to become your new go-to. It’s honest, downright tasty, and a real crowd-pleaser that you can trust.
Why You’ll Love This Crispy Beer Can Chicken Recipe
After countless tries and many flavor tweaks, this crispy beer can chicken recipe stands out for a few solid reasons that I’m sure you’ll appreciate:
- Quick & Easy: From prep to the table in under 90 minutes—perfect for those busy weekend afternoons or last-minute guests.
- Simple Ingredients: No need for specialty stores; most of what you need is probably chilling in your fridge and pantry.
- Perfect for Outdoor Grilling: Whether it’s a casual backyard hang or a summer gathering, this recipe fits right into your grilling rotation.
- Crowd-Pleaser: Kids and adults alike love the crispy skin and juicy meat combo—trust me, you’ll be asked to make it again soon.
- Unbelievably Delicious: The beer steams the chicken from the inside, locking in moisture for that tender, juicy bite that’s hard to beat.
Unlike other beer can chicken recipes that can sometimes turn out soggy or overly smoky, this version balances the seasoning perfectly—no bitter aftertaste, no limp skin. The secret is in the seasoning rub and the grilling technique that encourages even cooking and crispiness all around. Plus, I’ve found that using a light lager or pilsner beer works wonders to keep the flavor subtle and bright, rather than overpowering.
This recipe isn’t about showing off or complicated steps. It’s honest, straightforward, and the kind of comfort food that makes you want to shut the grill, gather around the table, and just enjoy. If you’re searching for that reliable, juicy, smoky grilled chicken with a crunch, it’s worth giving this one a shot.
What Ingredients You Will Need
This crispy beer can chicken recipe uses simple, wholesome ingredients that pack a punch without needing a trip to specialty stores. The lineup is straightforward, mostly pantry staples, but each plays a key role in creating that juicy, smoky magic.
- Whole chicken, about 4 to 5 pounds (1.8 to 2.3 kg) – Look for fresh or thawed, with skin on for that coveted crispiness.
- Beer, one standard 12 oz (355 ml) can – I recommend a light lager like Pilsner or American lager for a delicate flavor; avoid heavy or dark beers that can overpower.
- Olive oil, 2 tablespoons – Helps the seasoning stick and promotes crispy skin.
- Salt, 1 tablespoon – Kosher salt works best for even seasoning.
- Black pepper, 1 teaspoon – Freshly ground for best aroma.
- Garlic powder, 1 teaspoon – Adds savory depth with minimal fuss.
- Smoked paprika, 1 teaspoon – The secret behind that subtle smoky kick.
- Onion powder, 1 teaspoon – Rounds out the seasoning profile nicely.
- Dried thyme, 1/2 teaspoon – A herbal note that complements the beer steam.
- Brown sugar, 1 tablespoon – Just enough to balance the spices and encourage caramelization.
Optional but delightful:
- Fresh herbs like rosemary or thyme sprigs, tucked inside the cavity for extra aroma.
- Lemon wedges, to squeeze over for a bright finish.
This recipe is very forgiving on substitutions. If you need gluten-free, most beers labeled gluten-free work well. You can swap olive oil for avocado oil or any neutral oil you like. For a dairy-free version, this recipe already fits the bill since it’s oil and spice-based. For a hint of heat, sprinkle a bit of cayenne or chili powder into the rub.
Equipment Needed
- Grill: Gas or charcoal grill with a lid. Charcoal adds a deeper smoky flavor, but gas works just fine for controlled heat.
- Beer can chicken stand: Optional but handy for stability—otherwise, a clean, empty can works.
- Meat thermometer: Essential for checking doneness, aiming for 165°F (74°C) in the thickest part of the breast.
- Tongs: For safely handling the hot chicken.
- Basting brush: Useful if you want to add extra glaze or oil during cooking.
- Aluminum foil: Handy for resting the chicken after grilling.
If you don’t have a beer can chicken stand, a sturdy empty can works just as well, but be sure it’s clean and the edges are smooth. For maintenance, keep your meat thermometer calibrated for accuracy; it’s a small investment that makes a huge difference in grilling success. Budget-friendly grills can still deliver great results—just monitor your heat zones carefully.
Preparation Method
- Prep the chicken: Remove the giblets from the cavity and pat the chicken dry with paper towels. Dry skin is key for crispiness, so don’t skip this step. (Time: 5 minutes)
- Make the seasoning rub: In a small bowl, mix together 1 tablespoon kosher salt, 1 teaspoon black pepper, 1 teaspoon garlic powder, 1 teaspoon smoked paprika, 1 teaspoon onion powder, 1/2 teaspoon dried thyme, and 1 tablespoon brown sugar. Stir until well combined. (Time: 3 minutes)
- Apply the rub: Drizzle 2 tablespoons olive oil over the chicken and rub it all over the skin and inside the cavity. Sprinkle the seasoning mix evenly, massaging it gently into the skin. Don’t forget the cavity too—it adds flavor from the inside out. (Time: 7 minutes)
- Prepare the beer can: Open the 12 oz (355 ml) beer can and pour out (or drink!) about half to prevent overflow during cooking. Optionally, add a few garlic cloves or fresh herbs inside the can for added aroma. Place the can on a sturdy surface. (Time: 2 minutes)
- Set up the chicken on the can: Carefully lower the chicken cavity onto the beer can, so it’s upright, balancing on the can and legs. If you have a chicken stand, use it for extra stability. (Time: 3 minutes)
- Preheat the grill: Heat your grill to medium heat, about 375°F (190°C). If using charcoal, arrange coals for indirect heat. Close the lid and let the grill stabilize. (Time: 10 minutes)
- Grill the chicken: Place the chicken upright on the grill, away from direct flames if possible. Close the lid and cook for approximately 1 hour to 1 hour 15 minutes, or until the internal temperature reaches 165°F (74°C) in the thickest part of the breast. Rotate the chicken 90 degrees halfway through for even cooking. (Time: 60–75 minutes)
- Check doneness: Use a meat thermometer to ensure the chicken is safely cooked. If skin isn’t crispy enough, move it briefly over direct heat for 2–3 minutes, watching carefully. (Time: 5 minutes)
- Rest the chicken: Carefully remove the chicken and beer can from the grill, tent loosely with foil, and let rest for 10–15 minutes. This locks in juices and makes carving easier. (Time: 10–15 minutes)
- Serve and enjoy: Carve the chicken, serve with your favorite sides, and savor that juicy, smoky flavor that only grilled beer can chicken delivers.
Pro tip: If your grill tends to fluctuate in temperature, keep a spray bottle of water handy to tame flare-ups. Also, don’t rush the resting phase—it’s when the magic really settles in.
Cooking Tips & Techniques
Getting crispy beer can chicken just right requires a few little tricks I’ve picked up the hard way. For one, drying the chicken skin before seasoning is non-negotiable. Moisture is the enemy of crispiness, so pat it dry like you mean it.
Another thing: don’t crowd the grill. Give your chicken room to breathe so the heat circulates evenly. I’ve learned that indirect heat cooking lets the beer steam the inside while the outside crisps without burning. If you try direct heat, you’ll end up with unevenly cooked bird or burnt skin.
Using a meat thermometer is the best way to avoid over or undercooking. I once cut into a chicken too early, and the center was still raw—definitely not the kind of surprise you want. Aim for 165°F (74°C), but remember the chicken will continue cooking slightly as it rests.
Rotating the chicken during cooking helps avoid hot spots and ensures an even smoky flavor all around. And if you want extra flavor complexity, add herbs or citrus inside the cavity or on the beer can. Just don’t overload the cavity, or the chicken might tip over!
Lastly, be patient during resting—it’s tempting to dive right in, but that 10-15 minute wait guarantees juicy, tender meat. I often pair this chicken with a fresh, crisp side like the creamy cucumber dill salad, which cuts through the smoky richness beautifully.
Variations & Adaptations
While the classic beer can chicken is fantastic on its own, there’s plenty of room to make it your own:
- Spicy Twist: Add cayenne pepper or chili powder to the seasoning mix for a smoky heat that wakes up your palate.
- Herb-Infused: Stuff the cavity with fresh rosemary, thyme, and lemon slices for a bright, aromatic flavor that lifts the smoky notes.
- Low-Carb Option: Swap brown sugar for a sugar-free maple syrup glaze brushed on during the last 10 minutes of grilling to keep sweetness without extra carbs.
- Different Beers: Try a wheat beer or pale ale for a fruitier, hoppier aroma. Just avoid anything too bitter or dark to keep the flavors balanced.
- Oven Method: If grilling isn’t an option, this recipe translates to oven roasting. Place the chicken on a beer can in a roasting pan and cook at 375°F (190°C) for about 1 hour 15 minutes, but grilling really gives that signature smoky flavor.
For a personal twist, I once tried a maple-apple cider combo in place of beer for a slightly sweeter and tangy profile—unexpected but surprisingly good! If you’re interested in other smoky grilled chicken options, you might enjoy my crispy honey garlic grilled chicken thighs recipe—also a winner for busy summer nights.
Serving & Storage Suggestions
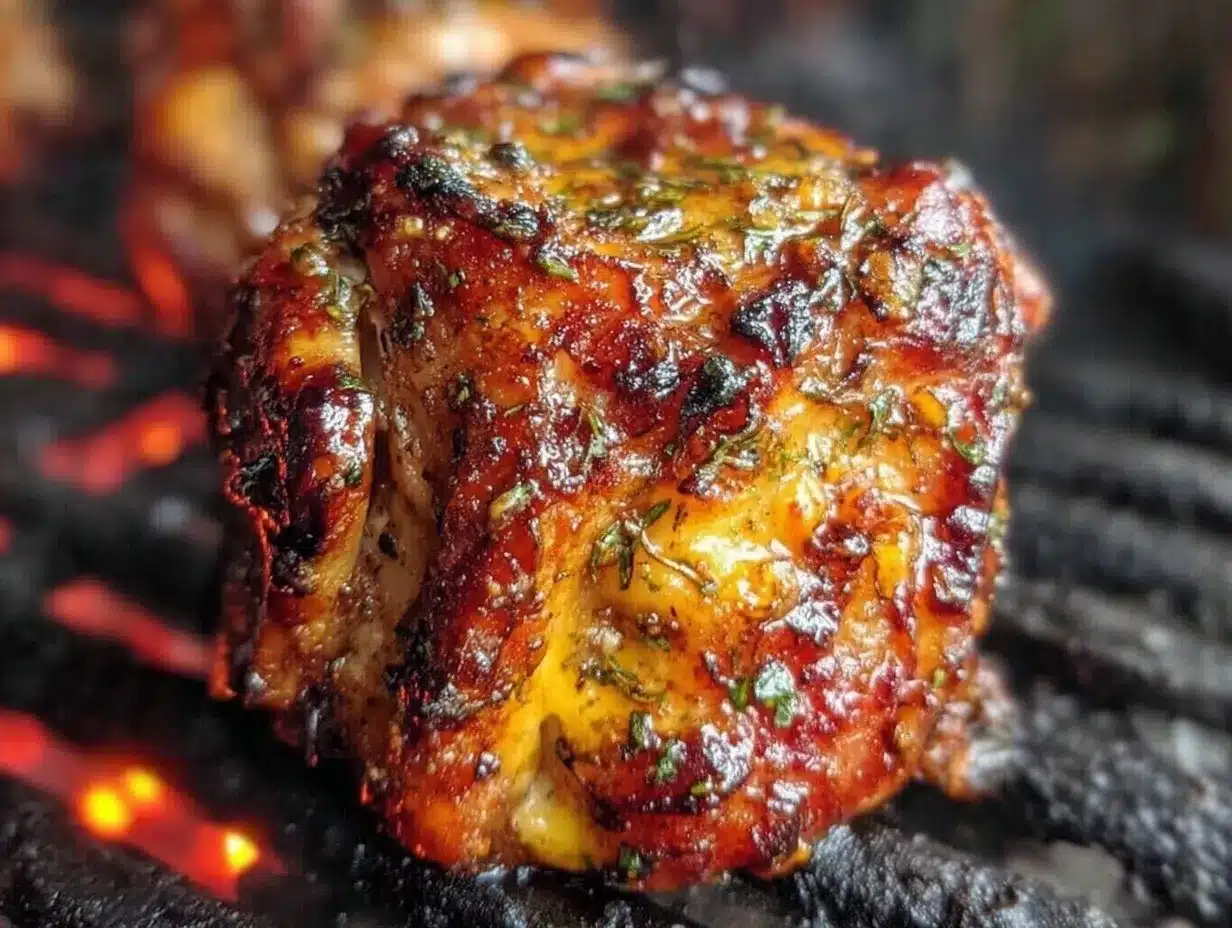
This crispy beer can chicken shines best served warm, straight off the grill, when the skin crackles and the meat is juicy. Carve it carefully, serving the breast, thighs, and drumsticks with plenty of that smoky, crispy skin intact.
Pair it with light, fresh sides like grilled corn on the cob with chili lime butter or a fresh salad such as the fresh taco pasta salad for a meal that balances smoky richness with brightness and crunch.
To store leftovers, let the chicken cool completely, then wrap tightly with plastic wrap or place in an airtight container. Refrigerate for up to 3 days. For longer storage, remove meat from the bones and freeze in freezer-safe bags for up to 3 months.
Reheating is best done gently in the oven at 325°F (160°C) to preserve skin texture—cover loosely with foil to avoid drying out. Microwaving will warm the meat but at the cost of crispy skin, so I usually reserve that for quick snacks. Interestingly, flavors deepen after a day in the fridge, making the leftovers even more satisfying the next day.
Nutritional Information & Benefits
This recipe delivers a well-rounded meal with protein-rich chicken that’s low in carbs and gluten-free by default. A typical serving (about 1/4 of the whole chicken) contains approximately 350 calories, 25 grams of protein, 25 grams of fat (mostly from skin and olive oil), and negligible carbohydrates.
Chicken is a great source of lean protein and essential nutrients like niacin and selenium, which support metabolism and immune function. The smoked paprika and herbs provide antioxidants, while olive oil adds heart-healthy fats.
This recipe fits nicely into many dietary plans, including paleo, keto, and gluten-free. Just be mindful of alcohol sensitivities—the beer’s alcohol mostly cooks off, but residual trace remains. For a dairy-free and nut-free meal, this recipe is already a safe bet.
Conclusion
This crispy beer can chicken recipe has quietly become one of those dependable classics in my grilling lineup—honest, straightforward, and downright delicious. It’s the kind of meal that makes casual weekends feel special, without fuss or stress. Whether you stick to the original or try one of the variations, the juicy, smoky flavor with that irresistible crispy skin is always a hit.
I love how easy it is to tweak this recipe to fit different tastes, making it a versatile choice for everything from small family dinners to lively backyard parties. If you give it a go, I’d love to hear how you made it your own—drop a comment or share your tweaks! And for a fresh, crunchy side to match the rich chicken, don’t miss the fresh creamy cucumber dill salad—it’s the perfect companion.
Here’s to smoky, juicy, crispy chicken that brings people together around the grill and the table.
Frequently Asked Questions
Can I use other types of beer for this recipe?
Yes! Light lagers or pilsners work best for a subtle flavor, but you can experiment with wheat beers or pale ales. Avoid very dark or bitter beers as they can overpower the chicken.
Do I have to use a beer can chicken stand?
Not necessarily. A clean, empty beer can works fine, but a stand adds stability and reduces the risk of tipping over on the grill.
How do I know when the chicken is cooked through?
Use a meat thermometer and check for an internal temperature of 165°F (74°C) in the thickest part of the breast. This ensures safe, juicy chicken.
Can I make this recipe in the oven instead of on the grill?
Yes, you can roast the chicken upright on a beer can at 375°F (190°C) for about 1 hour 15 minutes. However, the grill adds a smoky flavor that the oven can’t replicate.
What sides go well with crispy beer can chicken?
Fresh, light sides complement the smoky chicken well. Try grilled corn with chili lime butter or the fresh taco pasta salad for a balanced meal.
Pin This Recipe!
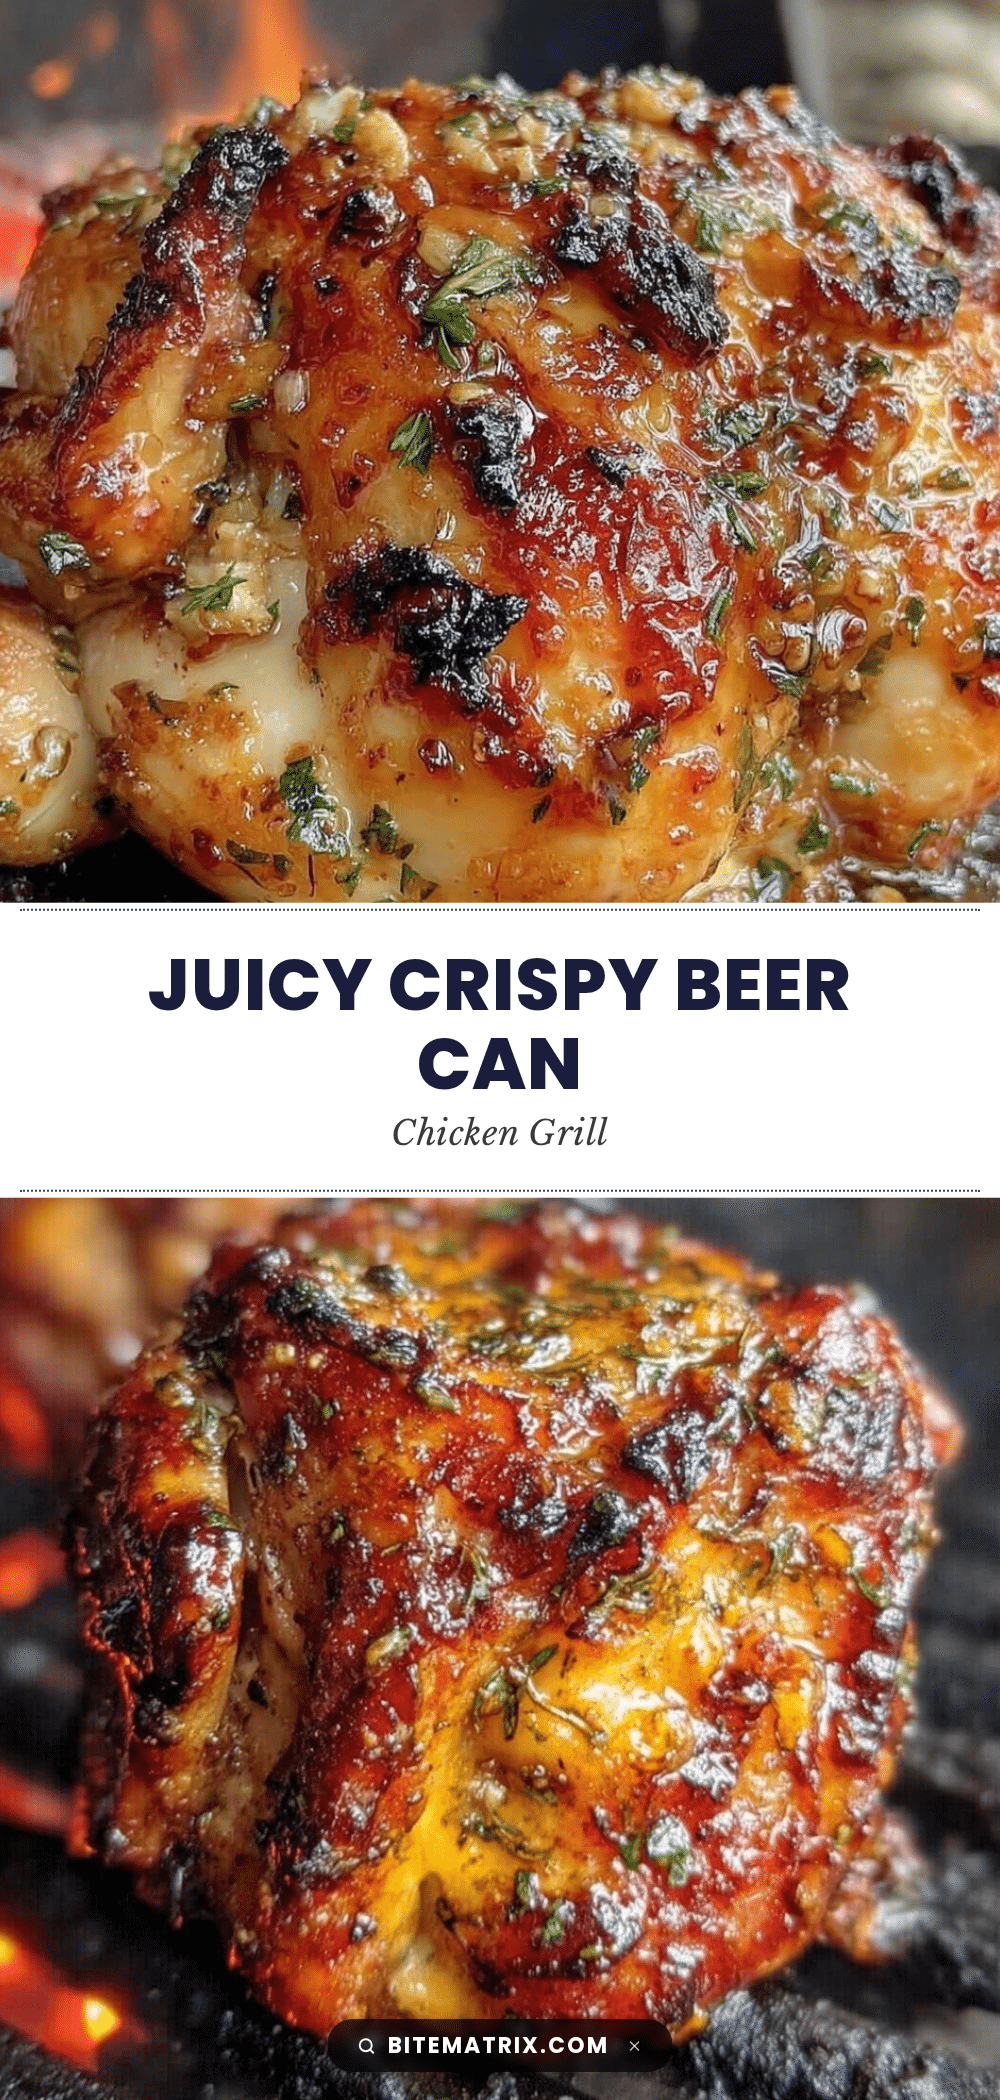
Crispy Beer Can Chicken Recipe Easy Juicy Smoky Flavor on Grill

A juicy, smoky grilled chicken with irresistibly crispy skin, cooked upright on a beer can for moist, flavorful meat and a perfect crispy crust.
- Prep Time: 17 minutes
- Cook Time: 1 hour 15 minutes
- Total Time: 1 hour 32 minutes
- Yield: 4 servings 1x
- Category: Main Course
- Cuisine: American
Ingredients
- Whole chicken, about 4 to 5 pounds (1.8 to 2.3 kg), skin on
- 1 standard 12 oz (355 ml) can of beer (light lager like Pilsner or American lager recommended)
- 2 tablespoons olive oil
- 1 tablespoon kosher salt
- 1 teaspoon freshly ground black pepper
- 1 teaspoon garlic powder
- 1 teaspoon smoked paprika
- 1 teaspoon onion powder
- 1/2 teaspoon dried thyme
- 1 tablespoon brown sugar
- Optional: fresh herbs like rosemary or thyme sprigs
- Optional: lemon wedges
Instructions
- Remove giblets from the chicken cavity and pat the chicken dry with paper towels.
- In a small bowl, mix kosher salt, black pepper, garlic powder, smoked paprika, onion powder, dried thyme, and brown sugar until well combined.
- Drizzle olive oil over the chicken and rub it all over the skin and inside the cavity.
- Sprinkle the seasoning mix evenly over the chicken, massaging it gently into the skin and cavity.
- Open the beer can and pour out or drink about half to prevent overflow during cooking. Optionally add garlic cloves or fresh herbs inside the can.
- Place the beer can on a sturdy surface and carefully lower the chicken cavity onto the can so it stands upright. Use a chicken stand if available for stability.
- Preheat the grill to medium heat, about 375°F (190°C). For charcoal grills, arrange coals for indirect heat and close the lid to stabilize temperature.
- Place the chicken upright on the grill away from direct flames. Close the lid and cook for 1 hour to 1 hour 15 minutes, rotating the chicken 90 degrees halfway through.
- Check the internal temperature with a meat thermometer; it should reach 165°F (74°C) in the thickest part of the breast.
- If the skin is not crispy enough, move the chicken briefly over direct heat for 2–3 minutes, watching carefully to avoid burning.
- Remove the chicken and beer can from the grill, tent loosely with aluminum foil, and let rest for 10–15 minutes.
- Carve the chicken and serve with your favorite sides.
Notes
Dry the chicken skin thoroughly before seasoning for best crispiness. Use indirect heat on the grill to avoid burning and ensure even cooking. Rotate the chicken during grilling for even smoky flavor. Let the chicken rest 10-15 minutes after cooking to lock in juices. Use a spray bottle of water to control flare-ups. For oven cooking, roast upright on a beer can at 375°F (190°C) for about 1 hour 15 minutes.
Nutrition
- Serving Size: About 1/4 of the who
- Calories: 350
- Fat: 25
- Protein: 25
Keywords: beer can chicken, grilled chicken, crispy chicken, smoky chicken, backyard BBQ, easy chicken recipe, juicy chicken, summer grilling


