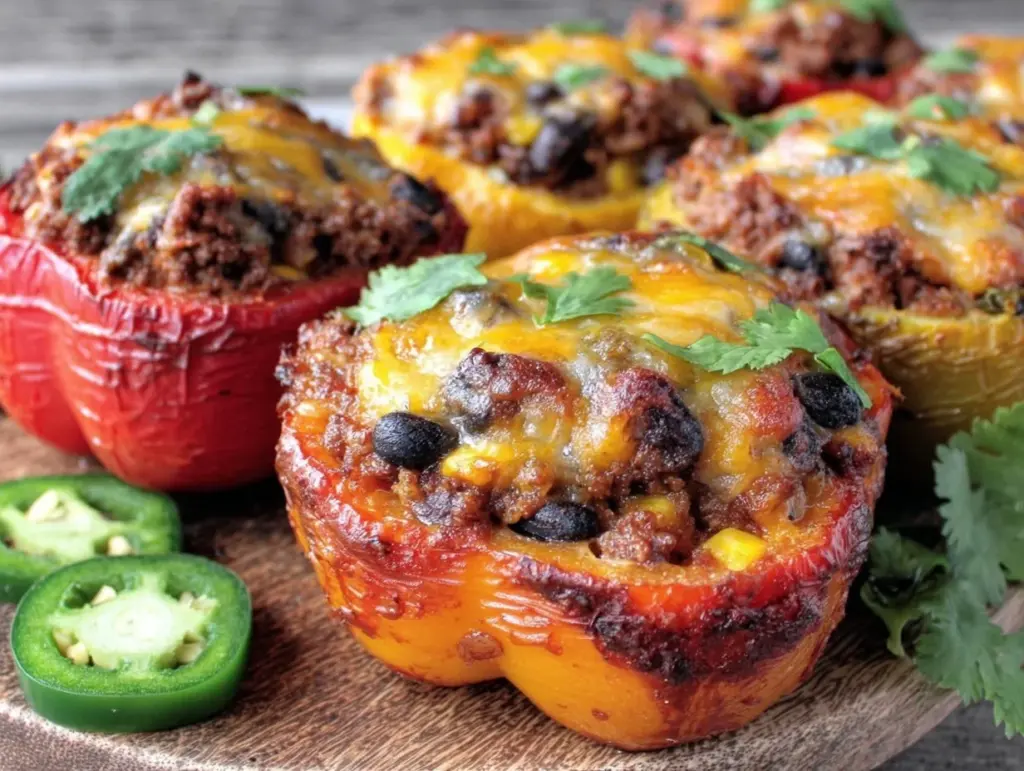
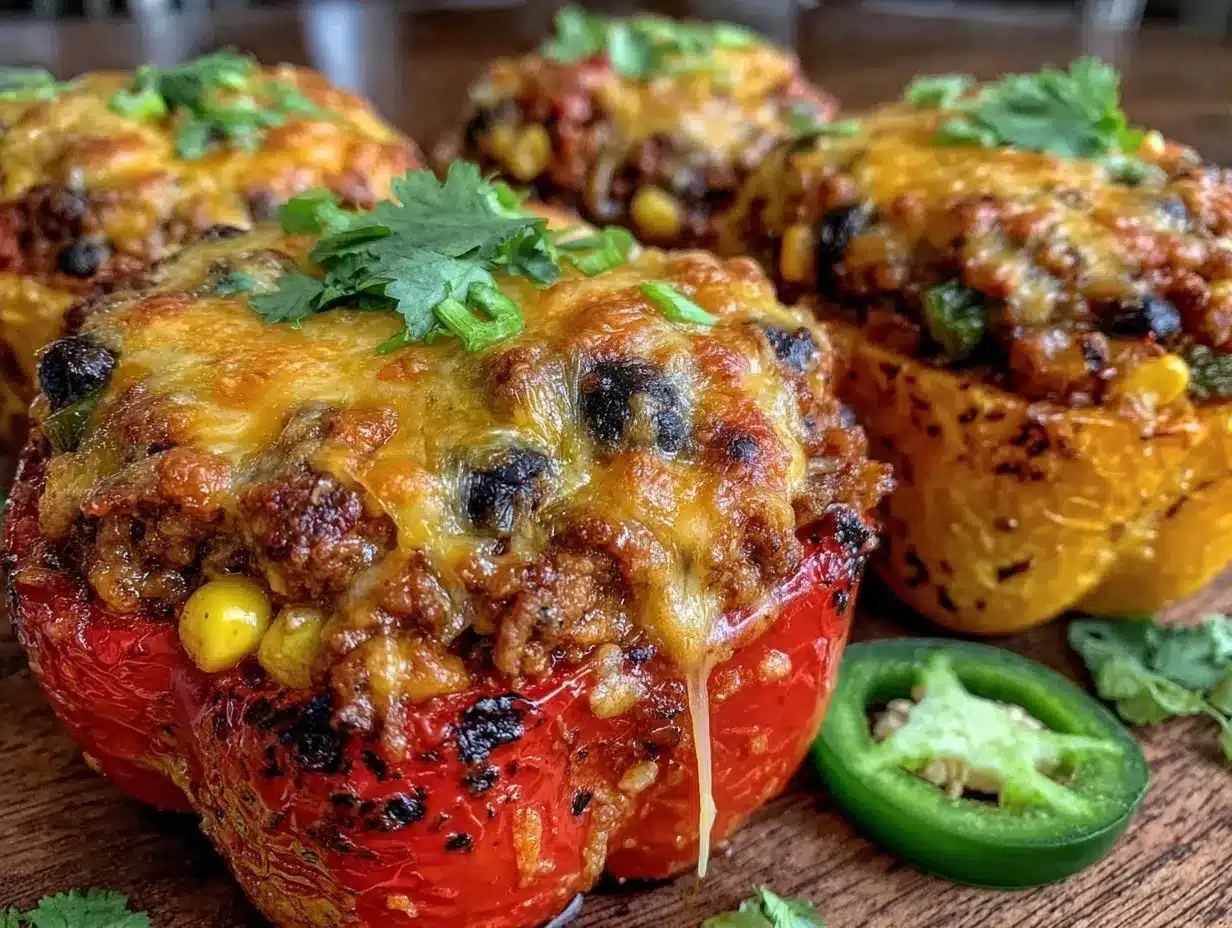
The first time I made these cheesy taco-stuffed bell peppers with savory seasoned filling, it was one of those evenings where the fridge looked pretty bare, and I honestly wasn’t in the mood to order takeout again. I had a few bell peppers sitting around, some ground beef, and a handful of pantry spices, so I figured, “Why not throw something together?” What started as a quick fix turned into a dinner that my whole family kept asking for again and again. There’s something about the way the melted cheese bubbles over the seasoned meat nestled inside the tender pepper that just clicks — like a cozy taco night but without the mess of tortillas and spills.
It wasn’t a fancy plan or a tested recipe for weeks, just a spur-of-the-moment creation that felt satisfying and a bit indulgent without being over the top. The savory filling is packed with familiar taco spices but softened by the sweetness of the peppers, and that combo really won me over. Honestly, every time I make these, I catch myself sneaking bites before they even hit the table. I think the real charm is that they feel both wholesome and fun — like a little homemade fiesta on a plate.
These stuffed peppers quickly became my go-to for nights when I want something comforting but don’t want to spend hours in the kitchen. Plus, they’re a fantastic way to sneak some veggies into the meal without anyone noticing. So yeah, this cheesy taco-stuffed bell peppers recipe stuck around in my rotation for good reason — it’s all about simple ingredients, big flavor, and that warm, cheesy finish that just feels right.
Why You’ll Love This Recipe
After testing this recipe on repeat (seriously, it showed up on my table three times in one week), I’m convinced it’s a keeper. Here’s why these cheesy taco-stuffed bell peppers are worth making tonight:
- Quick & Easy: Ready in about 40 minutes, this recipe fits perfectly into busy weeknights or casual weekend dinners.
- Simple Ingredients: No complicated or hard-to-find items here. Most are pantry staples or fresh produce you probably have on hand.
- Perfect for Family Meals: Whether it’s a casual dinner or a small get-together, these peppers please kids and adults alike.
- Crowd-Pleaser: The combo of seasoned beef, melted cheese, and sweet peppers always gets raves—and zero leftovers.
- Unbelievably Delicious: The savory taco seasoning is spot-on without overwhelming, and the cheese binds everything into a melty, irresistible package.
What sets this recipe apart is the way I balance the seasoning — a touch of smoky paprika, cumin, and just enough chili powder to bring warmth without heat overload. Plus, blending in a bit of tomato sauce keeps the filling moist and flavorful without being saucy. The peppers roast just right to tender, soft shells that hold everything together but still keep a bit of bite. Honestly, it’s the kind of recipe that nudges you to try your hand at other stuffed pepper variations (like the creamy Hawaiian macaroni salad that pairs surprisingly well!).
This isn’t just dinner—it’s a comforting, satisfying meal that sneaks in veggies, packs a punch of flavor, and melts cheesy goodness into every bite. It’s perfect when you want something hearty without fuss, and it’s the kind of dish that invites you to linger at the table a little longer.
What Ingredients You Will Need
This cheesy taco-stuffed bell peppers recipe uses simple, wholesome ingredients to deliver bold flavor and satisfying texture without the fuss. Most of these are staples in my kitchen, making it easy to whip up on short notice.
- Bell Peppers: 4 large bell peppers (any color, but red or yellow add a nice sweetness)
- Ground Beef: 1 pound (450 g) of lean ground beef (you can swap with ground turkey or plant-based crumbles)
- Onion: 1 medium yellow onion, finely chopped (adds savory depth)
- Garlic: 2 cloves, minced (fresh is best for punchy flavor)
- Tomato Sauce: ½ cup (120 ml) (helps keep the filling moist; I use Hunt’s for consistency)
- Cheese: 1 ½ cups (about 150 g) shredded sharp cheddar (or Monterey Jack if you prefer a milder flavor)
- Taco Seasoning: 1 tablespoon homemade or store-bought (I like a blend with smoked paprika, cumin, chili powder, oregano, and a pinch of cayenne)
- Olive Oil: 1 tablespoon (for sautéing)
- Salt & Pepper: To taste (season gradually to avoid over-salting)
- Fresh Cilantro: A handful, chopped (optional, for garnish and freshness)
If you want to switch things up, try using poblano peppers for a bit more texture and smoky flavor. For a vegetarian take, black beans or lentils work beautifully in place of meat. Also, swapping in dairy-free cheese or Greek yogurt can adapt this to different dietary needs. The key is to keep the filling moist and well-seasoned, so don’t skimp on the spices or tomato sauce.
Equipment Needed
- Baking Dish: A medium-sized ovenproof dish (around 9×13 inches or 23×33 cm) to hold the peppers during baking.
- Skillet or Frying Pan: For sautéing the beef and aromatics—preferably non-stick or cast iron for even cooking.
- Mixing Bowl: To combine the filling ingredients if you prefer mixing before stuffing.
- Sharp Knife: For prepping peppers and chopping onion and garlic.
- Spoon or Small Ladle: To stuff the peppers neatly.
- Grater: For shredding cheese fresh—pre-shredded works, but fresh melts better.
If you don’t have a baking dish, a rimmed sheet pan with sides works in a pinch, just watch the peppers so they don’t tip over. I’ve also used a cast-iron skillet for baking these stuffed peppers; it keeps the heat evenly and can go from stovetop to oven seamlessly. For budget-friendly options, standard glass baking dishes from most stores are just fine and easy to clean.
Preparation Method
- Preheat your oven to 375°F (190°C). This gets everything ready to roast the peppers to tender perfection.
- Prepare the bell peppers: Cut the tops off and carefully remove the seeds and membranes. Rinse and set aside, standing upright in your baking dish. If they wobble, trim the bottoms slightly to level them.
- Sauté the aromatics: Heat 1 tablespoon olive oil in a skillet over medium heat. Add the chopped onion and cook for about 3 minutes until softened and translucent. Toss in minced garlic and cook for another 30 seconds — your kitchen will start smelling amazing right here.
- Cook the ground beef: Add the ground beef to the skillet and break it up with a spatula. Cook for 6-8 minutes until browned and no longer pink, stirring occasionally. Drain excess fat if needed to keep it from getting greasy.
- Season the filling: Stir in 1 tablespoon taco seasoning, ½ cup (120 ml) tomato sauce, salt, and pepper to taste. Let it simmer for 3-4 minutes so the flavors meld and the mixture thickens slightly. The filling should be moist but not watery.
- Assemble the peppers: Spoon the beef mixture evenly into each bell pepper, packing it lightly but not overstuffing. Then, sprinkle shredded cheddar cheese generously on top — this is where the magic happens.
- Bake: Cover the baking dish loosely with foil and bake for 25 minutes. Remove the foil and bake for an additional 10 minutes until the cheese is bubbly and golden brown.
- Garnish and serve: Let the peppers cool for a few minutes before serving. Sprinkle with chopped fresh cilantro if you like, and maybe add a dollop of sour cream or guacamole on the side.
One tip I learned is to keep an eye on the cheese in the last 10 minutes — ovens vary, and you want that perfect bubbly crust without burning. Also, if your peppers start to brown too quickly, tent with foil again to avoid drying out. This recipe pairs wonderfully with a fresh side, like the creamy cucumber dill salad for a crisp contrast.
Cooking Tips & Techniques
Getting the texture and flavor just right is key with these cheesy taco-stuffed bell peppers. Here are some things I’ve learned the hard way:
- Don’t overstuff the peppers. It’s tempting to cram as much filling as possible, but that can cause the peppers to tip or the filling to spill. Leave a little room for the cheese to melt and bubble over.
- Balance moisture carefully. If your filling is too wet, the peppers turn soggy. Too dry, and it’s crumbly and less flavorful. The tomato sauce helps keep it juicy but not soupy.
- Use fresh cheese if you can. Pre-shredded cheese sometimes contains anti-caking agents that can affect melt quality. Shredding it yourself gives you that perfect gooey texture.
- Cook the filling fully before stuffing. Raw beef or undercooked onions will make the peppers watery or unevenly cooked.
- Multitask by prepping sides while peppers bake. I often toss together a simple taco pasta salad to keep the meal cohesive and festive.
One of my favorite tricks is to toast the taco seasoning briefly in the pan before adding tomato sauce — it wakes up the spices and deepens the flavor. Also, letting the stuffed peppers rest a bit after baking helps the filling settle so you don’t lose any when cutting in.
Variations & Adaptations
This recipe is a great foundation for mixing things up depending on mood or dietary needs. Here are some variations I’ve tried:
- Vegetarian Version: Swap the ground beef for black beans, lentils, or a plant-based crumble. Add diced mushrooms or zucchini to bulk up the filling.
- Spicy Kick: Add diced jalapeños or a pinch of cayenne pepper to the filling for heat. A chipotle in adobo sauce stirred in adds smoky depth.
- Different Cheeses: Try pepper jack for extra spice, or a blend of mozzarella and cheddar for gooey stretch and sharpness.
- Slow Cooker Adaptation: After sautéing the filling, stuff the peppers and place them in a slow cooker with a little broth at the bottom. Cook on low for 4 hours until peppers are tender.
- Seasonal Twist: In the fall, swap bell peppers for mini acorn squash or hollowed-out sweet potatoes for a cozy change.
I once added corn kernels and a sprinkle of smoked paprika to the filling — it brought a subtle sweetness and smokiness that balanced beautifully. Feel free to get creative; these peppers are forgiving and fun to customize!
Serving & Storage Suggestions
These cheesy taco-stuffed bell peppers are best served warm, fresh out of the oven, when the cheese is still melty and the peppers tender. They look beautiful plated with a sprinkle of fresh cilantro and a dollop of sour cream or guacamole on the side.
They pair wonderfully with fresh, crisp sides like the watermelon feta mint salad or a simple green salad. For drinks, a cold limeade or even a light beer complements the savory spices nicely.
Leftovers keep well in an airtight container in the fridge for up to 3 days. Reheat gently in the oven or microwave—if reheating in the microwave, cover loosely to keep the peppers from drying out. Flavors meld beautifully overnight, so sometimes I actually prefer these the next day!
Nutritional Information & Benefits
Each stuffed pepper roughly provides:
| Calories | Approximately 350-400 kcal |
|---|---|
| Protein | About 25 grams (mainly from ground beef and cheese) |
| Carbohydrates | 15-20 grams (mostly from bell peppers and tomato sauce) |
| Fat | 20 grams (includes healthy fats from olive oil and cheese) |
This recipe provides a solid dose of protein and vitamin C from the bell peppers. Using lean ground beef keeps the fat content moderate, and the peppers add fiber and antioxidants. It’s naturally gluten-free, and modifications can make it dairy-free or vegetarian. For anyone mindful of sodium, opt for low-sodium taco seasoning or make your own to control salt levels.
Conclusion
Cheesy taco-stuffed bell peppers with savory seasoned filling have earned their spot in my kitchen for good reason. They’re simple, satisfying, and flexible enough to suit whatever you have on hand or crave that night. I love how they bring a little fiesta vibe to the dinner table without fuss or extra cleanup. Plus, they’re a clever way to get extra veggies on the plate without anyone complaining.
Feel free to tweak the spices or swap ingredients to make this recipe your own—it’s a great blank canvas for creativity. Honestly, this dish feels like a warm hug after a long day, and I hope it finds a place in your rotation too. If you give it a try, I’d love to hear about your favorite twists or serving ideas. There’s something special about a recipe that brings people together, and this one totally does that in my house.
Frequently Asked Questions
Can I use other types of meat for the filling?
Absolutely! Ground turkey, chicken, or even sausage work well. Just adjust cooking times to ensure the meat is fully cooked.
How do I prevent the peppers from tipping over in the baking dish?
Trim the bottoms of the peppers slightly to create a flat base, or nestle them tightly together in the dish so they support each other.
Can I prepare these stuffed peppers ahead of time?
Yes, you can assemble them and refrigerate for up to 24 hours before baking. Add a few extra minutes to the baking time if baking straight from the fridge.
What can I use instead of bell peppers?
Try mini sweet peppers, zucchini boats, or hollowed-out tomatoes for different textures and flavors.
Is there a way to make this recipe dairy-free?
Yes, substitute the cheese with a dairy-free alternative or omit it altogether. You can also add a sprinkle of nutritional yeast for a cheesy flavor without dairy.
Pin This Recipe!
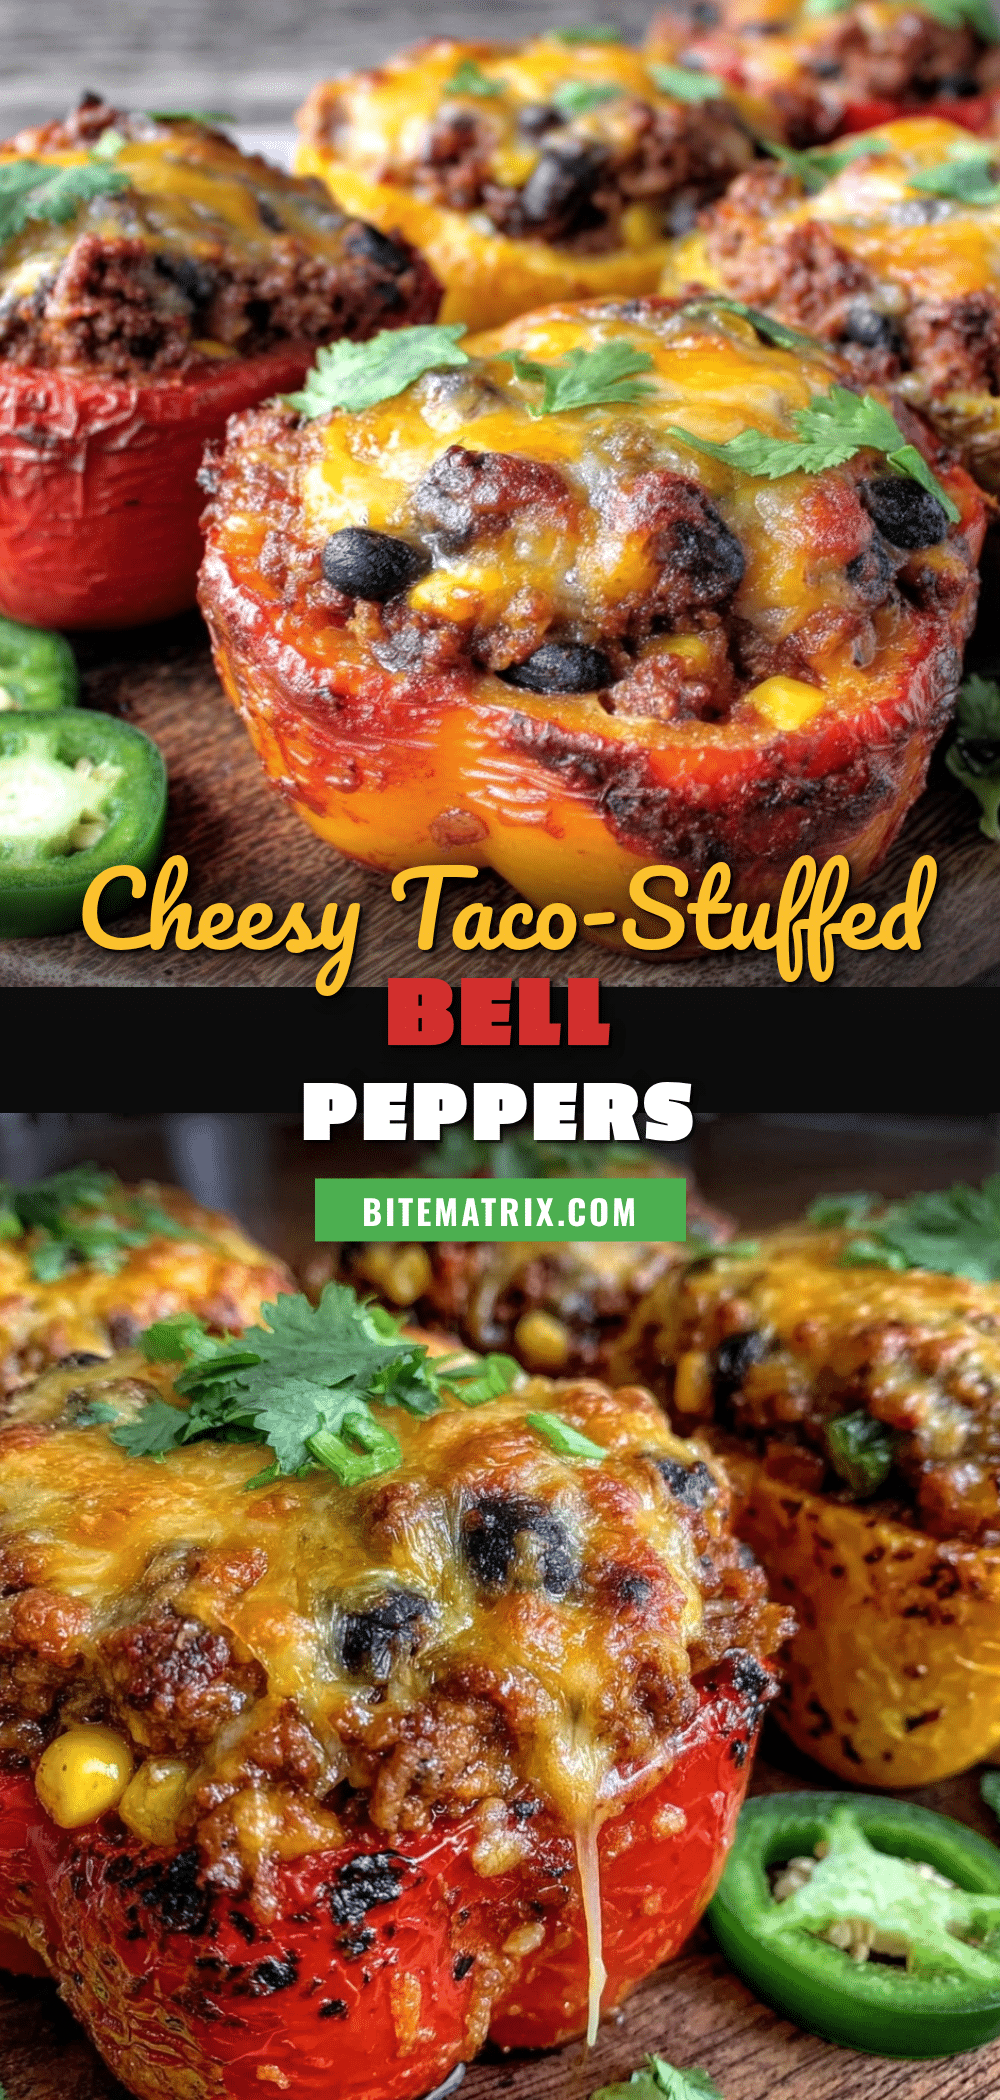
Cheesy Taco-Stuffed Bell Peppers

A quick and easy recipe featuring bell peppers stuffed with a savory taco-seasoned ground beef filling and melted cheese, perfect for a comforting family meal.
- Prep Time: 15 minutes
- Cook Time: 35 minutes
- Total Time: 50 minutes
- Yield: 4 servings 1x
- Category: Main Course
- Cuisine: Mexican-inspired
Ingredients
- 4 large bell peppers (any color, red or yellow preferred for sweetness)
- 1 pound lean ground beef (can substitute ground turkey or plant-based crumbles)
- 1 medium yellow onion, finely chopped
- 2 cloves garlic, minced
- 1/2 cup tomato sauce (120 ml)
- 1 1/2 cups shredded sharp cheddar cheese (about 150 g)
- 1 tablespoon taco seasoning (homemade or store-bought)
- 1 tablespoon olive oil
- Salt and pepper to taste
- A handful fresh cilantro, chopped (optional)
Instructions
- Preheat your oven to 375°F (190°C).
- Cut the tops off the bell peppers and remove seeds and membranes. Rinse and stand upright in a baking dish. Trim bottoms if needed to level.
- Heat olive oil in a skillet over medium heat. Add chopped onion and cook about 3 minutes until softened.
- Add minced garlic and cook for 30 seconds.
- Add ground beef, breaking it up with a spatula. Cook 6-8 minutes until browned and no longer pink. Drain excess fat if needed.
- Stir in taco seasoning, tomato sauce, salt, and pepper. Simmer for 3-4 minutes until flavors meld and mixture thickens slightly.
- Spoon beef mixture evenly into each bell pepper, packing lightly but not overstuffing.
- Sprinkle shredded cheddar cheese generously on top of each stuffed pepper.
- Cover baking dish loosely with foil and bake for 25 minutes.
- Remove foil and bake an additional 10 minutes until cheese is bubbly and golden brown.
- Let peppers cool a few minutes before serving. Garnish with chopped cilantro if desired.
Notes
Do not overstuff peppers to avoid tipping or spilling. Balance moisture carefully to prevent sogginess. Use fresh shredded cheese for best melt quality. Toast taco seasoning briefly before adding tomato sauce to deepen flavor. Let stuffed peppers rest after baking to settle filling. Can prepare ahead and refrigerate up to 24 hours before baking.
Nutrition
- Serving Size: 1 stuffed bell peppe
- Calories: 375
- Sugar: 8
- Sodium: 450
- Fat: 20
- Saturated Fat: 8
- Carbohydrates: 18
- Fiber: 4
- Protein: 25
Keywords: cheesy stuffed peppers, taco stuffed peppers, ground beef stuffed peppers, easy dinner, weeknight meal, family dinner, Mexican flavors