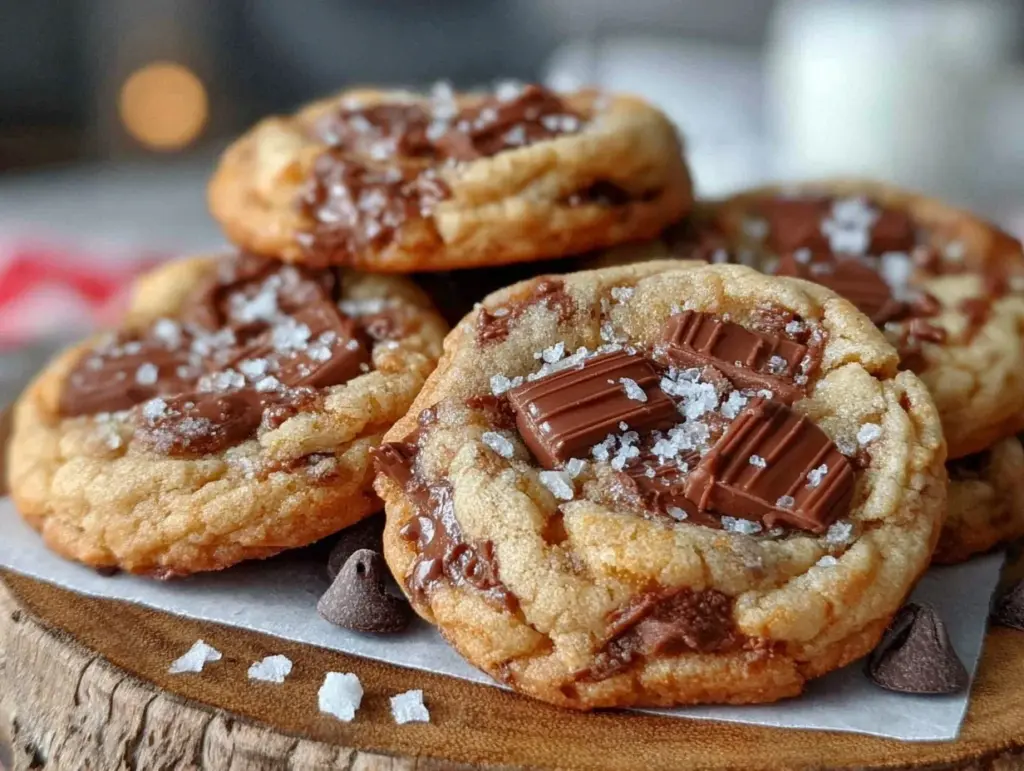
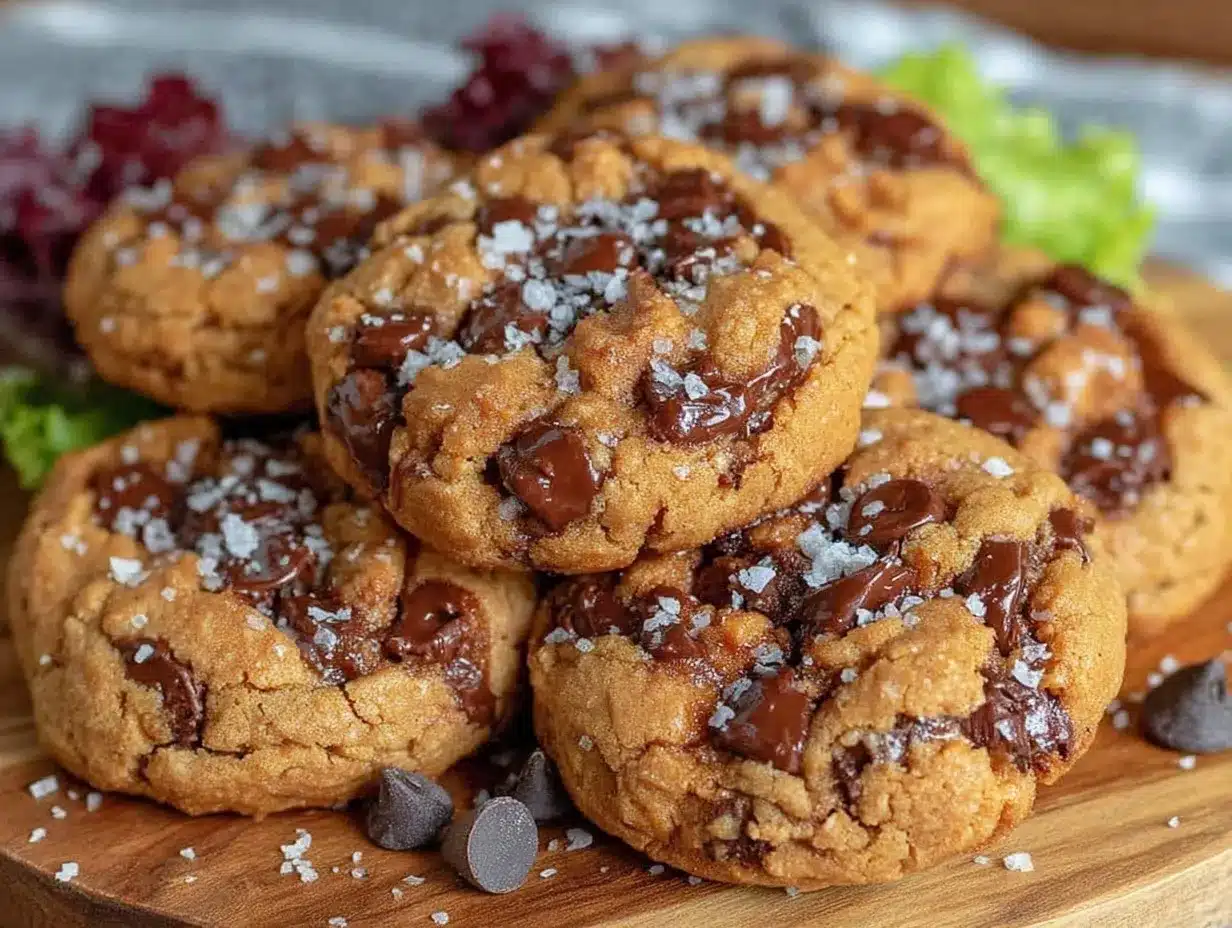
That soft, almost dense chewiness, flecked with little pockets of melted chocolate and the ever-slight graininess of peanut butter—it’s what I made these cookies for, honestly. Everything else, the taste, the aroma, the memory of a lunchbox surprise, it all follows from that tactile promise. You know that feeling when you press a cookie between your fingers, and it yields just right, neither crumbly nor cakey? That’s the texture obsession behind these Chewy Peanut Butter Chocolate Chip Lunch Box Cookies.
One afternoon, while packing my kid’s lunch, I realized I wanted something that felt substantial, comforting, and just a bit nostalgic. Not those dry, crumbly cookies that leave a mess, but something you could almost sink your teeth into with your eyes closed, imagining warmth and care. That chewiness is key because it keeps the cookie fresh and enjoyable hours later, still begging to be eaten after school or work. And the chocolate chips? They add those little bursts of gooey delight that contrast perfectly with the peanut butter’s rustic mouthfeel.
I’ve tried countless recipes for peanut butter cookies before, but most missed that chewy mark. Either too crisp or too cakey. It was a quiet kitchen experiment over a weekend that finally nailed it: the right balance of butter, sugar, and peanut butter, with just enough chocolate chips to make each bite exciting without overpowering the base. These cookies became my go-to for lunchboxes, because they travel well, hold their shape, and honestly, make lunch feel like a little moment of joy. I still find myself sneaking one or two when no one’s looking.
There’s something quietly satisfying about mastering a cookie’s texture this way. It’s not flashy, but it sticks with you. And that’s why this recipe has stuck around my kitchen — the chewy peanut butter chocolate chip lunch box cookies are a tactile, homey kind of comfort you can count on.
Why You’ll Love This Recipe
This chewy peanut butter chocolate chip lunch box cookies recipe is one I trust after many attempts and tweaks. It’s not just another cookie; it’s a carefully crafted, kid-approved, and adult-loved treat that nails a texture you’ll crave again and again.
- Quick & Easy: Comes together in under 30 minutes, perfect for busy mornings or last-minute lunchbox needs.
- Simple Ingredients: No exotic pantry items here—just stuff you probably have on hand already, like creamy peanut butter and semi-sweet chocolate chips.
- Perfect for Lunchboxes & Snacks: These cookies hold their shape and chewiness, making them ideal for packing ahead and still tasting fresh hours later.
- Crowd-Pleaser: Kids love them, and adults can’t resist the familiar comforting combo of peanut butter and chocolate.
- Unbelievably Delicious: The chew combined with melty chocolate chips offers a satisfying mouthfeel that’s just right—not too soft, not dry, but a little bit of both.
What sets this recipe apart? It’s the subtle use of brown sugar combined with granulated sugar, which keeps the cookies moist and chewy without getting too sticky or greasy. Plus, a small splash of vanilla and a touch of salt bring out the peanut butter’s natural richness. I’ve even swapped in some natural peanut butter brands like Smucker’s Natural, which gives a deeper nuttiness and texture you can taste.
Honestly, it’s the kind of cookie that makes you close your eyes after the first bite because it’s just right. It’s a comfort snack reimagined to be quick, wholesome, and satisfying—no fuss, just good texture and flavor. Whether you’re packing lunch for kids or need a quick afternoon pick-me-up, these cookies deliver without stress or compromise.
What Ingredients You Will Need
This recipe uses simple, wholesome ingredients to deliver bold flavor and satisfying texture without fuss. Most are pantry staples, and you can easily substitute a few if needed. Here’s what you’ll want to gather:
- Peanut Butter: 1 cup (240g) creamy peanut butter (I prefer Smucker’s Natural for its fresh flavor and slight graininess)
- Sugars: ½ cup (100g) granulated sugar + ½ cup (110g) packed light brown sugar (the brown sugar keeps the chew)
- Butter: ½ cup (115g) unsalted butter, softened (adds richness and moisture)
- Egg: 1 large egg, room temperature (helps bind and tenderize)
- Vanilla Extract: 1 teaspoon (enhances flavor complexity)
- Flour: 1 cup + 2 tablespoons (130g) all-purpose flour (provides structure)
- Baking Soda: ½ teaspoon (for gentle leavening)
- Salt: ½ teaspoon (balances sweetness and highlights peanut butter)
- Chocolate Chips: 1 cup (175g) semi-sweet chocolate chips (or mini chips for better distribution)
If you want to make these gluten-free, swap the all-purpose flour for a gluten-free blend like Bob’s Red Mill 1-to-1. For dairy-free, use a vegan butter substitute and make sure your chocolate chips are dairy-free too. In summer, I like mixing in some chopped roasted peanuts for added crunch, or occasionally swapping chocolate chips for peanut butter chips—just to keep things interesting.
Equipment Needed
To make these chewy peanut butter chocolate chip lunch box cookies, you don’t need anything fancy, which is great.
- Mixing Bowls: One large and one medium-sized bowl will do.
- Electric Mixer or Stand Mixer: Helpful for creaming the butter and sugars, but a sturdy wooden spoon works if you want to keep it low-tech.
- Measuring Cups and Spoons: Accurate measurements really make a difference here.
- Baking Sheet: A rimmed cookie sheet, preferably lined with parchment paper or a silicone baking mat to prevent sticking.
- Cooling Rack: To let the cookies cool evenly and avoid sogginess on the bottom.
If you don’t have a mixer, just take a little extra elbow grease when creaming the butter and sugars together. Also, I find that using a silicone spatula helps scrape the bowl clean without losing any of that delicious dough stuck to the sides. For budget-friendly baking mats, Amazon Basics offers decent options that last for dozens of uses.
Preparation Method
- Preheat your oven to 350°F (175°C). Line your baking sheet with parchment paper or a silicone baking mat. This prevents sticking and makes cleanup a breeze. (5 minutes prep)
- Cream the butter and sugars: In a large bowl, beat ½ cup softened unsalted butter, ½ cup granulated sugar, and ½ cup packed light brown sugar together until fluffy and light in color. This usually takes about 2-3 minutes with a mixer. (Tip: If you don’t cream thoroughly, cookies may come out dense.)
- Add peanut butter, egg, and vanilla: Beat in 1 cup creamy peanut butter until combined. Then add 1 large egg and 1 teaspoon vanilla extract, mixing until smooth. The mixture should look thick and creamy, not oily. (2 minutes)
- Combine dry ingredients: In a separate bowl, whisk together 1 cup + 2 tablespoons all-purpose flour, ½ teaspoon baking soda, and ½ teaspoon salt. Make sure they’re evenly mixed to avoid clumps.
- Mix dry into wet: Slowly add the flour mixture into the peanut butter batter. Mix just until combined. Don’t overmix here — overworking the dough can ruin the texture and make cookies tough.
- Fold in chocolate chips: Gently fold in 1 cup semi-sweet chocolate chips. If you want pockets of melty chocolate in every bite, mini chips work great here.
- Scoop dough onto baking sheet: Use a tablespoon or cookie scoop to drop dough balls about 2 inches apart. The dough is sticky but should hold its shape. (Tip: Slightly wetting your hands helps shape the dough without sticking.)
- Bake for 10-12 minutes: The edges should be just set, and the centers will look slightly underbaked—this is perfect for chewiness. (Ovens vary, so start checking at 9 minutes.)
- Cool on the sheet for 5 minutes: Let the cookies rest to finish setting, then transfer to a cooling rack to cool completely. This step locks in that chewy texture.
Pro Tip: If you want your cookies extra soft, don’t bake until fully firm. They’ll set as they cool. Also, I learned the hard way that refrigerating the dough for 30 minutes before baking can improve shape and reduce spreading, especially on hot days.
Cooking Tips & Techniques
Getting the perfect chewy texture isn’t magic; it’s about a few key details you pick up over time. First, the sugar ratio matters—brown sugar has more moisture and acidity, which helps with softness and flavor depth. Too much granulated sugar and you end up with a crisp cookie instead.
Also, when creaming butter and sugar, take your time. It might seem minor, but better incorporation means lighter texture. I’ve had batches turn out dense simply because I rushed this step.
Another tip is to avoid overmixing after adding flour. You want just enough to bring everything together. Overworked dough means tougher cookies—trust me, I’ve made that mistake more than once!
Timing your bake is crucial. The centers should look slightly underdone when you pull them out. It might be tempting to bake longer, but that kills the chew. Let them cool on the baking sheet to finish cooking gently.
Don’t forget the salt. It’s a small amount, but it balances the sweetness and brings out the peanut butter flavor in a way that’s subtle yet essential.
Finally, if you’re packing these for lunchboxes or snacks on the go, store them in an airtight container at room temperature. This keeps them chewy for days. For longer storage, freeze the dough balls and bake fresh whenever you want a batch. It’s a game-changer for busy weeks.
Variations & Adaptations
Once you’ve mastered the base recipe, you can play around with it to suit different tastes and dietary needs.
- Nut-Free Version: Replace peanut butter with sunflower seed butter or soy nut butter for allergy-friendly cookies that still pack flavor and chew.
- Vegan Adaptation: Use vegan butter, a flax egg (1 tablespoon ground flaxseed + 3 tablespoons water), and dairy-free chocolate chips. The texture remains delightfully chewy.
- Extra Crunch: Stir in ½ cup roasted peanuts or chopped walnuts for a nutty crunch contrast with the chewy base.
- Chocolate Chip Swap: Use peanut butter chips or butterscotch chips instead of or alongside chocolate chips. It adds a fun twist.
- Texture Twist: For a softer cookie, add 1 tablespoon of honey or maple syrup to the wet ingredients.
I once tried adding a pinch of cinnamon and a few chopped dried cherries to the dough for a holiday spin—unexpected but surprisingly delicious. Feel free to experiment with flavors, but keep the basic dough ratios intact to maintain chewiness.
Serving & Storage Suggestions
These chewy peanut butter chocolate chip lunch box cookies are best served at room temperature. They’re perfect straight from the container, but if you like your chocolate extra melty, a quick 10-second zap in the microwave works wonders.
For lunchbox packing, I recommend wrapping individual cookies in parchment or wax paper to keep them from sticking together. They pair wonderfully with a cold glass of milk or a fresh fruit smoothie — think about pairing them with something like a fresh strawberry basil lemonade for a refreshing balance.
Store leftovers in an airtight container at room temperature for up to 5 days. If you want to keep them longer, freeze the cookies in single layers separated by parchment paper, then transfer to a freezer-safe bag. Thaw at room temperature or gently reheat before serving.
Over time, the flavors meld beautifully, and the cookies soften slightly, making them even more irresistible. I like to prepare a batch ahead for busy weeks, knowing that they’ll be a reliable treat whenever needed.
Nutritional Information & Benefits
Each cookie (assuming 24 cookies per batch) contains approximately:
| Calories | 160 kcal |
|---|---|
| Fat | 9g (mostly from peanut butter and butter) |
| Carbohydrates | 18g |
| Protein | 4g |
| Fiber | 2g |
Peanut butter provides heart-healthy fats, protein, and fiber, helping to keep you full longer. The chocolate chips add antioxidants (especially if you choose dark chocolate). This recipe is naturally gluten-based but can be adapted to gluten-free. It contains nuts and dairy unless substitutions are made, so watch for allergies.
From a wellness standpoint, these cookies are a better alternative to many store-bought snacks—homemade, with no preservatives and balanced sweetness. They’re a satisfying treat that fits into a wholesome eating plan without guilt.
Conclusion
These chewy peanut butter chocolate chip lunch box cookies have become a small but steady joy in my kitchen. They’re the kind of cookie that feels homemade in every bite—soft, chewy, and packed with just the right mix of peanut butter and chocolate. Whether you’re packing them for school, work, or just a quick treat, they hold up well and never disappoint.
Feel free to tweak the recipe to suit your tastes—add nuts, swap chocolate types, or try a vegan version. That’s the beauty of a solid base recipe like this: it’s forgiving and flexible but always reliably delicious. I hope these cookies find a place in your rotation, too, becoming your go-to when you need that comforting, chewy, chocolatey bite.
When you try them, I’d love to hear how your batch turned out or any fun twists you added. Share your stories and cookie adventures in the comments—let’s keep the love for homemade treats alive!
FAQs About Chewy Peanut Butter Chocolate Chip Lunch Box Cookies
How can I make these cookies softer?
Try adding a tablespoon of honey or maple syrup to the wet ingredients and avoid overbaking. Pull them out when centers look slightly underdone and let them cool on the baking sheet.
Can I use natural peanut butter for this recipe?
Yes, but natural peanut butter tends to be more oily and less stable. You might want to chill the dough before baking to reduce spreading.
How should I store these cookies to keep them chewy?
Store in an airtight container at room temperature for up to 5 days. For longer storage, freeze the cookies and thaw at room temperature before eating.
Can I make these cookies gluten-free?
Absolutely. Swap the all-purpose flour for a 1-to-1 gluten-free baking blend. The texture might vary slightly but still be delicious.
Is it okay to freeze the cookie dough?
Yes! Freeze dough balls on a tray, then transfer to a freezer bag. Bake from frozen, adding a minute or two to baking time.
For a quick savory lunch to go with your cookies, you might like the easy Italian sub sandwich skewers—a perfect balance of flavors for a full meal on the run.
Pin This Recipe!
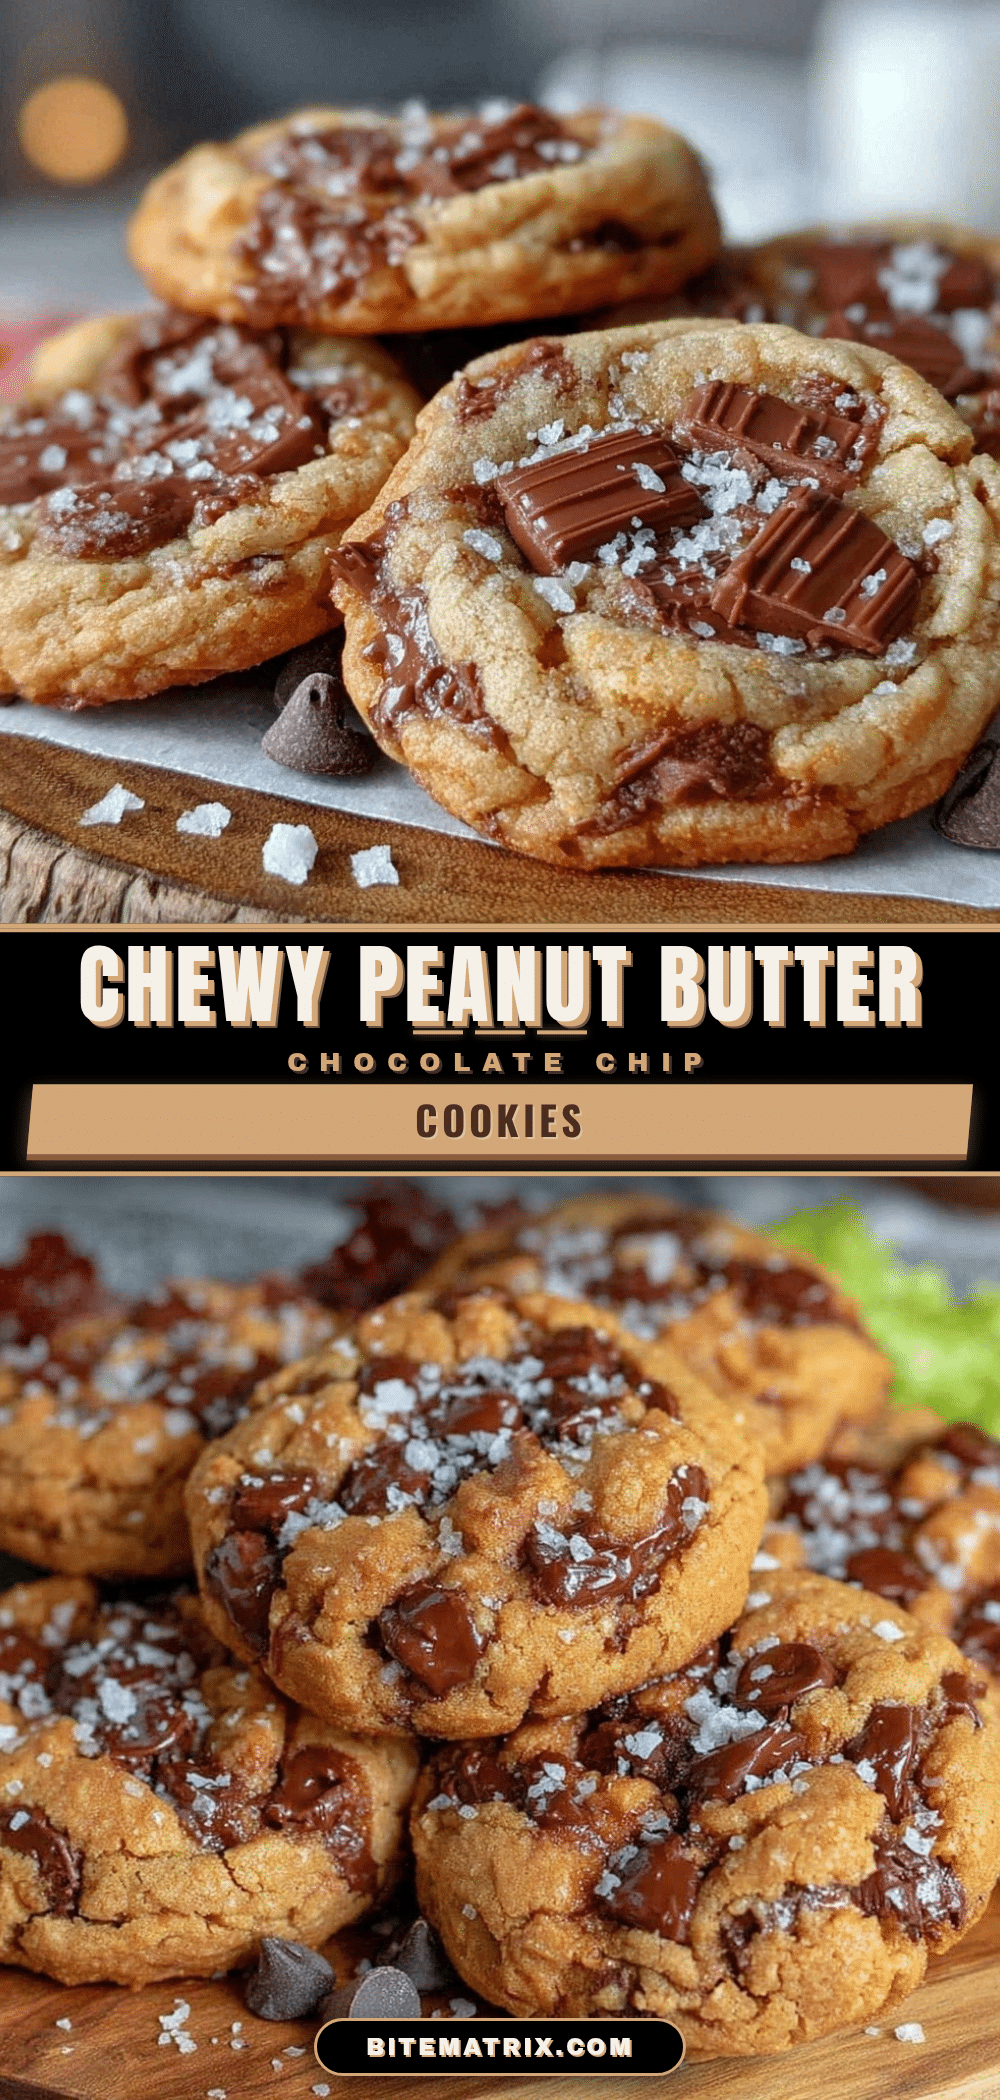
Chewy Peanut Butter Chocolate Chip Lunch Box Cookies

These chewy peanut butter chocolate chip cookies offer a perfect balance of soft, dense chewiness with pockets of melted chocolate, ideal for lunchboxes and snacks.
- Prep Time: 10 minutes
- Cook Time: 12 minutes
- Total Time: 22 minutes
- Yield: 24 cookies 1x
- Category: Dessert
- Cuisine: American
Ingredients
- 1 cup (240g) creamy peanut butter (preferably Smucker’s Natural)
- ½ cup (100g) granulated sugar
- ½ cup (110g) packed light brown sugar
- ½ cup (115g) unsalted butter, softened
- 1 large egg, room temperature
- 1 teaspoon vanilla extract
- 1 cup + 2 tablespoons (130g) all-purpose flour
- ½ teaspoon baking soda
- ½ teaspoon salt
- 1 cup (175g) semi-sweet chocolate chips
Instructions
- Preheat your oven to 350°F (175°C). Line a baking sheet with parchment paper or a silicone baking mat.
- In a large bowl, cream together ½ cup softened unsalted butter, ½ cup granulated sugar, and ½ cup packed light brown sugar until fluffy and light in color, about 2-3 minutes.
- Beat in 1 cup creamy peanut butter until combined. Then add 1 large egg and 1 teaspoon vanilla extract, mixing until smooth and thick.
- In a separate bowl, whisk together 1 cup + 2 tablespoons all-purpose flour, ½ teaspoon baking soda, and ½ teaspoon salt.
- Slowly add the dry ingredients into the peanut butter mixture and mix just until combined. Avoid overmixing.
- Gently fold in 1 cup semi-sweet chocolate chips.
- Scoop dough onto the prepared baking sheet using a tablespoon or cookie scoop, spacing about 2 inches apart. Slightly wetting your hands can help shape the dough.
- Bake for 10-12 minutes until edges are set and centers look slightly underbaked.
- Cool on the baking sheet for 5 minutes, then transfer to a cooling rack to cool completely.
Notes
Do not overmix after adding flour to avoid tough cookies. Slightly underbake for perfect chewiness. Refrigerate dough for 30 minutes before baking to reduce spreading. Store in an airtight container at room temperature for up to 5 days or freeze dough balls for longer storage.
Nutrition
- Serving Size: 1 cookie
- Calories: 160
- Fat: 9
- Carbohydrates: 18
- Fiber: 2
- Protein: 4
Keywords: peanut butter cookies, chewy cookies, chocolate chip cookies, lunch box cookies, homemade cookies, easy cookie recipe