The farmer’s market was basically giving away cherry tomatoes. I’m not exaggerating—the guy at the end stall had bins of them, all slightly overripe, and he just waved his hand and said, “Take what you want, I’m not hauling these back.” So I took three flats. Three. And then I stood in my kitchen at 9 PM with roughly twelve pounds of cherry tomatoes and absolutely zero plan. You know that moment when ambition outpaces common sense? That was me, surrounded by little red orbs, wondering what I had gotten myself into. I couldn’t eat them fast enough, I didn’t want to waste them, and honestly, I was too tired to make anything complicated.
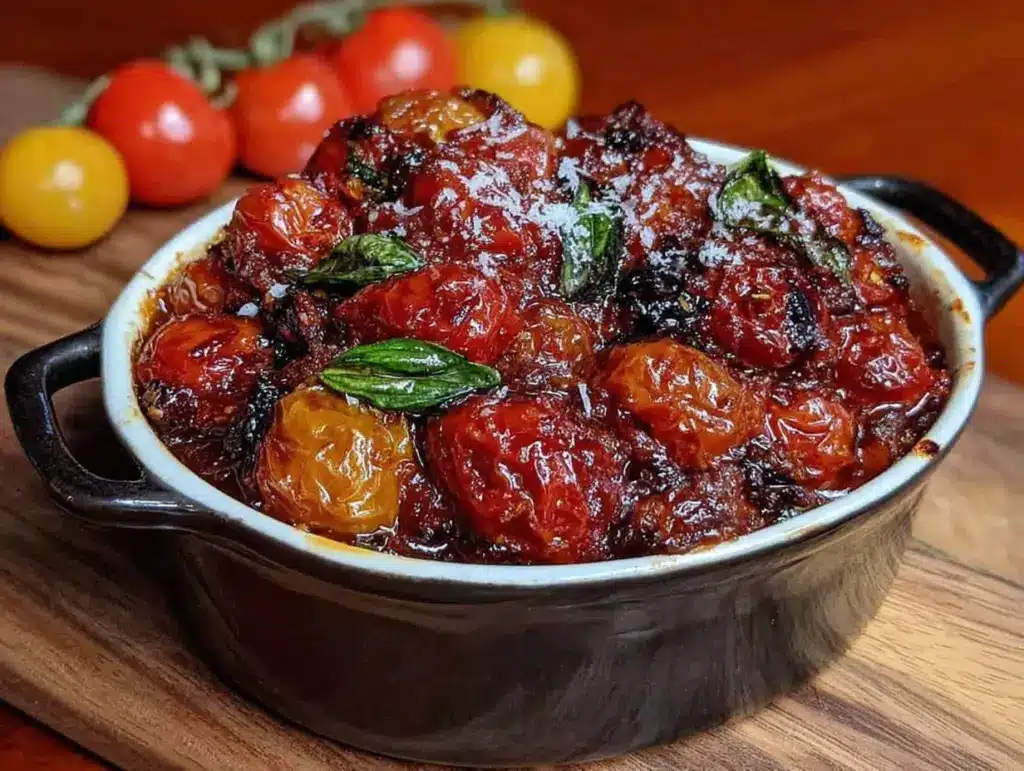
So I did what any reasonable person would do. I halved them, tossed them with olive oil and garlic, and shoved them in the oven at the lowest temperature my old gas range could manage. I figured I’d deal with the consequences in the morning. But somewhere around hour three, the smell started creeping through the whole house—sweet and concentrated and deeply tomatoey, like summer had been distilled into a single aroma. By the time I pulled them out, they had collapsed into something almost jammy, with those little caramelized edges that make you eat them straight off the pan. That’s how this best slow-roasted cherry tomato sauce for canning was born. Not from a recipe book or a cooking class, but from sheer desperation and a ridiculous amount of tomatoes. And honestly? It’s the best mistake I’ve ever made in the kitchen.
Why You’ll Love This Recipe
This isn’t just another tomato sauce recipe. This is the one that makes you wonder why you ever bothered with canned tomatoes from the store. The slow-roasting process does something magical to cherry tomatoes—it concentrates their natural sweetness, deepens their flavor, and gives the sauce a velvety texture that you just can’t achieve with quick stovetop cooking.
- Intense, Concentrated Flavor : The low-and-slow method caramelizes the natural sugars in cherry tomatoes, creating a sauce that tastes like it simmered all day—because it basically did.
- Simple Ingredients : You only need cherry tomatoes, olive oil, garlic, fresh herbs, and salt. That’s it. No tomato paste, no sugar, no weird additives.
- Perfect for Canning : This sauce is naturally acidic enough for safe water bath canning, so you can stock your pantry with summer flavor all year round.
- Incredibly Versatile : Use it on pasta, as a pizza base, spread it on crusty bread, or stir it into soups and stews. It works everywhere.
- Zero Waste Satisfaction : There’s something deeply satisfying about turning a mountain of cherry tomatoes into a shelf full of beautiful jars. It feels like you’ve cheated the system.
What makes this version different from every other tomato sauce recipe out there? It’s the roasting. Most people just simmer their tomatoes on the stove, which is fine, but it doesn’t build the same depth of flavor. Roasting at 300°F for several hours gently evaporates excess moisture while the tomatoes slowly caramelize. The result is a sauce that’s naturally thick, deeply sweet, and complex without any added sugar or heavy seasoning. It’s the kind of sauce that makes people close their eyes after the first bite and ask, “What did you put in this?”
What Ingredients You Will Need
This recipe uses simple, wholesome ingredients to deliver bold flavor and satisfying texture without the fuss. Most of these are probably already in your kitchen, which is exactly how I like it.
- Cherry tomatoes (5 pounds) : Any variety works—red, yellow, or a mix. I prefer using a blend of colors for a more complex flavor profile. Look for firm, ripe tomatoes without blemishes. If they’re a little soft, that’s actually perfect because they’ll roast faster.
- Extra-virgin olive oil (½ cup) : Don’t skimp here. The oil helps the tomatoes caramelize and carries the flavor of the garlic and herbs. I like using a good quality California olive oil for this.
- Garlic cloves (8-10, smashed) : Whole smashed cloves roast slowly and become sweet and mellow. If you mince them, they’ll burn before the tomatoes are done. Trust me on this—I learned the hard way.
- Fresh basil (½ cup, packed) : Adds that classic tomato-basil flavor that feels like summer in a jar. You can also use fresh oregano or thyme if that’s what you have.
- Fresh oregano (2 tablespoons) : Optional but recommended. It adds an earthy depth that balances the sweetness of the roasted tomatoes.
- Kosher salt (2 teaspoons) : I prefer Diamond Crystal kosher salt because it’s less salty by volume, which gives you more control. If you’re using table salt, reduce to 1 teaspoon.
- Black pepper (1 teaspoon, freshly ground) : Adds a subtle warmth that complements the roasted flavors.
- Balsamic vinegar (2 tablespoons) : This is my secret ingredient. A tiny splash brightens the sauce and enhances the natural tomato flavor without making it taste vinegary.
- Lemon juice (¼ cup, bottled) : Required for safe canning to ensure proper acidity. Don’t skip this if you’re planning to can the sauce.
For the herbs, I recommend using fresh rather than dried if you can find them. The fresh herbs hold up better during the long roasting process and give the sauce a brighter, more vibrant flavor. That said, if all you have is dried, use about a third of the amount and add them halfway through roasting.
Equipment Needed
You don’t need a fancy kitchen to make this sauce, but a few specific tools will make your life much easier.
- Large rimmed baking sheets (2-3) : You need enough surface area to spread the tomatoes in a single layer. If they’re crowded, they’ll steam instead of roast. I use half-sheet pans because they fit perfectly in most ovens.
- Heavy-bottomed pot or Dutch oven : For simmering the roasted tomatoes into sauce. A 6-8 quart pot works well. I’ve had great results with my enameled cast iron Dutch oven.
- Immersion blender or food mill : For pureeing the sauce to your desired consistency. An immersion blender is easier because you can blend right in the pot, but a food mill gives you a smoother result.
- Canning jars (pint or half-pint) : Standard Mason jars work perfectly. Make sure they’re free of cracks and chips.
- Water bath canner or large stockpot : For processing the jars. You need a pot deep enough to cover the jars with at least 1-2 inches of water.
- Canning rack : Keeps the jars off the bottom of the pot so they don’t crack from direct heat. If you don’t have one, you can use a folded kitchen towel.
- Jar lifter and lid magnet : These are cheap and save you from burning your fingers. Worth every penny.
- Kitchen scale (optional but helpful) : For weighing your tomatoes. A pound of cherry tomatoes is roughly 3 cups, but weighing is more accurate.
If you don’t have a water bath canner, you can absolutely use a large stockpot. Just make sure it’s deep enough and that you have something to keep the jars off the bottom. I used a spaghetti pot with a steamer basket insert for years before I bought an actual canner.
Preparation Method
This process takes time, but most of it is hands-off. The oven does the heavy lifting while you go about your day.
- Preheat your oven to 300°F (150°C) . Position racks in the upper and lower thirds of the oven. This is important because you’ll be rotating the pans halfway through for even roasting.
- Wash and halve the cherry tomatoes . Rinse them under cold water and pat dry. Then, working in batches, slice each tomato in half lengthwise. For very small cherry tomatoes (less than an inch), you can leave them whole—they’ll burst open during roasting anyway. This step takes the longest, so put on a podcast or your favorite playlist.
- Arrange the tomatoes on baking sheets . Place them cut-side up in a single layer. Don’t overcrowd—if the tomatoes are touching, they’ll steam instead of caramelizing. You want a little space between each half.
- Add garlic and herbs . Scatter the smashed garlic cloves and fresh herbs evenly over the tomatoes. Drizzle everything generously with olive oil and season with salt and pepper.
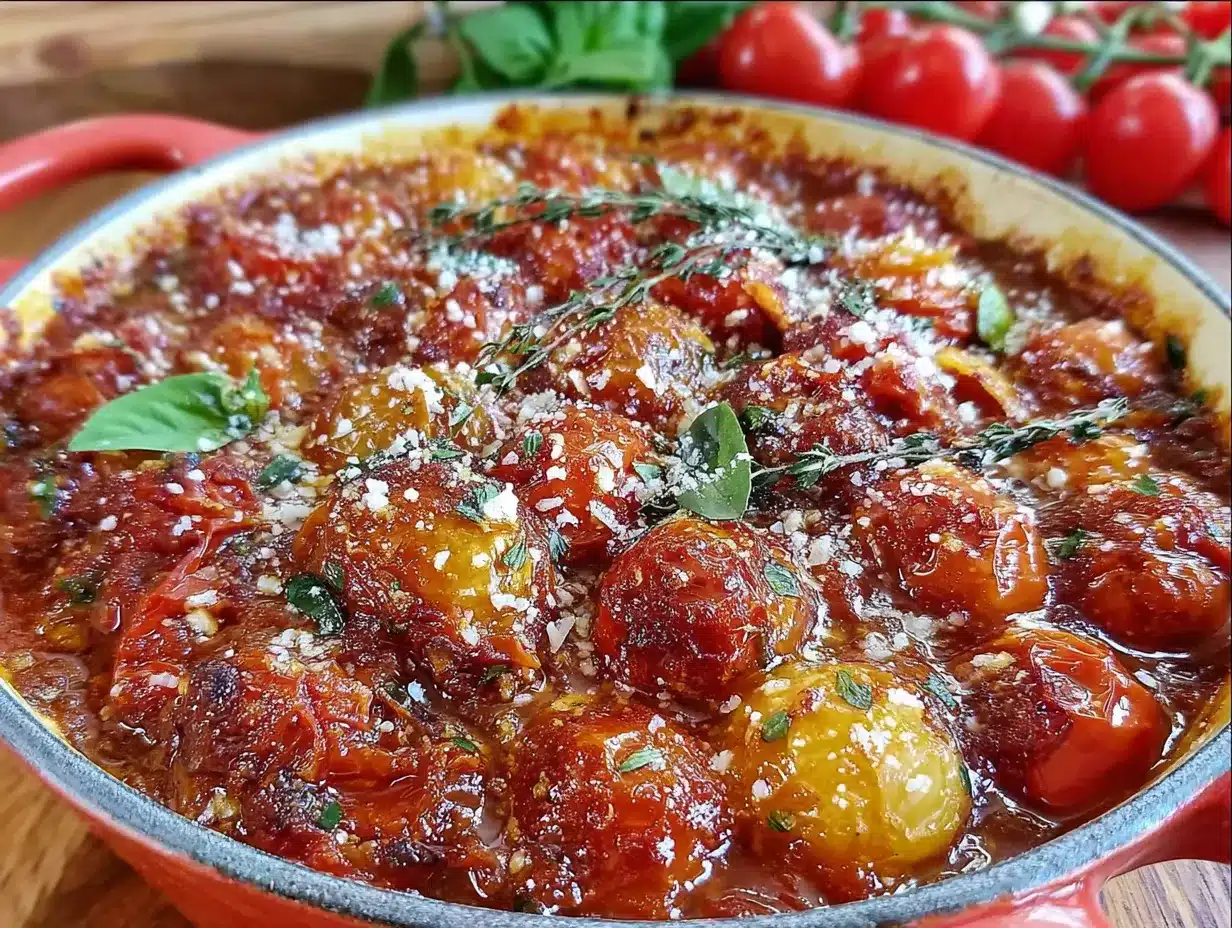
- Roast for 2.5 to 3 hours . Rotate the pans halfway through. The tomatoes are done when they’ve collapsed, the edges are caramelized, and the liquid has reduced significantly. You’ll see some browning around the edges, which is exactly what you want—that’s concentrated flavor.
- Let the tomatoes cool slightly . About 15-20 minutes. You want them cool enough to handle but still warm enough to blend easily.
- Transfer to a large pot . Scrape all the roasted tomatoes, garlic, and herbs into your Dutch oven or heavy-bottomed pot. Remove any large herb stems (the leaves will have fallen off, which is fine).
- Blend until smooth . Use an immersion blender directly in the pot, or transfer in batches to a blender. Blend to your preferred consistency—I like mine slightly chunky, but you can go completely smooth if you prefer.
- Simmer the sauce . Bring the blended sauce to a gentle simmer over medium heat. Stir in the balsamic vinegar. Let it simmer for 15-20 minutes, stirring occasionally, until it thickens to your liking. Taste and adjust salt and pepper.
- Prepare for canning . Stir in the bottled lemon juice. This is crucial for safety—it ensures the sauce is acidic enough for water bath canning. If you’re not canning and just refrigerating or freezing, you can skip the lemon juice.
- Fill the jars . Ladle the hot sauce into sterilized jars, leaving ½-inch headspace. Remove air bubbles by running a non-metallic spatula around the inside of the jar. Wipe the rims clean with a damp paper towel.
- Process in a water bath . Place the lids and bands on the jars, fingertip-tight. Lower them into the boiling water bath, making sure they’re covered by at least 1-2 inches of water. Process pint jars for 35 minutes (adjust for altitude if needed).
- Cool and check seals . Remove the jars and let them cool undisturbed for 12-24 hours. You’ll hear the satisfying “pop” as they seal. Press the center of each lid—if it doesn’t flex, it’s sealed. Store in a cool, dark place.
Cooking Tips & Techniques
I’ve made this sauce more times than I can count, and I’ve made every mistake in the book so you don’t have to.
Don’t rush the roasting . The whole point of this recipe is the slow caramelization. If you crank the oven to 400°F to speed things up, you’ll end up with burnt edges and raw centers. Low and slow is non-negotiable here. I once tried to speed-roast at 375°F and ended up with a sauce that tasted vaguely charred and bitter. Not my finest moment.
Use a food mill for smoother sauce . If you want a silky, seed-free sauce, pass the roasted tomatoes through a food mill before simmering. This removes the skins and seeds while keeping all that roasted flavor. I do this when I’m making sauce for a nice dinner, but for everyday use, I just use the immersion blender and leave the skins in—they’re packed with flavor and nutrients.
Watch for scorching . Once you add the sauce to the pot and start simmering, keep an eye on the bottom. The natural sugars in the roasted tomatoes can burn easily. Stir frequently and keep the heat at medium-low. If you notice the sauce starting to stick, lower the heat immediately.
Test your acidity . If you’re canning, you need to make sure your sauce is acidic enough. The bottled lemon juice is your insurance policy. Don’t use fresh lemon juice—the acidity level varies too much, and you need consistent pH for safe canning.
Let the flavors meld . This sauce actually tastes better the next day. If you’re not canning, let it cool completely and refrigerate overnight before using. The flavors deepen and marry together in a way that’s hard to achieve on day one.
Variations & Adaptations
This recipe is incredibly forgiving, which is one of the reasons I love it. Here are some ways to make it your own.
Spicy Arrabbiata Version : Add 2-3 dried red chili peppers to the roasting pan along with the garlic. The heat infuses into the oil and gives the sauce a gentle warmth that builds as you eat it. I make this version when I want something with a little kick to toss with crispy Baja fish tacos instead of the chipotle crema.
Herb Garden Medley : Swap the basil and oregano for whatever fresh herbs you have growing. Thyme, rosemary, marjoram, and even a little sage work beautifully. Just be careful with rosemary—it’s strong, so use about half as much.
Roasted Garlic & Onion : Add a halved onion and a whole head of garlic (cut in half horizontally) to the baking sheets. Roast them alongside the tomatoes, then squeeze the roasted garlic cloves into the sauce before blending. This adds incredible depth and sweetness without any extra effort.
Smoky Chipotle Twist : Stir in 1-2 chipotle peppers in adobo sauce when you simmer the sauce. The smoky heat pairs beautifully with the sweet roasted tomatoes. This version is amazing on crispy air fryer chicken taquitos for a quick weeknight dinner.
Oil-Free Option : You can roast the tomatoes without olive oil if you’re watching your fat intake. Just line the baking sheets with parchment paper and spray lightly with cooking spray. The texture won’t be quite as luxurious, but the flavor will still be fantastic.
Serving & Storage Suggestions
This sauce is incredibly versatile. Here’s how to use it and keep it at its best.
Serving Temperature : Serve the sauce hot over pasta, warm as a pizza base, or at room temperature as a crostini topping. It’s also delicious spooned over grilled chicken or fish, or stirred into soups for an instant flavor boost.
Complementary Dishes : This sauce is amazing with simple spaghetti or penne, but it also shines in more complex dishes. Use it as the base for easy crockpot salsa verde chicken tacos for a fusion twist, or spread it on a easy Italian sub sandwich skewers for an unexpected burst of flavor.
Refrigerator Storage : If you’re not canning, store the sauce in an airtight container in the refrigerator for up to 1 week. The flavor actually improves after a day or two as the ingredients meld together.
Freezer Storage : This sauce freezes beautifully. Pour it into freezer-safe bags or containers, leaving some headspace for expansion. It will keep for up to 6 months. Thaw overnight in the refrigerator before using.
Canning Storage : Properly canned sauce will keep in a cool, dark place for up to 18 months. Once opened, refrigerate and use within 1 week. Always check the seal before using—if the lid flexes or bulges, discard the sauce.
Reheating Tips : Reheat the sauce gently on the stovetop over medium-low heat. If it’s too thick, add a splash of pasta water or chicken broth to loosen it up. Avoid microwaving, which can cause the sauce to separate and lose its velvety texture.
Nutritional Information & Benefits
This sauce is as healthy as it is delicious. Here’s what you’re getting in each serving.
Estimated Nutrition per ½ cup serving : Calories: 85, Fat: 6g, Carbohydrates: 8g, Fiber: 2g, Protein: 1g, Sodium: 180mg.
Health Benefits : Cherry tomatoes are packed with lycopene, a powerful antioxidant that’s been linked to reduced risk of heart disease and certain cancers. The olive oil helps your body absorb the lycopene more effectively, so this sauce is actually more nutritious than raw tomatoes. The garlic adds anti-inflammatory compounds, and the herbs contribute additional antioxidants.
Dietary Considerations : This sauce is naturally vegan, gluten-free, dairy-free, and nut-free. It’s also low in calories and sugar compared to store-bought sauces, which often have added sugar and preservatives.
Potential Allergens : None, unless you have a sensitivity to nightshades (tomatoes are nightshades). If you’re allergic to garlic or any of the herbs, simply omit them or swap for alternatives.
Personal Wellness Perspective : I love that this sauce lets me enjoy summer tomatoes all year long without any of the additives you find in commercial sauces. It’s real food, made with real ingredients, and it tastes like it.
Frequently Asked Questions
Can I use regular tomatoes instead of cherry tomatoes?
Yes, but you’ll need to adjust the roasting time. Larger tomatoes contain more water, so they’ll take longer to roast and may need to be cut into smaller pieces. I recommend using Roma or plum tomatoes if you’re substituting, as they have less water content than beefsteak varieties.
Do I have to peel the tomatoes before roasting?
No, and that’s the beauty of this recipe. The skins become tender during the long roasting process and blend seamlessly into the sauce. If you want a completely smooth sauce, you can pass the roasted tomatoes through a food mill, which removes the skins and seeds.
How long does canned sauce last?
Properly canned sauce will maintain its best quality for 12-18 months when stored in a cool, dark place. It’s safe to eat beyond that, but the flavor and color may start to degrade. Always check the seal before using—if the lid pops when pressed, it’s not sealed and should be refrigerated and used within a week.
Can I reduce the salt in this recipe?
Absolutely. The salt is mainly for flavor, not preservation. You can reduce it to 1 teaspoon or even omit it entirely and add salt to taste when you’re using the sauce. If you’re canning, just make sure you don’t reduce the lemon juice—that’s the critical safety component.
Why do I need bottled lemon juice for canning?
Bottled lemon juice has a consistent, standardized acidity level (usually around 5% acidity). Fresh lemon juice can vary widely in acidity depending on the fruit’s ripeness and variety. For safe water bath canning, you need predictable acidity to prevent the growth of harmful bacteria. Bottled lemon juice is your guarantee.
Conclusion
This best slow-roasted cherry tomato sauce for canning has become a summer tradition in my kitchen, and I honestly look forward to it every year. There’s something deeply satisfying about turning a ridiculous amount of cherry tomatoes into a pantry full of beautiful jars, knowing that you’ll have summer flavor waiting for you in the middle of January. The slow-roasting process does all the heavy lifting, transforming simple ingredients into something that tastes like you spent all day in the kitchen—even though you mostly just let the oven do its thing.
I encourage you to make this sauce your own. Adjust the herbs, play with the spices, and don’t be afraid to experiment. That’s how the best recipes are born—from a little curiosity and a lot of tomatoes. If you try this recipe, I’d love to hear about it. Drop a comment below and let me know how it turned out, what variations you tried, or if you have any questions. And if you’re feeling generous, share this recipe with a friend who also has a ridiculous amount of cherry tomatoes to use up. Happy canning, friends!
Pin This Recipe!
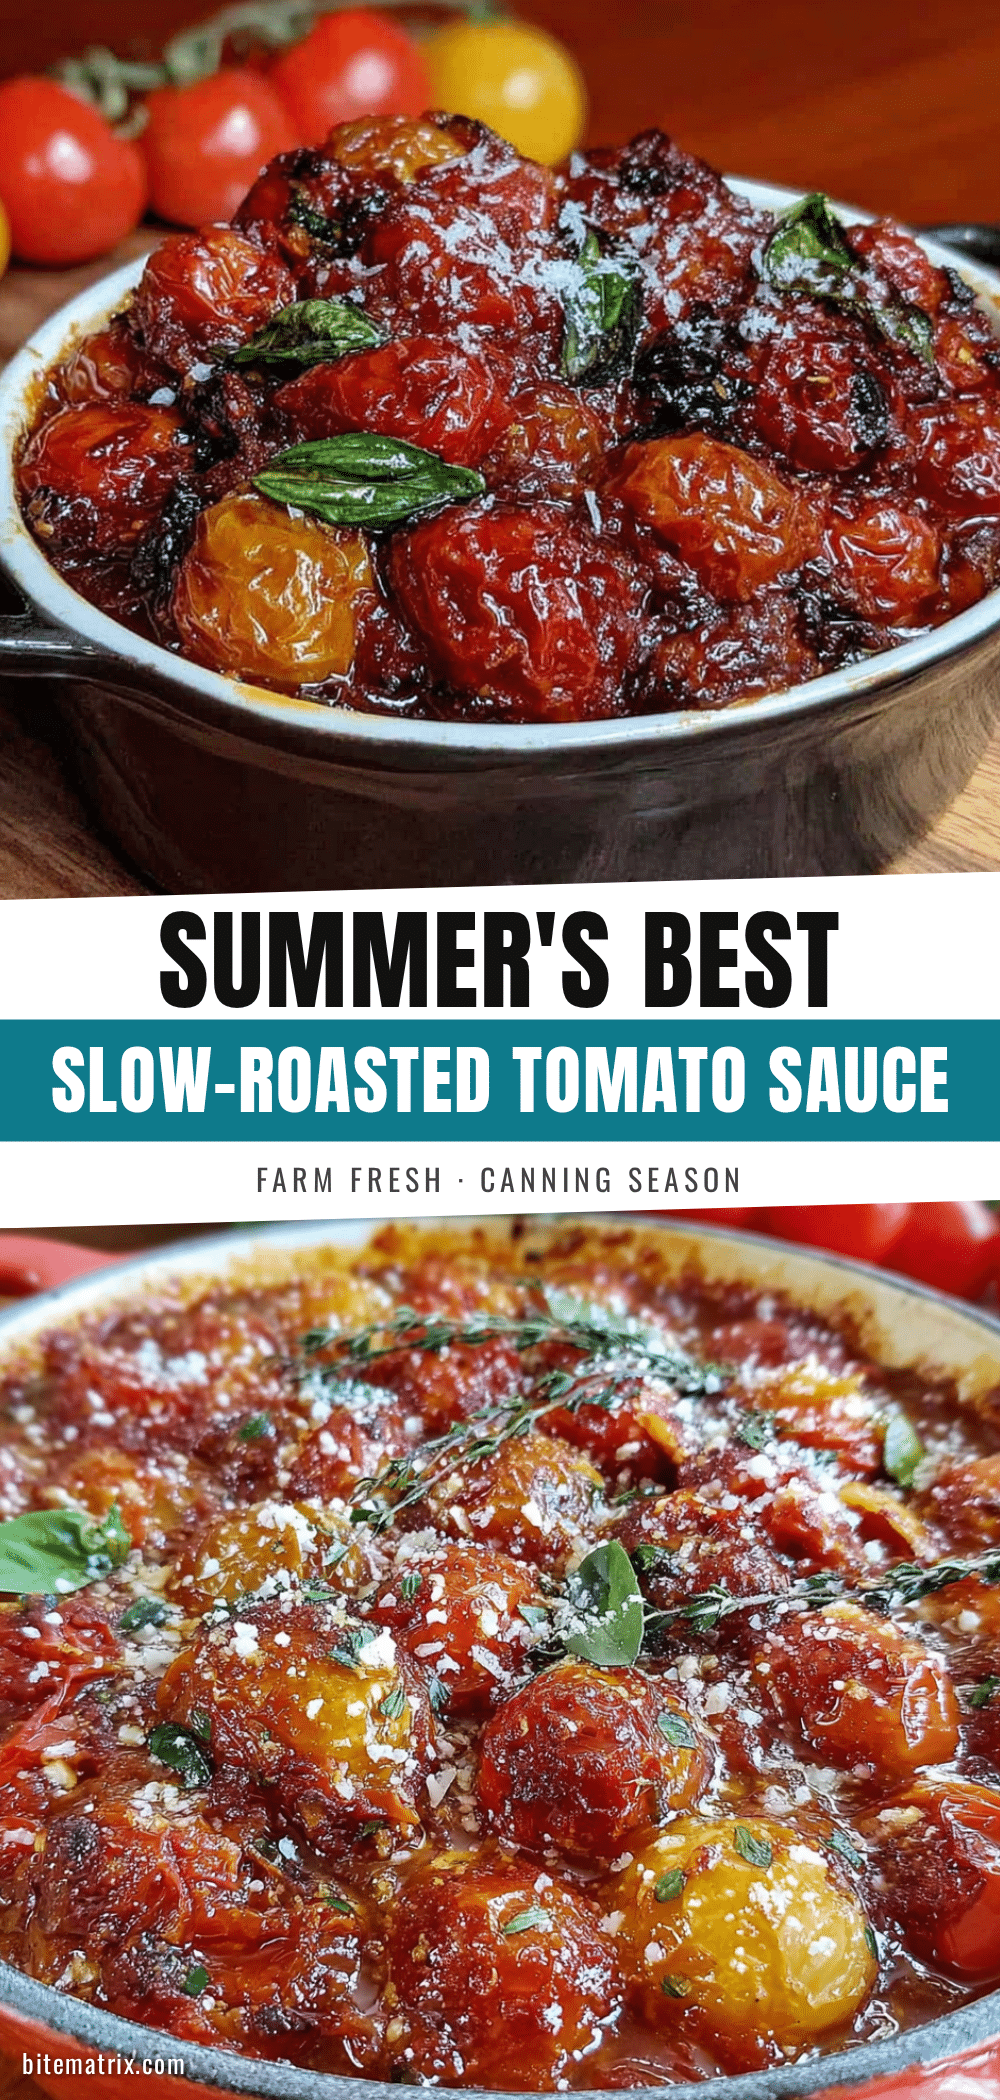
Best Slow-Roasted Cherry Tomato Sauce for Canning (Easy Recipe)

This slow-roasted cherry tomato sauce is intensely flavorful, naturally sweet, and perfect for canning. Made with simple ingredients and a low-and-slow roasting method, it transforms a mountain of cherry tomatoes into a versatile pantry staple.
- Prep Time: 30 minutes
- Cook Time: 3 hours 20 minutes
- Total Time: 3 hours 50 minutes (plus cooling and canning time)
- Yield: 4-5 pint jars (approximately 8-10 servings) 1x
- Category: Sauce / Preserves
- Cuisine: Italian-American
Ingredients
- 5 pounds cherry tomatoes (any variety, or a mix)
- ½ cup extra-virgin olive oil
- 8–10 garlic cloves, smashed
- ½ cup packed fresh basil
- 2 tablespoons fresh oregano (optional)
- 2 teaspoons kosher salt (Diamond Crystal preferred; reduce to 1 teaspoon if using table salt)
- 1 teaspoon freshly ground black pepper
- 2 tablespoons balsamic vinegar
- ¼ cup bottled lemon juice (required for canning)
Instructions
- Preheat your oven to 300°F (150°C). Position racks in the upper and lower thirds of the oven.
- Wash and halve the cherry tomatoes. For very small tomatoes (less than 1 inch), you can leave them whole.
- Arrange the tomatoes cut-side up in a single layer on 2-3 large rimmed baking sheets. Do not overcrowd.
- Scatter the smashed garlic cloves and fresh herbs evenly over the tomatoes. Drizzle with olive oil and season with salt and pepper.
- Roast for 2.5 to 3 hours, rotating the pans halfway through. Tomatoes are done when collapsed, edges caramelized, and liquid reduced significantly.
- Let the tomatoes cool for 15-20 minutes until warm but not hot.
- Transfer the roasted tomatoes, garlic, and herbs to a large pot or Dutch oven. Remove any large herb stems.
- Blend until smooth using an immersion blender directly in the pot, or in batches in a blender. Blend to your preferred consistency.
- Bring the blended sauce to a gentle simmer over medium heat. Stir in the balsamic vinegar. Simmer for 15-20 minutes, stirring occasionally, until thickened. Adjust salt and pepper to taste.
- If canning, stir in the bottled lemon juice. If not canning, skip the lemon juice.
- Ladle the hot sauce into sterilized canning jars, leaving ½-inch headspace. Remove air bubbles with a non-metallic spatula. Wipe rims clean.
- Place lids and bands on jars fingertip-tight. Process in a boiling water bath canner for 35 minutes for pint jars (adjust for altitude if needed).
- Remove jars and let cool undisturbed for 12-24 hours. Check seals—press the center of each lid; if it doesn’t flex, it’s sealed. Store in a cool, dark place.
Notes
Don’t rush the roasting—low and slow is essential for caramelization. Use a food mill for a smoother, seed-free sauce. Watch for scorching when simmering; stir frequently. Bottled lemon juice is required for safe canning (do not substitute fresh). The sauce tastes even better the next day. For oil-free option, line baking sheets with parchment and spray lightly with cooking spray.
Nutrition
- Serving Size: ½ cup
- Calories: 85
- Sugar: 5
- Sodium: 180
- Fat: 6
- Saturated Fat: 1
- Carbohydrates: 8
- Fiber: 2
- Protein: 1
Keywords: slow-roasted cherry tomato sauce, canning recipe, homemade tomato sauce, cherry tomato sauce, easy tomato sauce, water bath canning, summer preserving, roasted tomato sauce