I figured crispy cheese quesadilla dippers with salsa cups would be one of those recipes you make once for the photo and then forget about. It took about three minutes of my kids fighting over the last triangle for that assumption to fall apart completely. The thing is, I was trying to solve a real problem—what do you feed a pack of hungry teenagers who show up unannounced after school without resorting to a box of frozen something-or-other?
The answer was sitting in my fridge: a block of cheddar, a stack of flour tortillas that were two days from expiring, and a half-empty jar of salsa. I figured I’d just make regular quesadillas and cut them into strips. That worked, but honestly? They looked sad. So I cut them into dipper shapes—triangles, rectangles, whatever—and suddenly the whole vibe shifted. The kids dipped. They laughed. They asked for more.
These crispy cheese quesadilla dippers with salsa cups have become my go-to for everything from game-day snacking to “Mom, I’m starving” emergencies. They’re stupidly simple—five ingredients, maybe fifteen minutes—but they feel like you tried. And that’s the magic, you know? When something so easy makes you look like a hero.
Why You’ll Love This Recipe
Let me tell you why this one sticks. I’ve tested quesadillas every which way—pan-fried, baked, even microwaved in a pinch (don’t do it, the texture gets weird). This version is the one I keep coming back to, and here’s why it’ll earn a permanent spot in your rotation:
- Quick & Easy : From fridge to table in under 15 minutes. No marinating, no complicated steps, no dirtying a million dishes.
- Simple Ingredients : Tortillas, cheese, butter, salsa, and a pinch of salt. That’s it. You probably have all of it right now.
- Perfect for Snack Time : After-school chaos, game-day spreads, movie nights, or that 4 PM slump when lunch feels like a distant memory.
- Crowd-Pleaser : I’ve served these at birthday parties, potlucks, and casual dinners. Kids devour them. Adults pretend they’re too sophisticated but eat six anyway.
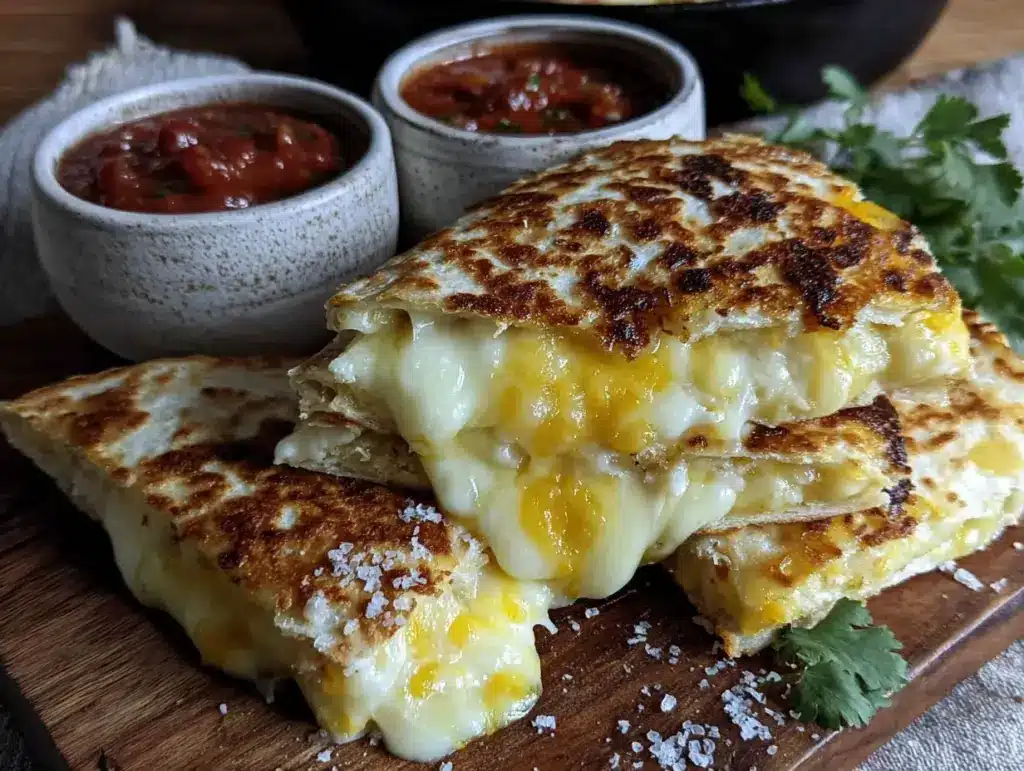
- Unbelievably Delicious : The contrast between the shatteringly crisp exterior and the molten, stretchy cheese inside is pure comfort food magic. And the salsa cups? They keep everything neat—no dripping, no mess.
What makes this recipe different from the hundreds of other quesadilla recipes out there? It’s the technique. Most people skip the butter or use too much oil. I’ve dialed in the exact amount of butter and the perfect pan temperature so every single dipper comes out golden and crunchy, not greasy or soggy. Plus, the individual salsa cups mean everyone gets their own little dipping station—no double-dipping drama.
This isn’t just another snack recipe. It’s the kind that makes you close your eyes after the first bite, because somehow five ingredients and fifteen minutes produced something that tastes like real effort. It’s comfort food reimagined—simpler, faster, but with the same soul-soothing satisfaction.
What Ingredients You Will Need
This recipe uses simple, pantry-friendly ingredients to deliver that perfect crispy-cheesy texture without any fuss. Here’s what you’ll need and why each one matters:
- Flour tortillas (8-inch) – Go for the standard flour tortillas, not the “burrito size” or the tiny street taco ones. I prefer the brand that comes refrigerated, not shelf-stable—they have better flavor and flexibility. If you want a whole-wheat or gluten-free option, those work too, just note they might be a bit less pliable.
- Shredded cheddar cheese (2 cups) – Sharp cheddar gives you that bold, tangy flavor that stands up to the crispy exterior. I recommend shredding it yourself from a block—the pre-shredded stuff has anti-caking agents that prevent it from melting as smoothly. (Trust me, I learned this the hard way when I ended up with grainy, sad-looking quesadillas.) For a milder flavor, use Monterey Jack or a Mexican blend.
- Unsalted butter (3 tablespoons, softened) – Butter is the secret to that golden, shatteringly crisp crust. Salted butter works in a pinch, but unsalted gives you more control over the overall saltiness. Let it soften at room temp so it spreads easily without tearing the tortillas.
- Salsa (1 cup) – Use your favorite jarred salsa or make your own. I’m partial to a medium-heat roasted tomato salsa, but a chunky pico de gallo or a smoky chipotle salsa would be amazing too. The key is to choose one that’s not too watery—runny salsa will make the cups soggy.
- Salt (a pinch) – Just a light sprinkle on the buttered tortillas before cooking. It enhances the flavor without making things salty.
That’s the core five. If you want to get fancy, you can add a sprinkle of garlic powder, onion powder, or even a dash of smoked paprika to the butter before spreading it on the tortillas. But honestly? The beauty of these crispy cheese quesadilla dippers with salsa cups is that they don’t need anything else.
Equipment Needed
You don’t need a fancy kitchen to pull this off. Here’s what you’ll need:
- Large non-stick skillet or griddle – A 10- or 12-inch skillet works perfectly. I’ve used my trusty cast iron for years, but a non-stick pan makes cleanup even easier. Just make sure it’s large enough to fit one whole quesadilla without crowding.
- Spatula – A thin, flexible metal spatula is ideal for flipping without breaking the quesadilla. If all you have is a plastic one, it’ll work—just be gentle.
- Sharp knife or pizza cutter – A pizza cutter makes quick work of slicing the quesadillas into dippers. A sharp chef’s knife works too, just be careful not to squish the filling.
- Small ramekins or cups – For the salsa. I use 2-ounce ceramic ramekins, but shot glasses, small mason jars, or even the little plastic cups from a condiment pack work perfectly.
- Pastry brush (optional) – For spreading the butter evenly. You can also use a butter knife or just rub the softened butter on with your fingers—it’s less elegant but just as effective.
- Cutting board – For assembling and cutting.
Budget-friendly tip: If you don’t have ramekins, just serve the salsa in a small bowl on the side. The “cups” are more about presentation than necessity.
Preparation Method
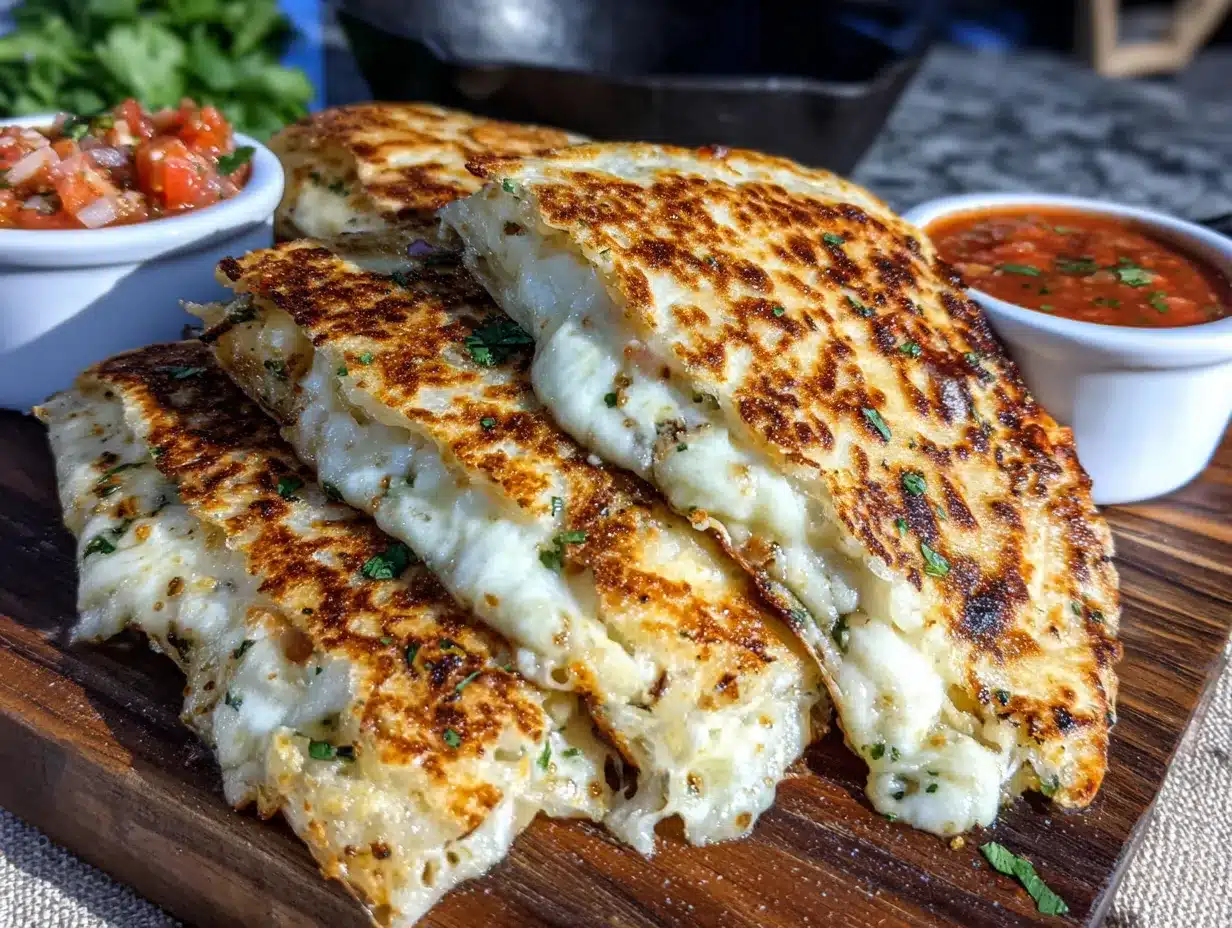
Let’s get cooking. These crispy cheese quesadilla dippers with salsa cups come together fast, so have everything ready before you start.
- Prepare the tortillas. Lay your tortillas flat on a cutting board. Using a pastry brush or your fingers, spread a thin, even layer of softened butter on one side of each tortilla. Don’t go overboard—you want just enough to create a golden crust, not a greasy mess. Sprinkle a tiny pinch of salt over the butter.
- Assemble the quesadillas. Flip two of the tortillas over so the buttered side is facing down. Evenly distribute 1 cup of shredded cheddar cheese over each tortilla, leaving about a half-inch border around the edge. (The cheese will melt and spread, so don’t worry if it’s not perfectly even.) Place the remaining two tortillas on top, buttered side up. Press down gently to help everything stick together.
- Heat the pan. Place your skillet or griddle over medium heat. Let it warm up for about 2 minutes—you want it hot but not smoking. If you drop a tiny piece of cheese on the pan, it should sizzle immediately without burning.
- Cook the quesadillas. Carefully transfer one assembled quesadilla to the hot skillet. Cook for 2-3 minutes, until the bottom is deep golden brown and crispy. You’ll see the cheese start to melt and bubble at the edges. Using your spatula, carefully flip the quesadilla. Cook for another 2-3 minutes on the second side, until it’s equally golden and the cheese is fully melted. Repeat with the second quesadilla.
- Rest and cut. Transfer the cooked quesadillas to a cutting board and let them rest for about 1 minute. This step is crucial—if you cut too soon, the cheese will ooze out everywhere. After the rest, use a pizza cutter or sharp knife to slice each quesadilla into strips or triangles. I like to cut them into 6 strips per quesadilla, but you can go smaller for bite-sized dippers.
- Prepare the salsa cups. While the quesadillas are resting, spoon about 2 tablespoons of salsa into each small ramekin or cup. Arrange them on a serving platter or board.
- Serve immediately. Arrange the crispy cheese quesadilla dippers around the salsa cups and serve while they’re still warm and the cheese is stretchy. These are best eaten fresh—they lose their crunch after about 30 minutes.
Sensory cues to watch for: When you flip the quesadilla, the bottom should be a deep, even golden brown—not pale, not burnt. You should hear a satisfying crunch when you cut through it with the pizza cutter. The cheese should stretch when you pull a dipper apart, not snap cleanly. If it snaps, you might have overcooked it slightly.
Cooking Tips & Techniques
I’ve made these crispy cheese quesadilla dippers with salsa cups more times than I can count, and I’ve learned a few things the hard way. Here’s what I wish someone had told me:
Don’t rush the heat. Medium heat is your friend. If your pan is too hot, the tortilla will burn before the cheese has a chance to melt. If it’s too low, the tortilla will dry out and become tough instead of crispy. I usually start at medium and adjust down slightly if I see browning happening too fast.
The butter trick. Spreading butter on the outside of the tortillas isn’t just for flavor—it creates a barrier that prevents the tortilla from absorbing too much moisture from the cheese. This is what gives you that shatteringly crisp texture. I’ve tried using oil instead, and it just doesn’t work as well. Butter is non-negotiable here.
One quesadilla at a time. I know it’s tempting to cook both at once to save time, but crowding the pan lowers the temperature and leads to soggy, unevenly cooked quesadillas. Trust me, the extra 5 minutes are worth it.
Let it rest. I cannot stress this enough. That 1-minute rest period allows the cheese to set slightly, so when you cut into the quesadilla, the cheese stays put instead of oozing out across your cutting board. I learned this lesson after a particularly messy batch that left me scraping cheese off the counter.
Keep them warm. If you’re making a big batch for a party, keep the cooked quesadillas on a baking sheet in a 200°F oven while you finish the rest. They’ll stay warm and crispy for up to 20 minutes without drying out.
Variations & Adaptations
One of the best things about these crispy cheese quesadilla dippers with salsa cups is how endlessly adaptable they are. Here are a few variations I’ve tried and loved:
- Spicy Southwest: Add a handful of cooked, shredded chicken mixed with taco seasoning to the cheese layer. Swap the regular salsa for a smoky chipotle salsa. Top with a sprinkle of cotija cheese before serving. This version is basically a deconstructed chicken quesadilla in dipper form.
- Veggie Lover’s: Layer in some sautéed bell peppers, onions, and black beans along with the cheese. Use a cilantro-lime crema instead of salsa for dipping. (Just mix sour cream with lime juice, cilantro, and a pinch of salt.)
- Breakfast Style: Add scrambled eggs and crumbled bacon to the cheese filling. Serve with a side of warm maple syrup or a smoky chipotle crema for dipping. This is my go-to for lazy weekend mornings.
- Gluten-Free: Use corn tortillas instead of flour. Note that corn tortillas are smaller and more delicate, so you’ll need to be extra gentle when flipping. They also crisp up faster, so keep an eye on them.
- Dairy-Free: Use a good-quality dairy-free cheese shreds and vegan butter. I’ve tried this with a few different brands, and the key is to find one that melts well—some just get oily without becoming stretchy.
My personal favorite variation? I add a thin layer of refried beans to the inside of the tortillas before adding the cheese. It adds a creamy, savory element that takes these dippers to a whole new level. Just make sure the beans are spread thin—too much and they’ll make the tortilla soggy.
Serving & Storage Suggestions
These crispy cheese quesadilla dippers with salsa cups are best served fresh and hot, but I’ve got a few tips for making them work in different scenarios.
Serving temperature: Serve immediately after cutting, while the cheese is still stretchy and the exterior is crispy. If you’re serving them as part of a larger spread, arrange them on a platter with the salsa cups in the center. They look gorgeous on a wooden board or a colorful plate.
What to serve alongside: These dippers pair beautifully with other Tex-Mex favorites. Try them alongside crispy sheet pan fajita nachos for an epic snack spread. A fresh creamy cucumber dill salad on the side adds a cool, refreshing contrast to the warm, cheesy dippers. For drinks, fresh strawberry basil lemonade is a surprisingly good match—the sweetness cuts through the richness of the cheese.
Storage: If you somehow have leftovers (unlikely, but possible), let them cool completely, then store them in an airtight container in the refrigerator for up to 3 days. The salsa cups should be stored separately to prevent sogginess.
Reheating: The best way to reheat these is in a skillet over medium heat for about 1-2 minutes per side. This restores the crispiness better than the microwave, which tends to make them chewy. If you’re in a hurry, an air fryer at 350°F for 3-4 minutes works beautifully too.
Flavor development: Honestly? These are best fresh. The magic is in that contrast between the hot, crispy exterior and the molten cheese. Reheated quesadillas are still good, but they lose that initial wow factor.
Nutritional Information & Benefits
While these crispy cheese quesadilla dippers with salsa cups are definitely a treat, they’re not without some redeeming qualities. Here’s a rough estimate per serving (about 6 dippers with 2 tablespoons of salsa):
- Calories: Approximately 320-350
- Protein: 12-14 grams
- Fat: 18-20 grams
- Carbohydrates: 28-30 grams
- Fiber: 2-3 grams
- Sugar: 3-4 grams
Health highlights: The cheese provides a good dose of calcium and protein, which helps keep you full. Salsa is naturally low in calories and packed with vitamin C from the tomatoes. If you use whole-wheat tortillas, you’ll get a bit more fiber. For a lighter version, you can use reduced-fat cheese and less butter—just know the texture won’t be quite as crispy.
Dietary considerations: This recipe is vegetarian. For gluten-free, use corn tortillas. For dairy-free, use vegan cheese and butter alternatives. It’s not suitable for low-carb or keto diets due to the tortillas, but you could try using low-carb tortillas if you’re watching your carbs.
I personally love that this snack feels indulgent but doesn’t leave me feeling heavy or sluggish. It’s the kind of thing you can enjoy without guilt, especially when you pair it with a fresh salad or some crunchy veggies on the side.
Conclusion
These crispy cheese quesadilla dippers with salsa cups have become a staple in my kitchen for good reason. They’re fast, they’re forgiving, and they make everyone happy. Whether you’re feeding a crowd of hungry kids, hosting a game-day party, or just craving something warm and cheesy on a Tuesday night, this recipe delivers every single time.
The best part? You can make them your own. Swap the cheese, change up the salsa, add some protein or veggies—the possibilities are endless. I’ve made these for birthday parties, casual dinners, and even as a late-night snack after a long day, and they never disappoint. They’re proof that you don’t need a long ingredient list or complicated techniques to create something truly satisfying.
I’d love to hear how yours turn out. Did you try a fun variation? Did your kids devour them as fast as mine do? Drop a comment below and let me know—I read every single one. And if you’re looking for more easy, crowd-pleasing recipes, be sure to check out the rest of the site. Happy cooking!
Frequently Asked Questions
Can I make these quesadilla dippers ahead of time?
You can prepare the quesadillas up to the cooking step and refrigerate them for a few hours. Just assemble them, wrap tightly in plastic wrap, and cook when you’re ready. They’re best cooked fresh, but the prep can be done in advance.
What’s the best cheese for crispy quesadilla dippers?
Sharp cheddar is my go-to for its bold flavor and excellent melting properties. Monterey Jack, Colby, or a Mexican blend also work great. Avoid pre-shredded cheese if possible—it contains anti-caking agents that prevent smooth melting.
How do I keep the quesadillas from getting soggy?
The key is to cook them over medium heat and not overcrowd the pan. Also, make sure your salsa isn’t too watery—if it is, drain off some of the liquid before serving. And always serve the salsa on the side, not on top of the dippers.
Can I make these in an air fryer?
Absolutely! Cook at 370°F for about 5-6 minutes, flipping halfway through. You might need to adjust the time depending on your air fryer. The result is just as crispy, if not crispier, than the stovetop method.
What can I use instead of salsa for dipping?
Almost anything works! Try sour cream, guacamole, queso dip, ranch dressing, or a spicy crema. For a sweet twist, serve with warm maple syrup for breakfast-style dippers. The possibilities are endless.
Pin This Recipe!
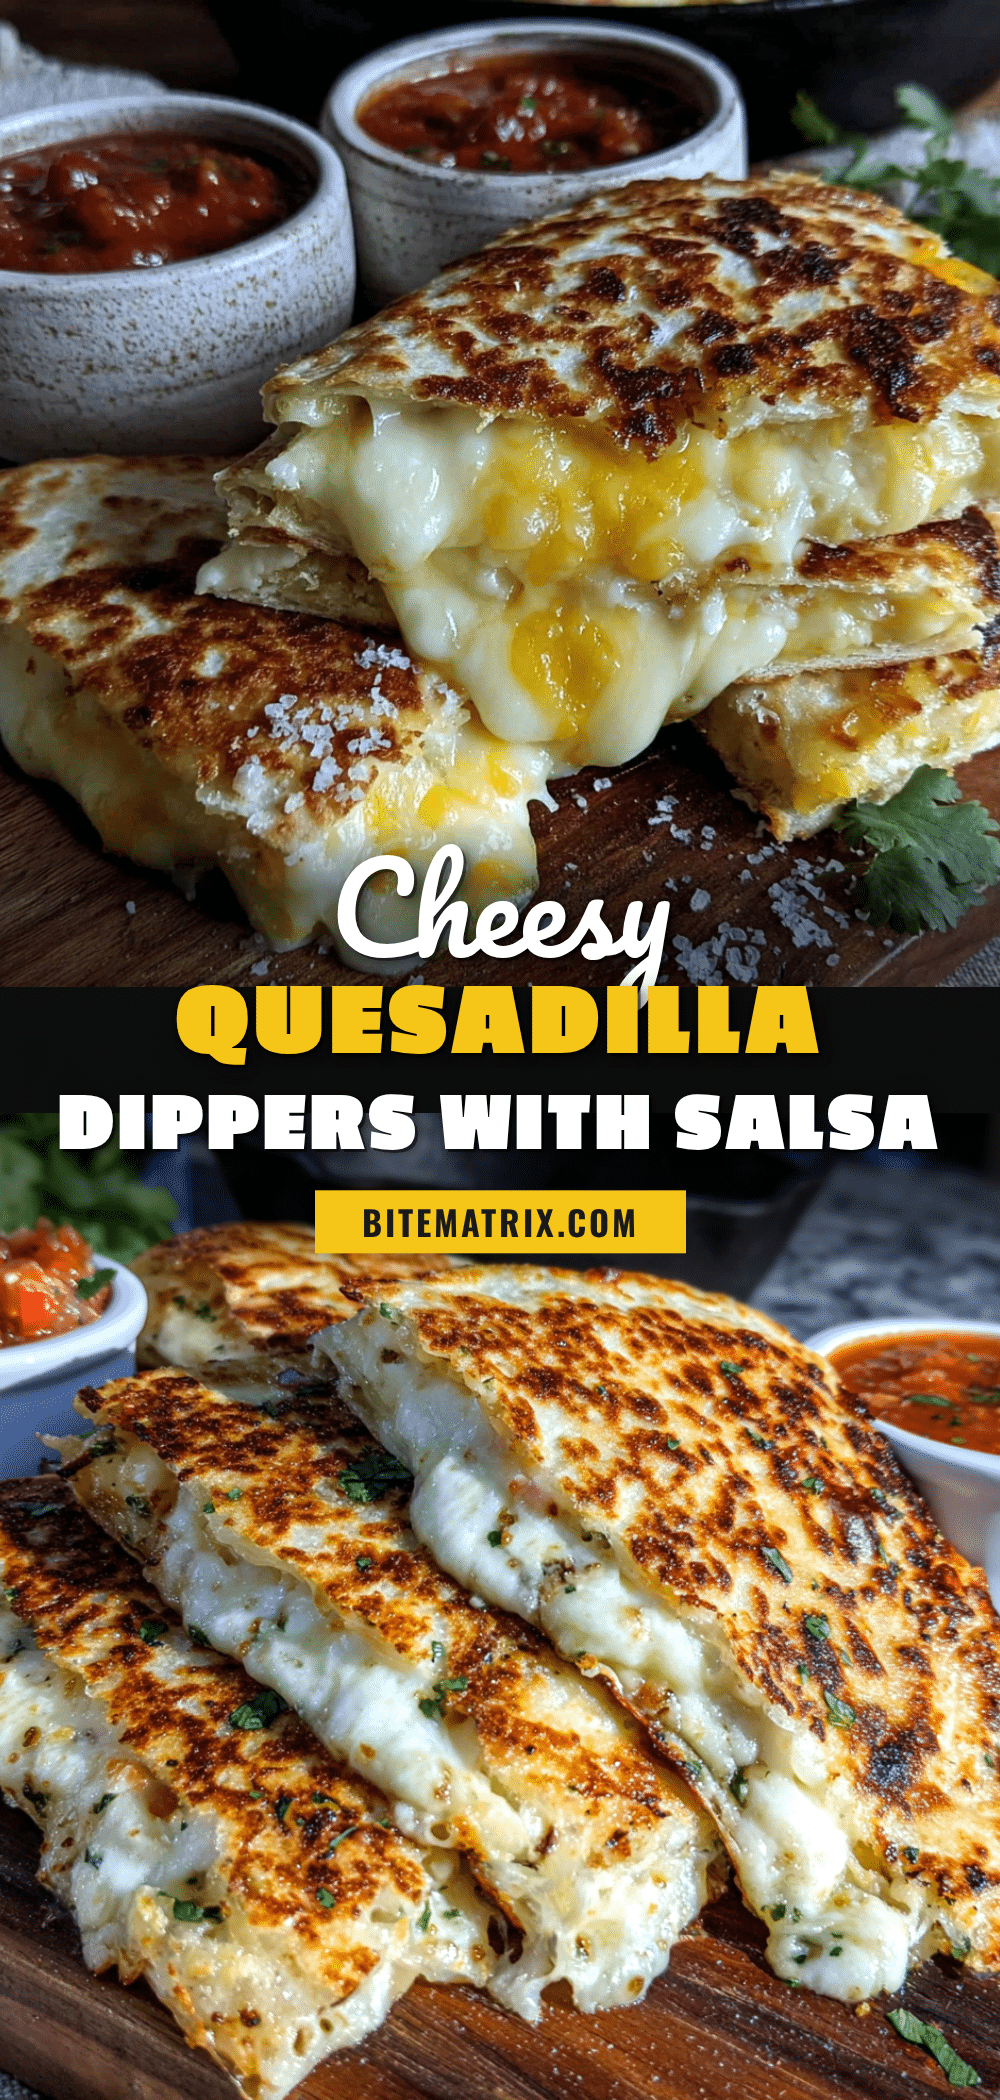
Crispy Cheese Quesadilla Dippers with Salsa Cups: Easy 5-Ingredient Snack

These crispy cheese quesadilla dippers with salsa cups are a quick, 5-ingredient snack that comes together in under 15 minutes. Perfect for after-school chaos, game-day spreads, or any time you need a crowd-pleasing treat with a shatteringly crisp exterior and molten cheese inside.
- Prep Time: 5 minutes
- Cook Time: 10 minutes
- Total Time: 15 minutes
- Yield: 4 servings 1x
- Category: Snack
- Cuisine: Mexican
Ingredients
- 4 (8-inch) flour tortillas
- 2 cups shredded sharp cheddar cheese (about 8 oz)
- 3 tablespoons unsalted butter, softened
- 1 cup salsa (not too watery)
- Pinch of salt
Instructions
- Prepare the tortillas: Lay tortillas flat on a cutting board. Spread a thin, even layer of softened butter on one side of each tortilla. Sprinkle a tiny pinch of salt over the butter.
- Assemble the quesadillas: Flip two tortillas over so the buttered side faces down. Evenly distribute 1 cup of shredded cheddar cheese over each tortilla, leaving a 1/2-inch border. Place the remaining two tortillas on top, buttered side up. Press down gently.
- Heat the pan: Place a large non-stick skillet or griddle over medium heat for about 2 minutes until hot but not smoking.
- Cook the quesadillas: Carefully transfer one assembled quesadilla to the hot skillet. Cook for 2-3 minutes until the bottom is deep golden brown and crispy. Flip carefully and cook another 2-3 minutes until the second side is golden and cheese is fully melted. Repeat with the second quesadilla.
- Rest and cut: Transfer cooked quesadillas to a cutting board and let rest for 1 minute. Use a pizza cutter or sharp knife to slice each quesadilla into 6 strips or triangles.
- Prepare the salsa cups: Spoon about 2 tablespoons of salsa into each small ramekin or cup.
- Serve immediately: Arrange the dippers around the salsa cups and serve warm.
Notes
For best results, shred cheese from a block instead of using pre-shredded. Let quesadillas rest 1 minute before cutting to prevent cheese from oozing out. Serve immediately for maximum crispiness. To keep warm, place cooked quesadillas on a baking sheet in a 200°F oven for up to 20 minutes.
Nutrition
- Serving Size: 6 dippers with 2 tab
- Calories: 335
- Sugar: 3
- Sodium: 680
- Fat: 19
- Saturated Fat: 11
- Carbohydrates: 29
- Fiber: 2
- Protein: 13
Keywords: quesadilla dippers, crispy cheese quesadilla, easy snack, 5-ingredient recipe, salsa cups, game-day snack, after-school snack