I had been looking for a weeknight dinner that didn’t feel like a compromise. You know the kind—something fast that actually tastes good, not just edible. For a while, I just accepted that quick meals meant bland pasta or sad sandwiches. But then I started messing around with a single skillet and a stack of tortillas, and honestly? It changed everything. These Easy Cheesy One-Pan Quesadillas are what happened when I stopped trying to make complicated things work and started paying attention to what actually worked.
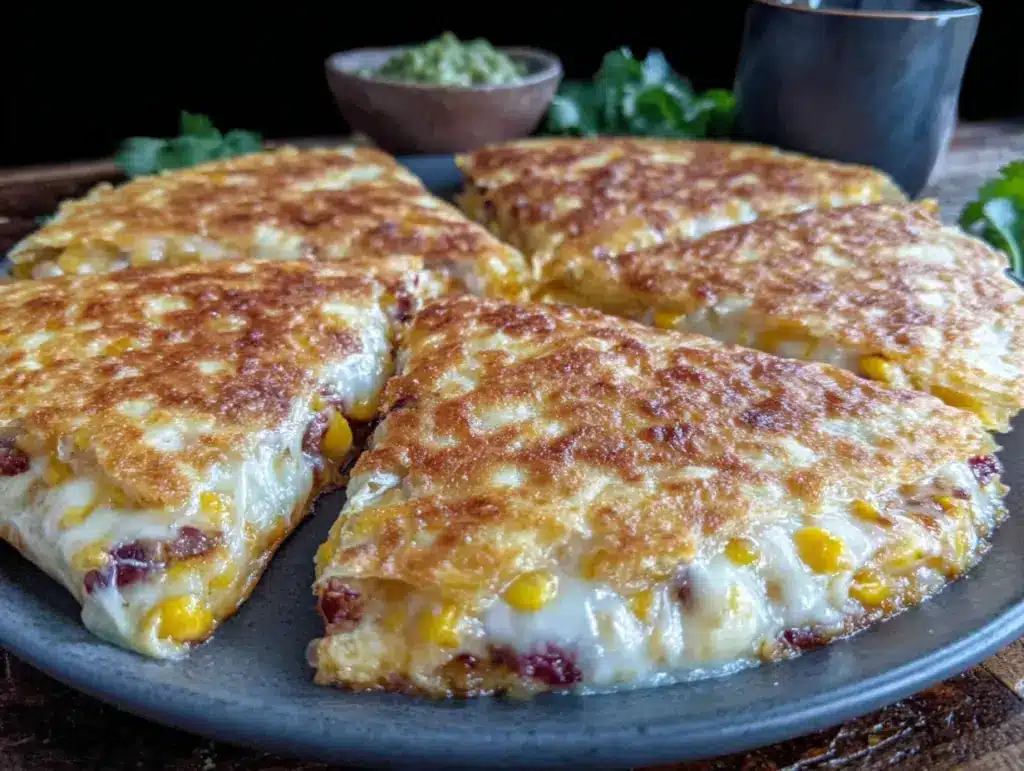
The first time I made them, I was skeptical. How good could something that comes together in one pan really be? But that first bite—with the crispy edges, the gooey cheese pulling apart in strings, and the perfectly melded fillings—made me realize I had been overthinking dinner for way too long. This recipe isn’t flashy. It doesn’t require special ingredients or fancy techniques. It just works, every single time.
What makes these quesadillas special is the one-pan method itself. Instead of making them one at a time (which takes forever when you’re feeding a hungry family), you build them right in the skillet and let the heat do the work. The cheese melts evenly, the tortillas get that golden-brown crunch you’re after, and everything stays warm until you’re ready to eat. It’s the kind of smart shortcut that makes you wonder why you didn’t think of it sooner.
These Easy Cheesy One-Pan Quesadillas have become my go-to for busy nights when takeout is tempting but homemade sounds better. They’re forgiving, adaptable, and genuinely satisfying. If you’ve been looking for a recipe that delivers on flavor without the fuss, this is it.
Why You’ll Love This Recipe
I’ve tested this recipe more times than I can count, tweaking the heat level, the cheese ratio, and the pan technique until it was just right. Here’s why it’s become a staple in my kitchen:
- Quick & Easy: From start to finish, these are ready in about 15 minutes. That’s faster than delivery, and way more satisfying.
- Simple Ingredients: You probably already have everything you need—tortillas, cheese, and whatever fillings you like. No special grocery trips required.
- Perfect for Busy Weeknights: When you’re short on time but still want something homemade, this is the answer. It’s also great for late-night snacks or casual dinners with friends.
- Crowd-Pleaser: Kids love the cheesy, crispy texture, and adults appreciate the flavor and convenience. Everyone wins.
- Unbelievably Delicious: The contrast between the crunchy exterior and the melty, savory interior is pure comfort food magic. It’s the kind of meal that makes you close your eyes after the first bite.
What sets this recipe apart is the one-pan technique. Instead of flipping individual quesadillas, you layer everything in the skillet and let the heat create a perfectly crispy, evenly melted result. It’s not just another version—it’s the best version for busy cooks who don’t want to sacrifice taste.
This recipe isn’t just good—it’s the kind that makes you look forward to dinner again. It’s comfort food reimagined: faster, simpler, but with the same soul-soothing satisfaction. Perfect for impressing guests without stress, or turning a simple Tuesday night into something memorable.
What Ingredients You Will Need
This recipe uses simple, everyday ingredients to deliver bold flavor and satisfying texture without any fuss. Most of these are pantry staples, which makes this dish perfect for last-minute meals.
- Large flour tortillas (8-inch or 10-inch work best) – I prefer Mission brand for their flexibility and even browning. Corn tortillas can work, but they’re smaller and less sturdy for this method.
- Shredded Mexican blend cheese (about 2 cups) – The mix of Monterey Jack, cheddar, and queso quesadilla melts beautifully. Pre-shredded works fine, but freshly shredded melts even creamier.
- Cooked chicken, shredded or diced (about 1 cup) – Rotisserie chicken is my go-to for convenience. Leftover grilled chicken or even canned chicken (drained) works in a pinch.
- Black beans, rinsed and drained (½ cup) – Adds fiber and a creamy texture. Canned is perfectly fine—just drain and rinse well.
- Corn kernels (½ cup, fresh or frozen) – Frozen corn works great; just thaw and pat dry. Fresh corn cut off the cob adds a nice sweetness in summer.
- Red bell pepper, thinly sliced (½ cup) – Adds color and a mild sweetness. You can substitute with green bell pepper or even roasted red peppers from a jar.
- Jalapeño, seeded and minced (1 small) – For a gentle heat. Leave the seeds in if you want more spice, or skip it entirely for a milder version.
- Green onions, sliced (¼ cup) – Adds a fresh, mild onion flavor. Chives or even a bit of diced white onion can substitute.
- Butter or oil (2 tablespoons) – Butter gives the best flavor and browning, but olive oil or avocado oil works well too.
- Salt and pepper – To taste. I recommend kosher salt for even seasoning.
- Optional toppings: Sour cream, salsa, guacamole, fresh cilantro, and lime wedges – These aren’t essential, but they take the quesadillas to the next level.
For the best texture, I recommend using room-temperature tortillas—they’re more pliable and less likely to crack. If your tortillas are cold, warm them briefly in the microwave or on a dry skillet before assembling.
Equipment Needed
One of the best things about this recipe is how little equipment it requires. Here’s what you’ll need:
- Large non-stick skillet (12-inch is ideal) – A good non-stick surface ensures even browning and easy cleanup. If you don’t have non-stick, a well-seasoned cast iron skillet works beautifully too.
- Spatula – A wide, thin spatula makes flipping the layered quesadilla much easier. I prefer a fish spatula for its flexibility.
- Cutting board and knife – For prepping your fillings. A sharp chef’s knife makes quick work of vegetables and chicken.
- Mixing bowl – For combining your fillings before layering. A medium bowl is plenty.
- Measuring cups and spoons – For accurate ingredient portions. Eyeballing works, but measuring ensures consistency.
If you don’t have a 12-inch skillet, you can use a smaller one and work in batches. Just keep the finished quesadillas warm in a 200°F oven while you finish the rest. A pizza cutter is also handy for slicing the finished quesadillas into wedges, but a sharp knife works just as well.
Preparation Method
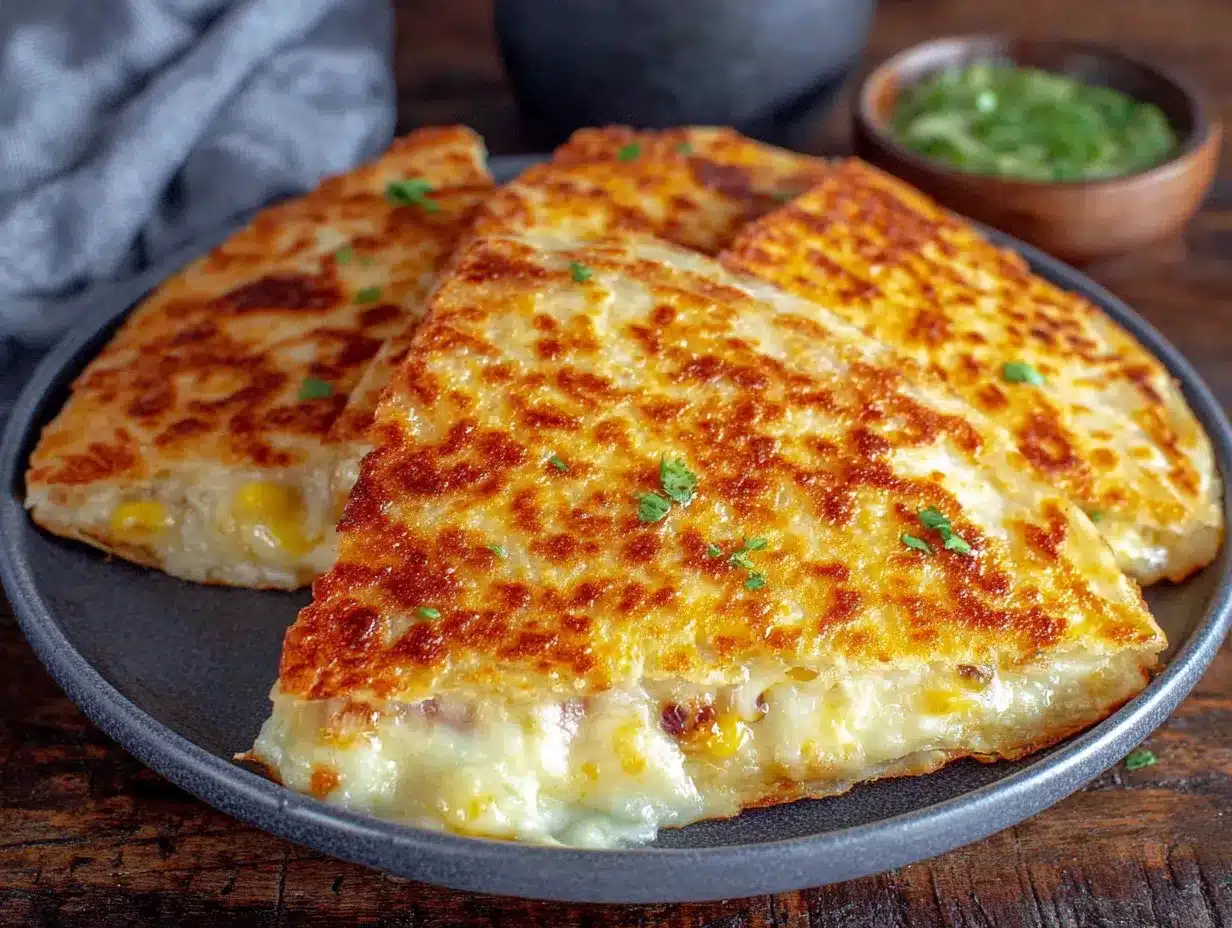
Let’s get cooking. This comes together fast, so have all your ingredients prepped and ready before you start.
- Prep your fillings. In a medium bowl, combine the shredded chicken, black beans, corn, sliced red bell pepper, minced jalapeño, and green onions. Season with a pinch of salt and a few grinds of black pepper. Toss everything together until evenly mixed. Set aside.
- Warm your tortillas. If your tortillas are cold, stack them on a plate and microwave for 15-20 seconds, or warm them one at a time in a dry skillet for about 10 seconds per side. This makes them more pliable and prevents cracking when you layer them.
- Layer the first tortilla. Place one tortilla in your cold skillet. Spread about ⅓ cup of shredded cheese evenly over the entire surface. This cheese layer acts as the glue that holds everything together.
- Add the filling. Spread about half of your filling mixture evenly over the cheese layer. Don’t overstuff—you want a thin, even layer so everything heats through properly.
- Top with more cheese. Sprinkle another ⅓ cup of shredded cheese over the filling. This second cheese layer will help the top tortilla stick and create that beautiful, gooey interior.
- Add the second tortilla. Place another tortilla on top and press down gently to help everything adhere. The cheese should start to hold it together.
- Cook over medium heat. Place the skillet over medium heat and cook for 3-4 minutes, or until the bottom is golden brown and crispy. You’ll know it’s ready when you can see the cheese starting to melt around the edges.
- Flip carefully. Slide your spatula under the entire quesadilla stack. If it feels stuck, let it cook another 30 seconds. Flip confidently in one smooth motion. Cook for another 3-4 minutes, until the second side is golden brown and the cheese is fully melted.
- Rest before slicing. Transfer the quesadilla to a cutting board and let it rest for 1-2 minutes. This allows the cheese to set slightly, making it easier to slice without everything oozing out.
- Slice and serve. Use a pizza cutter or sharp knife to cut into wedges. Serve immediately with your favorite toppings.
Pro tip: If you’re making a double batch, keep the finished quesadillas warm on a baking sheet in a 200°F oven while you cook the rest. They’ll stay crispy for up to 30 minutes.
Cooking Tips & Techniques
After making these quesadillas more times than I can count, I’ve learned a few things that make a real difference. Here are my best tips:
Don’t overcrowd the pan. This is the most common mistake I see. If you try to cram too much filling in, the tortillas won’t get crispy and the cheese won’t melt evenly. A thin, even layer is your friend here. Trust me—I’ve made the mistake of overstuffing, and it ends up a messy, soggy situation.
Use medium heat, not high. I know you’re in a hurry, but high heat will burn the tortillas before the cheese has a chance to melt. Medium heat gives you that perfect golden-brown crust without the burnt spots. If your pan is smoking, it’s too hot.
Let the cheese do the work. The cheese is what holds everything together, so don’t skimp on it. A generous layer on both the bottom and top of the filling ensures every bite is perfectly gooey. If you’re using a lower-fat cheese, add a little extra—it won’t melt as smoothly.
Press down while cooking. About halfway through each side, gently press down on the quesadilla with your spatula. This helps the cheese spread evenly and creates better contact with the pan for that crispy crust.
Watch for visual cues. You’re looking for deep golden brown spots on the tortilla, not just pale tan. The edges should look crispy and the cheese should be visibly melted and bubbling around the sides. If you see steam escaping, that’s a good sign—it means the inside is heating through.
Variations & Adaptations
One of the best things about this recipe is how adaptable it is. Here are some of my favorite variations:
Vegetarian Version: Skip the chicken and double up on the black beans and corn. Add sautéed mushrooms, zucchini, or spinach for extra vegetables. The filling stays hearty and satisfying without the meat.
Spicy Southwest Style: Add a tablespoon of chopped chipotle peppers in adobo sauce to your filling mixture. Top with pickled jalapeños and a drizzle of crema. The smoky heat pairs beautifully with the melty cheese.
Breakfast Quesadillas: Swap the chicken for scrambled eggs and add cooked bacon or sausage crumbles. Use pepper jack cheese for an extra kick. Serve with salsa verde for a morning twist on this classic.
Gluten-Free Adaptation: Use corn tortillas or certified gluten-free flour tortillas. The cooking time may be slightly shorter, so keep an eye on them. Corn tortillas won’t get as crispy, but they still taste great.
Low-Carb Option: Use low-carb tortillas or large lettuce leaves as wraps. If using lettuce, skip the pan-frying and serve cold or at room temperature with the filling mixed in.
I personally love the breakfast version on lazy weekend mornings. It feels indulgent but comes together in minutes, and the combination of eggs, cheese, and crispy tortilla is pure comfort.
Serving & Storage Suggestions
These quesadillas are best served hot, straight from the skillet. The contrast between the crispy exterior and the melty interior is at its peak within the first few minutes. That said, they’re still delicious at room temperature, which makes them great for packed lunches or picnics.
How to serve: Cut the quesadilla into wedges and arrange on a platter. Serve with small bowls of sour cream, salsa, guacamole, and fresh cilantro. A squeeze of lime juice right before eating brightens all the flavors. For a complete meal, pair with a simple side salad or some fresh creamy cucumber dill salad for a refreshing contrast.
Storage: Leftover quesadillas can be stored in an airtight container in the refrigerator for up to 3 days. To keep them from getting soggy, place a paper towel in the container to absorb excess moisture. Reheat in a dry skillet over medium heat for 2-3 minutes per side, or in an air fryer at 350°F for 3-4 minutes. The microwave works in a pinch, but the tortillas will be soft rather than crispy.
Freezing: These freeze surprisingly well. Wrap each whole quesadilla tightly in foil, then place in a freezer bag. They’ll keep for up to 2 months. To reheat, bake directly from frozen at 375°F for 15-20 minutes, or until hot and crispy. I’ve done this for busy nights, and it’s a lifesaver.
The flavors actually meld together nicely overnight, so leftovers might taste even better the next day—if they last that long.
Nutritional Information & Benefits
While these quesadillas are definitely comfort food, they also offer some nutritional benefits worth noting. Here’s a rough estimate per serving (one quesadilla cut into wedges, assuming 4 servings per batch):
- Calories: ~380-420
- Protein: 22-25g (from chicken, cheese, and black beans)
- Carbohydrates: 28-32g
- Fiber: 5-7g (thanks to black beans and corn)
- Fat: 18-22g (mostly from cheese and butter)
- Calcium: 25-30% of daily value (from cheese)
- Iron: 10-15% of daily value (from beans and tortillas)
The black beans add a good dose of fiber and plant-based protein, which helps keep you full longer. The bell peppers and jalapeño provide vitamin C and antioxidants. If you’re watching your sodium, use low-sodium beans and go easy on the added salt.
This recipe can be made lower in fat by using reduced-fat cheese and cooking spray instead of butter. For a lower-carb option, use low-carb tortillas. It’s naturally nut-free and can be made gluten-free with the right tortillas. If you have dairy concerns, try dairy-free cheese alternatives—just note that they won’t melt as smoothly.
I personally love that this meal feels indulgent without being over-the-top. It’s the kind of dinner that satisfies a craving without leaving you feeling heavy.
Conclusion
These Easy Cheesy One-Pan Quesadillas have become a staple in my kitchen for good reason. They’re fast, forgiving, and genuinely delicious—everything a weeknight dinner should be. Whether you’re feeding a hungry family, looking for a quick lunch, or just want something comforting without the fuss, this recipe delivers every time.
Don’t be afraid to make this recipe your own. Swap in your favorite proteins, load up on vegetables, or experiment with different cheese blends. The one-pan technique works with almost any combination, so feel free to get creative. If you try a version you love, I’d love to hear about it in the comments below. Share your variations, your successes, and even your happy accidents—that’s how great recipes evolve.
So grab your skillet, pull out those tortillas, and give these quesadillas a try. I promise, once you see how easy and satisfying they are, they’ll become a regular in your meal rotation too. Happy cooking!
Frequently Asked Questions
Can I make these quesadillas ahead of time for a party?
Absolutely. You can assemble the quesadillas up to 4 hours ahead and keep them covered in the refrigerator. When you’re ready to serve, cook them as directed. They’ll hold well in a warm oven for up to 30 minutes if you’re making a large batch.
What’s the best cheese for quesadillas?
A Mexican blend is ideal because it combines cheeses that melt well (Monterey Jack, asadero) with ones that add flavor (cheddar, queso quesadilla). If you’re using a single cheese, Monterey Jack or Oaxaca cheese are excellent choices for their meltability.
Can I use corn tortillas instead of flour?
Yes, but corn tortillas are smaller and more delicate. Use two corn tortillas per quesadilla and cook them for slightly less time. They won’t get as crispy as flour tortillas, but they add a nice corn flavor that works well with the fillings.
How do I prevent my quesadillas from getting soggy?
The key is to not overfill and to cook over medium heat so the moisture has time to evaporate. Also, make sure your fillings (especially beans and corn) are well-drained before adding them. If you’re using frozen corn, thaw and pat it dry first.
Can I add more vegetables to this recipe?
Definitely. Sautéed mushrooms, spinach, zucchini, or roasted bell peppers all work wonderfully. Just be sure to cook off any excess moisture from the vegetables before adding them to the quesadilla, or they’ll make the tortillas soggy.
Pin This Recipe!
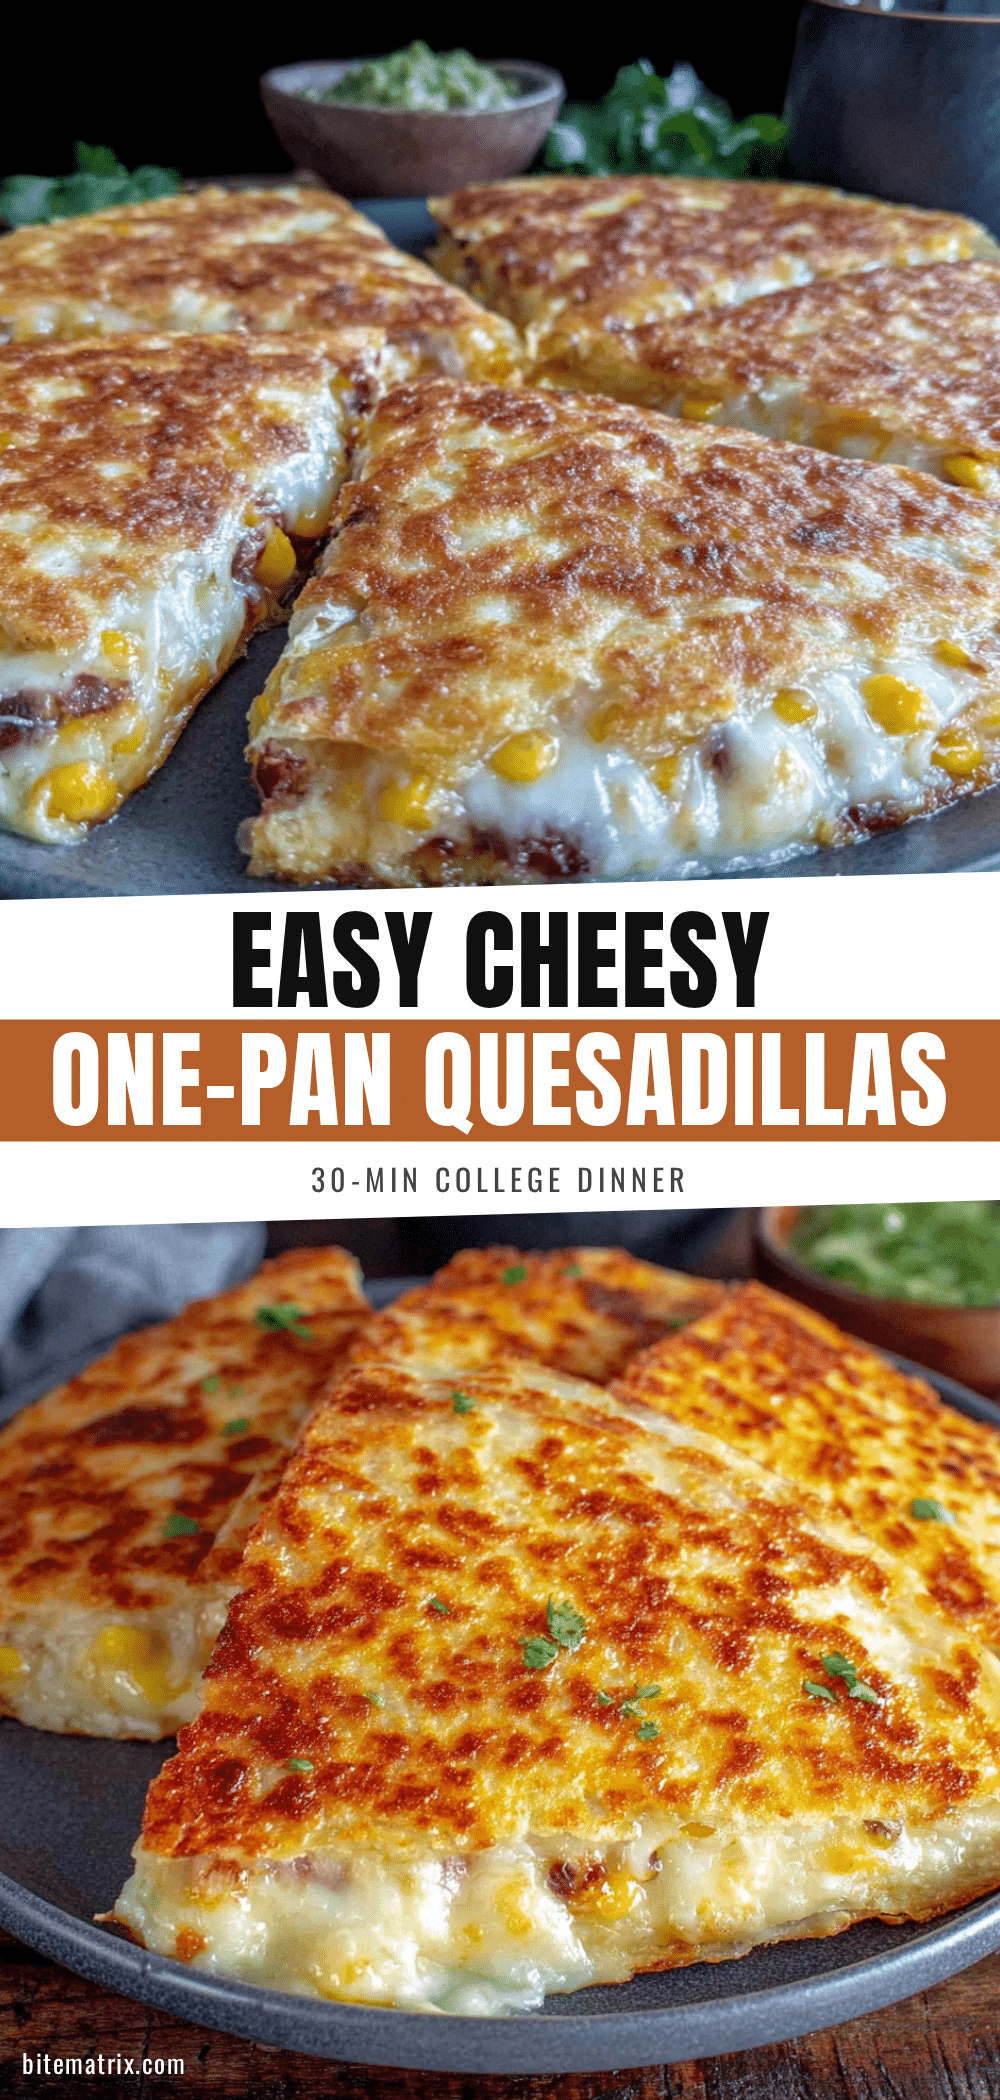
Easy Cheesy One-Pan Quesadillas: Best 15-Minute Recipe

These Easy Cheesy One-Pan Quesadillas are a quick and satisfying weeknight dinner that comes together in just 15 minutes. With crispy edges, gooey cheese, and perfectly melded fillings, this one-pan method delivers delicious results without the fuss.
- Prep Time: 5 minutes
- Cook Time: 10 minutes
- Total Time: 15 minutes
- Yield: 4 servings 1x
- Category: Main Course
- Cuisine: Mexican
Ingredients
- 4 large flour tortillas (8-inch or 10-inch)
- 2 cups shredded Mexican blend cheese
- 1 cup cooked chicken, shredded or diced
- 1/2 cup black beans, rinsed and drained
- 1/2 cup corn kernels (fresh or frozen, thawed)
- 1/2 cup red bell pepper, thinly sliced
- 1 small jalapeño, seeded and minced
- 1/4 cup green onions, sliced
- 2 tablespoons butter or oil
- Salt and pepper to taste
- Optional toppings: sour cream, salsa, guacamole, fresh cilantro, lime wedges
Instructions
- Prep your fillings: In a medium bowl, combine shredded chicken, black beans, corn, sliced red bell pepper, minced jalapeño, and green onions. Season with a pinch of salt and a few grinds of black pepper. Toss until evenly mixed. Set aside.
- Warm your tortillas: If cold, stack on a plate and microwave for 15-20 seconds, or warm one at a time in a dry skillet for about 10 seconds per side.
- Layer the first tortilla: Place one tortilla in your cold skillet. Spread about 1/3 cup of shredded cheese evenly over the entire surface.
- Add the filling: Spread about half of your filling mixture evenly over the cheese layer.
- Top with more cheese: Sprinkle another 1/3 cup of shredded cheese over the filling.
- Add the second tortilla: Place another tortilla on top and press down gently.
- Cook over medium heat: Place the skillet over medium heat and cook for 3-4 minutes, until the bottom is golden brown and crispy.
- Flip carefully: Slide your spatula under the entire quesadilla stack. Flip confidently in one smooth motion. Cook for another 3-4 minutes, until the second side is golden brown and the cheese is fully melted.
- Rest before slicing: Transfer the quesadilla to a cutting board and let it rest for 1-2 minutes.
- Slice and serve: Use a pizza cutter or sharp knife to cut into wedges. Serve immediately with your favorite toppings.
Notes
For best texture, use room-temperature tortillas. If making a double batch, keep finished quesadillas warm on a baking sheet in a 200°F oven for up to 30 minutes. Don’t overcrowd the pan; use a thin, even layer of filling. Use medium heat to avoid burning. Press down gently with a spatula while cooking for even browning.
Nutrition
- Serving Size: 1 quesadilla (cut in
- Calories: 400
- Sugar: 3
- Sodium: 600
- Fat: 20
- Saturated Fat: 10
- Carbohydrates: 30
- Fiber: 6
- Protein: 23
Keywords: quesadillas, one-pan, easy, cheesy, 15-minute, weeknight dinner, chicken, black beans, corn