“You really think you can make those Cosmic Brownies at home?” my friend asked, eyebrows raised as I pulled a tray of steaming brownies from the oven. Honestly, I wasn’t sure either. But after a few rounds of trial, error, and way too much chocolate consumption, this recipe turned into my go-to comfort treat. It all started on a particularly gray afternoon when the craving for something rich and nostalgic hit hard—but with a pantry full of random baking staples and not a single box mix in sight.
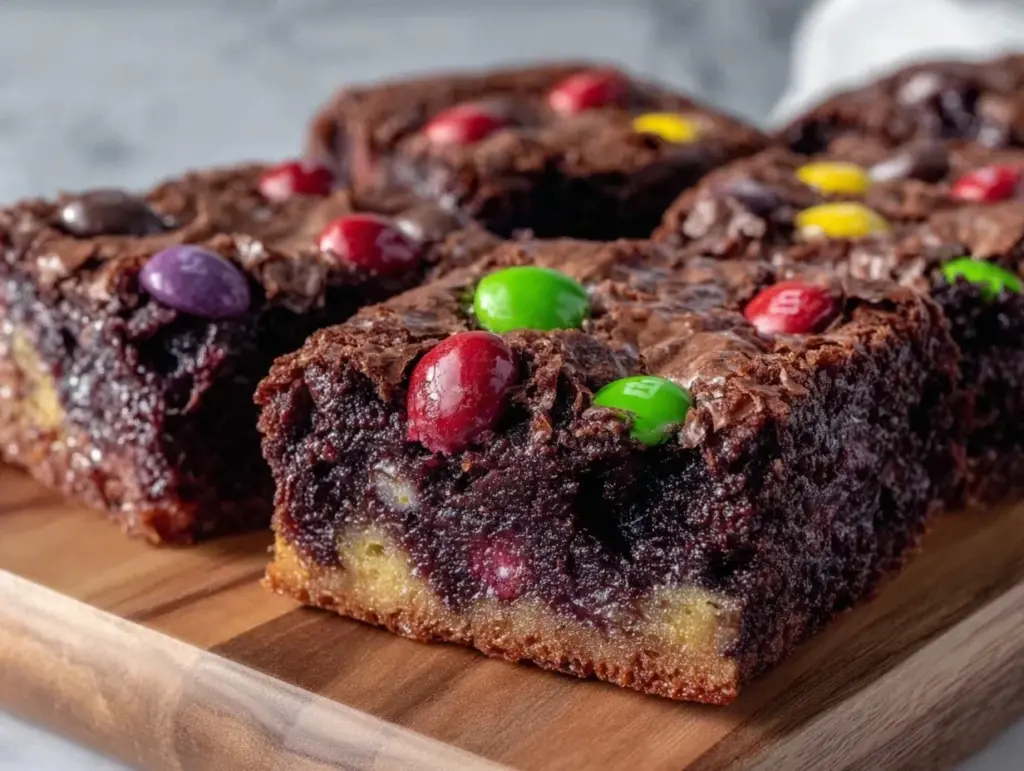
Those iconic Cosmic Brownies, with their fudgy texture and colorful candy-coated chocolate chips, have a way of bringing back childhood memories. But homemade? That sounded intimidating. Skeptical, I started experimenting, trying to capture that perfect dense, almost gooey bite without turning the kitchen into a disaster zone. The first batch was a little too cakey, the next too dry, and then there was the one that stuck to the pan like it was glued. But eventually, after baking these brownies multiple times in one week (yes, a bit of a delicious obsession), I found the right balance of ingredients and timing. Now, I can’t keep these fudgy gems around long enough for anyone to ask for the original box.
What makes this “Ultimate Fudgy Cosmic Brownie Copycat Recipe” special isn’t just the texture or the candy-topped fun—it’s how this brownie feels like a warm, cozy hug when the world feels a bit too much. And the best part? You don’t have to be a baking pro or hunt down weird ingredients. Plus, the whole process is pretty forgiving, so even if you’re a “not really a baker” type (like me), you’ll end up with a batch worth bragging about. Honestly, it’s the kind of recipe that’s stuck around because it brings a little joy—and a lot of chocolate—to any day.
Why You’ll Love This Recipe
After testing and tweaking this recipe over several weekends, I can confidently say it’s the best homemade version of Cosmic Brownies you’ll find. Here’s why you’re going to want to bookmark this one:
- Quick & Easy: Ready in under 40 minutes, making it perfect for those spontaneous chocolate cravings or last-minute dessert needs.
- Simple Ingredients: Uses pantry staples like cocoa powder, butter, and sugar—no need for fancy or hard-to-find items.
- Perfect for Any Occasion: Whether it’s a casual family night, a birthday party, or a fun bake sale, these brownies fit right in.
- Crowd-Pleaser: Kids love the colorful candy topping, and adults rave about the fudgy, rich texture that’s not overly sweet.
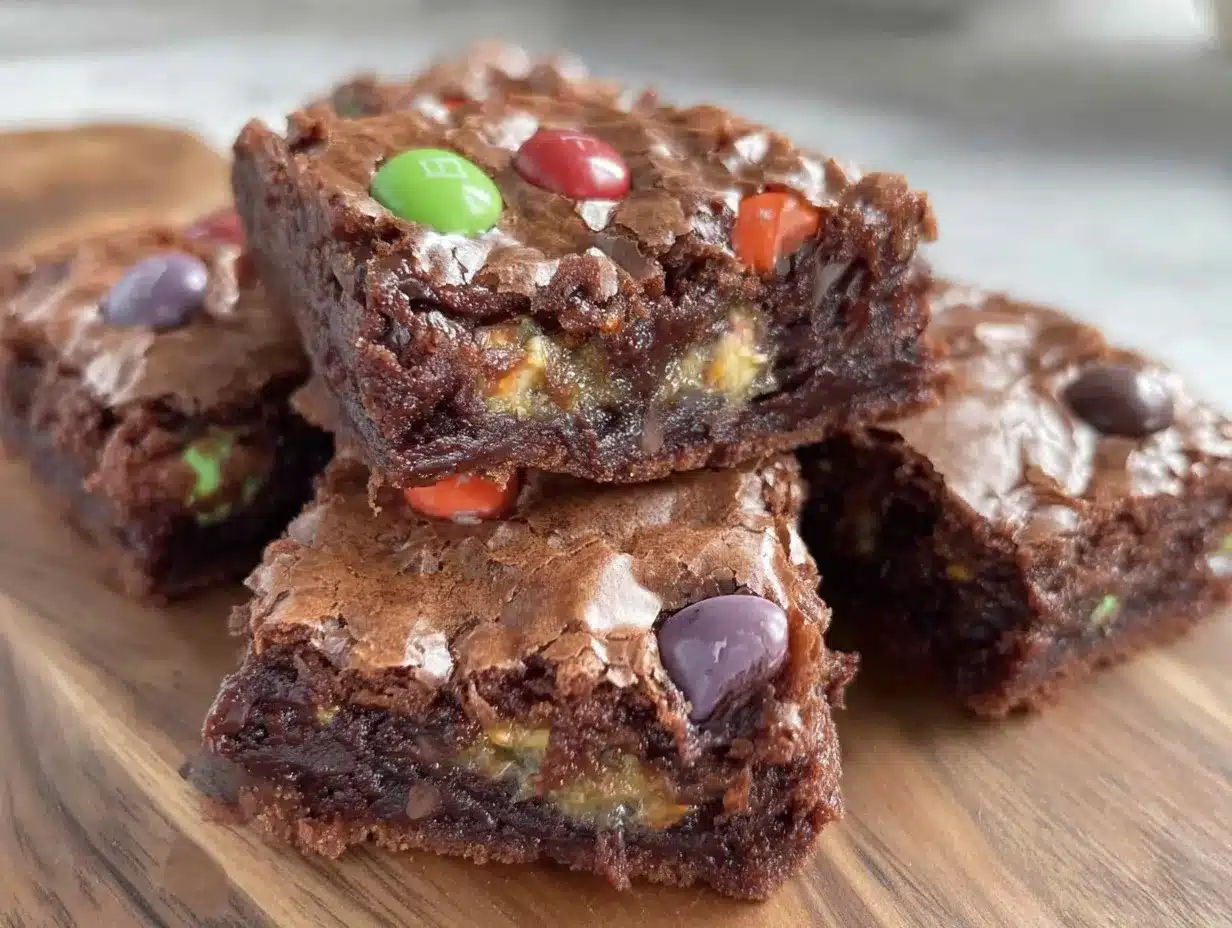
- Unbelievably Delicious: The texture is a beautiful mix of chewy, fudge-like crumb with just enough softness to melt in your mouth.
What sets this copycat apart? It’s the method of combining melted butter and cocoa powder with just the right amount of sugar, plus folding in a bit of sour cream for moisture—something most recipes skip. It’s a little trick I picked up to keep the brownies rich without drying out. And topping with candy-coated chocolates before baking means they stay vibrant and don’t melt away completely, giving you that nostalgic look and a burst of extra chocolate crunch in every bite.
This recipe isn’t just a treat; it’s the kind of comfort food that makes you pause and savor the moment. If you’ve ever enjoyed the original Cosmic Brownies, you’ll find this homemade version even more satisfying—because you made it yourself. And that just feels good.
What Ingredients You Will Need
This recipe uses straightforward, wholesome ingredients to get that fudgy texture and colorful finish without fuss. Most are pantry-friendly, so you probably have them on hand already.
- Unsalted butter (1 cup, 227g, melted) – The base for that rich fudgy texture; I usually use Land O’Lakes for consistency.
- Cocoa powder (3/4 cup, 75g, unsweetened) – Use a good-quality natural cocoa powder for deep chocolate flavor.
- Sugar (2 cups, 400g, granulated) – Sweetens and balances the cocoa bitterness.
- Large eggs (3, room temperature) – Adds structure and moisture to the brownies.
- Vanilla extract (1 tsp) – Enhances the chocolate with a warm, aromatic note.
- All-purpose flour (1 cup, 125g) – Provides just enough structure without making the brownies cakey.
- Sour cream (1/2 cup, 120g) – Keeps the brownies moist and tender; you can swap with Greek yogurt if preferred.
- Salt (1/4 tsp) – Balances sweetness and deepens flavor.
- Mini candy-coated chocolate chips (1 cup, about 180g) – The iconic Cosmic Brownie topping; use M&M’s minis or similar.
For a gluten-free version, I’ve swapped the all-purpose flour with a 1:1 gluten-free baking flour blend successfully. And if you want to keep it dairy-free, try using coconut oil instead of butter and a dairy-free yogurt alternative for the sour cream.
Equipment Needed
- 9×9 inch (23×23 cm) baking pan: A square metal or glass pan works best for even baking and that perfect brownie thickness.
- Mixing bowls: One medium for dry ingredients and one large for wet ingredients.
- Whisk and spatula: A whisk helps combine the wet ingredients smoothly, while a spatula is best for folding in dry ingredients and candy chips.
- Measuring cups and spoons: Accurate measurement is key for consistency.
- Cooling rack: Allows the brownies to cool evenly without getting soggy.
If you don’t have a 9×9 pan, an 8×8 inch one works too; just watch the baking time closely since brownies might be thicker. For mixing, I sometimes use my stand mixer on low speed, but honestly, whisk and spatula do the job just fine—less cleanup!
Preparation Method
- Preheat your oven to 350°F (175°C). Grease your 9×9 inch pan lightly or line it with parchment paper, leaving a little overhang for easy brownie removal later. This step is crucial to avoid sticking.
- Melt the butter: In a microwave-safe bowl or over a double boiler, melt 1 cup (227g) of unsalted butter until just melted, not browned. Let it cool slightly.
- Mix cocoa and sugar: Whisk the melted butter with 3/4 cup (75g) unsweetened cocoa powder and 2 cups (400g) granulated sugar until completely combined. The mixture will be thick and glossy.
- Add eggs and vanilla: Beat in 3 large eggs, one at a time, ensuring each is fully incorporated before adding the next. Stir in 1 teaspoon vanilla extract. The batter should be shiny and smooth; if it looks curdled, keep stirring—it will come together.
- Fold in dry ingredients: Sift together 1 cup (125g) all-purpose flour and 1/4 teaspoon salt, then gently fold into the cocoa mixture using a spatula. Be careful not to overmix—stop when you no longer see flour streaks. The batter should be thick but slightly sticky.
- Incorporate sour cream: Fold in 1/2 cup (120g) sour cream until just combined. This keeps the brownies moist and tender.
- Pour batter into pan: Spread evenly in the prepared pan using an offset spatula for smoothness.
- Add the candy topping: Sprinkle 1 cup (about 180g) mini candy-coated chocolate chips evenly over the top, gently pressing them into the batter so they stick during baking.
- Bake: Place in the preheated oven and bake for 25-30 minutes. Start checking at 25 minutes by inserting a toothpick near the center. You want a few moist crumbs to cling but not wet batter. Overbaking dries out the brownies.
- Cool and serve: Let the brownies cool completely in the pan on a wire rack before slicing into squares. This helps them set and makes cutting cleaner.
Tip: If your batter seems too thick, a splash of milk can help loosen it slightly. And don’t rush the cooling process—warm brownies are tempting but tend to crumble more when cut.
Cooking Tips & Techniques
Getting the perfect fudgy brownie can be tricky, but here are some tips I picked up along the way:
- Butter first: Melting the butter before mixing allows the cocoa to bloom and combine evenly, giving that rich chocolate flavor.
- Don’t overmix: Once you add flour, mix gently and stop as soon as combined. Overworking the batter creates tough, cakey brownies.
- Use room temperature eggs: This helps the batter emulsify better and prevents it from seizing up.
- Watch your oven: Oven temperatures vary, so start checking a few minutes early. A slightly underbaked center is okay—it firms up as it cools.
- Press candy chips gently: This keeps them on top for the classic Cosmic look rather than melting fully into the batter.
- Use parchment paper: This makes lifting brownies out a breeze and keeps edges from overcooking.
Believe me, I’ve burned a batch or two by ignoring these tips (and then blamed the oven). Once I dialed in these steps, consistency improved tremendously. Plus, multitasking helps—while the brownies bake, I sometimes prep a fresh cucumber salad for a refreshing side, like the creamy cucumber dill salad I love making alongside.
Variations & Adaptations
Want to mix things up? Here are a few ways I’ve tweaked this recipe to suit different tastes and occasions:
- Nutty Twist: Add 1/2 cup chopped walnuts or pecans into the batter for crunch. Toast them lightly to bring out flavor.
- Peanut Butter Swirl: Dollop peanut butter into the batter before baking and swirl with a knife for a rich, nutty layer.
- Vegan Version: Substitute vegan butter and use flax eggs (1 tbsp ground flaxseed + 3 tbsp water per egg). Swap sour cream with coconut yogurt. The texture is slightly different but still delicious.
- Seasonal Candy: Instead of classic candy-coated chips, try mini peppermint candies for a holiday vibe or white chocolate chips in summer.
- Low-Sugar Option: Replace half the sugar with coconut sugar or use a sugar substitute suitable for baking. Expect a slightly different texture but still tasty.
One of my favorite personal twists is adding a tablespoon of espresso powder to the dry ingredients—it intensifies the chocolate without tasting like coffee. Give it a try if you want a deeper flavor profile.
Serving & Storage Suggestions
These brownies are best served at room temperature or slightly warmed. I like to pop a square in the microwave for about 10 seconds to revive that gooey feel. Pairing them with a scoop of vanilla ice cream or a drizzle of caramel sauce takes the experience up a notch.
Leftovers keep well stored in an airtight container at room temperature for up to 3 days. For longer storage, refrigerate for up to a week or freeze individual squares wrapped tightly in plastic wrap and foil for up to 3 months. Thaw at room temperature before serving.
Flavors actually deepen after a day or two—so if you can wait, the brownies taste even better the next day. Just be careful not to leave them uncovered, or they’ll dry out.
If you’re hosting a party and want to offer a variety of treats, these brownies pair wonderfully with lighter desserts like the no-bake strawberry cheesecake cups for a bright contrast. It’s a balance of rich and fresh that guests appreciate.
Nutritional Information & Benefits
Per serving (1 brownie, based on 16 pieces): approx. 220 calories, 12g fat, 28g carbohydrates, 2g protein. The sugar content is moderate but balanced by the rich cocoa, which offers antioxidants.
Cocoa powder is a good source of flavonoids, known for heart health benefits. Using real butter and eggs provides essential fats and protein, making these brownies more satisfying than a typical boxed mix.
For those mindful of allergens, this recipe contains dairy, eggs, and gluten, but is easily adaptable to gluten-free and vegan diets with substitutions.
From a wellness perspective, treating yourself to a homemade brownie now and then feels indulgent but balanced—especially when you know exactly what’s inside and can avoid unnecessary additives.
Conclusion
This Ultimate Fudgy Cosmic Brownie Copycat Recipe is more than just a dessert; it’s a little ritual of joy in the kitchen. Whether you’re baking for family, friends, or a solo treat, it brings that perfect mix of nostalgia and homemade love to your day. Feel free to tweak the toppings, try different add-ins, or adjust sweetness to match your preferences—this recipe is forgiving and flexible.
Personally, I keep coming back to these brownies because they remind me that sometimes the best comfort food is the one you make yourself, from scratch, with simple ingredients and a little patience. If you try the recipe, I’d love to hear how your batch turns out or what fun twists you add. Sharing those moments makes baking even sweeter.
FAQs
Can I use dark chocolate instead of cocoa powder?
Dark chocolate bars can be melted and used, but you’ll need to adjust the butter and sugar amounts since chocolate contains fat and sugar already. This recipe is designed for cocoa powder for simplicity.
Why are my brownies cakey instead of fudgy?
Overmixing the batter or using too much flour can cause cakiness. Also, baking too long dries them out. Stick to the recipe’s mixing instructions and watch the baking time closely.
Can I substitute the candy-coated chocolates with something else?
Absolutely! You can use chocolate chips, chopped nuts, or even dried fruit. Just keep in mind that the colorful candy chips give the classic Cosmic Brownie look.
How do I store leftover brownies?
Store in an airtight container at room temperature for up to 3 days, refrigerate up to a week, or freeze for longer storage. Thaw before serving for best texture.
Is this recipe gluten-free?
The original recipe is not, but you can swap all-purpose flour with a 1:1 gluten-free baking flour blend to make it gluten-free without sacrificing texture.
Pin This Recipe!
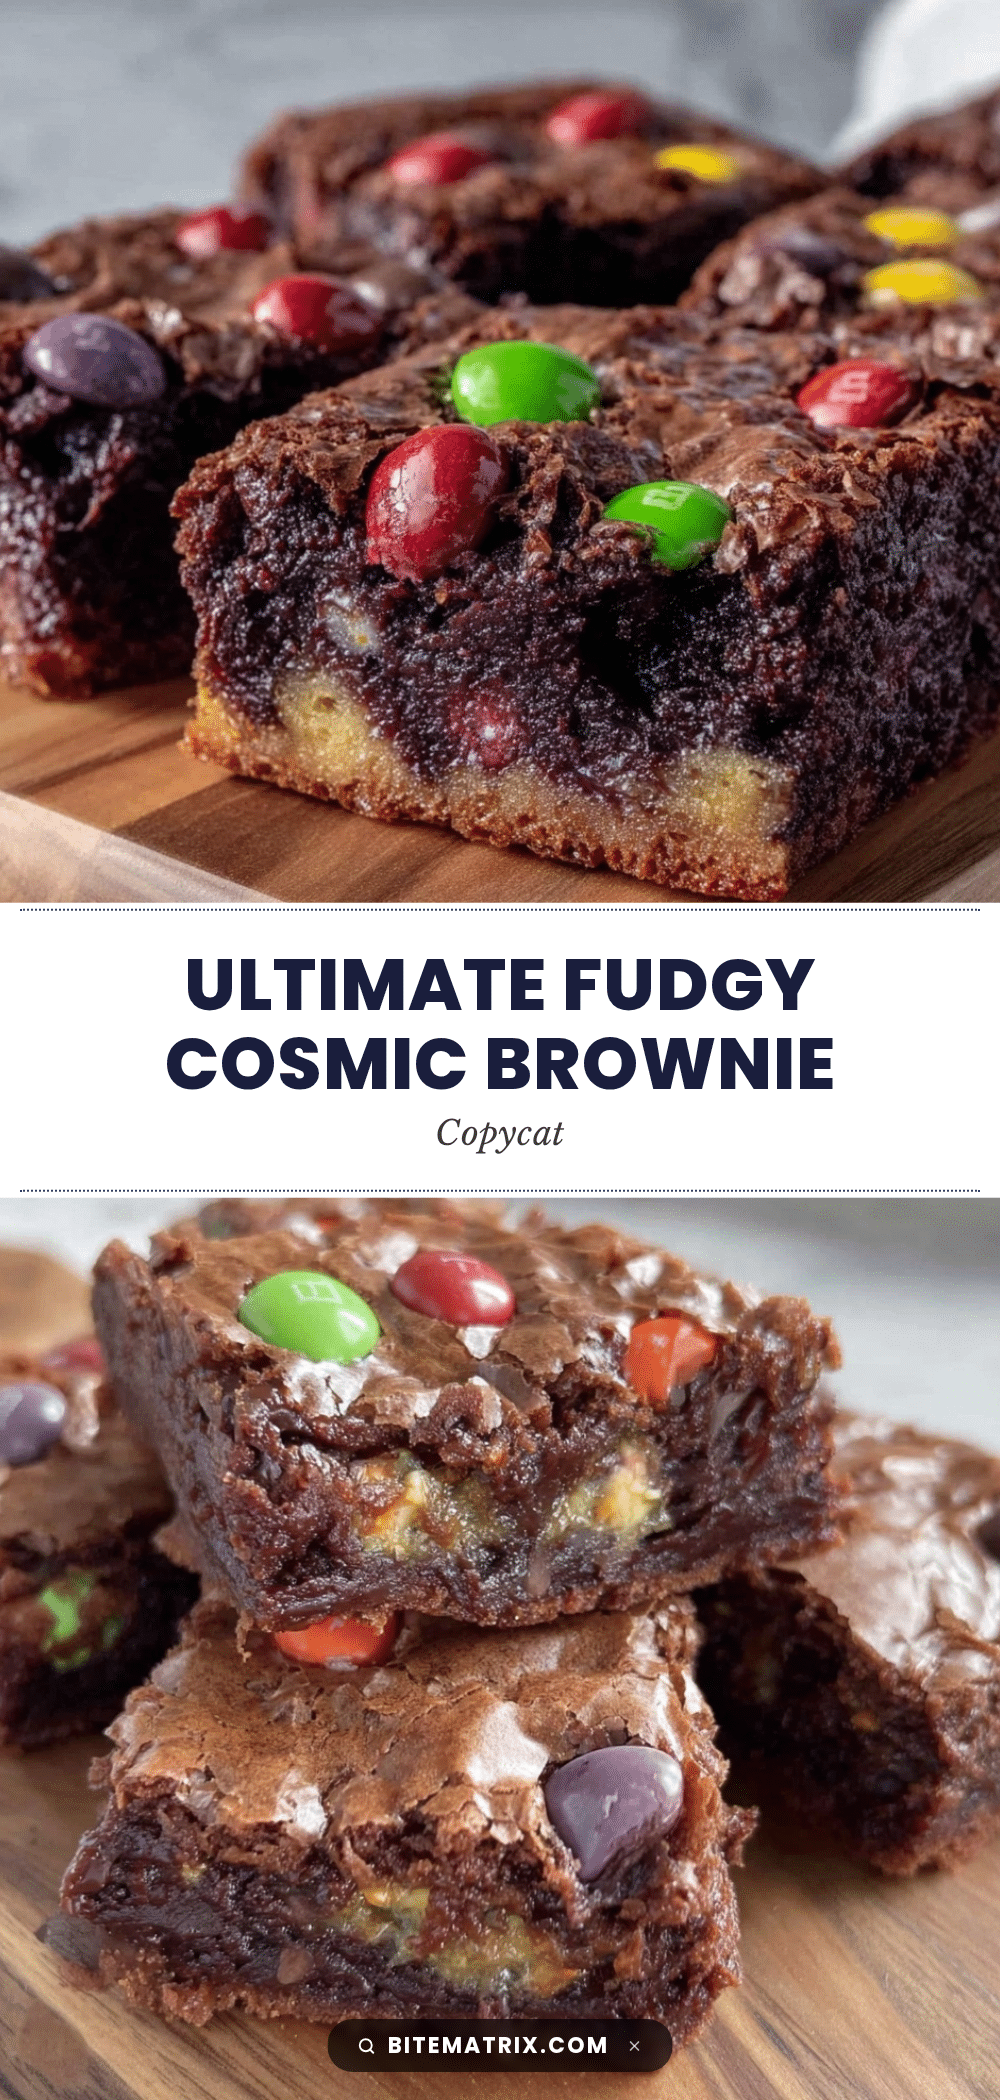
Ultimate Fudgy Cosmic Brownie Copycat Recipe

A rich, fudgy homemade version of the iconic Cosmic Brownies topped with colorful candy-coated chocolate chips. Easy to make with pantry staples and perfect for any occasion.
- Prep Time: 15 minutes
- Cook Time: 25-30 minutes
- Total Time: 40-45 minutes
- Yield: 16 servings 1x
- Category: Dessert
- Cuisine: American
Ingredients
- 1 cup (227g) unsalted butter, melted
- 3/4 cup (75g) unsweetened cocoa powder
- 2 cups (400g) granulated sugar
- 3 large eggs, room temperature
- 1 teaspoon vanilla extract
- 1 cup (125g) all-purpose flour
- 1/2 cup (120g) sour cream
- 1/4 teaspoon salt
- 1 cup (about 180g) mini candy-coated chocolate chips (e.g., M&M’s minis)
Instructions
- Preheat your oven to 350°F (175°C). Grease a 9×9 inch pan lightly or line it with parchment paper, leaving a little overhang for easy removal.
- Melt the butter in a microwave-safe bowl or over a double boiler until just melted, then let it cool slightly.
- Whisk the melted butter with cocoa powder and granulated sugar until completely combined and glossy.
- Beat in the eggs one at a time, ensuring each is fully incorporated before adding the next. Stir in vanilla extract.
- Sift together the flour and salt, then gently fold into the cocoa mixture using a spatula. Stop mixing when no flour streaks remain.
- Fold in the sour cream until just combined.
- Pour the batter evenly into the prepared pan and smooth the top with an offset spatula.
- Sprinkle the mini candy-coated chocolate chips evenly over the top, gently pressing them into the batter.
- Bake for 25-30 minutes, starting to check at 25 minutes with a toothpick. Look for a few moist crumbs but no wet batter.
- Cool the brownies completely in the pan on a wire rack before slicing into 16 squares.
Notes
Use parchment paper for easy removal and to prevent sticking. Avoid overmixing after adding flour to keep brownies fudgy. Start checking brownies early to avoid overbaking. For gluten-free, substitute flour with a 1:1 gluten-free baking blend. For dairy-free, use coconut oil instead of butter and dairy-free yogurt instead of sour cream.
Nutrition
- Serving Size: 1 brownie (1 of 16 p
- Calories: 220
- Fat: 12
- Carbohydrates: 28
- Protein: 2
Keywords: Cosmic Brownies, fudgy brownies, homemade brownies, chocolate dessert, candy-coated chocolate chips, easy brownies, copycat recipe


