“Wait, you mean I can make a graduation cap out of cupcakes?” That’s what my friend texted me last spring, right when the chaos of graduation party planning hit full speed. Honestly, I was skeptical at first. The idea of pulling apart cupcakes seemed… well, messy and maybe a bit gimmicky. But after a few rounds of trial and error (and a kitchen scattered with crumbs), the Easy Pull Apart Cupcake Graduation Cap took shape in a way that was both impressive and surprisingly simple.
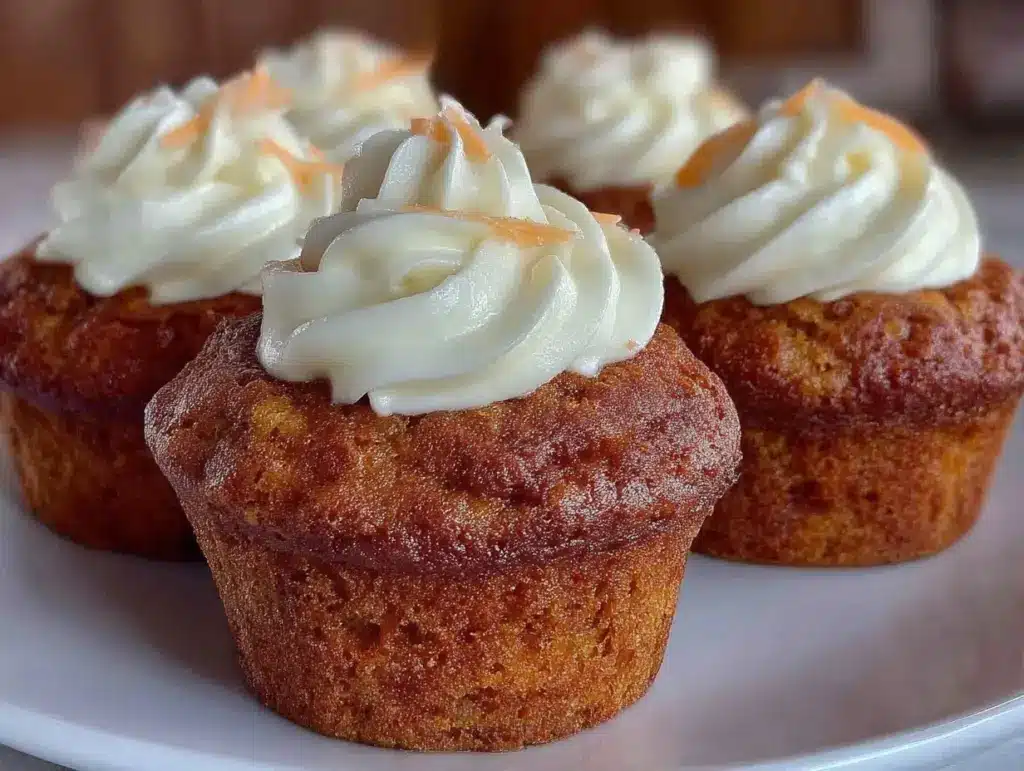
I remember setting it on the table during my nephew’s graduation celebration—kids and adults alike swarmed it like it was a centerpiece and a dessert all in one. The rich chocolate cupcakes, the smooth frosting, and the cute little fondant tassel on top made it feel special without the fuss of a cake knife or plates. You know, sometimes the best party treats come from experimenting with what’s on hand and not overthinking it.
This recipe stuck with me because it’s one of those rare wins that brings people together—literally pulling apart pieces and sharing smiles. Plus, it’s versatile enough for any celebration, but especially perfect for those graduation moments when you want to impress without stress. If you’re looking to make a fun, crowd-pleasing dessert that doubles as a conversation starter, this pull apart cupcake graduation cap might be just what you need.
There’s something quietly satisfying about seeing everyone dig in, the cupcakes disappearing one by one, and knowing you pulled off a treat that looks way fancier than it took to make. That’s why I’m still making this, season after season.
Why You’ll Love This Recipe
After baking and sharing this Easy Pull Apart Cupcake Graduation Cap multiple times, I can confidently say it’s a standout for several reasons. Whether you’re a seasoned baker or someone who usually sticks to store-bought sweets, this recipe is approachable and rewarding. Here’s why it’s become a go-to for celebrations:
- Quick & Easy: The cupcakes come together in about 30 minutes (plus baking), making them perfect for last-minute party prep or a casual weekend project.
- Simple Ingredients: No fancy or hard-to-find stuff here. If you have basic baking staples like flour, sugar, cocoa powder, eggs, and butter, you’re set.
- Perfect for Graduation Parties: The cap design is a fun, thematic twist that guests love, especially when you want to create a memorable dessert display without a lot of fuss.
- Crowd-Pleaser: Chocolate cupcakes with creamy vanilla frosting? Classic combo that kids and adults alike can’t resist.
- Unbelievably Delicious: The texture is moist yet sturdy enough to hold shape when pulled apart, and the frosting balances the richness with light sweetness.
What really sets this recipe apart is the playful pull-apart presentation combined with a surprisingly neat finish. Unlike some pull-apart breads or cinnamon rolls, these cupcakes hold their form better, thanks to a careful baking time and frosting technique I’ve honed through trial. Plus, adding the fondant tassel and square cap on top gives it that unmistakable graduation vibe without feeling overdone.
Honestly, this recipe isn’t just for the graduates; it’s for anyone who wants a sweet centerpiece that’s easy to share and even easier to enjoy. It’s a little celebration all on its own, right there on the table.
What Ingredients You Will Need
This Easy Pull Apart Cupcake Graduation Cap recipe relies on straightforward, pantry-friendly ingredients to create bold flavor and a satisfying texture. Most are staples you probably have around, which means no last-minute grocery runs.
- For the Chocolate Cupcakes:
- All-purpose flour (1 1/2 cups / 190g) – for structure and crumb
- Unsweetened cocoa powder (3/4 cup / 75g) – I prefer Ghirardelli for a deep chocolate flavor
- Baking powder (1 1/2 tsp) and baking soda (1/2 tsp) – for that perfect rise
- Salt (1/4 tsp) – balances sweetness
- Granulated sugar (1 1/4 cups / 250g) – standard white sugar works well here
- Large eggs (2, room temperature) – helps with moisture and binding
- Whole milk (1 cup / 240ml) – adds richness; use any milk you prefer
- Vegetable oil (1/2 cup / 120ml) – keeps cupcakes tender and moist
- Vanilla extract (2 tsp) – for flavor depth
- Hot water (1/2 cup / 120ml) – intensifies the cocoa
- For the Vanilla Buttercream Frosting:
- Unsalted butter (1 cup / 227g), softened – use quality butter like Kerrygold for creaminess
- Powdered sugar (4 cups / 480g), sifted – for smooth frosting texture
- Whole milk (2-4 tbsp / 30-60ml), adjust for consistency
- Vanilla extract (1 tbsp) – classic and comforting
- Pinch of salt – balances sweetness
- For Decoration:
- Black fondant or modeling chocolate (about 4 oz / 115g) – to create the graduation cap and tassel
- Edible gold or silver dust (optional) – for a subtle shine on the tassel
If you want a gluten-free option, feel free to swap the all-purpose flour for a 1:1 gluten-free baking flour. For dairy-free adaptations, substitute the milk and butter with plant-based alternatives like almond milk and vegan butter.
Seasonal twist? Try adding fresh berries between cupcakes when assembling, or mix a bit of orange zest into the frosting for a fresh pop. The versatility keeps this recipe fresh for every celebration.
Equipment Needed
Making this pull apart cupcake graduation cap is straightforward, and the equipment list is minimal. Here’s what you’ll need:
- Standard 12-cup muffin pan: Essential for baking uniform cupcakes that fit snugly together.
- Mixing bowls: One large for dry ingredients, one for wet.
- Electric mixer or stand mixer: Makes whipping the buttercream frosting easier and smoother. A handheld mixer works just fine too.
- Measuring cups and spoons: Precision is key for baking success, so these are musts.
- Offset spatula or butter knife: For spreading frosting evenly between cupcakes.
- Rolling pin: Helpful for rolling out the fondant to make the graduation cap and tassel.
- Sharp knife or fondant cutter: For cutting clean shapes from fondant.
If you don’t have a rolling pin, a smooth glass bottle works as a great alternative. For fondant shaping, even clean kitchen scissors can help with small details. Budget-wise, this setup is very accessible, and once you have these basics, you can try more creative baking projects (like the easy no-bake strawberry cheesecake cups I shared recently).
Preparation Method
- Preheat the oven to 350°F (175°C). Line your 12-cup muffin pan with paper liners or grease well. This ensures cupcakes release easily.
- Mix dry ingredients. In a large bowl, sift together flour, cocoa powder, baking powder, baking soda, and salt. Set aside.
- Combine wet ingredients. In another bowl, whisk sugar and eggs until well blended. Add milk, vegetable oil, and vanilla extract; mix thoroughly.
- Incorporate dry into wet. Gradually add dry ingredients to wet, mixing on low speed to avoid overworking the batter.
- Add hot water. Slowly pour in hot water (be careful!) and mix just until batter is smooth. The batter will be thin—that’s normal and helps keep cupcakes moist.
- Fill muffin cups. Pour batter evenly into the 12 cups, about 2/3 full each.
- Bake for 18-22 minutes. Test doneness with a toothpick inserted into the center; it should come out clean or with a few moist crumbs. Avoid overbaking to keep cupcakes tender.
- Cool completely. Remove cupcakes from pan after 10 minutes and transfer to wire rack. Let cool fully before frosting to prevent melting.
- Prepare buttercream frosting. Beat softened butter on medium speed until creamy (about 2 minutes). Gradually add powdered sugar, alternating with milk, until you reach a spreadable consistency. Mix in vanilla and salt.
- Assemble the pull apart cake. Place cupcakes close together on a serving tray in a 3×4 grid. Spread frosting generously over the tops and in the gaps to “glue” them together.
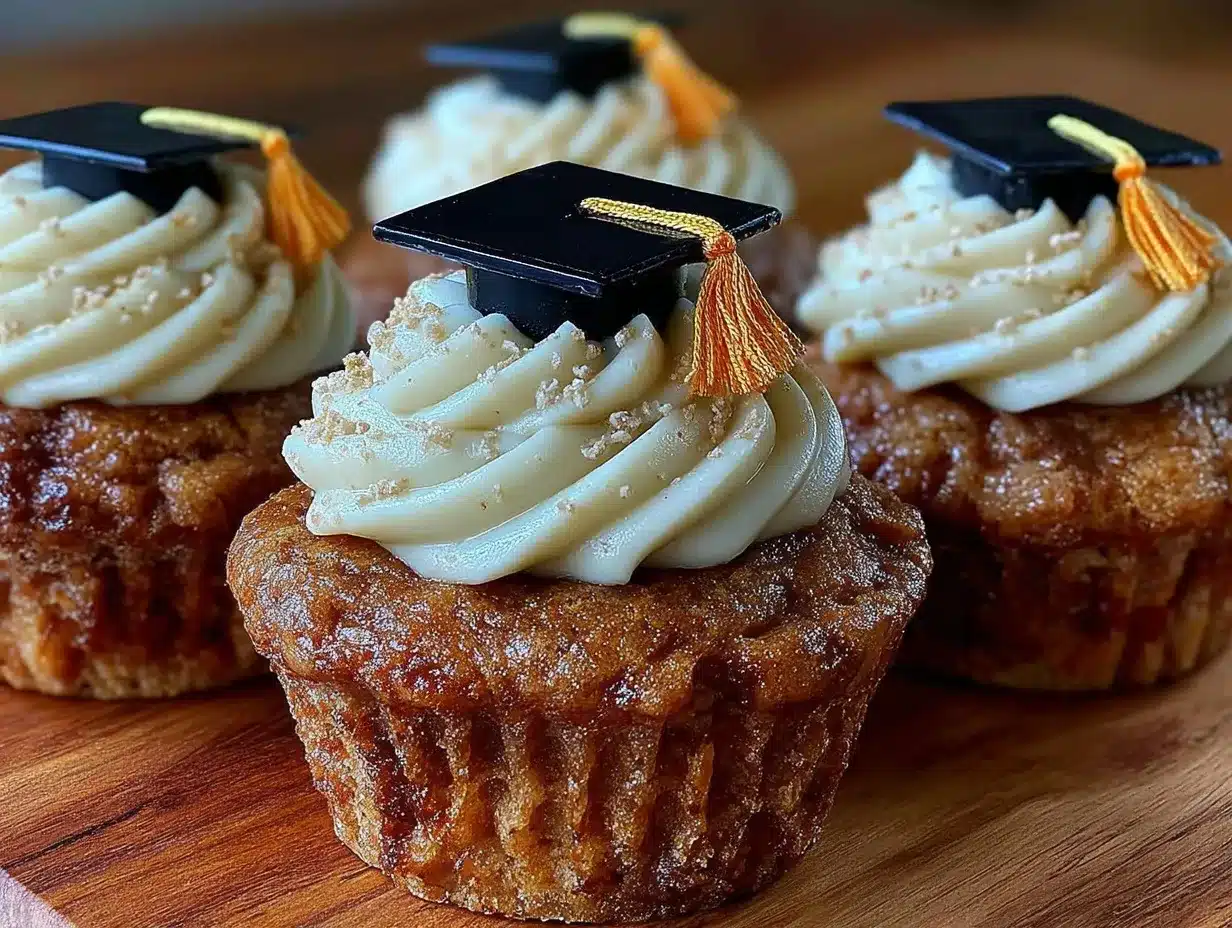
- Create the graduation cap. Roll out black fondant to about 1/8 inch thick. Cut a square slightly larger than the cupcake grid to serve as the cap top. Shape a smaller rectangle for the cap base and form a thin fondant tassel. Attach with a dab of water or edible glue.
- Decorate. Place the fondant cap on top, positioning the tassel so it drapes naturally off one corner. Optional: brush tassel with edible gold dust for a subtle shimmer.
One tip I’ve learned is to let the cupcakes cool fully and the frosting firm a bit in the fridge before moving the whole arrangement. It helps keep everything stable, especially if you’re transporting it to a party.
Cooking Tips & Techniques
Pull apart cupcakes can be tricky if you’re not careful with texture and assembly. Here’s what I’ve learned after a few “crumbly” mishaps and frosting fails:
- Don’t overmix the batter. Overworking develops gluten and makes cupcakes dense. Mix just until combined for a tender crumb.
- Use room temperature eggs and milk. This helps the batter blend smoothly and rise evenly.
- Thin batter is normal. The hot water thins the batter but intensifies chocolate flavor. Resist adding more flour!
- Cool cupcakes completely before frosting. Warm cupcakes melt frosting, which ruins the neat pull apart look.
- Chill after frosting assembly. A quick 30-minute chill in the fridge helps the frosting set and cupcakes stick together better.
- When rolling fondant, use cornstarch or powdered sugar. This prevents sticking and makes shaping easier.
- For neat fondant edges, use a sharp knife and trim carefully. Patience here makes a big difference.
- Don’t rush the tassel. Let it dry a bit if possible so it holds shape better.
Timing is essential—plan your baking so cupcakes have enough cooling and assembly time before your event. Multitasking by prepping frosting and fondant while cupcakes bake makes the process smoother.
Variations & Adaptations
This recipe is a perfect base for customizing to your celebration style or dietary needs. Here are some ideas I’ve tried or recommend:
- Flavor swaps: Try vanilla cupcakes with chocolate frosting for a reverse twist, or add a splash of espresso powder to the batter for a mocha kick.
- Dietary adaptations: Use almond flour and coconut milk to make a gluten-free, dairy-free version. The cupcakes might be a bit more delicate, so handle gently when assembling.
- Seasonal decorations: Swap black fondant for school colors or add edible glitter for extra sparkle. For summer graduations, fresh edible flowers around the base add charm.
- Alternate assembly: Instead of a square grid, arrange cupcakes in a circle or rectangle and shape the fondant cap accordingly for a unique look.
- Personalized touches: Use colored frosting piping to write the graduate’s name or year on some cupcakes before assembling.
One variation I loved was making mini versions for a smaller crowd—baking cupcakes in mini muffin pans and using bite-sized fondant caps. It was a hit at a recent party, and the smaller size made it easier for guests to grab and go. If you enjoy savory snacks alongside your sweets, pairing this treat with something like the easy Italian sub sandwich skewers is a crowd-pleasing combo.
Serving & Storage Suggestions
Serving this pull apart cupcake graduation cap is as fun as making it. I find it’s best served at room temperature, so remove it from the fridge about 30 minutes before serving to let the buttercream soften slightly.
Presentation-wise, set it on a sturdy platter or cake board where guests can easily pull apart the cupcakes. If you want to add a little flair, scatter some fresh berries or mint leaves around the base.
Storage is straightforward: keep leftovers (if any!) covered loosely with plastic wrap or in an airtight container in the refrigerator for up to 3 days. Avoid stacking anything on top to protect the fondant decoration.
To reheat, bring cupcakes to room temperature naturally; microwaving tends to melt buttercream and soften fondant too much. Flavors often deepen after a day, so if you make this ahead, it can taste even better the next day.
For future celebrations, you might want to pair this dessert with refreshing drinks like the fresh strawberry basil lemonade, which complements the rich chocolate nicely and keeps the party vibe light and festive.
Nutritional Information & Benefits
Each pull apart cupcake is roughly 250-300 calories depending on size and frosting amount. The recipe uses whole ingredients like eggs and milk, which add protein and calcium, but it’s definitely a treat best enjoyed in moderation.
The cocoa powder is rich in antioxidants, and using real butter provides some vitamin A. For those mindful of allergens, this recipe contains dairy, gluten, and eggs, so substitutions should be planned accordingly.
From a wellness standpoint, the recipe balances indulgence with simple ingredients and avoids artificial additives. Plus, making treats at home lets you control sweetness and quality, which is always a win over store-bought options.
Conclusion
This Easy Pull Apart Cupcake Graduation Cap is more than just a dessert; it’s a fun, interactive centerpiece that brings a little extra joy to celebrations. Whether you’re marking a big milestone or just want a sweet way to gather friends and family, this recipe offers a perfect balance of style, flavor, and simplicity.
Feel free to tweak the flavors, colors, or assembly to make it uniquely yours. I love this recipe because it turns baking into a shared experience—everyone gets to join in, literally pulling apart the pieces and savoring the moment.
If you try it out, I’d love to hear how it goes or see your own creative spins! Drop a comment below or share your photos. Here’s to making celebrations a little sweeter and a lot more memorable.
FAQs
- Can I make these cupcakes ahead of time?
Yes, you can bake the cupcakes a day ahead and store them in an airtight container. Assemble and frost the day of the event for best freshness. - What if I don’t have fondant?
You can use black-colored modeling chocolate or even craft the cap from sturdy black construction paper for decoration only (not edible). - How do I keep the cupcakes from falling apart when pulling?
Use enough frosting as “glue” between cupcakes and chill the assembled cake for about 30 minutes before serving. - Can I use store-bought cupcakes?
Absolutely! Just pick sturdy cupcakes that aren’t too crumbly and add your own frosting and fondant decoration. - Any tips for making the tassel?
Roll thin strips of fondant and twist gently. Let it dry on parchment paper so it holds its shape before placing on the cap.
Pin This Recipe!
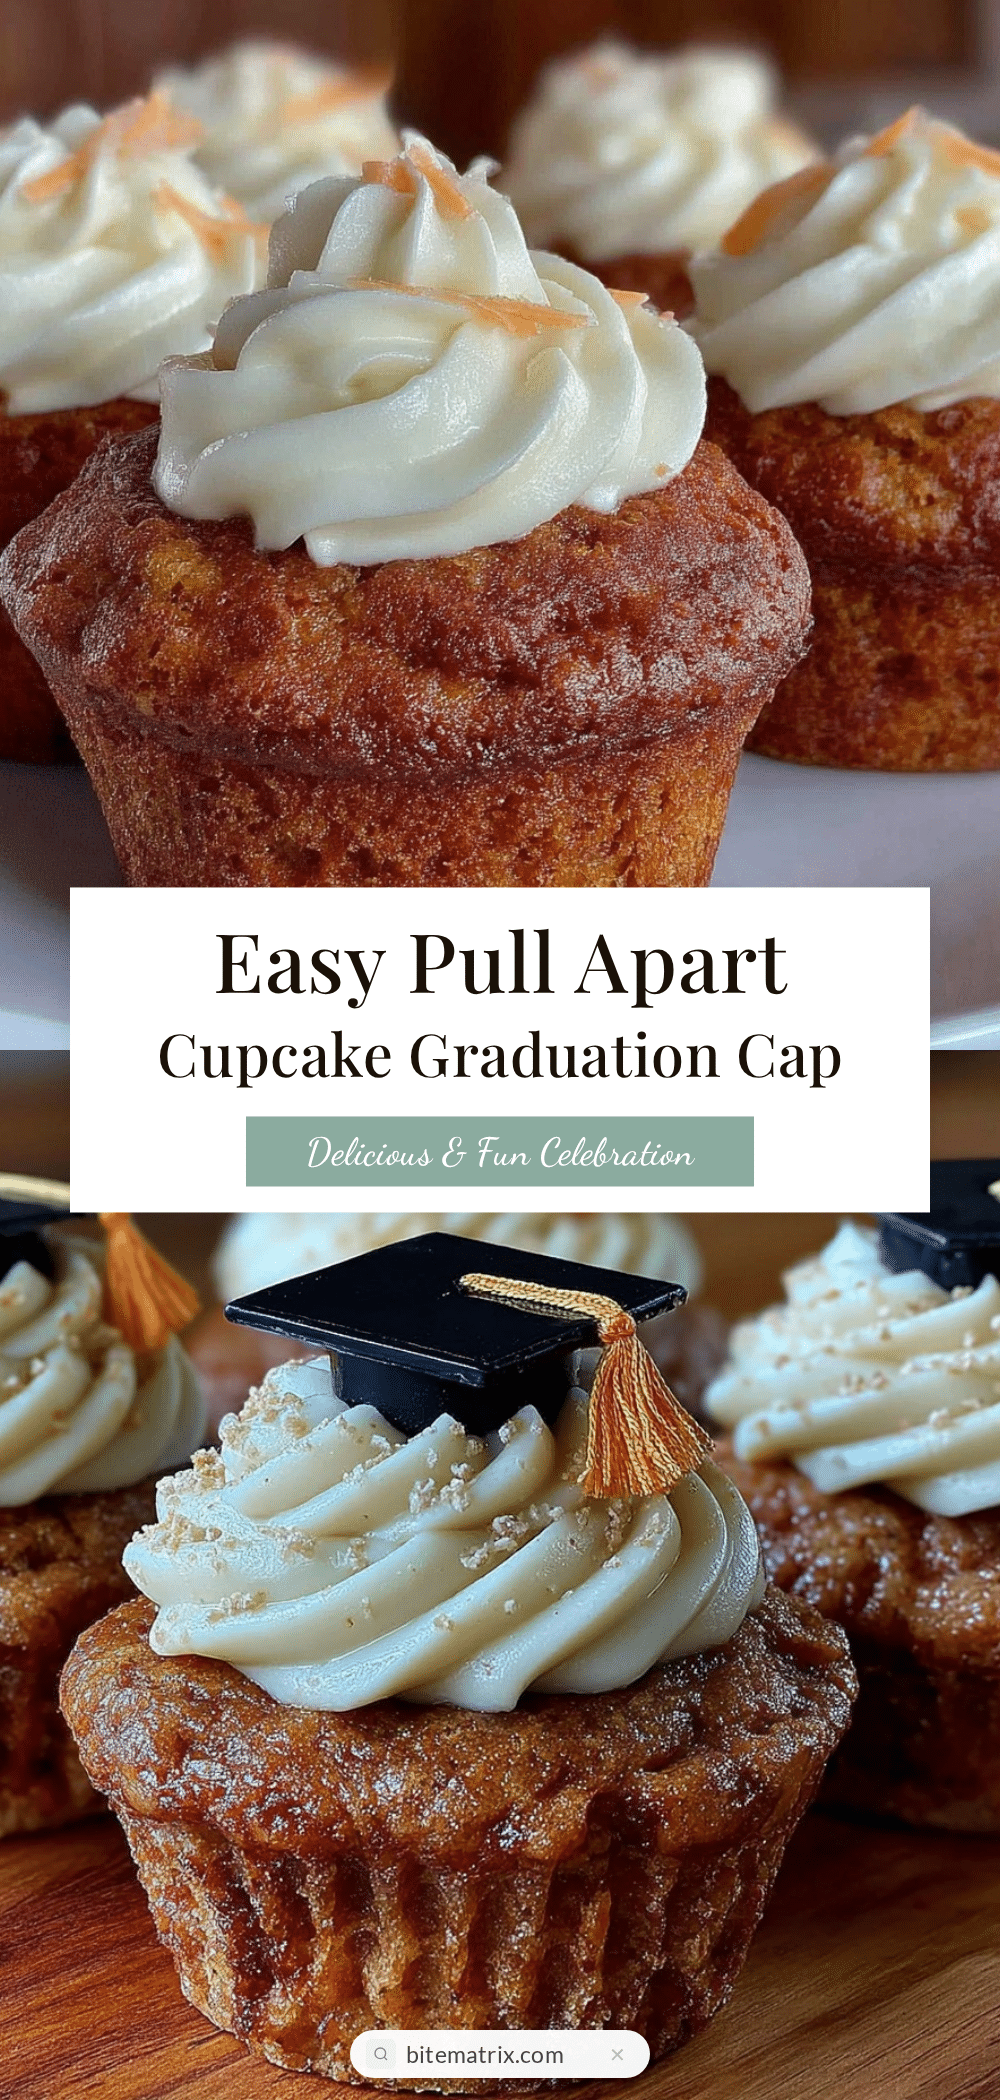
Easy Pull Apart Cupcake Graduation Cap Recipe for Perfect Celebration Treats

A fun and impressive pull apart cupcake dessert designed as a graduation cap, perfect for celebrations and easy to share.
- Prep Time: 15 minutes
- Cook Time: 22 minutes
- Total Time: 45 minutes
- Yield: 12 servings 1x
- Category: Dessert
- Cuisine: American
Ingredients
- 1 1/2 cups all-purpose flour (190g)
- 3/4 cup unsweetened cocoa powder (75g)
- 1 1/2 tsp baking powder
- 1/2 tsp baking soda
- 1/4 tsp salt
- 1 1/4 cups granulated sugar (250g)
- 2 large eggs, room temperature
- 1 cup whole milk (240ml)
- 1/2 cup vegetable oil (120ml)
- 2 tsp vanilla extract
- 1/2 cup hot water (120ml)
- 1 cup unsalted butter, softened (227g)
- 4 cups powdered sugar, sifted (480g)
- 2–4 tbsp whole milk (30-60ml), adjust for consistency
- 1 tbsp vanilla extract
- Pinch of salt
- About 4 oz black fondant or modeling chocolate (115g)
- Edible gold or silver dust (optional)
Instructions
- Preheat the oven to 350°F (175°C). Line a 12-cup muffin pan with paper liners or grease well.
- In a large bowl, sift together flour, cocoa powder, baking powder, baking soda, and salt. Set aside.
- In another bowl, whisk sugar and eggs until well blended. Add milk, vegetable oil, and vanilla extract; mix thoroughly.
- Gradually add dry ingredients to wet ingredients, mixing on low speed to avoid overworking the batter.
- Slowly pour in hot water and mix just until batter is smooth. The batter will be thin.
- Pour batter evenly into the 12 muffin cups, about 2/3 full each.
- Bake for 18-22 minutes. Test doneness with a toothpick inserted into the center; it should come out clean or with a few moist crumbs.
- Remove cupcakes from pan after 10 minutes and transfer to a wire rack. Let cool completely before frosting.
- Beat softened butter on medium speed until creamy (about 2 minutes). Gradually add powdered sugar, alternating with milk, until spreadable consistency is reached. Mix in vanilla and salt.
- Place cupcakes close together on a serving tray in a 3×4 grid. Spread frosting generously over the tops and in the gaps to glue them together.
- Roll out black fondant to about 1/8 inch thick. Cut a square slightly larger than the cupcake grid for the cap top. Shape a smaller rectangle for the cap base and form a thin fondant tassel. Attach with a dab of water or edible glue.
- Place the fondant cap on top, positioning the tassel so it drapes naturally off one corner. Optionally brush tassel with edible gold dust for shimmer.
- Chill the assembled cupcakes in the fridge for about 30 minutes to set the frosting and stabilize the cake before serving.
Notes
Do not overmix the batter to keep cupcakes tender. Use room temperature eggs and milk for smooth blending. Cool cupcakes completely before frosting to prevent melting. Chill assembled cupcakes for 30 minutes to set frosting and keep cupcakes together. Use cornstarch or powdered sugar when rolling fondant to prevent sticking. Let tassel dry for better shape retention.
Nutrition
- Serving Size: 1 cupcake piece
- Calories: 275
- Sugar: 25
- Sodium: 150
- Fat: 14
- Saturated Fat: 7
- Carbohydrates: 35
- Fiber: 2
- Protein: 3
Keywords: pull apart cupcakes, graduation cap cupcakes, celebration dessert, chocolate cupcakes, vanilla buttercream, party treats


