“You forgot the lunch again?” That text from my kid hit me just as I was about to shut the fridge door. Honestly, I’d been juggling so many things that week, I barely noticed the dwindling lunchbox supplies. So I grabbed whatever was handy and wrapped it up in a tortilla, thinking, “Well, this’ll do.” Turns out, that quick fix became the go-to meal that saved mornings from spiraling into chaos. Those easy make-ahead freezer burritos weren’t fancy, but they worked like magic—and the best part? They actually taste pretty darn good even after freezing.
Some mornings now, while the house is still half-asleep and I’m sneaking a sip of cold coffee, I pull one of these burritos from the freezer. By the time the kids are dressed and shoes are on, their lunch is ready too. It’s weird how something so simple turned into a little ritual that eased the stress of school days. Plus, no mad dashes to the grocery store or last-minute sandwich scrambling.
I didn’t expect to become obsessed with prepping a batch of these burritos every weekend, but here I am—making enough to cover a whole school week. Honestly, it’s the kind of recipe that stuck because it’s forgiving, flexible, and best of all, fast. And if you’re feeling like mornings around your place could use a little less chaos, maybe it’ll stick for you, too.
Why You’ll Love This Recipe
- Quick & Easy: These burritos come together in about 30 minutes, and once frozen, they’re ready to grab-and-go for the busiest mornings.
- Simple Ingredients: No need for exotic items or specialty stores—most ingredients are pantry staples or easy to find.
- Perfect for Busy Mornings: Whether you’re juggling work, school runs, or just trying to get everyone out the door on time, these burritos take the pressure off.
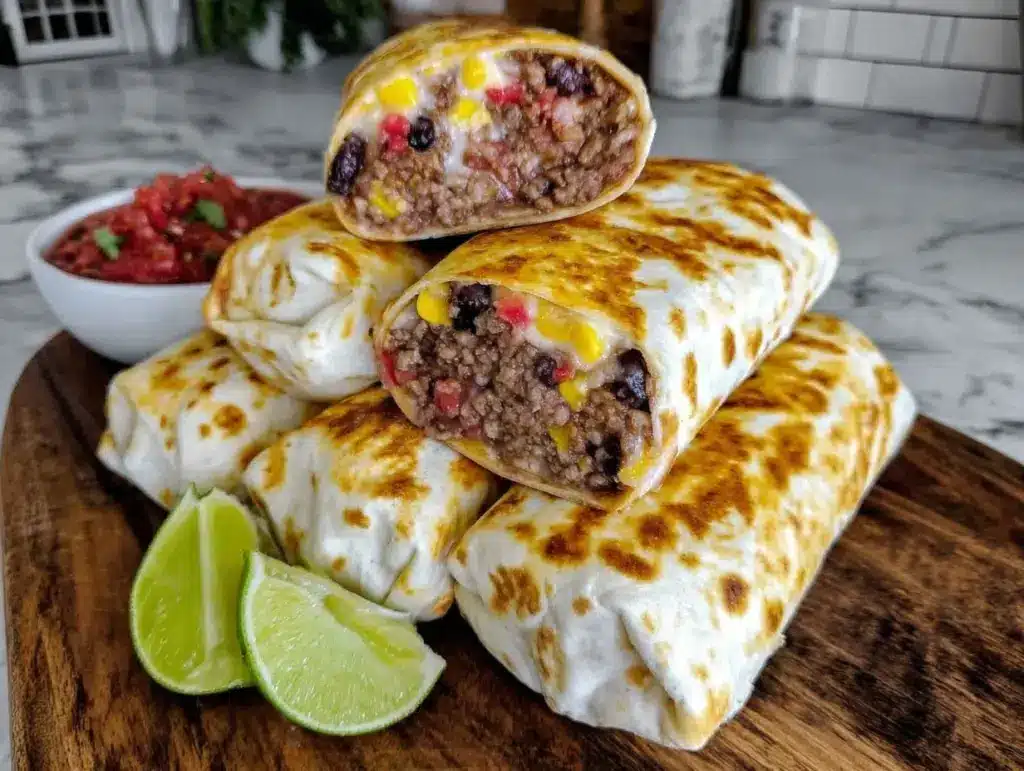
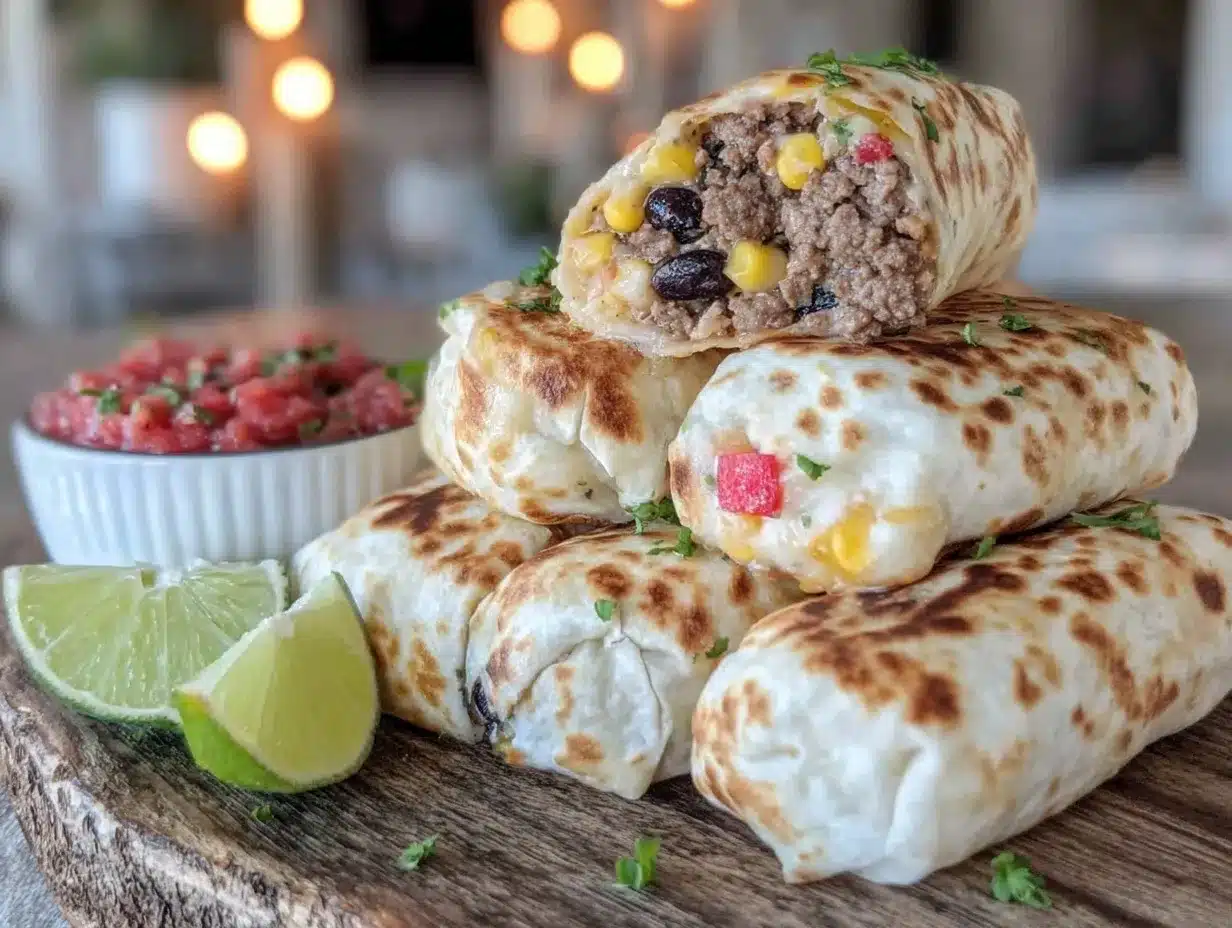
- Crowd-Pleaser: Kids and adults both approve—there’s something about the comforting blend of beans, cheese, and spices wrapped inside a warm tortilla.
- Unbelievably Delicious: The combination of melty cheese, seasoned fillings, and soft tortillas is comfort food that doesn’t feel like a compromise.
- Flexible and Customizable: You can swap out ingredients to suit dietary needs or preferences—whether you want to add veggies, switch to gluten-free tortillas, or make a vegetarian version.
This isn’t just another burrito recipe floating around. The secret is in the seasoning—balanced but not overpowering—and the way the fillings hold together after freezing and reheating. I’ve tried versions that fall apart or get soggy, but this one keeps its shape and flavor every time. It’s the kind of meal that makes you close your eyes after the first bite and think, “Yeah, this is exactly what I needed.”
What Ingredients You Will Need
This recipe uses simple, wholesome ingredients to deliver bold flavor and satisfying texture without the fuss. You probably already have most of these in your kitchen, which makes it even easier to throw together a batch over the weekend.
- Flour tortillas: Large burrito-sized, preferably fresh or thawed if frozen. I like to use Mission brand for their flexibility and size.
- Cooked rice: White or brown, about 2 cups (400 g) — adds bulk and soaks up the flavors nicely.
- Black beans: 1 can (15 oz/425 g), drained and rinsed. You can substitute pinto beans if you prefer.
- Cooked protein: 1 cup (150 g) shredded rotisserie chicken, cooked ground beef, or even sautéed tofu for a vegetarian twist.
- Shredded cheese: 1 ½ cups (170 g) cheddar or Monterey Jack, for that melty, gooey goodness.
- Sautéed veggies: 1 cup (150 g) diced bell peppers and onions, cooked until soft. Frozen mixed veggies work well too.
- Spices: 1 teaspoon chili powder, ½ teaspoon cumin, ½ teaspoon garlic powder, and a pinch of salt and pepper.
- Salsa or enchilada sauce: ½ cup (120 ml) to moisten the filling and add tangy flavor.
- Optional add-ins: Corn kernels, diced jalapeños, or fresh cilantro for extra punch.
Feel free to swap out the cooked protein for your favorite—sometimes I grab leftover savory beer can chicken to up the flavor. For gluten-free versions, use corn tortillas or gluten-free wraps, though they might be a bit trickier to roll tightly.
Equipment Needed
- Large skillet or frying pan: For sautéing veggies and warming the filling.
- Mixing bowl: To combine all the filling ingredients evenly.
- Measuring cups and spoons: For precise seasoning and portioning.
- Cutting board and knife: To prep veggies and any fresh add-ins.
- Aluminum foil or parchment paper: To wrap the burritos individually before freezing.
- Freezer-safe storage container or large zip-top bag: For storing your wrapped burritos.
If you don’t have a skillet, you can use a microwave-safe bowl to warm and mix the filling, but the flavor and texture are better when sautéed. I keep a silicone spatula handy for scraping every last bit from the pan. For a budget option, using reusable beeswax wraps instead of foil works well and is eco-friendly.
Preparation Method
- Prepare your filling: Heat a large skillet over medium heat and add a splash of oil. Sauté diced bell peppers and onions for about 5 minutes until softened and fragrant.
- Mix in protein and beans: Add your cooked shredded chicken (or chosen protein) and black beans. Stir together for 2-3 minutes, warming through.
- Add rice and seasoning: Stir in the cooked rice, chili powder, cumin, garlic powder, salt, and pepper. Mix thoroughly to combine all flavors evenly.
- Moisten with salsa: Pour in about ½ cup of salsa or enchilada sauce to keep the filling moist. Cook for another 2 minutes, stirring constantly to avoid sticking.
- Remove from heat and add cheese: Transfer the filling to a bowl and let it cool slightly before stirring in 1 ½ cups shredded cheese. This prevents the cheese from melting too soon and helps with rolling.
- Warm tortillas: To make rolling easier, warm tortillas in a dry skillet for about 30 seconds on each side or wrap in a damp towel and microwave for 20 seconds.
- Assemble the burritos: Lay a tortilla flat, spoon about ½ cup (120 g) of filling onto the center. Fold in the sides, then roll tightly from one end to the other.
- Wrap and freeze: Wrap each burrito individually in aluminum foil or parchment paper. Arrange wrapped burritos in a freezer-safe container or large zip-top bag.
- Freeze for up to 3 months: Label and date your burritos for easy tracking.
- Reheat when ready: To eat, unwrap and microwave on high for 2-3 minutes (depending on microwave strength), flipping halfway through. Alternatively, bake in a 350°F (175°C) oven for 20-25 minutes.
Pro tip: Don’t overfill your burritos or they’ll be tricky to wrap and might burst in the microwave. The filling should be warm but not hot before adding the cheese—melty but manageable. I usually make a test burrito first to get the portion right before rolling the rest.
Cooking Tips & Techniques
One trick I learned the hard way is warming the tortillas before rolling. Cold tortillas crack, which can lead to disastrous filling spills while reheating. A quick heat softens them, making folding easier and neater.
When mixing the filling, keep stirring over medium heat to avoid any sticking or burning at the bottom. You want the ingredients well combined but not mushy. If the filling feels dry, a little extra salsa or a splash of water helps keep things moist.
Freezing burritos individually wrapped is key to preventing freezer burn and keeping them fresh. I always squeeze out as much air as possible from the storage bag—trust me, it makes a difference.
Timing matters too. If you’re reheating in the microwave, flipping the burrito midway helps heat evenly and prevents cold spots. For a crispier texture, unwrap and bake the burrito in the oven for the last 5 minutes after microwaving.
Last, don’t be shy about customizing—sometimes I toss in some of that fresh diced jalapeño or add a handful of shredded lettuce right before serving to freshen things up. It’s a small touch that keeps the burrito from ever feeling boring.
Variations & Adaptations
- Vegetarian: Skip the meat and add extra beans, sautéed mushrooms, or crumbled tofu. I often add some diced zucchini or spinach to boost the veggie content.
- Spicy: Include chopped jalapeños or hot sauce in the filling for a kick. A dash of smoked paprika adds a smoky heat that’s subtle but satisfying.
- Low-carb: Use low-carb or cauliflower tortillas and swap rice for riced cauliflower to keep carbs down.
- Vegan: Use dairy-free cheese, replace the meat with seasoned lentils or tempeh, and choose vegan tortillas.
- Seasonal: In the summer, fresh corn kernels and tomatoes bring brightness. In cooler months, roasted sweet potatoes add a cozy sweetness.
One personal twist I love is mixing in a bit of the fresh taco pasta salad seasoning blend for an extra layer of flavor in the filling. It’s an unexpected touch friends never guess.
Serving & Storage Suggestions
These burritos are best served hot, straight from the microwave or oven. If you want to add some freshness, a dollop of sour cream, guacamole, or a sprinkle of fresh cilantro works wonders.
Pair your burrito with a simple side salad like a fresh cucumber dill salad to balance the richness. For drinks, a cold glass of lemonade or iced tea hits the spot.
Store any leftover cooked burritos wrapped tightly in the freezer for up to 3 months. For best texture, thaw overnight in the fridge before reheating if you have time, but microwaving from frozen works fine.
Flavors often deepen after a day or two in the fridge, so if you plan ahead, the burritos get even tastier. Just keep in mind reheating times might be a bit shorter for refrigerated burritos versus frozen ones.
Nutritional Information & Benefits
Each burrito contains approximately 350-400 calories, with balanced macros from protein, carbs, and fats. The black beans provide fiber and plant-based protein, while the rice offers energy-sustaining carbohydrates.
The inclusion of sautéed veggies adds vitamins and antioxidants, supporting a well-rounded meal. Using lean proteins or plant-based alternatives can reduce saturated fat content.
Gluten-free options are easily achieved by using appropriate tortillas. Be mindful of dairy allergies by swapping cheese for vegan alternatives. These burritos fit well into a family-friendly meal plan, offering convenience without sacrificing nutrition.
Conclusion
These easy make-ahead freezer burritos have become a quiet lifesaver in my busy mornings. They are simple, satisfying, and forgiving—a recipe that welcomes your own twists and tweaks to fit your family’s tastes.
Whether you’re scrambling to pack lunches or need a quick meal on hectic days, these burritos take the edge off with minimal fuss. I love how they bring a little calm to the chaos and keep everyone happy and full.
Give them a try, and I’d love to hear how you make them your own or what fillings you prefer. Sharing these small kitchen wins is what keeps me cooking through busy seasons.
FAQs About Easy Make-Ahead Freezer Burritos
Can I freeze these burritos for longer than 3 months?
It’s best to consume frozen burritos within 3 months for optimal flavor and texture. Beyond that, they may develop freezer burn or dry out.
How do I reheat freezer burritos without a microwave?
Wrap the burrito in foil and bake in a preheated 350°F (175°C) oven for 20-25 minutes until heated through.
Can I make these burritos ahead and refrigerate instead of freezing?
Yes! Prepare and wrap the burritos, then store in the fridge for up to 3 days before reheating.
What’s the best way to prevent tortillas from cracking?
Warm them briefly in a skillet or microwave before rolling to make them flexible and less likely to tear.
Can I add fresh vegetables after reheating?
Absolutely! Adding fresh salsa, lettuce, or avocado after heating brightens the flavors and adds texture.
Pin This Recipe!
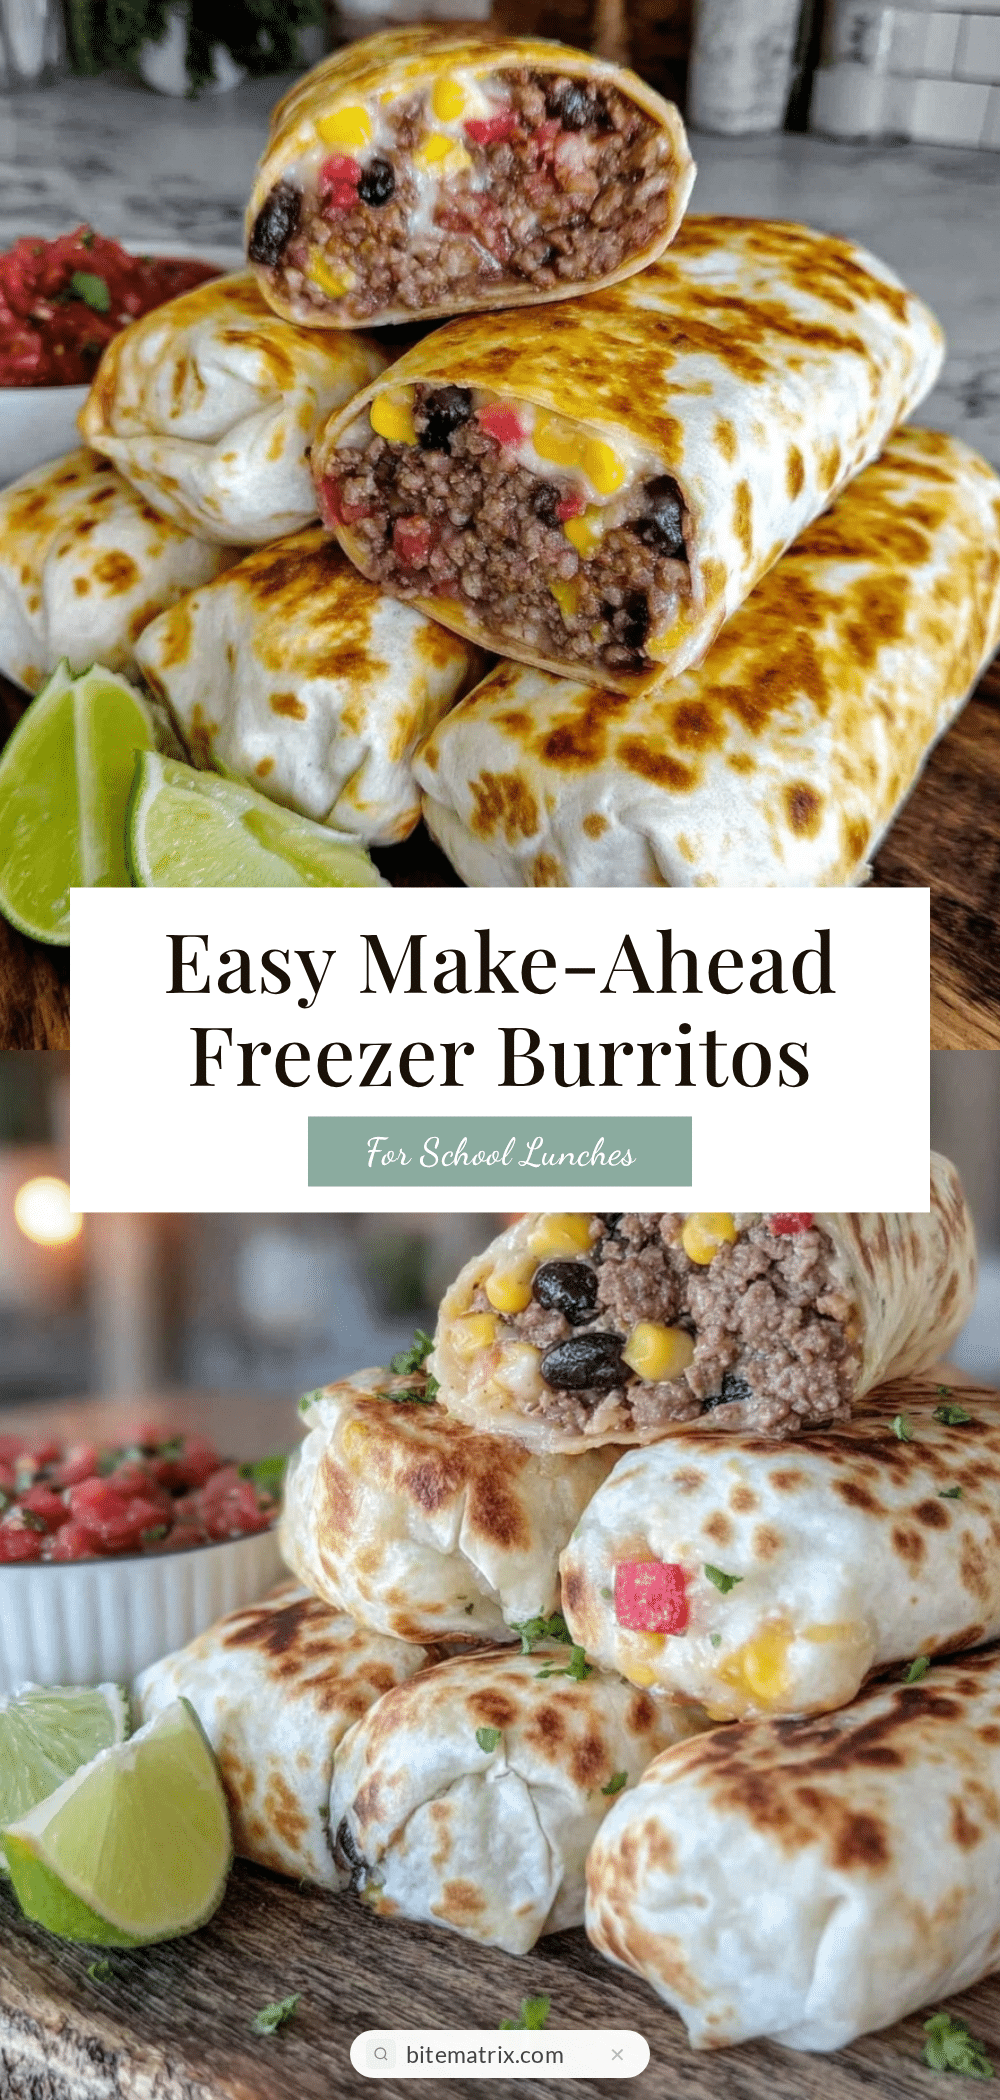
Easy Make-Ahead Freezer Burritos Recipe for Busy School Days

These easy make-ahead freezer burritos are quick to prepare, freezer-friendly, and perfect for busy mornings. They combine simple ingredients like beans, cheese, rice, and protein wrapped in a warm tortilla for a comforting, grab-and-go meal.
- Prep Time: 15 minutes
- Cook Time: 15 minutes
- Total Time: 30 minutes
- Yield: 6 servings 1x
- Category: Main Course
- Cuisine: Mexican-inspired
Ingredients
- Large flour tortillas (burrito-sized), preferably fresh or thawed if frozen
- 2 cups cooked rice (white or brown)
- 1 can (15 oz) black beans, drained and rinsed (or substitute pinto beans)
- 1 cup cooked protein (shredded rotisserie chicken, cooked ground beef, or sautéed tofu)
- 1 ½ cups shredded cheese (cheddar or Monterey Jack)
- 1 cup sautéed veggies (diced bell peppers and onions, cooked until soft)
- 1 teaspoon chili powder
- ½ teaspoon cumin
- ½ teaspoon garlic powder
- Pinch of salt and pepper
- ½ cup salsa or enchilada sauce
- Optional: corn kernels, diced jalapeños, fresh cilantro
Instructions
- Heat a large skillet over medium heat and add a splash of oil. Sauté diced bell peppers and onions for about 5 minutes until softened and fragrant.
- Add cooked shredded chicken (or chosen protein) and black beans. Stir together for 2-3 minutes, warming through.
- Stir in cooked rice, chili powder, cumin, garlic powder, salt, and pepper. Mix thoroughly to combine all flavors evenly.
- Pour in about ½ cup of salsa or enchilada sauce to moisten the filling. Cook for another 2 minutes, stirring constantly to avoid sticking.
- Remove from heat and transfer filling to a bowl. Let cool slightly before stirring in shredded cheese to prevent melting too soon.
- Warm tortillas in a dry skillet for about 30 seconds on each side or wrap in a damp towel and microwave for 20 seconds to make rolling easier.
- Lay a tortilla flat, spoon about ½ cup of filling onto the center. Fold in the sides, then roll tightly from one end to the other.
- Wrap each burrito individually in aluminum foil or parchment paper. Arrange wrapped burritos in a freezer-safe container or large zip-top bag.
- Freeze burritos for up to 3 months. Label and date for easy tracking.
- To reheat, unwrap and microwave on high for 2-3 minutes, flipping halfway through, or bake in a 350°F oven for 20-25 minutes.
Notes
Warm tortillas before rolling to prevent cracking. Do not overfill burritos to avoid bursting during reheating. Burritos can be reheated in microwave or oven; flipping halfway through microwave heating ensures even warming. For crispier texture, bake burrito in oven for last 5 minutes after microwaving. Burritos freeze well up to 3 months. Customize fillings to suit dietary preferences.
Nutrition
- Serving Size: 1 burrito
- Calories: 375
- Sugar: 4
- Sodium: 550
- Fat: 12
- Saturated Fat: 5
- Carbohydrates: 45
- Fiber: 8
- Protein: 18
Keywords: freezer burritos, make-ahead burritos, easy lunch, school lunch, freezer meals, quick dinner, meal prep, burritos, kid-friendly, freezer-friendly


