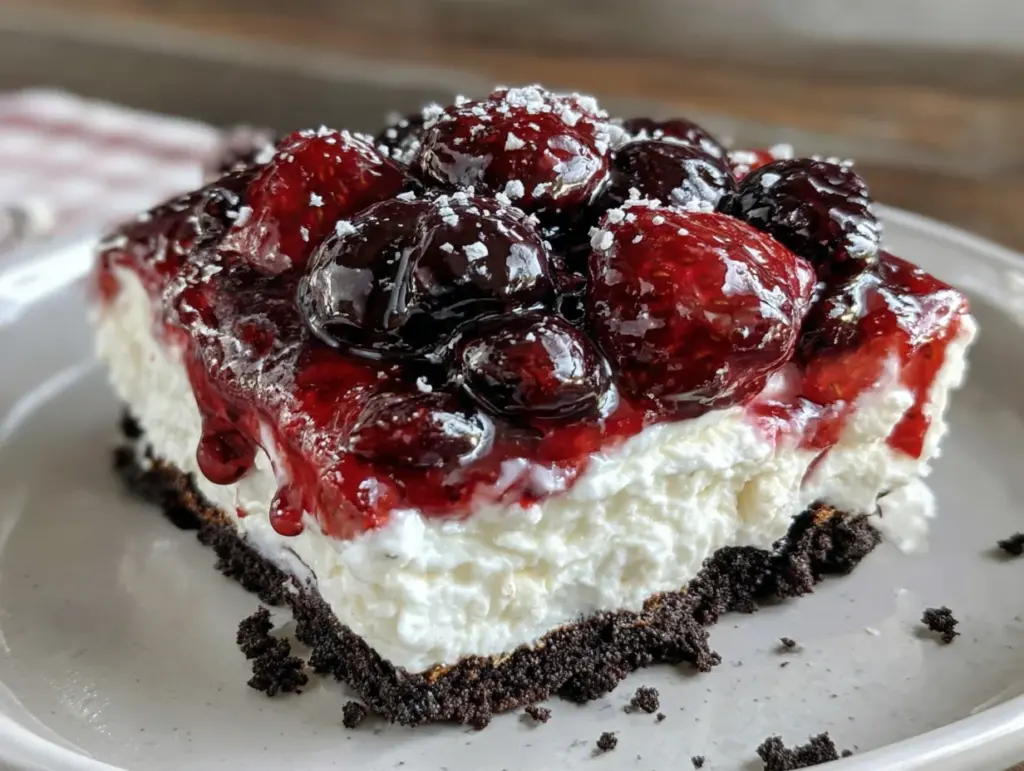
I have never been a person who trusts a no-bake dessert. That sounds dramatic, I know, but I have been burned too many times by recipes that promise “easy” and deliver a sad, soggy mess that collapses before you can even get it to the table. So when I first thought about making a red, white, and blue berry icebox cake for a Fourth of July party, I was skeptical. Honestly, I almost made a regular cake just to be safe. But I was short on time, it was ninety degrees outside, and turning on the oven felt like a personal attack. So I threw this together, fully expecting it to be a backup dish that people would politely nibble.
The first bite changed my mind. It was cold, creamy, and the berries had softened just enough to create these little pockets of jammy sweetness between the layers of vanilla wafers. It was not a compromise. It was actually better than any baked cake I could have made. I watched the whole tray disappear in about fifteen minutes, and I stood there holding an empty dish, completely converted. This is the dessert that made me stop judging recipes by how complicated they look. Sometimes the best things are the ones you barely try to control.
This Easy Red White and Blue Berry Icebox Cake is now my go-to for every summer gathering. It is the kind of dessert that looks like you spent hours on it, but really, you just stacked things in a dish and let the fridge do the work. And honestly? That is my favorite kind of cooking.
Why You’ll Love This Recipe
This is not just another pretty dessert for a holiday party. This berry icebox cake has earned its spot in my recipe box through pure, reliable performance. I have tested it at barbecues, pool parties, and quiet family dinners, and it delivers every single time.
- No Oven Required : When it is hot outside, the last thing you want to do is heat up your kitchen. This recipe comes together completely on the counter and in the fridge. No sweat, literally.
- Simple Ingredients : You probably already have heavy cream and vanilla wafers in your pantry. The fresh berries are the only special purchase, and they are everywhere in summer.
- Perfect for Patriotic Holidays : The red strawberries, white cream, and blueberries make this the star of any Memorial Day, Fourth of July, or Labor Day celebration. It screams summer without screaming for attention.
- Crowd-Pleaser : I have served this to kids who claim they don’t like fruit and adults who claim they don’t eat dessert. Both groups came back for seconds. It is that universal.
- Unbelievably Delicious : The texture is the real magic here. The wafers soften into a cake-like layer, the cream stays light and fluffy, and the berries burst with fresh flavor. It is comfort food that feels fancy.
What makes this recipe different from the rest is the ratio. I spent a few batches figuring out exactly how many wafers and how much cream you need so the layers hold their shape without getting mushy. It is not just another version of a layered dessert. It is the version that actually works.
This is the kind of dessert that makes you close your eyes after the first bite. It is simple, but it is also perfect. And in a world of complicated recipes, that is a rare thing.
What Ingredients You Will Need
This recipe uses simple, fresh ingredients to create something that tastes much more complex than it is. Everything is easy to find, and most of it is probably already in your kitchen.
- Vanilla Wafers : I use the classic Nilla wafers for this. They are sturdy enough to hold the layers but soften beautifully overnight. You will need about one full box, maybe a little more depending on how tightly you pack your dish. Do not use the mini ones — they are too small and create a crumbly mess.
- Heavy Whipping Cream : One pint of cold heavy cream is all you need. Do not substitute with whipped topping from a tub. The real cream makes a difference in texture and flavor. It whips up light and airy and holds the layers together perfectly.
- Powdered Sugar : You will need about a quarter cup to sweeten the cream. It dissolves completely, so you do not get any gritty texture. If you like your desserts less sweet, you can cut it back to three tablespoons.
- Vanilla Extract : One teaspoon of pure vanilla extract adds warmth and depth to the cream layer. Imitation vanilla works in a pinch, but pure is better here since the flavor is so simple.
- Fresh Strawberries : You need about one and a half cups of sliced strawberries. Look for berries that are deep red and fragrant. If they are not quite ripe, let them sit on the counter for a day before using. I slice them about a quarter inch thick so they lay flat in the layers.
- Fresh Blueberries : One cup of fresh blueberries adds that pop of blue and a little tartness that balances the sweet cream. Use firm, plump berries. If they are too soft, they will bleed into the cream and turn everything purple.
- Lemon Zest (Optional) : A little zest from one lemon adds brightness that cuts through the richness. I add it to the cream before whipping. It is not essential, but it makes the dessert taste more sophisticated.
I recommend using organic berries when you can. They tend to be sweeter and more flavorful, which matters here since the fruit is the star. If you are shopping at a farmers market, grab whatever looks best that day. The quality of your fruit directly affects the final result.
For substitutions, you can use frozen berries if fresh are not available. Just thaw them first and drain off the excess liquid so they do not water down the cream. And if you need a dairy-free option, full-fat coconut cream whipped with a little powdered sugar works surprisingly well. It changes the flavor but is still delicious.
Equipment Needed
You do not need a lot of fancy tools for this recipe. That is part of the beauty of it.
- Hand Mixer or Stand Mixer : Whipping cream by hand is possible, but it takes forever and your arm will hurt. A hand mixer is the easiest option. I use my KitchenAid stand mixer because I am lazy, but a hand mixer works just as well.
- Large Mixing Bowl : Make sure it is chilled if you can. A cold bowl helps the cream whip faster and hold its shape longer. Stick it in the freezer for ten minutes before you start.
- 8×8 or 9×9 Square Baking Dish : This size works perfectly for the layers. You can also use a loaf pan for a taller, narrower cake. Just adjust the layering accordingly.
- Sharp Knife and Cutting Board : For slicing the strawberries. A dull knife will smash them and create a mess.
- Spatula : For spreading the cream evenly. A rubber spatula works best.
- Plastic Wrap : To cover the dish while it chills. You want a tight seal so the cake does not pick up fridge odors.
If you do not have a hand mixer, you can use a whisk and some elbow grease. It will take about eight to ten minutes of steady whisking. I have done it before when my mixer broke, and it is a good arm workout. Not my first choice, but it works.
Preparation Method
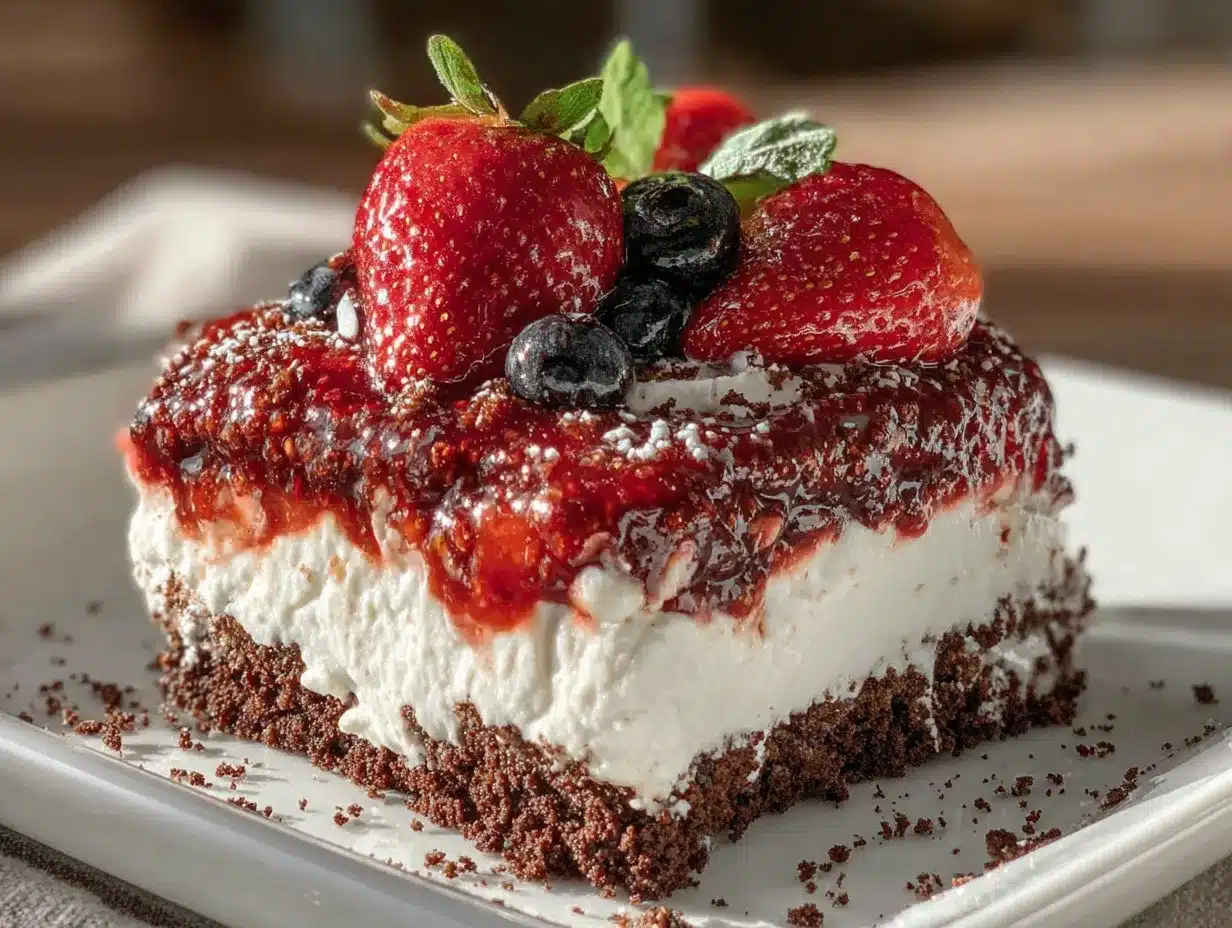
This is where the magic happens. Follow these steps, and you will have a dessert that looks like it came from a bakery.
- Whip the Cream : Pour one pint (473 ml) of cold heavy whipping cream into a large chilled bowl. Add one-quarter cup (30 grams) of powdered sugar and one teaspoon (5 ml) of vanilla extract. If you are using the lemon zest, add that now. Beat on medium-high speed until soft peaks form. This takes about three to four minutes. You want the cream to be thick enough to hold its shape but not so stiff that it looks grainy. Stop when it looks like soft, billowy clouds.
- Prepare the Berries : Rinse one and a half cups of strawberries and pat them dry. Slice off the green tops and cut the berries into quarter-inch slices. Rinse one cup of blueberries and let them dry on a paper towel. Make sure the berries are completely dry before you start layering. Extra moisture will make the wafers soggy.
- Layer One : Spread a thin, even layer of whipped cream on the bottom of your 8×8 dish. This gives the first layer of wafers something to stick to. Arrange a single layer of vanilla wafers on top of the cream. Cover the bottom completely. Break a few wafers in half to fill in the gaps if you need to.
- Layer Two : Spread about one-third of the remaining whipped cream over the wafers. Use your spatula to smooth it out gently. Arrange a layer of sliced strawberries on top of the cream. Scatter a handful of blueberries over the strawberries. Press them in lightly so they stay put.
- Layer Three : Add another layer of vanilla wafers on top of the berries. Press them down gently so they sit flat. Spread another third of the whipped cream over the wafers. Top with another layer of strawberries and blueberries.
- Layer Four : Add the final layer of vanilla wafers. Spread the last of the whipped cream over the top. Smooth it out evenly. Arrange the remaining berries on top in a decorative pattern. I like to do a row of strawberries, then a row of blueberries, and finish with a few extra wafers crumbled over the top for texture.
- Chill : Cover the dish tightly with plastic wrap. Refrigerate for at least six hours, but overnight is best. The wafers need time to soften and absorb the cream. If you rush this step, you will end up with crunchy layers instead of a cake-like texture.
- Serve : Take the cake out of the fridge about ten minutes before serving. This takes the chill off and makes it easier to cut. Slice into squares and serve cold. It will hold its shape beautifully if you let it rest long enough.
Here is a tip I learned the hard way: do not skip the bottom layer of cream. I did that once, and the wafers slid around like a loose puzzle. That first thin layer anchors everything.
Cooking Tips & Techniques
I have made this cake about a dozen times now, and I have made every mistake you can imagine. Here is what I learned so you do not have to repeat my errors.
Do not overwhip the cream. I ruined my first batch by walking away for thirty seconds. The cream turned into butter. It was still usable, but the texture was heavy and greasy instead of light and airy. Watch it closely. When it starts to leave trails in the bowl, you are almost there.
Dry your berries thoroughly. Wet berries create a watery layer that makes the wafers fall apart. I pat mine dry with paper towels and let them sit for a few minutes before I start layering. It seems like a small step, but it makes a big difference.
Press the wafers down gently. After each layer of wafers, use your palm to press them flat. This helps them stick to the cream and creates a more even texture. Do not smash them, just a gentle press.
Plan ahead. This is not a last-minute dessert. You need at least six hours of chill time, and overnight is much better. I usually make it the night before and let it sit in the fridge until I am ready to serve. The flavors meld together beautifully overnight.
Use a sharp knife to cut. A dull knife will drag through the layers and make a mess. Run your knife under hot water and dry it off before each cut for clean, neat slices.
If you are in a hurry, you can use a 9×13 dish for a thinner cake that chills faster. It will be ready in about four hours instead of six. Just adjust the layering to fit the larger surface area.
Variations & Adaptations
This recipe is flexible. I have played around with it a lot, and here are some of my favorite variations.
Berry Swap : You can use raspberries or blackberries instead of strawberries. They are a little more delicate, so handle them gently. The flavor will be slightly tarter, which pairs well with the sweet cream. I have also used a mix of all three berries for a more colorful dessert.
Citrus Twist : Add a tablespoon of fresh orange juice to the cream before whipping. It adds a bright, sunny flavor that works perfectly with the berries. I tried this on a whim one day, and it is now my preferred version.
Chocolate Version : Swap the vanilla wafers for chocolate wafer cookies. The chocolate and berry combination is incredible. Use chocolate shavings on top instead of crumbled wafers. This version is a little richer and feels more decadent.
Dairy-Free Option : Use full-fat coconut cream instead of heavy cream. Chill the cans overnight, scoop out the solid cream, and whip it with powdered sugar. It is not exactly the same, but it is still delicious and works for anyone avoiding dairy.
Individual Servings : Layer everything in small mason jars or dessert cups instead of a dish. This is perfect for parties where people want grab-and-go desserts. Just layer the wafers, cream, and berries in each jar and chill. They look adorable and are easy to serve.
I personally love the citrus twist version. It feels a little more grown-up and less like a kids’ dessert. But the classic version is still my go-to for holidays because it looks so festive.
Serving & Storage Suggestions
This berry icebox cake is best served cold, straight from the fridge. The texture is perfect when it is firm but not frozen. Let it sit on the counter for about ten minutes before slicing to take the edge off the chill.
For presentation, I like to serve it on a white platter so the red, white, and blue colors pop. A few extra fresh berries scattered around the plate add a nice touch. You can also drizzle a little honey or balsamic glaze over the top for a fancy finish.
This cake pairs beautifully with a cold glass of lemonade or iced tea. If you are serving it at a barbecue, try it alongside some grilled corn on the cob with chili lime butter for a sweet and savory contrast. For a full summer spread, it also goes great with a watermelon feta mint salad for a refreshing side.
Storage : Cover the dish tightly with plastic wrap or transfer leftovers to an airtight container. The cake will keep in the refrigerator for up to three days. After that, the wafers start to get too soft and the berries can become watery. I have never had leftovers last longer than two days in my house, but that is the official limit.
Freezing : You can freeze this cake for up to a month. Wrap the entire dish in plastic wrap, then a layer of aluminum foil. Thaw it in the refrigerator overnight before serving. The texture will be slightly different after freezing, but it is still good. I would not freeze it if you are serving it to guests, but it works for a quick treat later.
One thing I love about this dessert is that the flavors get better after a day in the fridge. The berries release their juices, the cream absorbs the vanilla, and everything melds together. It is one of those rare desserts that tastes even better on day two.
Nutritional Information & Benefits
This is a dessert, so I am not going to pretend it is health food. But it does have some redeeming qualities.
| Nutrient | Amount Per Serving (1 square, serves 9) |
|---|---|
| Calories | 285 |
| Total Fat | 18g |
| Saturated Fat | 11g |
| Cholesterol | 65mg |
| Sodium | 95mg |
| Total Carbohydrates | 28g |
| Dietary Fiber | 2g |
| Sugars | 18g |
| Protein | 3g |
| Vitamin C | 35% DV |
The fresh berries are the star here. Strawberries are packed with vitamin C and antioxidants, which support your immune system and skin health. Blueberries are loaded with flavonoids that are great for brain health. So while this is still a treat, you are getting some real nutritional benefits from the fruit.
This recipe is naturally gluten-free if you use gluten-free vanilla wafers. It is also vegetarian. For a lower-sugar option, you can cut the powdered sugar in the cream to two tablespoons. The berries provide enough natural sweetness that you probably will not miss it.
I like to think of this as a dessert that does not make you feel heavy afterward. It is light, refreshing, and leaves you satisfied without that sluggish feeling you get from a heavy baked cake. That is a win in my book.
Conclusion
This Easy Red White and Blue Berry Icebox Cake is the dessert that changed my mind about no-bake recipes. It is simple, beautiful, and tastes like summer in every bite. Whether you are making it for a Fourth of July barbecue, a Memorial Day picnic, or just a random Tuesday when you want something cold and sweet, this cake delivers.
I love how forgiving this recipe is. You can swap berries, change the wafers, or adjust the sweetness to your taste. It is a canvas for your creativity, but it also works perfectly exactly as written. That is rare in a dessert.
So go ahead and give it a try. I promise you will not miss the oven. And when you take that first cold, creamy, berry-filled bite, you will understand why this has become my go-to summer dessert. If you make it, I would love to hear how it turned out. Drop a comment below and let me know if you tried any variations or if it became a new favorite in your house. Happy summer, and happy eating!
Frequently Asked Questions
Can I use frozen berries instead of fresh?
Yes, you can use frozen berries, but you need to thaw them completely and drain off the excess liquid. If you skip this step, the extra moisture will make the wafers soggy and the cream watery. Pat them dry with paper towels before layering.
How long does this cake need to chill?
At least six hours, but overnight is best. The wafers need time to soften and absorb the cream. If you rush it, the layers will be crunchy instead of cake-like. I always make it the night before I plan to serve it.
Can I make this dessert dairy-free?
Absolutely. Use full-fat coconut cream instead of heavy cream. Chill the cans overnight, scoop out the solid cream, and whip it with powdered sugar. It will not taste exactly the same, but it is still delicious and works perfectly for anyone avoiding dairy.
How do I keep the layers from sliding around?
Start with a thin layer of cream on the bottom of the dish. This anchors the first layer of wafers. Also, press each layer of wafers down gently with your palm before adding the next layer of cream. This helps everything stick together.
Can I use a different type of cookie?
Yes, you can use graham crackers, shortbread cookies, or chocolate wafer cookies instead of vanilla wafers. Each will give a slightly different texture and flavor. Chocolate wafers make a particularly good version with the berries. Just note that softer cookies will break down faster, so adjust your chill time accordingly.
Pin This Recipe!
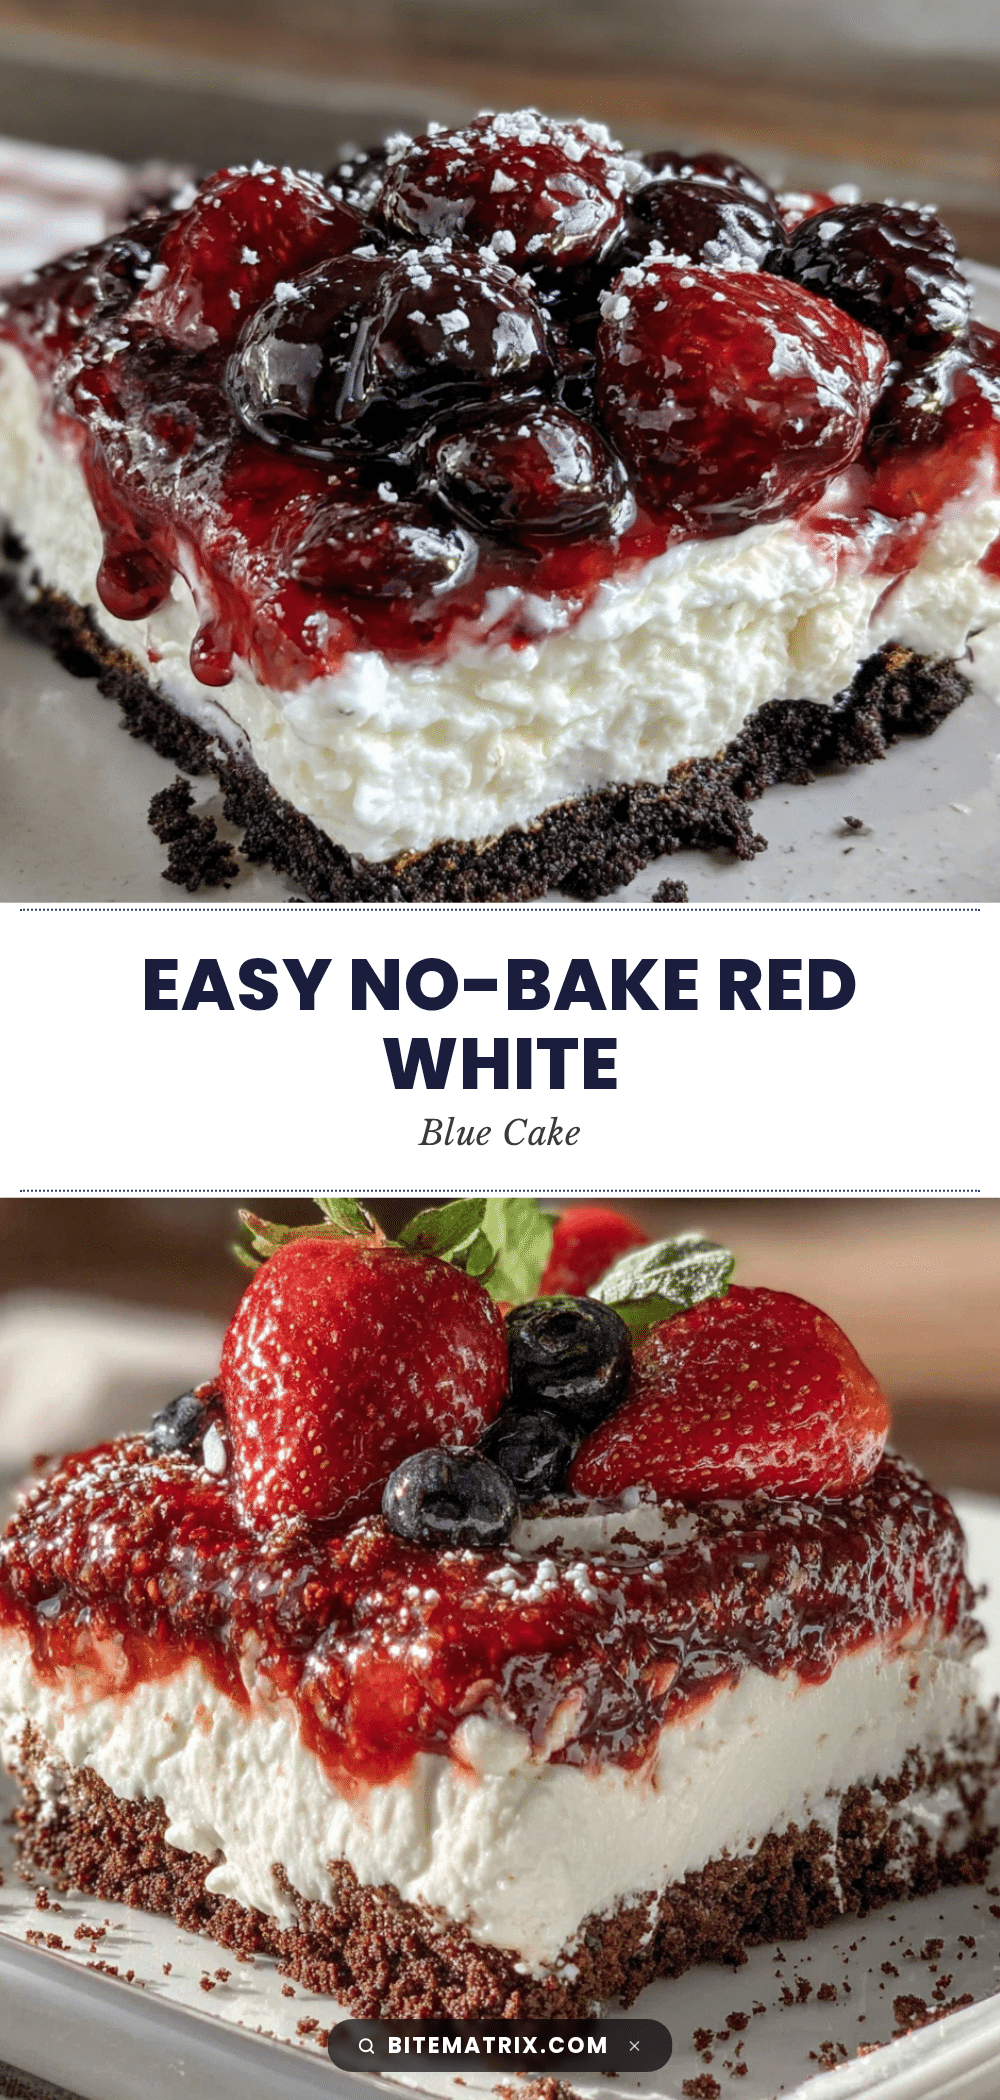
Easy Red White and Blue Berry Icebox Cake: Best No-Bake Dessert

This no-bake berry icebox cake layers vanilla wafers, fresh strawberries, blueberries, and whipped cream for a cold, creamy, and festive dessert perfect for summer gatherings. It’s simple to make and tastes even better after chilling overnight.
- Prep Time: 20 minutes
- Cook Time: 0 minutes
- Total Time: 6 hours 20 minutes (includes chilling)
- Yield: 9 servings 1x
- Category: Dessert
- Cuisine: American
Ingredients
- 1 box (about 11 oz) vanilla wafers (e.g., Nilla wafers)
- 1 pint (473 ml) heavy whipping cream, cold
- 1/4 cup (30 g) powdered sugar
- 1 teaspoon (5 ml) vanilla extract
- 1 1/2 cups fresh strawberries, sliced 1/4-inch thick
- 1 cup fresh blueberries
- 1 teaspoon lemon zest (optional)
Instructions
- Whip the cream: Pour cold heavy whipping cream into a large chilled bowl. Add powdered sugar, vanilla extract, and lemon zest (if using). Beat on medium-high speed until soft peaks form, about 3-4 minutes.
- Prepare the berries: Rinse strawberries and pat dry. Slice off tops and cut into 1/4-inch slices. Rinse blueberries and let dry on paper towels. Ensure berries are completely dry.
- Layer one: Spread a thin, even layer of whipped cream on the bottom of an 8×8 or 9×9 square baking dish. Arrange a single layer of vanilla wafers on top, covering completely. Break wafers to fill gaps.
- Layer two: Spread about one-third of the remaining whipped cream over the wafers. Arrange a layer of sliced strawberries on top, then scatter a handful of blueberries. Press berries in lightly.
- Layer three: Add another layer of vanilla wafers, pressing gently. Spread another third of the whipped cream over the wafers. Top with another layer of strawberries and blueberries.
- Layer four: Add the final layer of vanilla wafers. Spread the last of the whipped cream over the top, smoothing evenly. Arrange remaining berries decoratively on top. Optionally, crumble a few wafers over the top.
- Chill: Cover dish tightly with plastic wrap. Refrigerate for at least 6 hours, preferably overnight, until wafers soften and cake holds its shape.
- Serve: Remove from fridge about 10 minutes before serving. Slice into squares and serve cold.
Notes
Do not overwhip the cream; it can turn into butter. Dry berries thoroughly to prevent sogginess. Press wafers gently after each layer. For best results, chill overnight. Use a sharp knife to cut clean slices.
Nutrition
- Serving Size: 1 square (1/9 of cak
- Calories: 285
- Sugar: 18
- Sodium: 95
- Fat: 18
- Saturated Fat: 11
- Carbohydrates: 28
- Fiber: 2
- Protein: 3
Keywords: icebox cake, no-bake dessert, berry dessert, Fourth of July, summer dessert, vanilla wafers, strawberries, blueberries