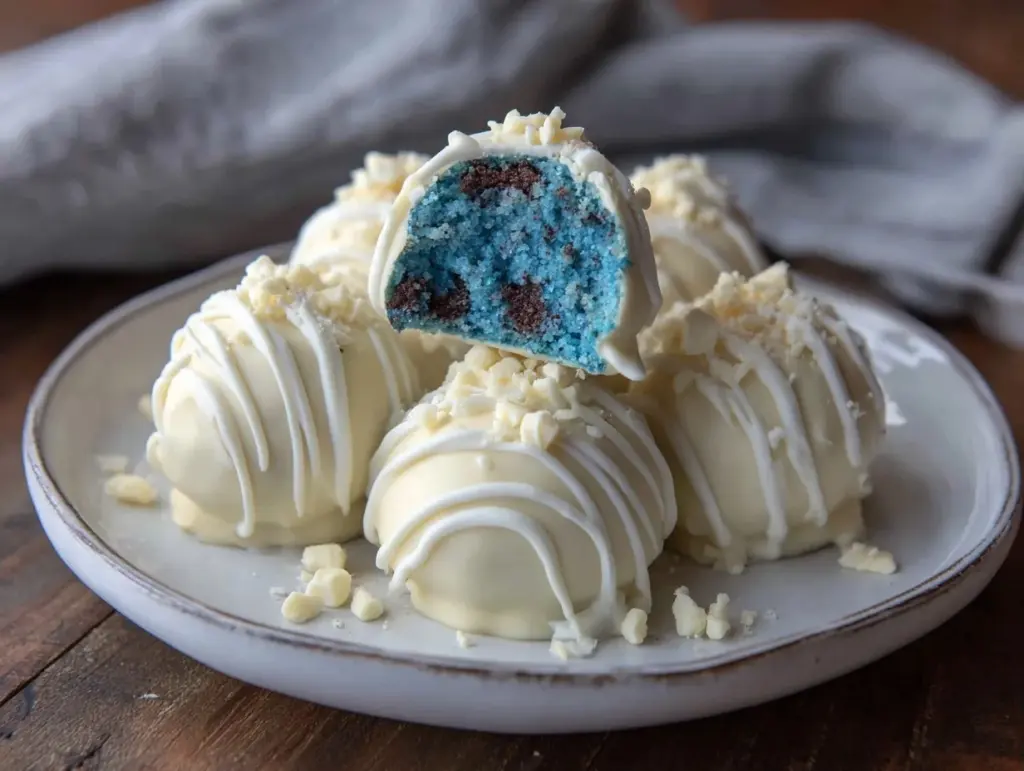
The first time I made these decadent blue velvet cake pops with white chocolate coating, I wasn’t even planning to bake. Honestly, it started as a “what if” moment after I found a box of blue food coloring tucked behind my baking spices. I’d been craving something sweet, but I didn’t want the usual cake slice — something handheld and fun. So, I took a simple red velvet cake recipe, swapped in the blue, and turned it into bite-sized pops. I was skeptical at first; blue velvet sounded a bit gimmicky, right? But when those creamy, white chocolate-coated spheres started disappearing faster than I could set them on the tray, I knew I had stumbled onto something special.
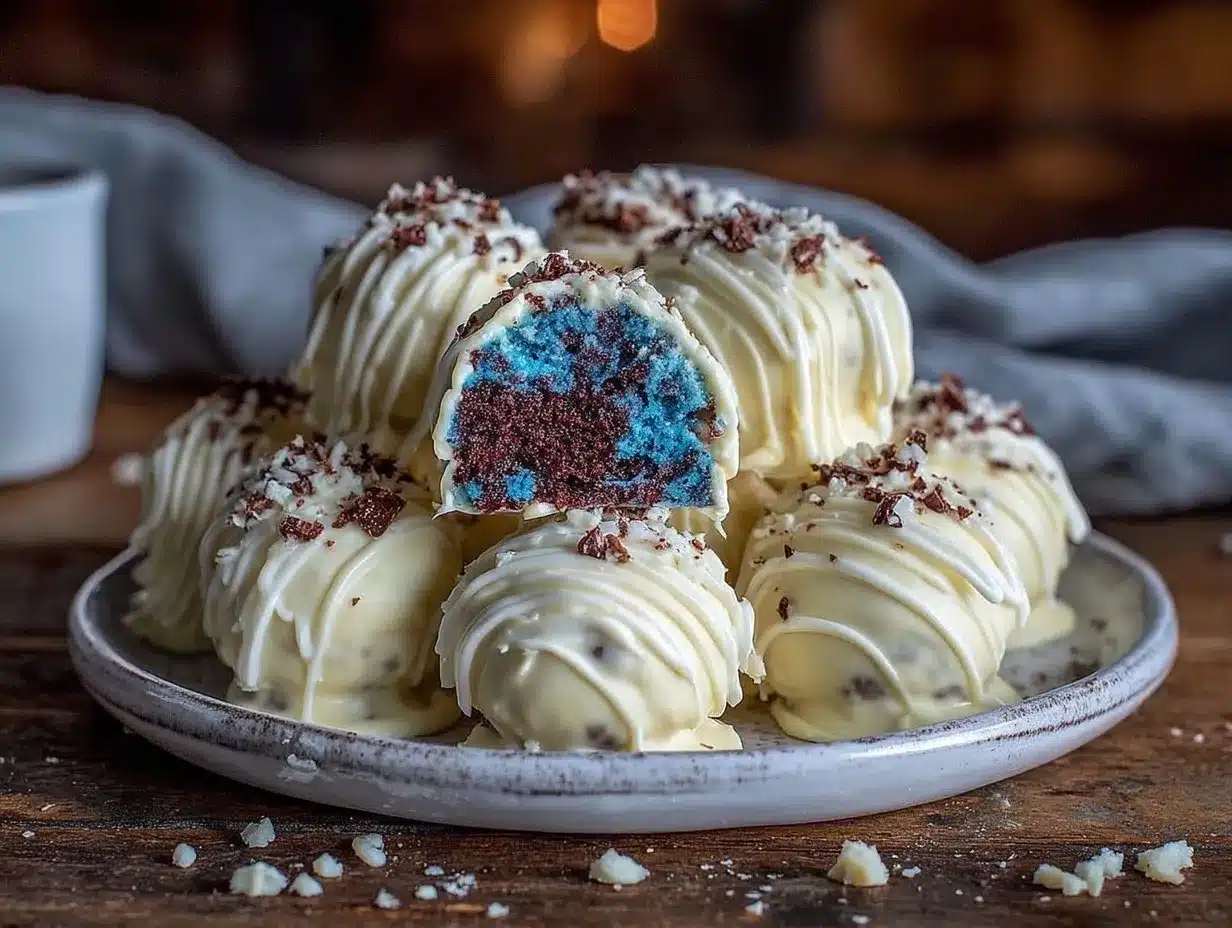
What stuck with me was the unexpected balance — the rich, tender crumb paired with that smooth, crisp white chocolate shell. It isn’t just a novelty; it’s comfort food with a twist. These cake pops became my go-to for last-minute gatherings and even a casual solo snack, especially when I wanted something pretty but fuss-free. The way the white chocolate melts just right, giving way to that moist, slightly tangy cake inside, is honestly a little moment of joy every time.
There’s something quietly satisfying about making these cake pops, too. The rhythmic rolling of cake crumbs, the careful dip in melted chocolate, and the final touch of sprinkles or drizzle — it’s almost meditative. So, if you’re wondering why this recipe has stuck with me, it’s because it’s not just about the look or the flavor. It’s the easy delight it brings, the kind of treat that doesn’t ask for much but rewards a lot.
Why You’ll Love This Recipe
After testing this decadent blue velvet cake pops recipe over and over, I can honestly say it nails that sweet spot between fancy and easy. Whether you’re a seasoned baker or just want a fun project, these pops come together without drama but deliver big on taste and wow factor.
- Quick & Easy: You can whip these up in under 90 minutes, perfect when you want a homemade dessert without spending all afternoon in the kitchen.
- Simple Ingredients: No specialty items needed here — basic pantry staples plus a few baking essentials make this recipe totally doable.
- Perfect for Any Occasion: From birthday parties to casual get-togethers, these cake pops steal the show with their bright color and rich flavor.
- Crowd-Pleaser: Kids and adults alike adore them. The white chocolate coating adds a smooth sweetness that balances the cake’s richness.
- Unbelievably Delicious: The texture is spot on — moist cake crumbs rolled into perfect spheres, coated with crisp white chocolate that snaps just right.
This isn’t just another cake pop recipe; the blue velvet flavor is a playful twist on classic red velvet, and using white chocolate instead of traditional chocolate gives it a creamy, elegant finish. Plus, I found that chilling the cake balls before dipping makes the coating smoother and less prone to cracking — a little trick that makes a big difference. Honestly, these cake pops are the kind of treat that makes you pause and savor without feeling guilty.
What Ingredients You Will Need
This recipe uses simple, wholesome ingredients to deliver bold flavor and a satisfying texture without the fuss. Most are pantry staples, and a few can be swapped easily for dietary needs or personal preference.
- For the Blue Velvet Cake:
- All-purpose flour, 2 ½ cups (310 g) – for structure and tender crumb
- Granulated sugar, 1 ¾ cups (350 g) – sweetness and moisture balance
- Unsweetened cocoa powder, 2 tbsp (10 g) – just enough for that subtle velvet depth
- Baking soda, 1 tsp – helps the cake rise beautifully
- Salt, ½ tsp – enhances all flavors
- Buttermilk, 1 ½ cups (360 ml), room temperature – adds tang and moisture (can substitute with milk + 1 tbsp vinegar)
- Vegetable oil, 1 cup (240 ml) – keeps the cake moist and tender
- Large eggs, 2, room temperature – binds everything together
- Vanilla extract, 2 tsp – for warm flavor notes
- Blue gel food coloring, 1 tbsp – the key to that vibrant blue without watering down the batter
- Distilled white vinegar, 1 tsp – reacts with baking soda for lift and subtle tang
- For the White Chocolate Coating:
- White chocolate chips or melting wafers, 16 oz (450 g) – I prefer Ghirardelli or Callebaut for smooth melting
- Vegetable shortening or coconut oil, 1 tbsp – helps thin the chocolate for easy dipping
- Optional Decorations:
- Colored sprinkles, edible glitter, or crushed freeze-dried berries for a pop of texture and color
- Blue sanding sugar for extra sparkle
You can swap all-purpose flour with gluten-free blend if needed, and dairy-free milk with apple cider vinegar works well as a buttermilk substitute. For a healthier twist, I’ve also tried swapping out half the sugar with coconut sugar, which gave a subtle caramel note without overpowering the cake’s delicate flavor.
Equipment Needed
- Cake pans (two 9-inch round pans) – classic and reliable; you can also use an 8-inch pan if that’s what you have
- Mixing bowls – at least two, one for dry and one for wet ingredients
- Electric mixer or stand mixer – hand mixing works but takes longer and might not blend the batter as smoothly
- Large spoon or spatula – for folding and scraping the bowl
- Cookie scoop or melon baller – to portion out uniform cake balls (helps make them all the same size)
- Baking sheet lined with parchment paper – for chilling the cake balls before dipping
- Microwave-safe bowl or double boiler – to melt the white chocolate coating gently
- Wooden skewers or lollipop sticks – the classic way to hold your cake pops
- Styrofoam block or cake pop stand – to hold the pops upright while the coating sets
If you don’t have a stand, you can improvise with a shallow box filled with rice or beans. I’ve also found that investing in a silicone spatula makes scraping the bowl much easier and prevents wasting precious batter. For melting chocolate, the microwave method is quick but watch it closely to avoid burning; stirring every 20 seconds helps keep it smooth.
Preparation Method
- Preheat the Oven and Prepare Pans: Set your oven to 350°F (175°C). Grease and flour two 9-inch round cake pans or line them with parchment paper. This ensures your cake will release easily after baking. (Time: 10 minutes)
- Mix Dry Ingredients: In a large bowl, sift together 2 ½ cups all-purpose flour, 1 ¾ cups sugar, 2 tbsp cocoa powder, 1 tsp baking soda, and ½ tsp salt. Sifting helps avoid clumps and blends ingredients evenly. (Time: 5 minutes)
- Combine Wet Ingredients: In a separate bowl, whisk 1 ½ cups buttermilk, 1 cup vegetable oil, 2 large eggs, 2 tsp vanilla extract, 1 tbsp blue gel food coloring, and 1 tsp white vinegar until smooth and uniform in color. The vinegar reacts with baking soda for a tender crumb. (Time: 5 minutes)
- Mix Batter: Gradually add the wet mixture into the dry ingredients, stirring gently with a spatula or mixer on low speed until just combined. Avoid overmixing to keep the cake tender. The batter should be smooth and slightly thick. (Time: 5 minutes)
- Bake the Cake: Divide batter evenly between prepared pans. Bake for 30-35 minutes, or until a toothpick inserted comes out clean. The edges should pull away slightly from the pan. (Time: 30-35 minutes)
- Cool Completely: Let the cakes cool in the pans for 10 minutes, then transfer to wire racks until completely cool. This step is crucial; warm cake will create soggy cake pops. (Time: 1 hour)
- Crumble the Cake: Once cooled, crumble the cake into a large bowl using your hands or a fork until fine crumbs form. (Time: 5 minutes)
- Add Binding Ingredient: Mix in 1 cup of cream cheese frosting (store-bought or homemade) to the crumbled cake. Start with ¾ cup and add more if needed to create a dough-like consistency that holds together without being sticky. (Time: 5 minutes)
- Form Cake Balls: Using a cookie scoop or your hands, roll the mixture into 1 ½-inch balls. Place them on a parchment-lined baking sheet. (Time: 10 minutes)
- Chill the Cake Balls: Refrigerate for at least 2 hours or freeze for 30 minutes. Chilling helps firm them up for dipping. (Time: 30 minutes to 2 hours)
- Melt White Chocolate: In a microwave-safe bowl, combine 16 oz white chocolate chips and 1 tbsp vegetable shortening. Heat in 20-second intervals, stirring in between until smooth. Don’t overheat or it may seize. (Time: 5 minutes)
- Dip Cake Pops: Insert wooden skewers into each cake ball. Dip into melted white chocolate, tapping gently to remove excess coating. Place upright in a styrofoam block or cake pop stand. (Time: 15 minutes)
- Decorate and Set: While the coating is still wet, add sprinkles or sanding sugar if desired. Let the pops set at room temperature or chill briefly until the coating hardens. (Time: 20-30 minutes)
Tip: If your coating gets too thick while working, warm it briefly again for smooth dipping. Also, be patient with chilling; skipping or rushing this step often leads to cracked coatings.
Cooking Tips & Techniques
When making decadent blue velvet cake pops with white chocolate coating, a few insider tricks make all the difference. First, the key to that perfectly smooth white chocolate shell is thinning the chocolate with a bit of vegetable shortening or coconut oil. This not only helps the chocolate coat the cake balls evenly but prevents it from cracking once set.
Another common slip-up is skipping the chilling step for the cake balls. I learned this the hard way — warm cake balls lead to messy dipping and cracking chocolate. A solid chill firms them up, making the dipping process much cleaner and the finished pops sturdier.
When mixing your cake batter, don’t overmix after adding the wet to dry ingredients. Overworking gluten can make the cake dense, which isn’t ideal for cake pops. A light hand gives you that tender crumb that’s easy to crumble.
Lastly, invest in a good-quality white chocolate. Cheaper varieties often have stabilizers that cause the chocolate to seize or become grainy. Brands like Ghirardelli or Callebaut melt more smoothly and give you a shine that looks as good as it tastes.
Timing multitasking? While the cake bakes and cools, prepping your frosting and melting chocolate keeps the process flowing smoothly. And if you want to add sprinkles or decorations, do it immediately after dipping — once the coating sets, they won’t stick.
Variations & Adaptations
These blue velvet cake pops are surprisingly versatile, and a few tweaks can take them from classic to custom in no time.
- Dairy-Free Version: Use a dairy-free cream cheese frosting and substitute buttermilk with almond or oat milk mixed with a splash of lemon juice. For coating, try dairy-free white chocolate or candy melts.
- Flavor Twists: Add a teaspoon of almond extract to the batter for a nutty undertone or mix in a handful of finely chopped white chocolate chips into the cake crumbs before rolling.
- Seasonal Decoration: Swap sprinkles with crushed peppermint candy for winter holidays or edible flower petals for spring celebrations.
- Chocolate Coating Swap: Use dark or milk chocolate coating instead of white chocolate for a richer, less sweet option.
- Personal Favorite: I once made a batch swapping the blue gel for purple and added a drizzle of lemon glaze on top — the tang paired beautifully with the cake’s mild cocoa flavor.
For a fun presentation twist, try dipping the cake pops halfway and then rolling them in toasted coconut or finely chopped nuts before the coating sets. This adds texture and flavor complexity without extra fuss.
Serving & Storage Suggestions
Serve these decadent blue velvet cake pops chilled or at room temperature. They’re perfect finger foods for parties, bridal showers, or a casual sweet snack. Presentation-wise, arranging them upright in a colorful cake pop stand or a decorative box lined with tissue paper makes an inviting display.
Pairing suggestions? These pops go wonderfully with a light, fresh drink like strawberry basil lemonade or a cup of rich, hot coffee. They also complement lighter desserts like no-bake strawberry cheesecake cups for a diverse dessert table.
For storage, keep cake pops refrigerated in an airtight container for up to 5 days. They can also be frozen for up to 2 months; just thaw them in the fridge overnight before serving. Reheat gently at room temperature to avoid melting the coating prematurely. Note that flavors mellow and meld when stored, so leftovers might taste even better the next day.
Nutritional Information & Benefits
One decadent blue velvet cake pop (about 2 ounces or 57 grams) typically contains roughly 220-250 calories, with around 10-12 grams of fat, 30 grams of carbohydrates, and 2-3 grams of protein. These values vary slightly depending on the frosting and coating brands you use.
The buttermilk in the cake adds beneficial probiotics and calcium, while the cocoa powder provides antioxidants. Using white chocolate coating ups the sweetness but brings in some calcium and energy-dense fats for quick fuel.
If you’re watching allergens, note that this recipe contains dairy, gluten, and eggs, but substitutions for gluten-free and dairy-free options are easy to implement without compromising too much on taste or texture. I’ve always found these cake pops to be a satisfying treat that balances indulgence with familiar ingredients.
Conclusion
These decadent blue velvet cake pops with white chocolate coating aren’t just a pretty face — they’re a sweet little package of rich flavor, tender crumb, and smooth coating that feels special but is surprisingly simple to make. I’ve loved how they brighten up any occasion without demanding an all-day effort in the kitchen.
Feel free to tweak the color, decorations, or flavors to match your vibe or season. I’m always curious how others make these their own, so I’d love to hear what variations you come up with. Whether you’re gifting them, serving at a party, or sneaking a few for yourself, these cake pops are ready to impress with minimal fuss and maximum charm.
Give them a try and see how quickly they disappear — you might just find yourself making them over and over, too!
FAQs
Can I make these cake pops ahead of time?
Yes! You can prepare the cake balls and chill them up to 2 days ahead before dipping in white chocolate. Once coated, store them in the fridge and serve within 5 days for best freshness.
What can I use if I don’t have buttermilk?
Mix 1 ½ cups milk (dairy or dairy-free) with 1 ½ tablespoons lemon juice or white vinegar. Let it sit for 5 minutes to curdle before using as a buttermilk substitute.
Why did my white chocolate coating crack?
Cracking usually happens when the cake balls are too warm or the chocolate is too thick. Make sure to chill the cake balls well and thin the melted chocolate with shortening or coconut oil for a smooth dip.
Can I freeze the cake pops?
Yes, freeze them in an airtight container for up to 2 months. Thaw in the refrigerator overnight before serving to maintain texture and flavor.
How do I get the perfect blue color without affecting the cake texture?
Use gel or paste food coloring instead of liquid to avoid thinning the batter. Start with 1 tablespoon and adjust slightly if you want a deeper hue, but don’t add too much to keep the texture intact.
Pin This Recipe!
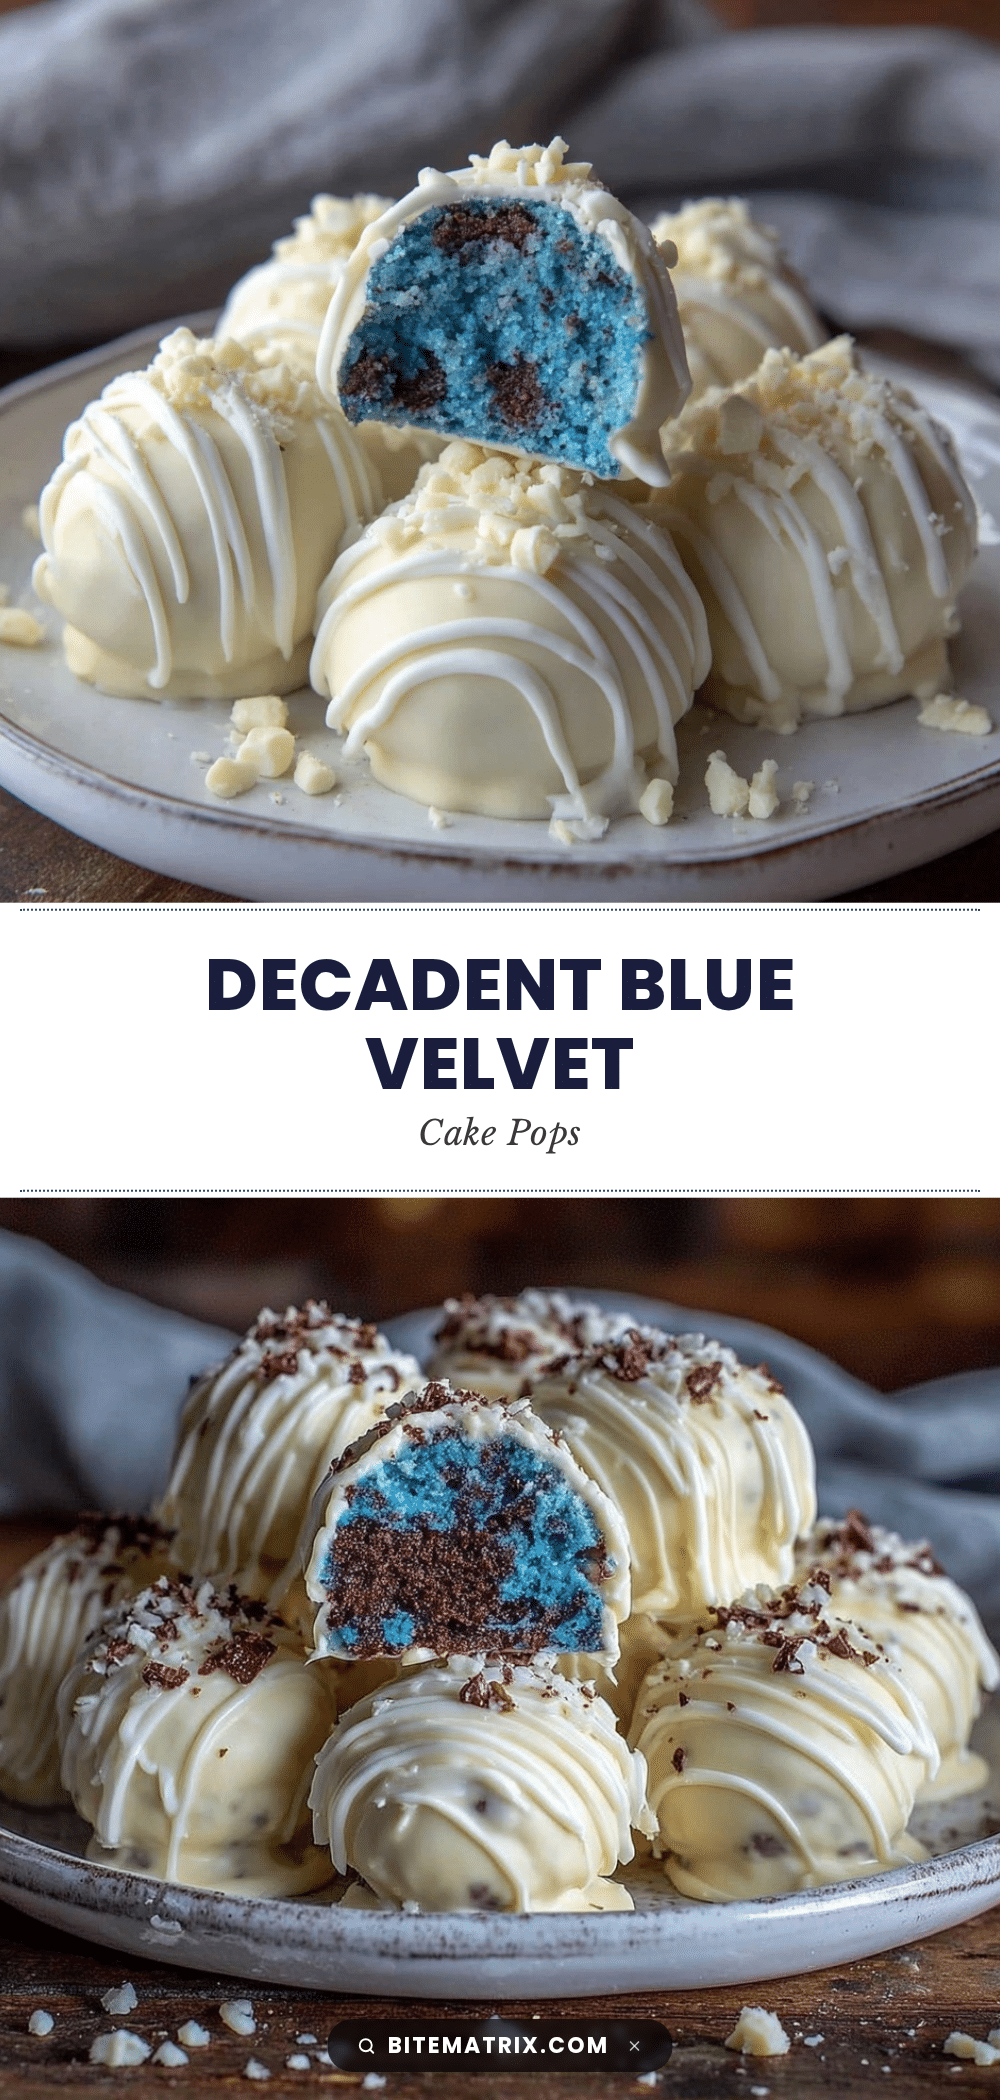
Decadent Blue Velvet Cake Pops

These decadent blue velvet cake pops feature a moist, tender crumb with a smooth, crisp white chocolate coating, perfect for handheld treats that impress with minimal fuss.
- Prep Time: 30 minutes
- Cook Time: 35 minutes
- Total Time: 90 minutes
- Yield: 24 cake pops 1x
- Category: Dessert
- Cuisine: American
Ingredients
- 2 ½ cups (310 g) all-purpose flour
- 1 ¾ cups (350 g) granulated sugar
- 2 tbsp (10 g) unsweetened cocoa powder
- 1 tsp baking soda
- ½ tsp salt
- 1 ½ cups (360 ml) buttermilk, room temperature (or milk + 1 tbsp vinegar)
- 1 cup (240 ml) vegetable oil
- 2 large eggs, room temperature
- 2 tsp vanilla extract
- 1 tbsp blue gel food coloring
- 1 tsp distilled white vinegar
- 16 oz (450 g) white chocolate chips or melting wafers
- 1 tbsp vegetable shortening or coconut oil
- Optional decorations: colored sprinkles, edible glitter, crushed freeze-dried berries, blue sanding sugar
- 1 cup cream cheese frosting (store-bought or homemade)
Instructions
- Preheat the oven to 350°F (175°C). Grease and flour two 9-inch round cake pans or line them with parchment paper.
- In a large bowl, sift together the flour, sugar, cocoa powder, baking soda, and salt.
- In a separate bowl, whisk together the buttermilk, vegetable oil, eggs, vanilla extract, blue gel food coloring, and white vinegar until smooth.
- Gradually add the wet mixture into the dry ingredients, stirring gently until just combined. Avoid overmixing.
- Divide the batter evenly between the prepared pans and bake for 30-35 minutes or until a toothpick inserted comes out clean.
- Let the cakes cool in the pans for 10 minutes, then transfer to wire racks to cool completely.
- Crumble the cooled cakes into a large bowl until fine crumbs form.
- Mix in cream cheese frosting starting with ¾ cup, adding more if needed to form a dough-like consistency.
- Roll the mixture into 1 ½-inch balls using a cookie scoop or hands and place on a parchment-lined baking sheet.
- Chill the cake balls in the refrigerator for at least 2 hours or freeze for 30 minutes.
- Melt the white chocolate chips with vegetable shortening in a microwave-safe bowl in 20-second intervals, stirring until smooth.
- Insert wooden skewers into each cake ball, dip into melted white chocolate, tapping off excess, and place upright in a styrofoam block or cake pop stand.
- Decorate with sprinkles or sanding sugar while coating is wet. Let set at room temperature or chill briefly until coating hardens.
Notes
Use gel food coloring to avoid thinning the batter. Chill cake balls well before dipping to prevent cracking. Thin white chocolate with shortening or coconut oil for smooth coating. Avoid overmixing batter to keep cake tender. Store cake pops refrigerated up to 5 days or frozen up to 2 months.
Nutrition
- Serving Size: One cake pop (about
- Calories: 235
- Sugar: 22
- Sodium: 180
- Fat: 11
- Saturated Fat: 6
- Carbohydrates: 30
- Fiber: 1
- Protein: 3
Keywords: blue velvet cake pops, white chocolate coating, cake pops recipe, easy cake pops, homemade cake pops, party dessert, handheld dessert


