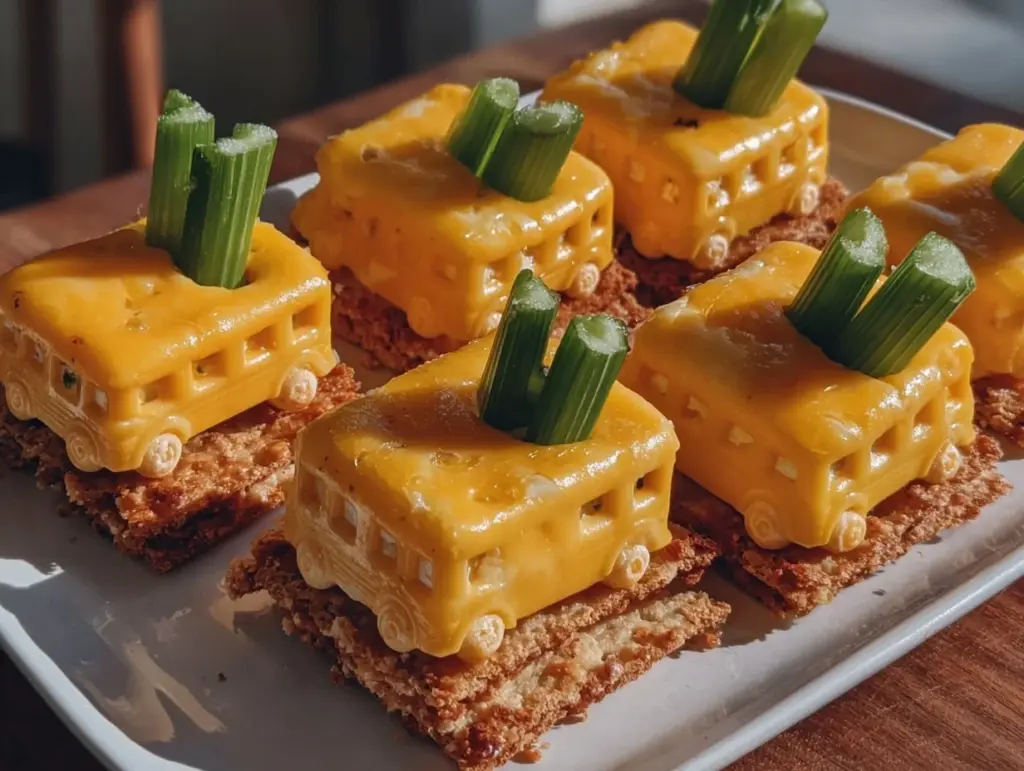
Bright yellow, glossy, and just the right size to fit in little hands — that shiny schoolbus shape is what I made these Easy Schoolbus Cheese and Crackers Snack Boxes for — everything else is secondary. Honestly, it’s the way the cheese slices hug the crackers, smooth and firm but yielding just enough under the slightest bite, that made me fall for this snack. It’s like holding a tiny, edible bus filled with fun and flavor. I remember the first time I arranged these for a kids’ party, watching the little faces light up as they picked their bus from the platter. The texture was the real star, you know — that perfect crisp snap of the crackers paired with the creamy, slightly tangy cheese. It’s tactile and visual, a combo that makes eating feel like play.
There’s something about a snack you can touch and see that invites you in before taste even kicks in. These snack boxes aren’t just about flavor; they’re about an experience — the smooth edges, the neat rows, the way the cheese doesn’t slide off no matter how small the hands that grab it. It’s a little celebration of textures that kids appreciate more than you’d think.
Making these was my way of turning a simple afternoon snack into a mini event, a moment where kids got to feel like they were eating something special and thoughtfully made. And if I’m honest, it stuck with me because it’s more than just cheese and crackers — it’s the quiet joy of a snack that looks fun and feels just right in your mouth. For me, that’s the kind of recipe worth sharing.
Why You’ll Love This Recipe
After several attempts (and some cheese-smeared fingers later), I landed on this Easy Schoolbus Cheese and Crackers Snack Boxes recipe that really nails the balance of fun and fuss-free. It’s been a hit at several kids’ parties and casual gatherings, and honestly, it’s one of those snacks that adults sneak when no one’s watching.
- Quick & Easy: Comes together in under 15 minutes — perfect for last-minute party prep or quick after-school snacks.
- Simple Ingredients: No complicated shopping — just cheese, crackers, and a few extras you likely have in your pantry.
- Perfect for Kids Parties: The schoolbus theme adds a whimsical touch that’s great for birthday parties, school events, or playdates.
- Crowd-Pleaser: Kids love the fun shape and the familiar cheese and crackers combo, while parents appreciate the portion control and minimal mess.
- Unbelievably Delicious: The creamy cheese and crunchy crackers create a texture combo that’s seriously satisfying.
What makes this recipe stand out is the little creative twist of using shaped cookie cutters to craft those recognizable schoolbus silhouettes. Instead of the usual blocky cheese-and-cracker snacks, these feel like mini edible crafts — a fun project and snack rolled into one. Plus, I’ve found that choosing a semi-firm cheese like cheddar or Colby Jack helps keep the shape crisp and the texture just right. It’s not just another cheese and cracker plate; it’s a snack that sparks smiles.
What Ingredients You Will Need
This recipe uses simple, wholesome ingredients to deliver a bold flavor and satisfying texture without the fuss. Most are pantry staples, and you can swap a few to suit your kid’s preferences or dietary needs.
- Cheese: 8 oz (225 g) block of semi-firm cheese like cheddar, Colby Jack, or even a mild gouda works well (provides good shape-holding texture)
- Crackers: About 3 cups (90 g) of your favorite sturdy crackers — think water crackers, buttery rounds, or whole grain (choose ones that won’t crumble easily)
- Black olives: Sliced thinly for the “wheels” of the schoolbus (about 10-12 slices)
- Red bell pepper: Thin strips for the “bus lights” (1 small pepper, sliced)
- Mustard or cream cheese: Optional spread to help “glue” cheese slices to crackers (2-3 tablespoons)
- Fresh herbs or chives: Optional, finely chopped for garnish or added flavor
Ingredient tips: I like using Tillamook cheddar for its creamy texture and rich flavor, but any good-quality block cheese will do. For crackers, avoid very flaky or delicate types — you want something that holds up as a base. If you want to make it dairy-free, swap the cheese for a firm vegan cheese alternative and use gluten-free crackers.
Equipment Needed
- Schoolbus-shaped cookie cutter: Essential for shaping the cheese and crackers into fun buses. You can find these online or at specialty kitchen stores.
- Sharp knife: For trimming and slicing cheese if needed.
- Cutting board: A clean surface for shaping and assembling.
- Spreading knife or small offset spatula: Helpful if you choose to use mustard or cream cheese as a “glue.”
- Serving trays or small boxes: To arrange the snack boxes attractively for parties.
If you don’t have a schoolbus cutter, a small rectangular cutter or even a butter knife can be used to create bus-like shapes — just keep the edges clean and straight. Personally, investing in a sturdy cookie cutter has made this snack so much easier and more fun to assemble. Also, remember to wash and dry your cutters right away to keep them sharp and rust-free.
Preparation Method

- Prepare your workspace: Clean your cutting board and gather all ingredients and tools. This step takes about 5 minutes.
- Cut the cheese: Slice the cheese block into slabs about ¼ inch (6 mm) thick — this thickness holds shape but is easy to bite through.
- Stamp the schoolbus shapes: Using the cookie cutter, press firmly into the cheese slabs to cut out bus shapes. Gently remove excess cheese. Aim for 15-20 buses depending on size. This should take 10 minutes.
- Cut crackers: If your crackers aren’t already bus-sized, use the same cutter to trim crackers to match the cheese shapes. This keeps the snack neat and consistent.
- Assemble the bases: Optional: Spread a thin layer of mustard or cream cheese on each cracker to help the cheese stick better. Then place a cheese bus on top.
- Add details: Use black olive slices as wheels — gently press two on each side near the bottom. Use thin strips of red bell pepper for the bus lights at the front or sides. This step is where your snack really comes to life, so take your time. It takes about 10 minutes.
- Garnish (optional): Sprinkle finely chopped chives or herbs around the edges for a fresh look and a subtle flavor lift.
- Box them up: Arrange the schoolbus snack boxes in small containers or trays, spacing them slightly so the details don’t get squished.
Tips: If your cheese is too cold and cracks when cutting, let it sit for a few minutes at room temperature before slicing. When pressing the cookie cutter, wiggle slightly to make sure the shape separates cleanly. And don’t rush the olive wheels — placing them just right makes all the difference.
Cooking Tips & Techniques
Since this recipe doesn’t involve cooking, the focus is really on assembly technique and ingredient handling. Here are some pointers I’ve learned the hard way:
- Choose the right cheese texture: Too soft and it won’t hold the bus shape; too hard and it’s tough to chew. Semi-firm cheeses like cheddar or Colby Jack are perfect for this.
- Keep cheese cold but not rock solid: Cold cheese cuts cleaner, but if it’s too frozen, it crumbles. Let it sit for 5-10 minutes before cutting.
- Slice crackers carefully: Use a sharp knife and a gentle sawing motion if you need to cut crackers. Crushed crackers are a party foul here.
- Use spreads sparingly: Mustard or cream cheese acts as an adhesive, but too much can make the cracker soggy. A thin layer is all you need.
- Placement of olive wheels: Press olives gently into the cheese to avoid sliding off but not so hard that cheese breaks.
- Multitasking: Prep your toppings (olives, peppers) ahead to streamline assembly.
Honestly, the first time I tried to assemble these without prepping the toppings, it was a mess — olives rolling everywhere and peppers breaking. Now, prepping ingredients in advance and chilling the cheese just right makes the process smooth and the results more professional looking.
Variations & Adaptations
This snack box is pretty versatile and can be customized based on dietary needs, seasonal ingredients, or flavor preferences.
- Dairy-free version: Use firm vegan cheese slices and gluten-free crackers to keep the snack allergy-friendly.
- Seasonal veggies: Swap red bell pepper strips for yellow or orange in fall, or cucumber slices for a fresher summer vibe.
- Protein boost: Add thin slices of deli turkey or ham under the cheese for a heartier snack option.
- Fancy twist: Use flavored cheese like smoked gouda or pepper jack to add a subtle kick.
- Personal variation: I once made a “rainbow bus” by using different colored cheeses and colorful veggie wheels — kids loved picking their favorite color bus!
If you want to shake things up, you could also stack two layers of cheese and crackers with a thin spread of hummus or pesto in between for a multi-textured bite. And for a no-cutting version, simply layer cheese slices and crackers as rectangles and decorate with whole olives and pepper pieces for a rustic look.
Serving & Storage Suggestions
These Easy Schoolbus Cheese and Crackers Snack Boxes are best served chilled or at room temperature. The cheese stays firm and tasty without risking soggy crackers if you serve them within a couple of hours.
For parties, arrange the snack boxes on a colorful platter or inside small individual containers — it amps up the fun factor and makes grab-and-go easy. Pair with fresh fruit like grapes or apple slices for a balanced snack. I’ve also found they go well alongside lighter sides like a creamy cucumber dill salad for a refreshing contrast.
Storage: Store leftovers in an airtight container in the fridge for up to 2 days. To avoid sogginess, keep the crackers and cheese separate and assemble just before serving.
Reheating: These are best cold or room temp — heating will melt the cheese and ruin the shape.
Interestingly, the flavors mellow a bit overnight, making for a slightly richer, softer cheese bite the next day. But the texture magic is definitely best fresh.
Nutritional Information & Benefits
Each snack box is a balanced combo of protein, fat, and carbs, making it a filling and satisfying treat for kids. Approximate nutrition per snack box (one cheese bus + cracker base):
| Nutrient | Amount |
|---|---|
| Calories | 120-140 kcal |
| Protein | 6-8 g |
| Fat | 8-10 g |
| Carbohydrates | 8-10 g |
Cheese provides a good source of calcium, vitamin B12, and protein, which are important for growing kids. The crackers offer energy-boosting carbs and fiber if you choose whole grain varieties. Using fresh veggies like red bell pepper adds a touch of vitamin C and antioxidants.
For those watching gluten or dairy, easy swaps ensure everyone can enjoy the snack without worry. Personally, I appreciate how this snack feels wholesome yet indulgent — a treat that doesn’t leave me second-guessing what’s in it.
Conclusion
This Easy Schoolbus Cheese and Crackers Snack Boxes recipe is more than just a cute party idea — it’s a reminder that simple ingredients can create something memorable when given a bit of creativity and care. It’s the kind of snack that brings smiles, encourages hands-on fun, and satisfies hunger without fuss.
Feel free to make it your own, whether by swapping cheeses, adding new veggie details, or customizing for dietary needs. That’s what I love about this recipe: its flexibility and the joy it brings to little ones and grown-ups alike.
If you’ve got a party coming up or just want a quick crowd-pleaser, this snack box is a winner every time. And if you’re interested in other fun party snacks that keep things easy but tasty, you might enjoy the Easy Italian Sub Sandwich Skewers or the No-Bake Strawberry Cheesecake Cups I’ve shared before.
Give these a try, and I’d love to hear how your little snackers respond!
FAQs About Easy Schoolbus Cheese and Crackers Snack Boxes
Can I prepare these snack boxes ahead of time?
You can prep the cheese and cracker shapes a few hours ahead and store separately in the fridge. Assemble just before serving to keep crackers crisp.
What if I don’t have a schoolbus cookie cutter?
No worries! Use a small rectangular or square cutter, or carefully cut shapes with a knife for a similar fun effect.
Which cheeses work best for this recipe?
Semi-firm cheeses like cheddar, Colby Jack, or gouda hold shape well and taste great. Avoid very soft or crumbly cheeses.
Can this snack be made dairy-free?
Yes, use firm vegan cheese alternatives and gluten-free crackers to accommodate dairy allergies or preferences.
What are some good cracker options for kids?
Choose sturdy crackers like buttery rounds, water crackers, or whole grain varieties that won’t break easily during assembly or eating.
Pin This Recipe!
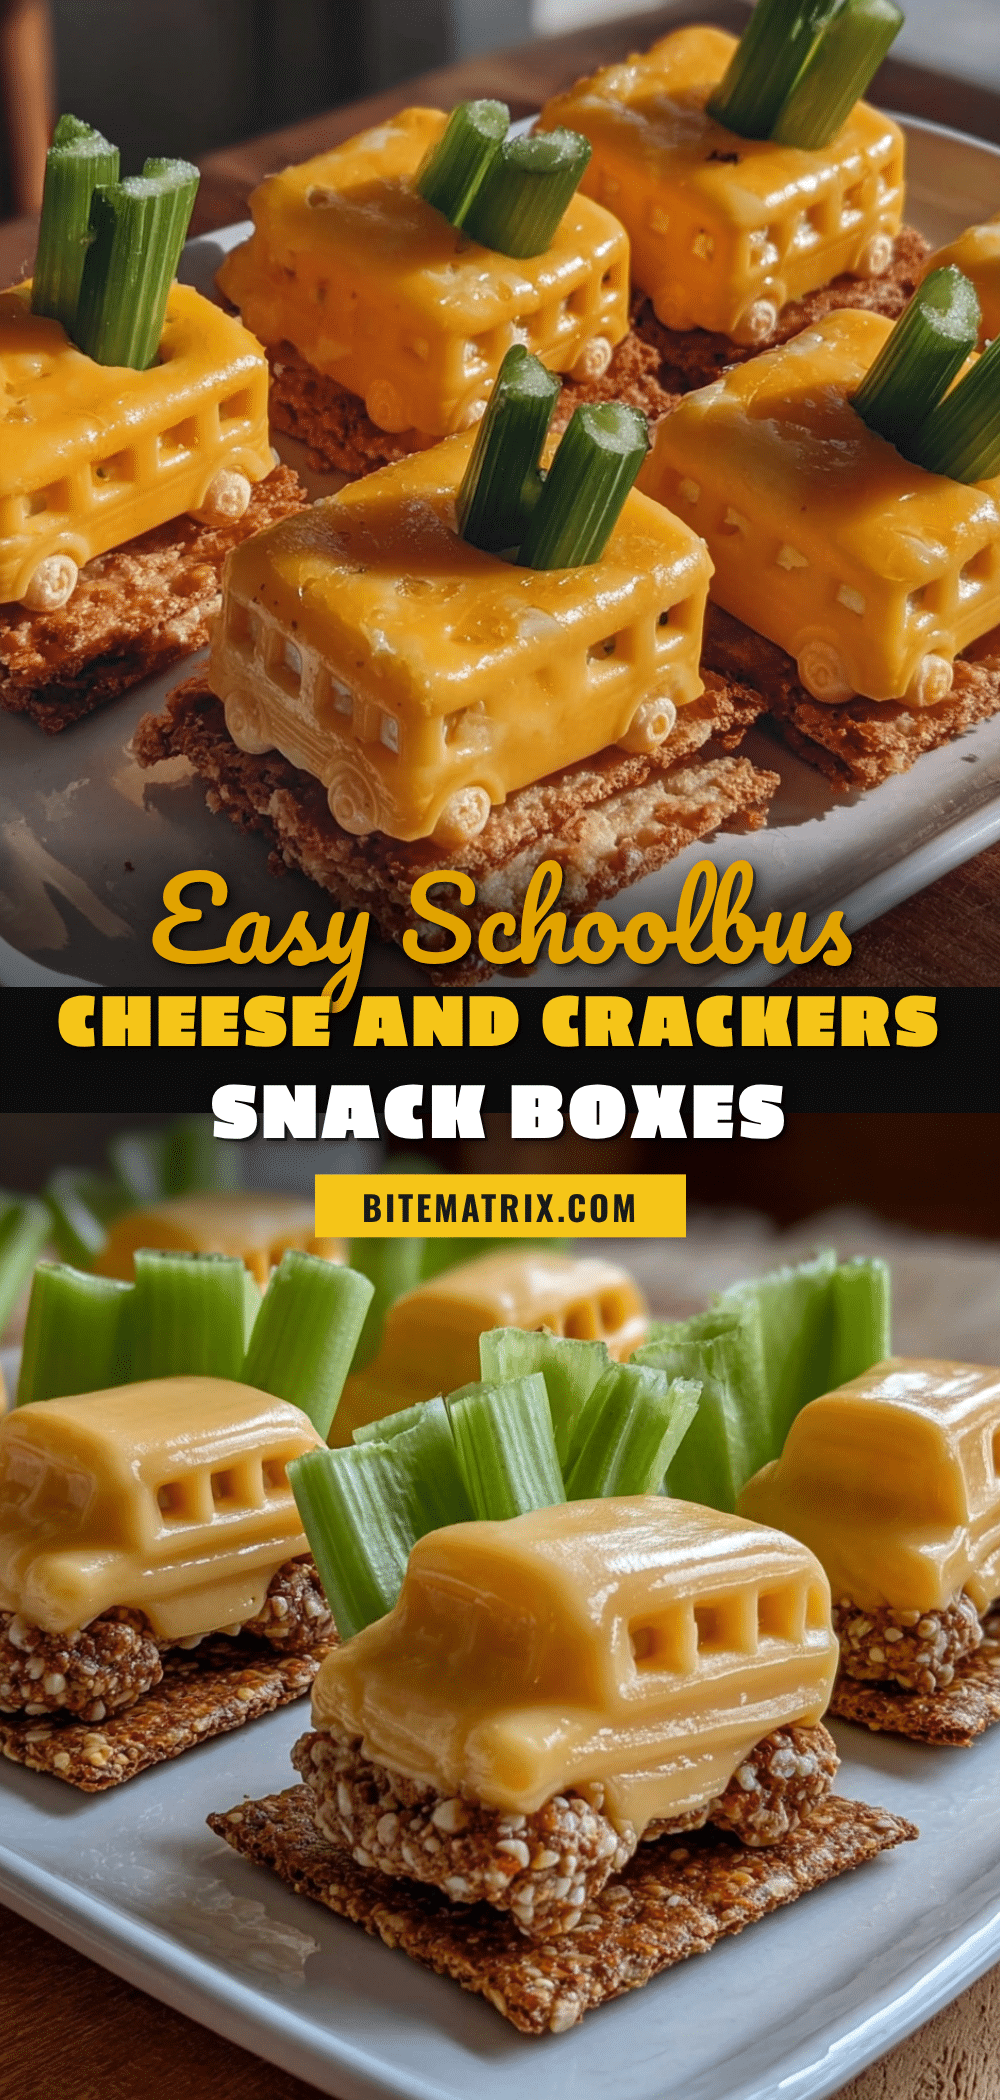
Easy Schoolbus Cheese and Crackers Snack Boxes Perfect for Kids Parties

Bright yellow, glossy, and just the right size to fit in little hands, these schoolbus-shaped cheese and crackers snack boxes are perfect for kids’ parties and casual gatherings. They combine fun shapes with a satisfying texture combo of creamy cheese and crunchy crackers.
- Prep Time: 15 minutes
- Cook Time: 0 minutes
- Total Time: 15 minutes
- Yield: 15-20 snack boxes 1x
- Category: Snack
- Cuisine: American
Ingredients
- 8 oz block of semi-firm cheese like cheddar, Colby Jack, or mild gouda
- About 3 cups (90 g) sturdy crackers such as water crackers, buttery rounds, or whole grain
- 10–12 thinly sliced black olives for wheels
- 1 small red bell pepper, thinly sliced into strips for bus lights
- 2–3 tablespoons mustard or cream cheese (optional spread to help glue cheese to crackers)
- Fresh herbs or chives, finely chopped (optional garnish)
Instructions
- Prepare your workspace by cleaning your cutting board and gathering all ingredients and tools (about 5 minutes).
- Slice the cheese block into slabs about 1/4 inch (6 mm) thick.
- Using a schoolbus-shaped cookie cutter, press firmly into the cheese slabs to cut out bus shapes. Remove excess cheese. Aim for 15-20 buses (about 10 minutes).
- If crackers are not already bus-sized, use the same cutter to trim crackers to match the cheese shapes.
- Optionally spread a thin layer of mustard or cream cheese on each cracker to help the cheese stick better, then place a cheese bus on top.
- Add details by gently pressing two black olive slices on each side near the bottom as wheels and placing thin strips of red bell pepper as bus lights (about 10 minutes).
- Optionally sprinkle finely chopped chives or herbs around the edges for garnish.
- Arrange the snack boxes in small containers or trays, spacing them slightly to avoid squishing the details.
Notes
Let cheese sit at room temperature for 5-10 minutes before cutting to avoid cracking. Use a gentle sawing motion when cutting crackers to prevent crumbling. Use mustard or cream cheese sparingly to avoid soggy crackers. Press olive wheels gently to avoid cheese breaking. Prep toppings ahead to streamline assembly. Store crackers and cheese separately if prepping ahead to keep crackers crisp.
Nutrition
- Serving Size: One snack box (one c
- Calories: 120140
- Fat: 810
- Carbohydrates: 810
- Protein: 68
Keywords: schoolbus snack, cheese and crackers, kids party snack, easy snack, fun snack, party food, kids snack, cheese snack