Thursday night, about 9:15, and the only thing I wanted was to stop thinking about lunch for the next five days. The fridge was half-empty, the kids had already asked what was for school snacks three times, and I could feel the familiar weight of another meal-prep Sunday looming. I opened the pantry and saw a loaf of bread, a jar of peanut butter, and some strawberry jam, and honestly? I almost closed the door again. But then I thought about those little sealed sandwiches from the freezer aisle — the ones my kids fight over — and I had this quiet, stubborn thought: I can do this myself. So I grabbed the bread, found a glass, and started pressing circles into soft white slices. That night, I made thirty-two little pockets, froze them flat on a sheet pan, and woke up feeling like I had actually gotten ahead of something for once.
These Easy Homemade Uncrustables are exactly that feeling — the one where you realize you don’t need a special gadget or a trip to the store to make lunch feel like a treat. They’re freezer-friendly, ridiculously simple, and somehow taste better than the store-bought version (no preservatives, no weird aftertaste, just good old peanut butter and jelly). I’ve made them with crunchy peanut butter, with honey instead of jam, and once with Nutella when nobody was looking. They hold up in the lunchbox for hours, thaw by the time the bell rings, and cost a fraction of what you’d pay for the boxed kind. This is not a complicated recipe. It is a small, practical victory — the kind that makes you feel like you’ve got your life together, even if only in the lunch department.
I’ve been making these for two years now, and they’ve become my secret weapon for busy mornings, road trips, and after-school hunger emergencies. They’re the recipe I didn’t know I needed until I made them the first time. And honestly? I haven’t bought a box of frozen sandwiches since.
Why You’ll Love This Recipe
Let me tell you why these homemade uncrustables have completely taken over my freezer — and probably will take over yours too.
- Quick & Easy: You can whip up a batch of 12 to 16 pockets in under 15 minutes. That’s less time than it takes to argue about what’s for lunch.
- Simple Ingredients: Bread, peanut butter, jelly. That’s it. No high-fructose corn syrup, no preservatives, no ingredients you can’t pronounce.
- Perfect for Meal Prep: Make them once, freeze them, and grab one whenever you need it. They’re ready for school lunches, picnics, or a quick snack before practice.
- Crowd-Pleaser: Kids love them, adults sneak them from the freezer, and even picky eaters will eat these without complaint.
- Unbelievably Cost-Effective: Homemade versions cost about 35 cents each compared to $1.50 or more for store-bought. Do the math — it adds up fast.
What makes these different from the boxed version? Texture, for one. The bread stays soft after freezing (if you use the right kind), and the filling doesn’t get that weird gummy consistency. Plus, you can customize them exactly how you like — more jelly, less peanut butter, crunchy instead of creamy, or even a sprinkle of cinnamon inside. They’re your sandwiches, your way, and that makes all the difference.
This is the kind of recipe that makes you feel like you have a secret superpower. You pull one from the freezer, toss it in a lunchbox, and by lunchtime it’s perfectly thawed and ready to eat. No soggy bread, no messy leaks, just a perfect little pocket of comfort.
What Ingredients You Will Need
This recipe uses the simplest ingredients you probably already have in your kitchen. The magic is in how you assemble and freeze them, not in fancy components. Here’s what you need:
For the Sandwiches
- Bread: 12 slices of soft white bread or whole wheat bread. I prefer a soft, slightly squishy bread (think classic sandwich loaf) because it freezes and thaws best. Hearty artisan breads can get tough after freezing. My go-to is Sara Lee or store-brand white bread — they hold up perfectly.
- Peanut Butter: ½ cup creamy peanut butter (or crunchy, if that’s your jam). Use a brand you like — I’m partial to Jif or Skippy for consistency. Natural peanut butter that separates can work too, but you’ll need to stir it really well first, and it may be a little runnier.
- Jelly or Jam: ½ cup strawberry jam, grape jelly, or your favorite flavor. I use Smucker’s strawberry preserves most of the time, but raspberry, blackberry, or even apricot jam work beautifully. Avoid jelly with large fruit chunks for the best seal.
Optional Add-Ins
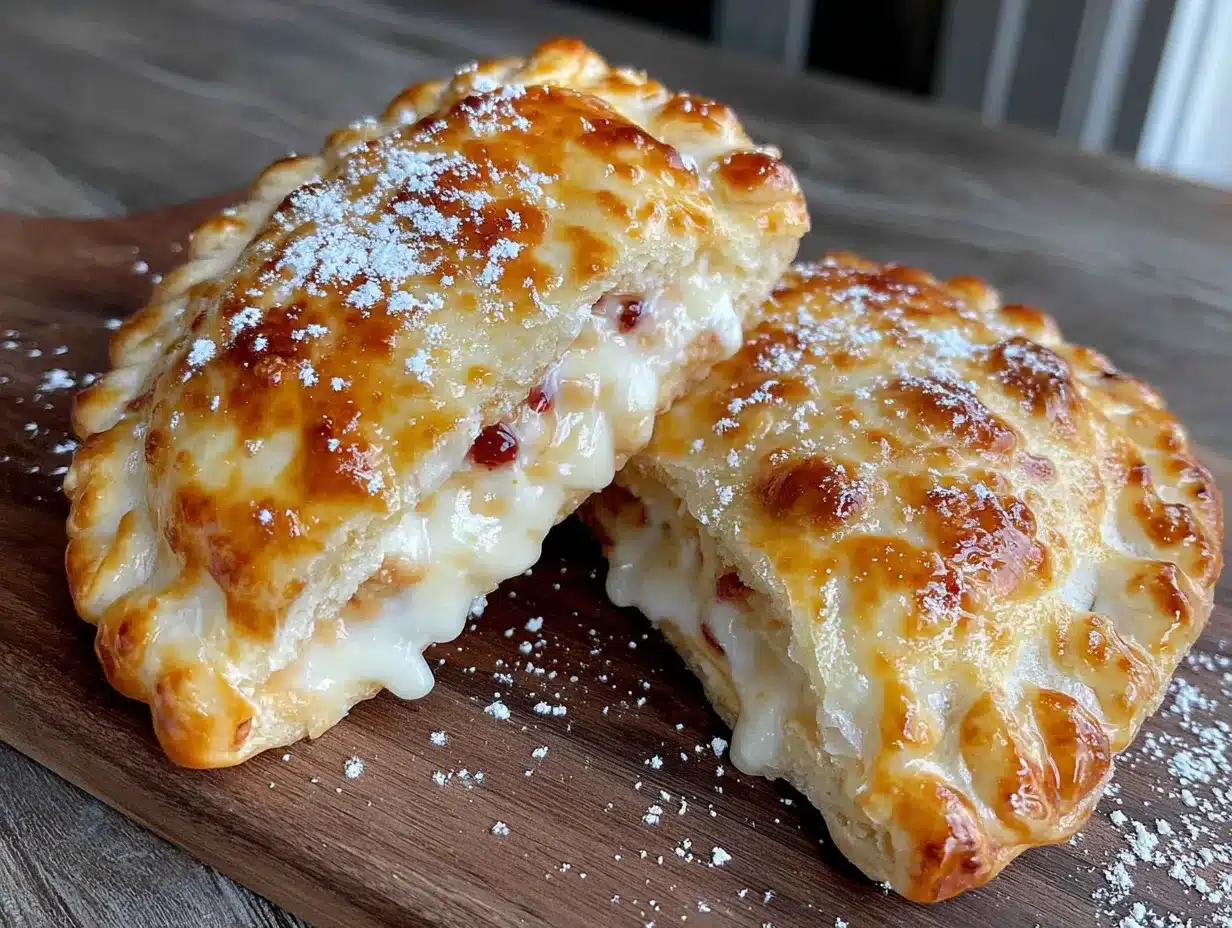
- Honey: Drizzle a little inside for extra sweetness.
- Cinnamon: A pinch adds warmth and depth.
- Nutella: Because sometimes you need chocolate. (Just be warned — Nutella can be a little runnier when thawed, so don’t overfill.)
- Sliced Bananas: Add fresh banana slices before sealing, but note these don’t freeze as well — eat within a day or two.
Ingredient Tips from My Kitchen
I’ve tested this with different breads, and here’s what I’ve learned: soft white bread gives the best texture after freezing. Whole wheat works fine but can be slightly denser. Avoid bread with large air pockets or very crusty edges — they don’t seal well and can crack when pressed. For the peanut butter, creamy spreads seal better than crunchy, but if you love the crunch (like I do sometimes), just press a little harder when sealing.
One thing I always do: let the peanut butter and jelly sit at room temperature for a few minutes before spreading. Cold spreads are harder to work with and can tear the bread. Room temperature spreads glide on smoothly and make for a better seal.
Equipment Needed
You don’t need a fancy gadget for these homemade uncrustables. Here’s what I use:
- Round Cookie Cutter (3-4 inches): This is the star of the show. A 3.5-inch round cutter works perfectly for standard bread slices. If you don’t have one, a drinking glass with a thin rim works in a pinch — just press firmly and twist slightly.
- Rolling Pin: A regular rolling pin or even a clean wine bottle will do. You need to flatten the bread slightly so it seals better.
- Fork: For crimping the edges if you don’t have a seal-and-cut tool. A fork creates that classic pocket look and helps keep the filling inside.
- Baking Sheet: To freeze the uncrustables flat before transferring them to a bag. A sheet pan lined with parchment paper works best.
- Parchment Paper or Wax Paper: Keeps the sandwiches from sticking together during freezing.
- Freezer-Safe Bags or Containers: Ziploc freezer bags are my go-to. They’re easy to stack and label.
I started with a drinking glass and a fork, and honestly, it worked fine. If you make these often, investing in a $10 round cutter makes the process faster and the edges cleaner. But don’t let equipment stop you — use what you have.
Preparation Method
Let me walk you through exactly how I make these. It’s so simple you’ll memorize it after the first batch.
Step 1: Prep Your Workspace
Clear your counter and lay out your bread slices. Take the peanut butter and jelly out of the fridge about 10 minutes before you start so they’re at room temperature. Line your baking sheet with parchment paper.
Step 2: Flatten the Bread
Take each slice of bread and gently roll over it with a rolling pin until it’s about ¼ inch thick. Don’t press too hard — you’re not making a cracker. Just flatten it enough so the bread becomes pliable and easy to seal. This step is crucial; unflattened bread tends to crack when you press the edges together.
Step 3: Spread the Peanut Butter
Using a butter knife or small offset spatula, spread about 1 tablespoon of peanut butter onto one slice of flattened bread. Leave a ½-inch border around the edges — this gives you room to seal the pocket. Don’t go all the way to the edge, or the filling will squeeze out when you press.
Step 4: Add the Jelly
Spread about 1 tablespoon of jelly on top of the peanut butter. Again, keep it away from the edges. If you’re using chunky jam, spread the fruit pieces evenly so they don’t create lumps that break the seal.
Step 5: Top and Press
Place a second flattened slice of bread on top, lining up the edges. Press down gently around the filling to push out any air pockets. Air pockets are the enemy — they expand during freezing and can cause the bread to crack.
Step 6: Cut and Seal
Press your round cutter firmly through the center of the sandwich, making sure to cut through both layers of bread. If you’re using a fork instead, press the tines around the edge of the circle, about ¼ inch from the edge, crimping all the way around. The seal should be tight — no gaps.
Step 7: Freeze Flat
Place each uncrustable on the parchment-lined baking sheet in a single layer, not touching. Pop the sheet into the freezer for at least 2 hours, or until the sandwiches are solid. This is called flash freezing, and it prevents them from sticking together later.
Step 8: Package and Label
Once frozen, transfer the uncrustables to a freezer-safe bag or container. Squeeze out as much air as possible (I use a straw to suck out the extra air — works like a charm). Label the bag with the date and flavor, and store for up to 3 months.
My Pro Tip for Perfect Seals
If your edges aren’t sealing well, dip your fingers in a little water and run them along the edge before pressing. The moisture helps the bread stick together. I learned this after a batch of leaky sandwiches — never again!
Cooking Tips & Techniques
After making hundreds of these little pockets, I’ve picked up a few tricks that make all the difference.
Don’t overfill. I know it’s tempting to pile on the jelly, but too much filling will burst through the seal during freezing or thawing. Stick to about 1 tablespoon of each spread. You want a balanced bite, not a sticky explosion.
Use room temperature spreads. Cold peanut butter is stiff and tears the bread. Cold jelly slides around and doesn’t spread evenly. Let them sit out for 10 minutes, and your life will be infinitely easier.
Flatten the bread evenly. This is the step most people skip, and it’s the most important one. Flattened bread seals better, thaws more evenly, and doesn’t crack. I use a rolling pin, but a flat-bottomed glass works too. Press gently and evenly.
Freeze them flat first. Never throw unbaked uncrustables directly into a bag. They’ll freeze into a giant clump, and you’ll have to pry them apart with a butter knife. Flash freeze them on a sheet pan first, then bag them. Trust me on this one.
Label everything. I write the date and flavor on every bag because frozen sandwiches all look the same. You think you’ll remember which batch has grape jelly and which has raspberry, but you won’t. Label them.
One mistake I made early on: using bread with big air holes. The holes create weak spots that leak during thawing. If your bread has large air pockets, press them out with your fingers before adding the filling. Or just buy a denser loaf.
Variations & Adaptations
These uncrustables are endlessly customizable. Here are some of my favorite twists:
Nut-Free Version
Swap the peanut butter for sunflower seed butter (SunButter is my favorite) or WowButter. Both freeze and thaw well, though sunflower butter can turn a little green after a few days in the freezer — that’s just a natural reaction, not spoilage. Add a pinch of cinnamon to mask the slight color change.
Low-Sugar Version
Use natural peanut butter (no added sugar) and sugar-free jelly. I like Smucker’s Sugar-Free Strawberry Jam. The texture is a little thinner, so use slightly less to avoid leaks. You can also skip the jelly entirely and use mashed berries or a sprinkle of cinnamon.
Flavor Twists
- Honey Almond: Replace jelly with a drizzle of honey and add a few slivered almonds (if no nut allergies).
- Chocolate Hazelnut: Swap peanut butter for Nutella. Use less — Nutella is runnier and can leak.
- Banana Split: Add sliced banana and a drizzle of chocolate syrup inside. Eat these within 1-2 days; banana doesn’t freeze well long-term.
- Apple Cinnamon: Use apple butter instead of jelly and add a pinch of cinnamon. Tastes like autumn in a pocket.
Different Bread Options
Whole wheat, honey oat, or even brioche work beautifully. Avoid bread with seeds or large grains on the crust — they can create weak spots in the seal. For a gluten-free option, use gluten-free bread, but note it may be more fragile. Flatten it very gently and use a slightly smaller cutter.
I once made a batch with leftover croissants (flattened slightly) and they were incredible — buttery, flaky, and totally indulgent. Not exactly lunchbox-friendly, but perfect for a weekend treat.
Serving & Storage Suggestions
These uncrustables are designed for convenience, so here’s how to serve and store them like a pro.
Serving
Serve them straight from the freezer in a lunchbox — they’ll thaw naturally by lunchtime (about 2-3 hours at room temperature). If you’re eating at home, let them sit on the counter for 15-20 minutes before serving, or pop them in the microwave for 10-15 seconds for a slightly warm, melty center. For a fun twist, toast them in a skillet over medium heat for 2 minutes per side — the outside gets golden and crispy while the inside stays soft and gooey.
Storage
Store frozen uncrustables in a sealed freezer bag or container for up to 3 months. After that, the bread can start to dry out and develop freezer burn. If you notice ice crystals forming, your bag wasn’t sealed tight enough — squeeze out more air next time. I like to store them in a single layer in a container, but stacking works fine if you separate layers with parchment paper.
Thawing Tips
For best results, thaw uncrustables in the refrigerator overnight if you’re planning ahead. This prevents condensation from making the bread soggy. If you’re in a rush, microwave on defrost for 20-30 seconds. Never thaw at room temperature for more than 2 hours if you’re packing them for school — food safety matters.
One thing I love: the flavors actually meld together after a few days in the freezer. The peanut butter and jelly sort of marry into this perfect, cohesive filling that’s even better than fresh-made. So don’t worry if they sit in the freezer for a week — they’ll taste amazing.
Nutritional Information & Benefits
Here’s a rough estimate per uncrustable (based on white bread, creamy peanut butter, and strawberry jam):
| Nutrient | Amount |
|---|---|
| Calories | 210-240 |
| Total Fat | 9-11g |
| Saturated Fat | 2g |
| Carbohydrates | 28-32g |
| Fiber | 2-3g |
| Sugar | 10-14g |
| Protein | 7-8g |
| Sodium | 200-250mg |
Health Benefits
Peanut butter is packed with protein and healthy fats that keep kids (and adults) full and focused. The fiber in whole wheat bread supports digestion, and the natural sugars in fruit jam provide quick energy without the crash of processed sweets. If you use natural peanut butter and sugar-free jam, you can cut the sugar content in half. These are a balanced snack or lunch option that beats anything from the freezer aisle.
One note: if you’re packing these for school, check your school’s nut policy. Sunflower seed butter is a great alternative that’s just as satisfying.
Conclusion
These Easy Homemade Uncrustables are one of those recipes that makes you wonder why you didn’t start making them sooner. They’re simple, affordable, and genuinely better than anything you can buy in a box. You control the ingredients, the flavors, and the portions — and your kids get a lunch they actually look forward to eating.
I love these because they make me feel prepared. On a chaotic Tuesday morning when I’m running late and everyone’s hungry, I can grab one from the freezer, toss it in a lunchbox, and know that at least one thing went right. They’re a small win in a busy day.
Now I want to hear from you. What’s your favorite filling combination? Have you tried these with any creative twists? Drop a comment below and share your version — I’m always looking for new ideas. And if you make a batch, tag me in your photos. Nothing makes me happier than seeing someone else discover the joy of a homemade freezer stash.
Go ahead, make a batch tonight. Your future self will thank you.
Frequently Asked Questions
Can I use any type of bread for homemade uncrustables?
Soft white bread or soft whole wheat works best. Avoid bread with large air holes, dense crusts, or seeds on the outside — they can crack or create weak spots. Flatten the bread slightly with a rolling pin for the best seal.
How long do homemade uncrustables last in the freezer?
They stay fresh for up to 3 months when stored in an airtight freezer bag or container. After that, the bread may start to dry out. Always label your bags with the date so you know which batch to use first.
Can I make these without a round cutter?
Absolutely. Use a drinking glass with a thin rim, or simply cut the crusts off and crimp the edges with a fork. The shape doesn’t matter — it’s the seal that counts. A fork works perfectly for pressing the edges together.
Do I need to thaw them before packing in a lunchbox?
No! Pack them frozen directly into the lunchbox. They’ll thaw naturally by lunchtime (about 2-3 hours). If you’re packing them the night before, move them from the freezer to the refrigerator so they thaw slowly and don’t get soggy.
Can I use natural peanut butter or almond butter?
Yes, but natural peanut butter can be runnier and may not seal as well. Stir it thoroughly before using, and don’t overfill. Almond butter works great too, but it’s a little thinner — use slightly less. For the best results, stick with creamy, processed peanut butter if you’re new to making these.
Pin This Recipe!
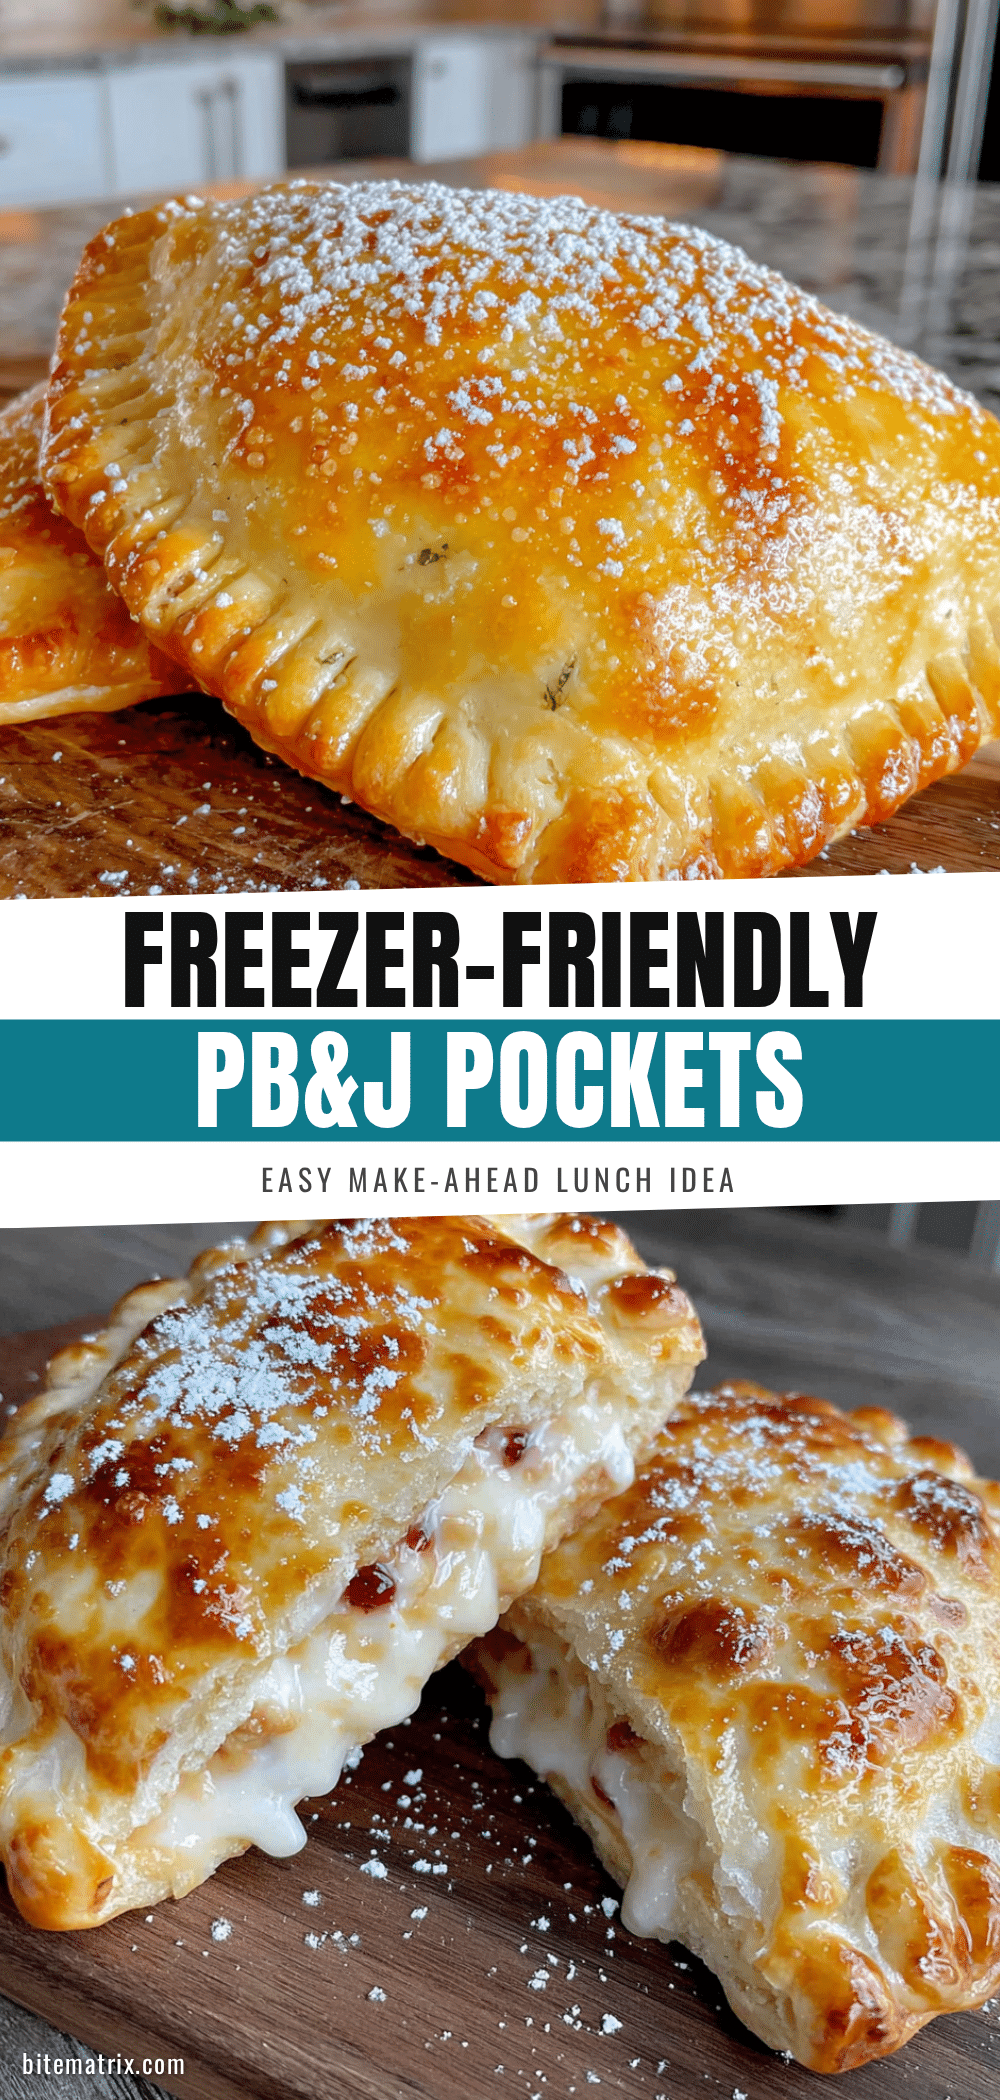
Easy Homemade Uncrustables: Best Freezer-Friendly PB&J

These Easy Homemade Uncrustables are freezer-friendly, ridiculously simple, and taste better than the store-bought version. Make a batch in under 15 minutes for a quick, cost-effective lunch or snack that kids and adults love.
- Prep Time: 15 minutes
- Cook Time: 0 minutes
- Total Time: 2 hours 15 minutes (includes freezing time)
- Yield: 12 servings 1x
- Category: Snack
- Cuisine: American
Ingredients
- 12 slices soft white bread or whole wheat bread
- ½ cup creamy peanut butter (or crunchy)
- ½ cup strawberry jam or grape jelly
- Optional: honey, cinnamon, Nutella, sliced bananas
Instructions
- Prep your workspace: Clear your counter and lay out bread slices. Take peanut butter and jelly out of the fridge 10 minutes before starting to bring to room temperature. Line a baking sheet with parchment paper.
- Flatten the bread: Gently roll each slice of bread with a rolling pin until about ¼ inch thick. Don’t press too hard—just make it pliable.
- Spread the peanut butter: Spread about 1 tablespoon of peanut butter onto one slice of flattened bread, leaving a ½-inch border around the edges.
- Add the jelly: Spread about 1 tablespoon of jelly on top of the peanut butter, keeping it away from the edges.
- Top and press: Place a second flattened slice of bread on top, lining up the edges. Press down gently around the filling to push out any air pockets.
- Cut and seal: Press a round cutter (3-4 inches) firmly through the center of the sandwich. If using a fork, crimp the edges all the way around to seal tightly.
- Freeze flat: Place each uncrustable on the parchment-lined baking sheet in a single layer, not touching. Freeze for at least 2 hours until solid.
- Package and label: Transfer frozen uncrustables to a freezer-safe bag or container. Squeeze out as much air as possible, label with date and flavor, and store for up to 3 months.
Notes
For perfect seals, dip fingers in water and run along edges before pressing. Use room temperature spreads for easier spreading. Flash freeze on a sheet pan before bagging to prevent sticking. Label bags with date and flavor. For best texture, use soft white bread—avoid bread with large air pockets or crusty edges.
Nutrition
- Serving Size: 1 uncrustable
- Calories: 210240
- Sugar: 1014
- Sodium: 200250
- Fat: 911
- Saturated Fat: 2
- Carbohydrates: 2832
- Fiber: 23
- Protein: 78
Keywords: homemade uncrustables, freezer-friendly PB&J, easy lunch prep, school lunch ideas, peanut butter and jelly, meal prep snacks