Let me tell you, the rich aroma of chocolate mingling with a hint of vanilla as these Perfect Graduation Cap Brownie Bites bake is enough to make anyone’s mouth water. The first time I made these little gems was at my niece’s graduation party years ago, and I was instantly hooked—the kind of moment where you pause, take a deep breath, and just smile because you know you’re onto something truly special. When I was knee-high to a grasshopper, my grandma used to make simple brownies, but these bites bring that nostalgic comfort with a festive twist that feels tailor-made for celebrations.
Honestly, my family couldn’t stop sneaking them off the cooling rack (and I can’t really blame them). You know what? These Perfect Graduation Cap Brownie Bites are dangerously easy to whip up and provide pure, nostalgic comfort in every bite. Perfect for potlucks, sweet treats for your kids, or brightening up your Pinterest cookie board, they’ve become a staple for family gatherings and gifting. I’ve tested this recipe multiple times—in the name of research, of course—and I can tell you, it feels like a warm hug in dessert form. You’re going to want to bookmark this one for your next celebration!
Why You’ll Love This Recipe
Having tried countless brownie recipes, these Perfect Graduation Cap Brownie Bites stand out for several reasons that make them a must-try for any celebration:
- Quick & Easy: Comes together in under 45 minutes, perfect for busy weeknights or last-minute party prep.
- Simple Ingredients: No fancy grocery trips needed; you likely already have everything in your kitchen.
- Perfect for Celebrations: Great for graduations, birthday parties, or any festive gathering where you want a fun, themed treat.
- Crowd-Pleaser: Always gets rave reviews from kids and adults alike—trust me, they disappear fast!
- Unbelievably Delicious: The fudgy texture combined with the cute graduation cap design is next-level comfort food with a playful twist.
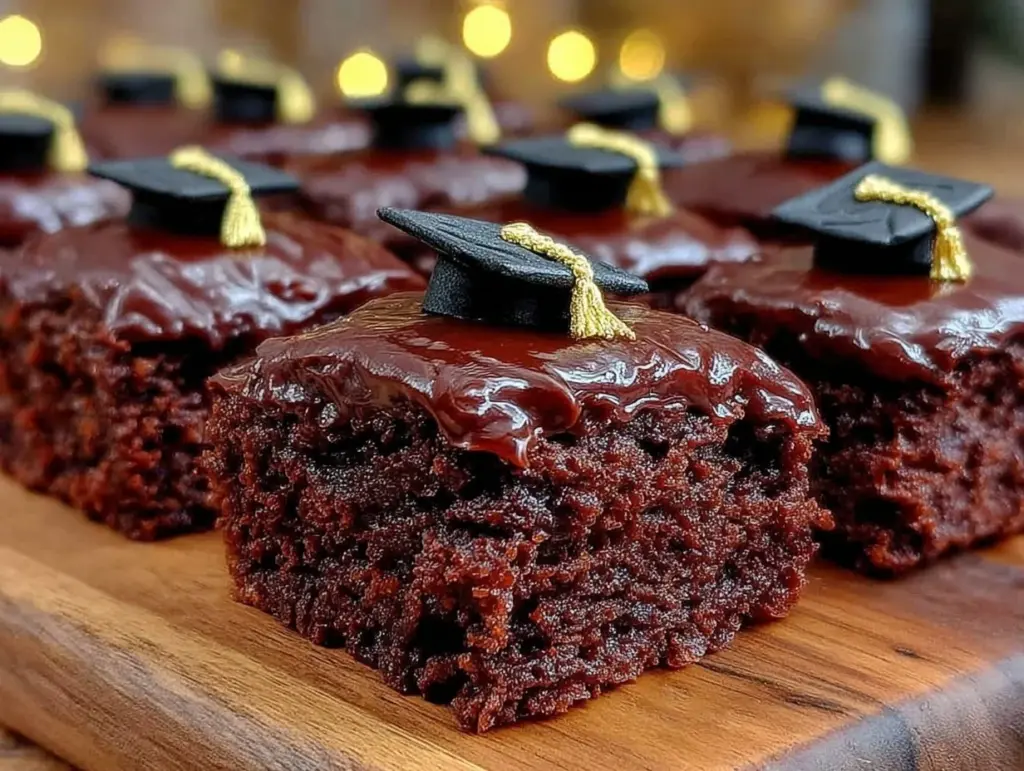
What makes these brownie bites different? The secret lies in the perfectly fudgy base combined with a simple buttercream “cap” topped with an edible tassel made from licorice or icing. This little creative twist transforms a classic dessert into a themed showstopper. Honestly, this recipe isn’t just good—it’s the kind that makes you close your eyes after the first bite, savoring that perfect mix of rich chocolate and sweet frosting. It’s the kind of comfort food that feels celebratory but not over the top, perfect for impressing guests without stress or turning a simple dessert into a memorable moment.
What Ingredients You Will Need
This recipe uses simple, wholesome ingredients to deliver bold flavor and satisfying texture without the fuss. Most are pantry staples, making it easy to prepare on short notice or for a last-minute celebration.
- For the Brownie Bites:
- Unsalted butter, 1/2 cup (113g), melted (adds richness)
- Granulated sugar, 1 cup (200g)
- Large eggs, 2, room temperature
- Pure vanilla extract, 1 tsp
- All-purpose flour, 3/4 cup (95g)
- Unsweetened cocoa powder, 1/3 cup (35g) (I recommend Ghirardelli for best texture)
- Salt, 1/4 tsp
- Baking powder, 1/4 tsp (for a slight lift)
- For the Graduation Cap Topping:
- Unsalted butter, 1/4 cup (57g), softened
- Powdered sugar, 1 cup (120g), sifted
- Milk, 1-2 tbsp (15-30ml) (use dairy-free milk if needed)
- Pure vanilla extract, 1/2 tsp
- Black food coloring gel or cocoa powder, a few drops or 1 tbsp (for color)
- Mini square-shaped cookies or chocolate wafers, about 24 (for caps)
- Licorice strings or piped icing, for tassels
Feel free to swap in almond flour for a gluten-free option or use dairy-free butter and milk to accommodate dietary needs. If you want a fruity twist, fresh berries on the side complement these bites beautifully. Also, for the black frosting, I sometimes mix cocoa powder instead of food coloring for a more natural approach—your call!
Equipment Needed
- 9×9-inch (23×23 cm) baking pan – I prefer non-stick for easy removal, but a well-greased glass pan works too.
- Mixing bowls – at least two, one for wet and one for dry ingredients.
- Electric mixer or hand whisk – for smooth frosting.
- Measuring cups and spoons – accurate measurements matter here.
- Rubber spatula – to fold batter gently without overmixing.
- Cooling rack – helps brownies cool evenly and faster.
- Small piping bag or ziplock bag with a corner snipped – for piping tassels.
If you don’t have an electric mixer, no worries—a good whisk and a bit of elbow grease will do the trick. For budget-friendly options, silicone spatulas and baking pans from brands like Wilton deliver reliable results without breaking the bank. Just make sure your baking pan is sturdy and heats evenly to avoid burnt edges.
Preparation Method
- Preheat your oven: Set it to 350°F (175°C) and grease your 9×9-inch baking pan or line it with parchment paper for easy removal. This usually takes about 10 minutes.
- Mix wet ingredients: In a medium bowl, whisk together the melted unsalted butter and granulated sugar until smooth and glossy—this takes about 2-3 minutes. Add the eggs one at a time, mixing well after each addition. Stir in the vanilla extract. The batter should look shiny and thick.
- Combine dry ingredients: In a separate bowl, sift together the all-purpose flour, cocoa powder, salt, and baking powder. This ensures no lumps and even distribution of leavening.
- Fold dry into wet: Gently fold the dry ingredients into the wet mixture using a rubber spatula. Be careful not to overmix; just fold until no streaks remain. This step should take about 1-2 minutes. The batter will be thick and fudgy.
- Bake: Pour the batter into your prepared pan and spread evenly. Bake for 20-25 minutes. Start checking at 20 minutes by inserting a toothpick in the center—it should come out with a few moist crumbs but not wet batter. Overbaking dries out those delicious fudgy bites.
- Cool: Let the brownies cool completely in the pan on a wire rack. This usually takes about 1 hour. This step is crucial for clean cutting and ensures the frosting won’t melt.
- Make the frosting: Beat softened butter until creamy, about 2 minutes. Gradually add powdered sugar, alternating with milk, until you reach a spreadable consistency. Add vanilla extract and black food coloring or cocoa powder. Beat until smooth and evenly colored.
- Cut brownies: Once cooled, carefully cut brownies into 24 small squares, roughly 1.5 inches (4 cm) each. Use a sharp knife wiped clean between cuts for neat edges.
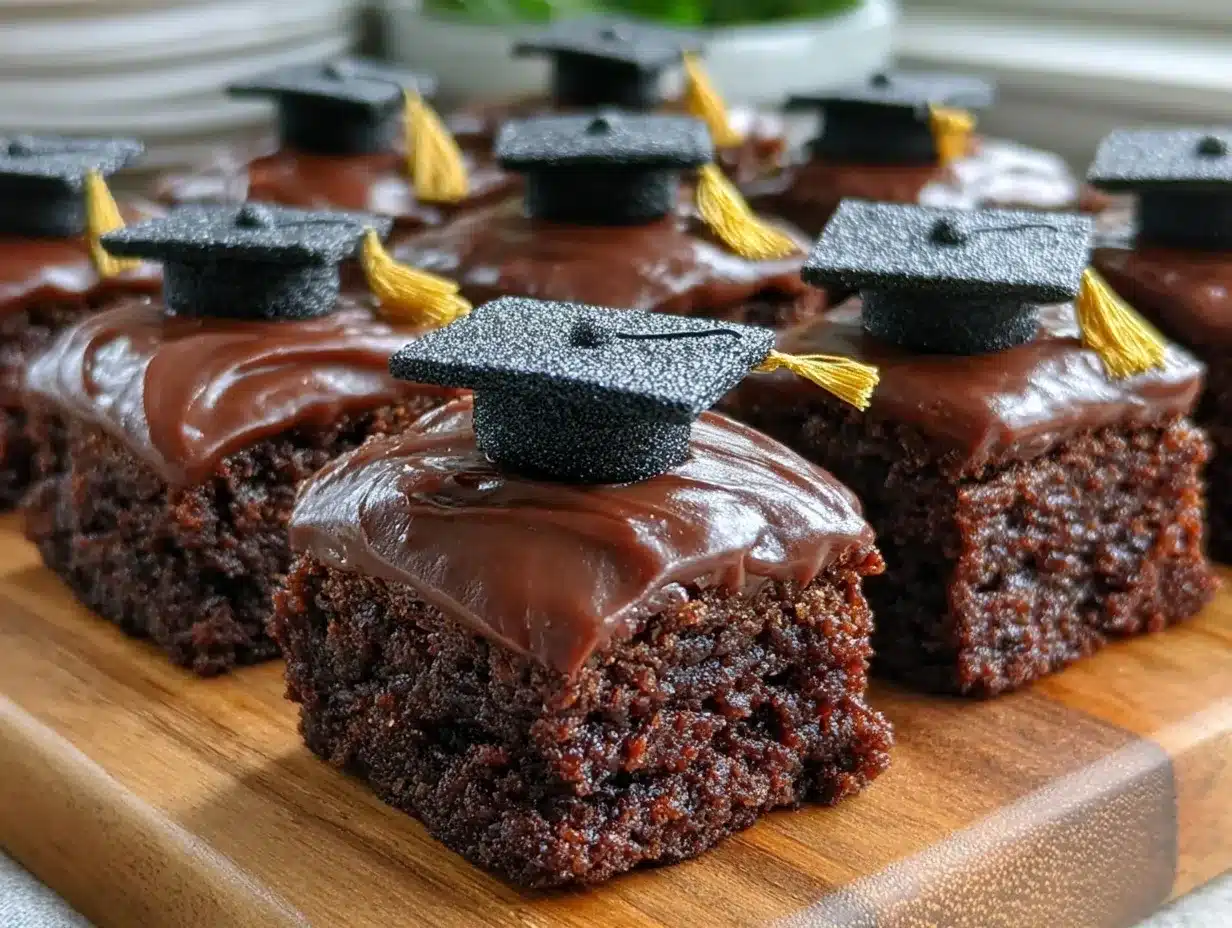
- Assemble graduation caps: Spread a thin layer of black frosting on top of each brownie square. Then gently press a mini square cookie or chocolate wafer into the frosting to create the mortarboard. Pipe a small tassel using licorice strings or black icing from your piping bag onto each cap.
- Set and serve: Allow the frosting to set for about 15 minutes before serving. This helps the caps stay put and makes them easier to handle.
If the frosting feels too stiff, add a splash more milk. If too thin, sprinkle in more powdered sugar. The key sensory cue here is a smooth, spreadable frosting that holds shape but isn’t crumbly. Also, cutting brownies when fully cooled prevents crumbling and messy edges—trust me, I learned that the hard way!
Cooking Tips & Techniques
Getting these Perfect Graduation Cap Brownie Bites just right takes a few little tricks I learned over time. First, don’t skip sifting the dry ingredients—that cocoa powder loves to clump, and you want an even, smooth batter. Also, melted butter adds richness and a fudgy crumb, but don’t make it too hot or you might scramble the eggs.
One common mistake is overbaking. Let’s face it, it’s tempting to bake brownies until fully set, but that kills the fudgy magic. Keep a close eye after 20 minutes and use the toothpick test. For frosting, if you want a more natural black hue, cocoa powder works well but adds chocolate flavor. Food coloring is tasteless but can be messy—use gel-based for best results.
Another tip: use a serrated knife for cutting brownies and wipe it clean between cuts to keep edges tidy. When piping tassels, don’t overfill your bag, and practice a few test strokes on parchment paper first. Multitasking while brownies cool is perfect for efficiency—whip up frosting during this downtime to speed things along.
Variations & Adaptations
Here are some fun ways you can tweak these brownie bites for different tastes and dietary needs:
- Gluten-Free Version: Swap the all-purpose flour for a 1-to-1 gluten-free baking flour blend. The texture stays fudgy and moist.
- Nutty Twist: Add 1/2 cup chopped walnuts or pecans into the batter for crunch and extra flavor. Toast them lightly first for best aroma.
- Vegan Adaptation: Replace butter with coconut oil, use flax eggs (1 tbsp ground flaxseed + 3 tbsp water per egg), and dairy-free milk for frosting. The result is deliciously fudgy with a slight coconut undertone.
- Flavor Variations: Swirl in a tablespoon of peanut butter or cream cheese into the batter before baking to add a creamy surprise inside each bite.
- Alternative Decorations: Use mini fondant caps or edible gold stars instead of cookies for a fancier look.
I once made a batch with raspberry jam piped between two brownie layers—talk about a crowd-pleaser! Feel free to experiment with your favorite flavors or decorations to make these bites your own.
Serving & Storage Suggestions
These graduation cap brownie bites are best served at room temperature so the frosting isn’t too hard and the brownie remains soft. Arrange them on a festive platter with colorful napkins to brighten up the table. They pair wonderfully with a cold glass of milk, coffee, or even a sparkling punch for adult gatherings.
Store leftover brownie bites in an airtight container at room temperature for up to 3 days. For longer storage, keep them refrigerated for up to a week or freeze for up to 2 months. When freezing, place parchment paper between layers to prevent sticking. To reheat, let frozen bites thaw at room temperature for about 30 minutes before serving; avoid microwaving to preserve texture.
Interestingly, the flavors develop a bit over time—the chocolate deepens and the frosting softens just right, making the bites even more enjoyable the next day.
Nutritional Information & Benefits
Each Perfect Graduation Cap Brownie Bite contains approximately 110-130 calories, with moderate amounts of fat and sugar that make them an occasional indulgence worth savoring. The cocoa powder offers antioxidants, which are a nice bonus in a celebratory treat. Using unsalted butter and controlling sugar amounts can help balance sweetness.
This recipe can be adapted for gluten-free or vegan diets, making it accessible for various guests. Just a heads up—these bites contain eggs, dairy, and gluten unless substitutes are made, so be mindful if serving to those with allergies.
From a wellness perspective, I love that these bites satisfy sweet cravings with simple, real ingredients, without overly processed fillers. Treating yourself to a small, thoughtfully made dessert can be a joyful part of celebrating milestones!
Conclusion
So there you have it—Perfect Graduation Cap Brownie Bites that are as fun to make as they are to eat. These treats bring together simple ingredients, a touch of creativity, and a whole lot of heart, making them a standout at any celebration. I encourage you to customize the decorations or mix-ins to suit your taste and the occasion.
Personally, I adore this recipe because it combines the fudgy goodness I grew up loving with a playful nod to milestone moments. If you give it a try, please share how you made it your own—I’d love to hear your adaptations or favorite ways to serve these bites!
Don’t forget to leave a comment below if you have questions or want to share your experience, and please spread the joy by sharing this recipe with fellow celebration planners. Here’s to sweet moments and happy graduations!
FAQs
Can I make these brownie bites ahead of time?
Absolutely! You can bake the brownies and prepare the frosting a day in advance. Assemble the caps the day of your event for the freshest look and taste.
What can I use instead of mini square cookies for the caps?
If you don’t have mini cookies, small chocolate wafers or even square-shaped crackers work well. You can also shape fondant or pipe thick frosting squares as a creative alternative.
How do I prevent the frosting from melting on warm brownies?
Make sure brownies are completely cooled before frosting. If your kitchen is warm, refrigerate the brownies briefly before assembling to keep the frosting firm.
Can I double this recipe for a larger crowd?
Yes! Just double all ingredients and bake in a larger pan or multiple pans. Baking time may vary slightly, so start checking a few minutes earlier than expected.
Are these brownie bites suitable for freezing?
They freeze beautifully! Store in an airtight container with parchment paper between layers. Thaw at room temperature before serving for best texture.
Pin This Recipe!
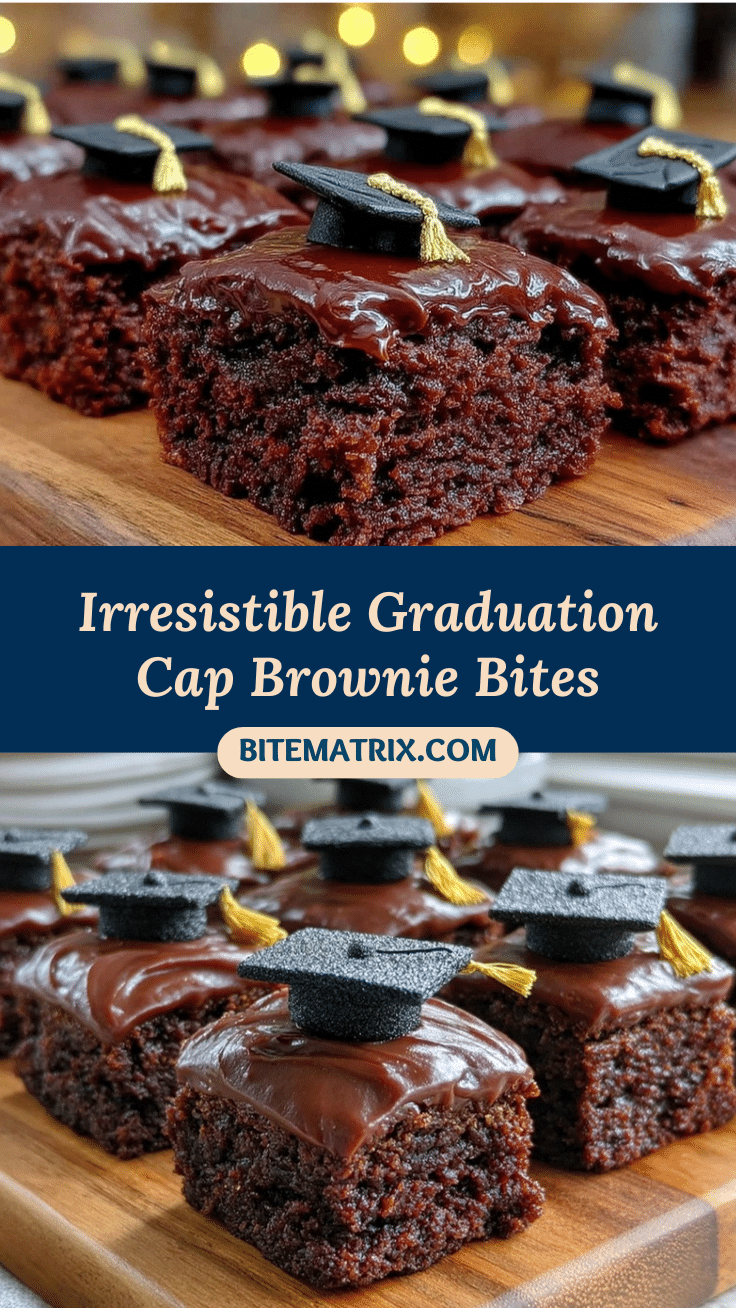
Perfect Graduation Cap Brownie Bites

These fudgy brownie bites topped with a buttercream graduation cap and edible tassel are perfect for celebrations like graduations and parties. Easy to make with simple ingredients, they offer nostalgic comfort with a festive twist.
- Prep Time: 15 minutes
- Cook Time: 25 minutes
- Total Time: 1 hour 40 minutes
- Yield: 24 brownie bites 1x
- Category: Dessert
- Cuisine: American
Ingredients
- 1/2 cup (113g) unsalted butter, melted
- 1 cup (200g) granulated sugar
- 2 large eggs, room temperature
- 1 tsp pure vanilla extract
- 3/4 cup (95g) all-purpose flour
- 1/3 cup (35g) unsweetened cocoa powder
- 1/4 tsp salt
- 1/4 tsp baking powder
- 1/4 cup (57g) unsalted butter, softened (for frosting)
- 1 cup (120g) powdered sugar, sifted
- 1–2 tbsp (15-30ml) milk (dairy-free milk optional)
- 1/2 tsp pure vanilla extract (for frosting)
- Black food coloring gel or 1 tbsp cocoa powder (for frosting color)
- About 24 mini square-shaped cookies or chocolate wafers (for caps)
- Licorice strings or piped icing (for tassels)
Instructions
- Preheat oven to 350°F (175°C) and grease a 9×9-inch baking pan or line with parchment paper.
- In a medium bowl, whisk melted butter and granulated sugar until smooth and glossy (2-3 minutes). Add eggs one at a time, mixing well after each addition. Stir in vanilla extract.
- In a separate bowl, sift together flour, cocoa powder, salt, and baking powder.
- Gently fold dry ingredients into wet mixture using a rubber spatula until no streaks remain, about 1-2 minutes.
- Pour batter into prepared pan and spread evenly. Bake for 20-25 minutes, checking at 20 minutes with a toothpick; it should come out with moist crumbs but not wet batter.
- Cool brownies completely in the pan on a wire rack, about 1 hour.
- Make frosting by beating softened butter until creamy (about 2 minutes). Gradually add powdered sugar, alternating with milk, until spreadable. Add vanilla extract and black food coloring or cocoa powder. Beat until smooth and evenly colored.
- Cut cooled brownies into 24 small squares (~1.5 inches each) using a sharp knife wiped clean between cuts.
- Spread a thin layer of black frosting on each brownie square. Press a mini cookie or chocolate wafer on top to create the mortarboard.
- Pipe a small tassel using licorice strings or black icing onto each cap.
- Allow frosting to set for about 15 minutes before serving.
Notes
Do not overbake to keep brownies fudgy. Sift dry ingredients to avoid lumps. Use a serrated knife wiped clean between cuts for neat edges. If frosting is too stiff, add more milk; if too thin, add more powdered sugar. Cool brownies completely before frosting to prevent melting.
Nutrition
- Serving Size: 1 brownie bite (appr
- Calories: 120
- Sugar: 14
- Sodium: 60
- Fat: 6
- Saturated Fat: 3.5
- Carbohydrates: 18
- Fiber: 1
- Protein: 1.5
Keywords: brownie bites, graduation treats, celebration desserts, fudgy brownies, buttercream frosting, easy brownies, party snacks


