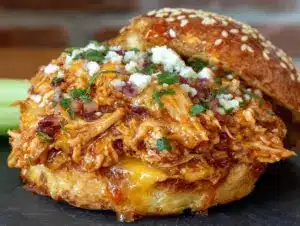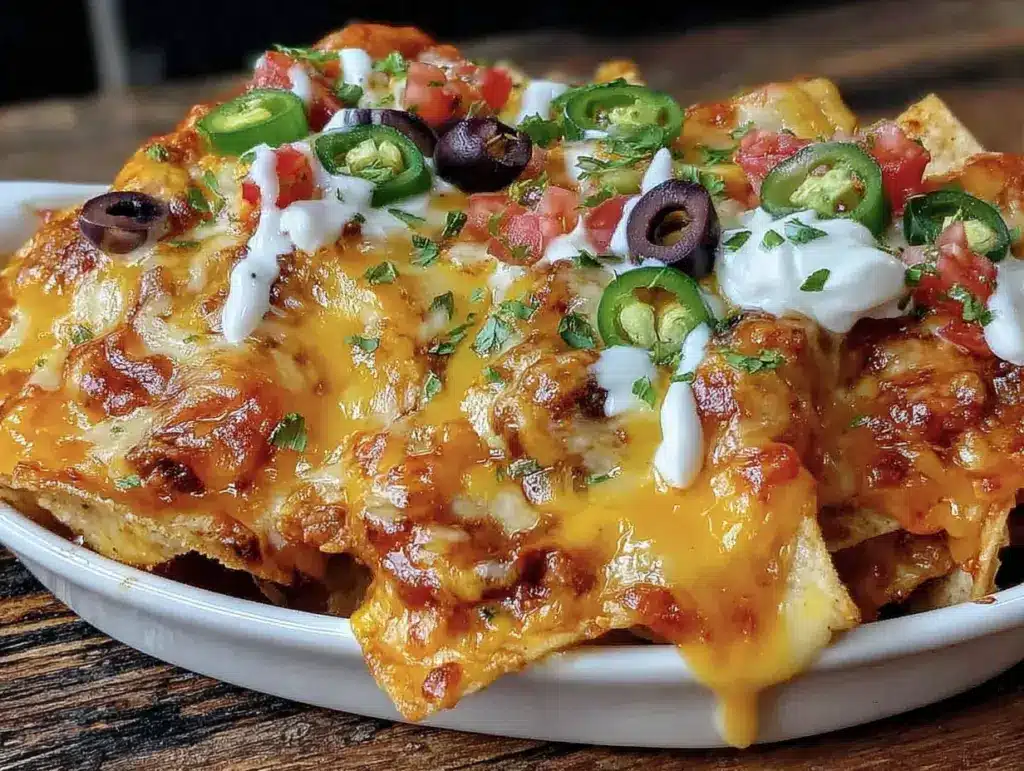
Three times in the last month and a half—and I still can’t stop thinking about the cheese pull. Not the first time, when I tried to be fancy with a single layer and it turned into a sad, soggy pile. Not the second time, when I used pre-shredded cheese and it clumped into weird rubbery patches that just wouldn’t melt right. But the third time? That was the one. The chips stayed crunchy, the beans were perfectly seasoned, and the cheese—oh, the cheese formed this golden, bubbly blanket that stretched for miles with every single chip. My friend Jen actually stood up from the couch and applauded. That’s the kind of reaction you want on game day, honestly.
I’ve been chasing that perfect nacho moment for years now, and I finally cracked the code. It’s not about complicated techniques or fancy ingredients you have to hunt down at three different stores. It’s about layering strategy (yes, really), knowing which cheeses actually melt well, and not overloading the chips until they weep. This best baked loaded nacho bar for game day is the result of all that trial and error—and a few burnt pans I’d rather forget.
What started as a last-minute snack for a playoff game turned into the thing my friends now request by name. They text me before every game now: “You making those nachos?” And honestly, that makes me happier than it probably should. Because when you get it right, a sheet pan of loaded nachos isn’t just food—it’s the centerpiece of the whole party.
Why You’ll Love This Recipe
I’ve tested this recipe more times than I care to count, and every single batch taught me something new. Here’s why this version stands out from every other nacho recipe you’ve tried:
- Perfectly Crunchy Every Time: No more sad, soggy chips halfway through the game. My layering technique ensures every chip gets topped without turning into mush.
- Real Cheese Only: Pre-shredded cheese has anti-caking agents that ruin the melt. I tested this with block cheese shredded fresh, and the difference is night and day—creamy, stretchy, and absolutely glorious.
- Customizable for Everyone: Set up a nacho bar and let people build their own. Picky eaters, vegetarians, spice lovers—everyone wins.
- Game Day Hero: This feeds a crowd without requiring you to stand at the stove for hours. Fifteen minutes of prep, ten minutes in the oven, and you’re the MVP of the party.
- Leftovers That Actually Reheat Well: I know, shocking. But with the right technique, leftover nachos come back to life in the air fryer or oven.
This isn’t just another nacho recipe you’ll try once and forget. It’s the one that’ll have people asking for the recipe before the halftime show ends. I’ve brought this to potlucks, birthday parties, and quiet nights in, and it never fails to disappear faster than anything else on the table.
What Ingredients You Will Need
This recipe uses simple, pantry-friendly ingredients that come together to create something truly special. You probably already have most of these in your kitchen right now.
- Tortilla Chips (1 large bag, about 13-16 oz): Go with restaurant-style or thick-cut chips. Thin chips break under the weight of toppings. I prefer Juanita’s or Tostitos Scoops for maximum topping capture.
- Ground Beef (1 lb): 80/20 works best here—enough fat to keep it juicy without turning greasy. You can swap for ground turkey or chicken if you prefer.
- Taco Seasoning (1 packet or 3 tbsp homemade): I use a mix of chili powder, cumin, smoked paprika, garlic powder, onion powder, and a pinch of cayenne. Store-bought works fine too—just check the sodium.
- Refried Beans (1 can, 15 oz): These add creamy texture and help everything stick together. I like using vegetarian refried beans even with meat—they’re usually less greasy.
- Cheddar Cheese (8 oz, block): Sharp cheddar gives you that bold flavor. Shred it yourself—trust me on this one.
- Monterey Jack Cheese (8 oz, block): This is your melt champion. It’s creamy, mild, and stretches like a dream when combined with cheddar.
- Black Beans (1 can, 15 oz, drained and rinsed): Adds fiber, texture, and makes the nachos more filling. Optional but highly recommended.
- Jalapeños (fresh or pickled): Pickled ones bring tang and heat without being overwhelming. Fresh ones add crunch and a slower burn.
- Roma Tomatoes (2-3, diced): Freshness and acidity to cut through all that richness.
- Red Onion (1/2, finely diced): Adds sharpness and crunch. Soak in cold water for 10 minutes if you want a milder bite.
- Fresh Cilantro (1/2 cup, chopped): Non-negotiable in my book. Adds that fresh, bright finish.
- Sour Cream (1 cup): For drizzling or dolloping on top. Full-fat works best, but Greek yogurt is a fine substitute.
- Guacamole (1 cup): Store-bought or homemade. I make a quick version with avocado, lime, salt, and a little diced onion.
- Salsa (1 cup): Whatever you like—mild, medium, or hot. I go with a chunky restaurant-style salsa for texture.
- Optional Toppings: Sliced black olives, pickled red onions, hot sauce, crumbled queso fresco, or a squeeze of fresh lime juice.
Equipment Needed
- Half-Sheet Pan (13×18 inches): The perfect size for feeding a crowd. If you don’t have one, a large rimmed baking sheet works too.
- Large Skillet: For browning the ground beef. Cast iron is my favorite, but any non-stick or stainless steel pan works.
- Box Grater or Food Processor: For shredding your cheese blocks. A box grater takes five minutes and gives you perfect shreds.
- Mixing Bowls: A few small bowls for prepping toppings ahead of time.
- Aluminum Foil or Parchment Paper: Lining the pan makes cleanup so much easier. Trust me on this one—I learned the hard way.
- Spatula: For spreading the refried beans and scraping up every last bit of goodness.
- Chef’s Knife and Cutting Board: For dicing tomatoes, onions, and chopping cilantro.
You don’t need anything fancy here. I’ve made this recipe in a tiny apartment kitchen with a dollar-store baking sheet, and it still turned out amazing. The key is just having a pan big enough to spread everything out in a single even layer.
Preparation Method
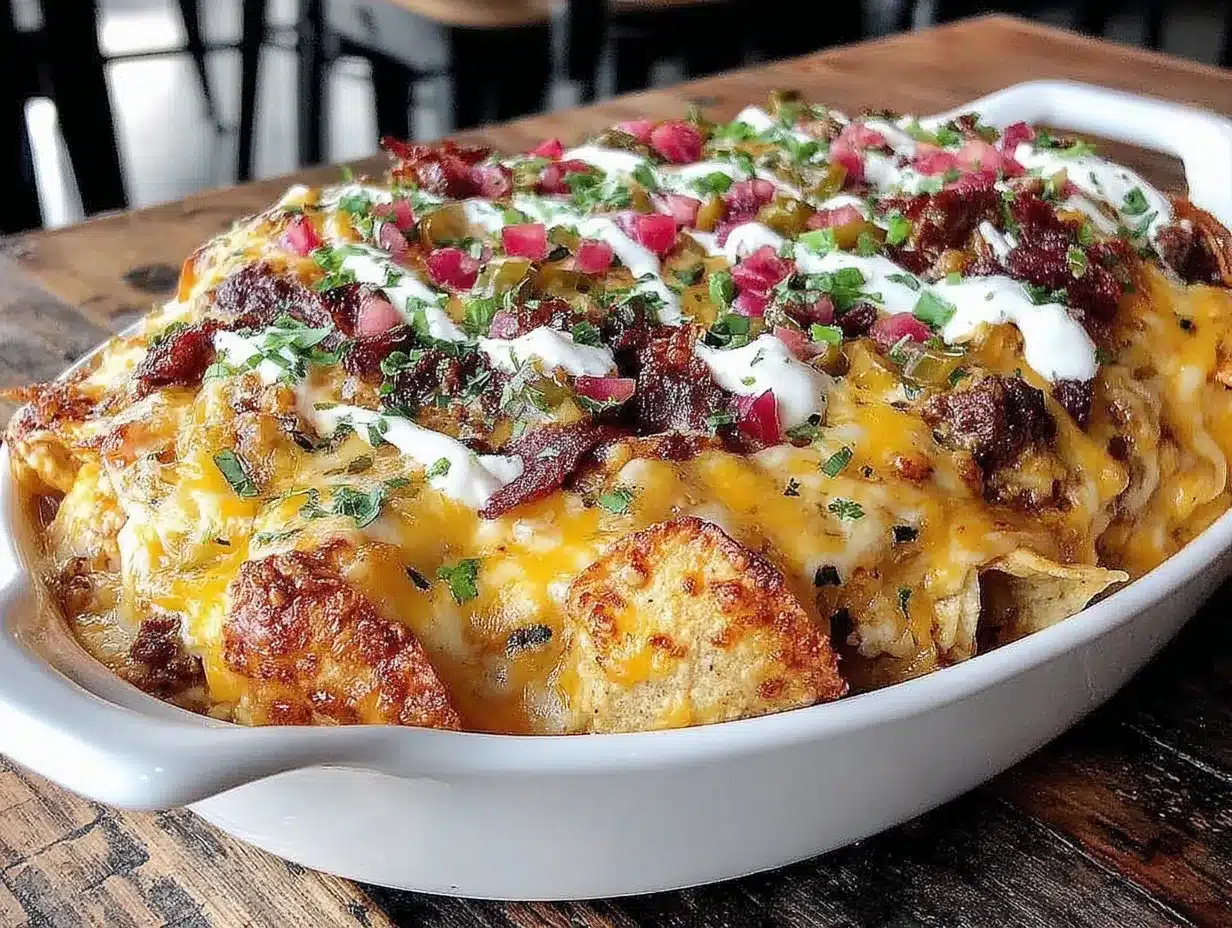
- Preheat your oven to 400°F (200°C). Line your half-sheet pan with aluminum foil or parchment paper. This step saves you from scrubbing later—trust me, baked-on cheese is no joke.
- Brown the ground beef. Heat your large skillet over medium-high heat. Add the ground beef and cook, breaking it apart with a spatula, until no longer pink—about 6-8 minutes. Drain off excess fat if needed. Add your taco seasoning and 1/4 cup of water. Stir and let it simmer for 2-3 minutes until thickened. Set aside.
- Warm the refried beans. In a small microwave-safe bowl, heat the refried beans for 30-45 seconds until spreadable. You can also do this in a small saucepan over low heat. Stir in a splash of water if they seem too thick.
- Shred your cheese. Grate both blocks of cheddar and Monterey Jack using the large holes of your box grater. Aim for about 4 cups total. Do not use pre-shredded cheese—it contains cellulose and starch that prevent proper melting.
- Layer the chips. Spread half the tortilla chips in an even layer on your prepared pan. Try to arrange them so they overlap slightly but aren’t stacked too thick. You want each chip to get some love.
- Add the first layer of toppings. Dollop small spoonfuls of refried beans across the chips (don’t spread—just drop them). Sprinkle half the seasoned ground beef over the chips. Add half the black beans. Scatter half the shredded cheese mixture evenly over everything.
- Repeat the layering. Add the remaining chips on top, again in a single-ish layer. Repeat the bean dollops, remaining beef, remaining black beans, and finish with the rest of the cheese. Make sure the top layer has plenty of cheese coverage—this is what creates that golden, bubbly crust.
- Bake for 8-12 minutes. Place the pan on the middle rack of your oven. Bake until the cheese is fully melted and starting to brown slightly at the edges. Keep an eye on it—ovens vary, and you don’t want burnt edges.
- Add fresh toppings. Remove the pan from the oven. Immediately sprinkle diced tomatoes, red onion, jalapeños, and fresh cilantro over the hot nachos. The residual heat will slightly warm the fresh toppings without wilting them.
- Serve immediately. Set the pan in the middle of your table or coffee table. Let people serve themselves with a spatula, and offer bowls of sour cream, guacamole, and salsa on the side. Watch them disappear.
Cooking Tips & Techniques
I learned most of these the hard way—through burnt pans, soggy chips, and one particularly tragic batch that my friends still joke about. Here’s what I wish I’d known from the start:
- Don’t overload the chips. It’s tempting to pile everything on, but too many toppings weigh down the chips and make them soggy. Spread them out in a single layer (or two thin layers) so each chip gets air circulation.
- Shred your own cheese. I cannot stress this enough. Pre-shredded cheese has anti-caking agents that prevent it from melting smoothly. You’ll get clumpy, greasy patches instead of that beautiful, stretchy blanket. Spend the extra three minutes grating—your nachos will thank you.
- Warm the refried beans first. Cold beans straight from the can will cool down your entire pan. A quick 30 seconds in the microwave makes them spreadable and helps everything cook evenly.
- Let the meat cool slightly. If you add piping-hot ground beef directly onto the chips, it’ll steam them before they even hit the oven. Let the cooked beef sit for 5 minutes before layering.
- Watch the oven like a hawk. Nachos go from perfectly melted to burnt in about 60 seconds. Start checking at the 8-minute mark. You want bubbly cheese with just a few golden-brown spots—not a charred mess.
- Serve on the pan. Don’t transfer nachos to a platter—they’ll fall apart. The sheet pan itself is the perfect serving vessel. Plus, it keeps them warmer longer.
Variations & Adaptations
- Vegetarian Version: Skip the ground beef and double up on black beans, pinto beans, or add sautéed bell peppers and onions. I’ve also used crumbled tofu seasoned with taco spice—surprisingly good.
- Chicken Nachos: Swap ground beef for shredded rotisserie chicken tossed in taco seasoning. It’s quicker and adds a different texture. This works great if you have leftover crispy honey garlic grilled chicken thighs on hand—just shred and go.
- Spicy Upgrade: Add a diced habanero or serrano pepper to the ground beef while it cooks. Drizzle with chipotle crema (mix sour cream with adobo sauce from canned chipotles) before serving.
- Breakfast Nachos: Top with a fried egg, crumbled bacon, and a drizzle of hot sauce. Yes, this is a thing, and yes, it’s incredible for lazy Sunday mornings.
- Gluten-Free Option: Most tortilla chips are naturally gluten-free, but double-check the label. Use certified gluten-free taco seasoning and you’re good to go.
- Dairy-Free Adaptation: Use dairy-free shredded cheese (Violife or Miyoko’s work well) and skip the sour cream. Top with extra guacamole and salsa for creaminess.
My personal favorite variation? I add a layer of loaded baked potato salad on the side for dipping. Something about the creamy, bacony goodness next to the crunchy nachos just works.
Serving & Storage Suggestions
Serve these nachos straight from the oven while the cheese is still bubbling. Set the hot sheet pan on a trivet or folded kitchen towel in the center of your table. Arrange small bowls of sour cream, guacamole, salsa, and extra jalapeños around it so everyone can customize their plate.
These pair beautifully with flavorful grilled corn on the cob with chili lime butter for a complete game day spread. Or keep it simple with a pitcher of fresh strawberry basil lemonade to balance all that savory richness.
Storage: Leftover nachos keep in an airtight container in the fridge for up to 2 days. But here’s the thing—they won’t be as crunchy. The toppings soften the chips over time. To reheat, spread them on a baking sheet and pop them in a 375°F oven for 5-7 minutes. An air fryer works even better—3 minutes at 350°F brings back most of the crunch.
Make-Ahead Tip: Prep all your toppings the night before. Dice tomatoes, shred cheese, cook and season the ground beef, and store everything in separate containers. On game day, all you have to do is layer and bake. It takes maybe 10 minutes of active work.
The flavors actually meld together beautifully overnight if you’re making a big batch for a party. Just reheat and add fresh toppings right before serving.
Nutritional Information & Benefits
Per serving (based on 8 servings): Approximately 450-500 calories, 28g fat, 35g carbohydrates, 22g protein, 6g fiber, and 800mg sodium. These numbers vary based on your specific toppings and portion sizes.
- Protein-Packed: Between the ground beef, black beans, and cheese, each serving delivers a solid amount of protein to keep you full through the entire game.
- Fiber from Beans: Black beans and refried beans add fiber that helps balance out the indulgent cheese and chips. Good for digestion and steady energy.
- Calcium from Cheese: All that melted cheese provides calcium for bone health. Plus, it makes you happy—that counts for something.
- Fresh Veggies: Tomatoes, onions, jalapeños, and cilantro add vitamins, antioxidants, and freshness that cuts through the richness.
- Dietary Notes: This recipe can be made gluten-free (check your seasoning and chips), vegetarian (skip the beef), or dairy-free (use alternative cheese and skip sour cream). It’s not low-carb, but you can serve it over lettuce for a nacho salad version.
Look, I’m not saying these are health food. But they’re real food made from real ingredients, and that counts for a lot in my book.
Conclusion
This best baked loaded nacho bar for game day has become my secret weapon for every party, gathering, and lazy Sunday. It’s the kind of recipe that looks complicated but comes together in under 30 minutes—and tastes like you spent hours on it. The combination of crunchy chips, seasoned meat, perfectly melted cheese, and fresh toppings is just unbeatable.
What I love most is how customizable it is. You can make it as simple or as loaded as you want. Add whatever toppings your heart desires. Make it vegetarian, spicy, or keep it classic. There’s no wrong way to build a nacho bar—only delicious ways.
I’d love to hear how yours turns out. Drop a comment below and tell me what toppings you used, or tag me in your game day spread photos. And if you come up with a wild variation I haven’t tried yet, definitely share it—I’m always looking for my next obsession.
Now go make some nachos. Your game day guests will thank you.
Frequently Asked Questions
Can I make these nachos ahead of time?
You can prep all the toppings the day before, but I recommend baking them fresh. Assembled nachos get soggy if they sit too long. If you need to prep ahead, cook the meat, shred the cheese, and dice the vegetables—then layer and bake right before serving.
What’s the best chip for loaded nachos?
Thick, sturdy chips are non-negotiable. Restaurant-style or scoop-shaped chips hold up best under all those toppings. Avoid thin, delicate chips—they’ll break and turn into a sad pile of crumbs.
Can I use pre-shredded cheese?
You can, but I really don’t recommend it. Pre-shredded cheese has anti-caking agents that prevent it from melting smoothly. You’ll get clumpy, greasy patches instead of that beautiful, stretchy melt. Spend the extra few minutes shredding your own—it makes a huge difference.
How do I reheat leftover nachos without them getting soggy?
Skip the microwave—it turns chips into rubber. Spread leftovers on a baking sheet and reheat in a 375°F oven for 5-7 minutes. An air fryer works even better: 3 minutes at 350°F brings back most of the crunch. Add fresh toppings after reheating.
Can I make this recipe vegetarian or vegan?
Absolutely. For vegetarian, skip the ground beef and double up on black beans, pinto beans, or sautéed peppers and onions. For vegan, use dairy-free shredded cheese (Violife melts great), skip the sour cream, and load up on guacamole and salsa for creaminess.
Pin This Recipe!
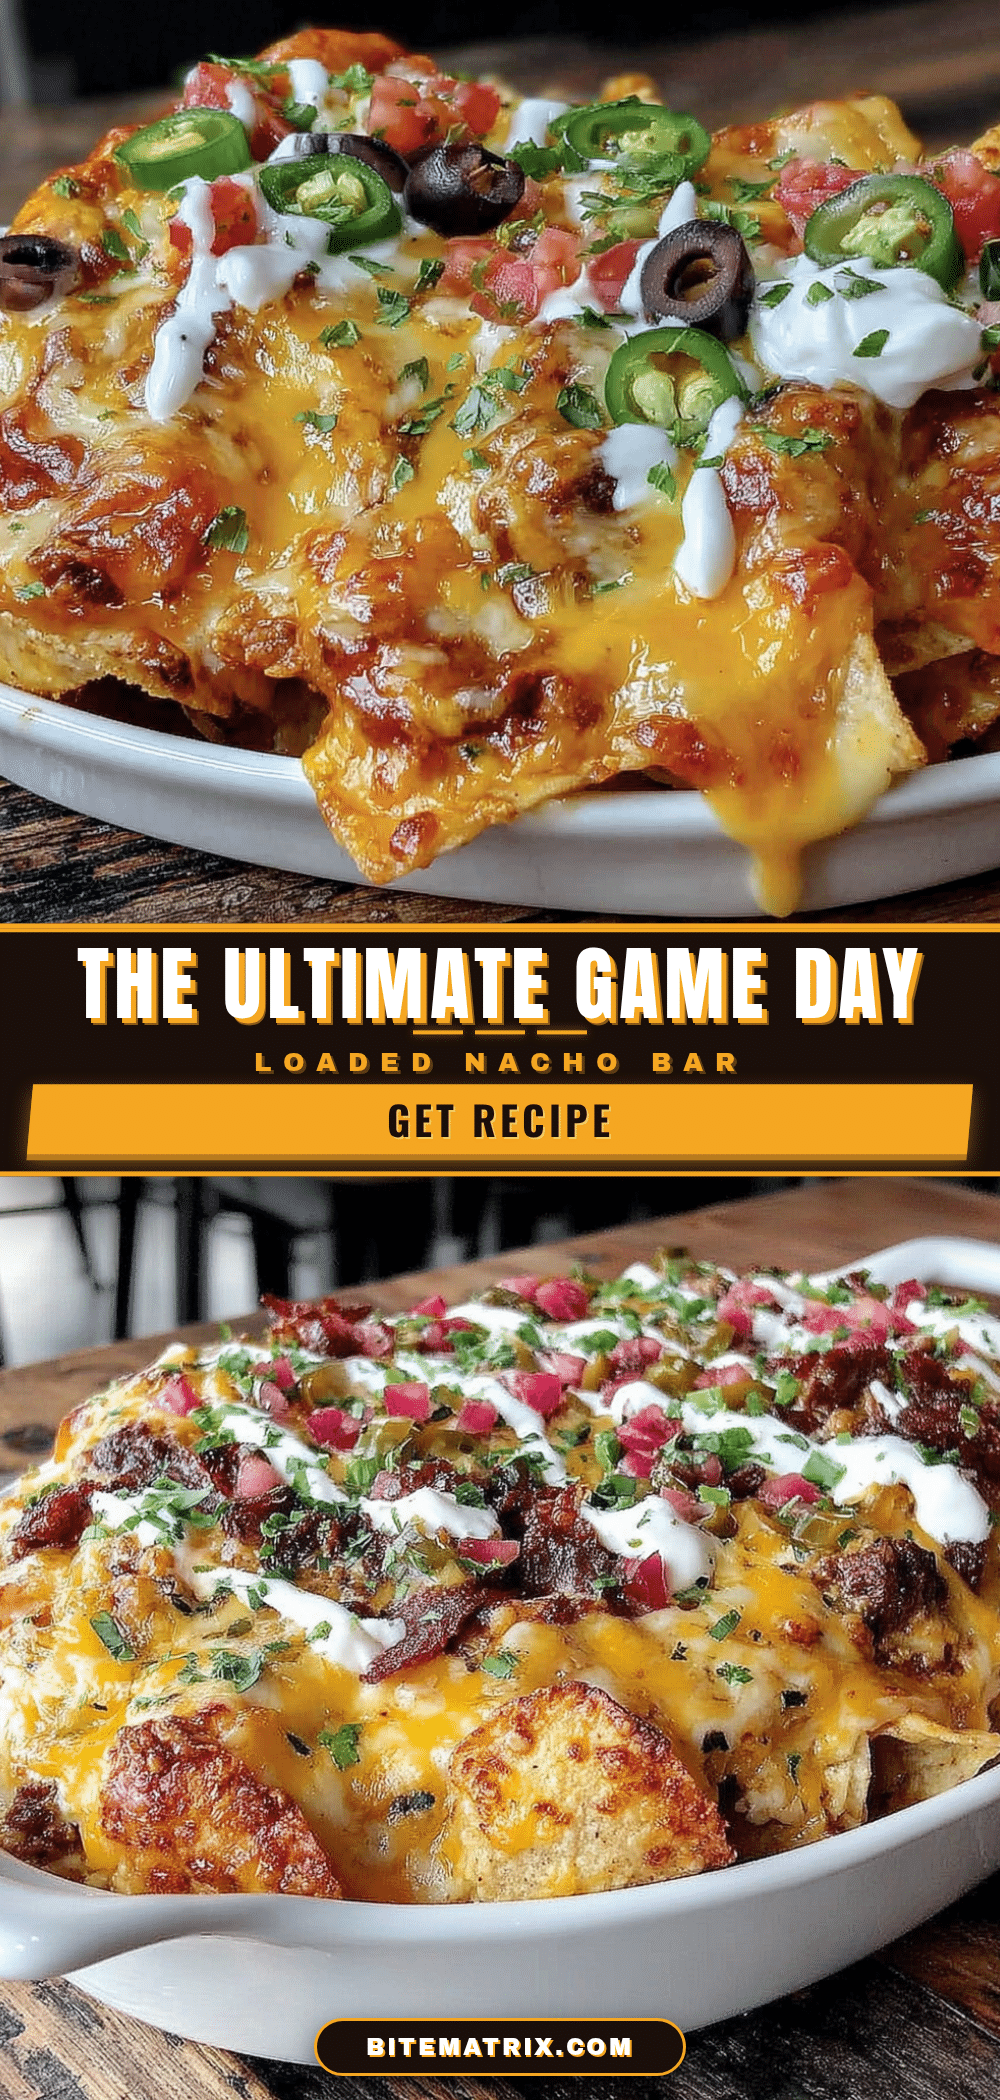
Best Baked Loaded Nacho Bar – Easy Game Day Recipe

Perfectly crunchy chips, seasoned ground beef, and a golden bubbly cheese blanket make this loaded nacho bar the ultimate game day centerpiece. Customizable with fresh toppings and ready in under 30 minutes.
- Prep Time: 15 minutes
- Cook Time: 10 minutes
- Total Time: 25 minutes
- Yield: 8 servings 1x
- Category: Appetizer
- Cuisine: Mexican-American
Ingredients
- 1 large bag tortilla chips (13–16 oz), restaurant-style or thick-cut
- 1 lb ground beef (80/20)
- 1 packet (or 3 tbsp) taco seasoning
- 1 can (15 oz) refried beans
- 8 oz sharp cheddar cheese, block
- 8 oz Monterey Jack cheese, block
- 1 can (15 oz) black beans, drained and rinsed
- Jalapeños (fresh or pickled), to taste
- 2–3 Roma tomatoes, diced
- 1/2 red onion, finely diced
- 1/2 cup fresh cilantro, chopped
- 1 cup sour cream
- 1 cup guacamole
- 1 cup salsa
- Optional toppings: sliced black olives, pickled red onions, hot sauce, crumbled queso fresco, lime juice
Instructions
- Preheat oven to 400°F (200°C). Line a half-sheet pan with aluminum foil or parchment paper.
- Brown the ground beef in a large skillet over medium-high heat for 6-8 minutes, breaking it apart. Drain excess fat. Add taco seasoning and 1/4 cup water; simmer 2-3 minutes until thickened. Set aside.
- Warm refried beans in a microwave-safe bowl for 30-45 seconds until spreadable.
- Shred both cheddar and Monterey Jack cheeses using a box grater (about 4 cups total).
- Spread half the tortilla chips in an even layer on the prepared pan, slightly overlapping.
- Dollop small spoonfuls of refried beans over the chips. Sprinkle half the seasoned beef, half the black beans, and half the shredded cheese mixture evenly.
- Add remaining chips in a single-ish layer. Repeat with remaining beans, beef, black beans, and top with remaining cheese.
- Bake for 8-12 minutes until cheese is fully melted and starting to brown at edges.
- Remove from oven. Immediately sprinkle diced tomatoes, red onion, jalapeños, and cilantro over hot nachos.
- Serve immediately on the pan with bowls of sour cream, guacamole, and salsa on the side.
Notes
Shred your own cheese for best melt. Don’t overload chips; spread in thin layers. Let cooked meat cool slightly before layering. Watch oven closely to avoid burning. Serve on the pan to keep warm.
Nutrition
- Serving Size: 1 serving (about 1/8
- Calories: 475
- Sugar: 4
- Sodium: 800
- Fat: 28
- Saturated Fat: 12
- Carbohydrates: 35
- Fiber: 6
- Protein: 22
Keywords: loaded nachos, game day nachos, baked nachos, nacho bar, easy nacho recipe, party appetizer, sheet pan nachos