Unexpected guests showed up right when the fridge looked like a sad wasteland—barely a crumb to call dinner. The only bright spot was a pint of wild huckleberries, slightly bruised but still bursting with promise. I glanced around, realizing the usual pantry staples were all I had: cream cheese, lemons, a few baking basics. Honestly, it felt like a puzzle thrown together at the last second, the kind of moment where you just throw caution to the wind and hope for the best.
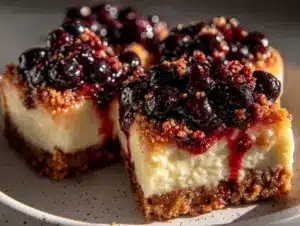
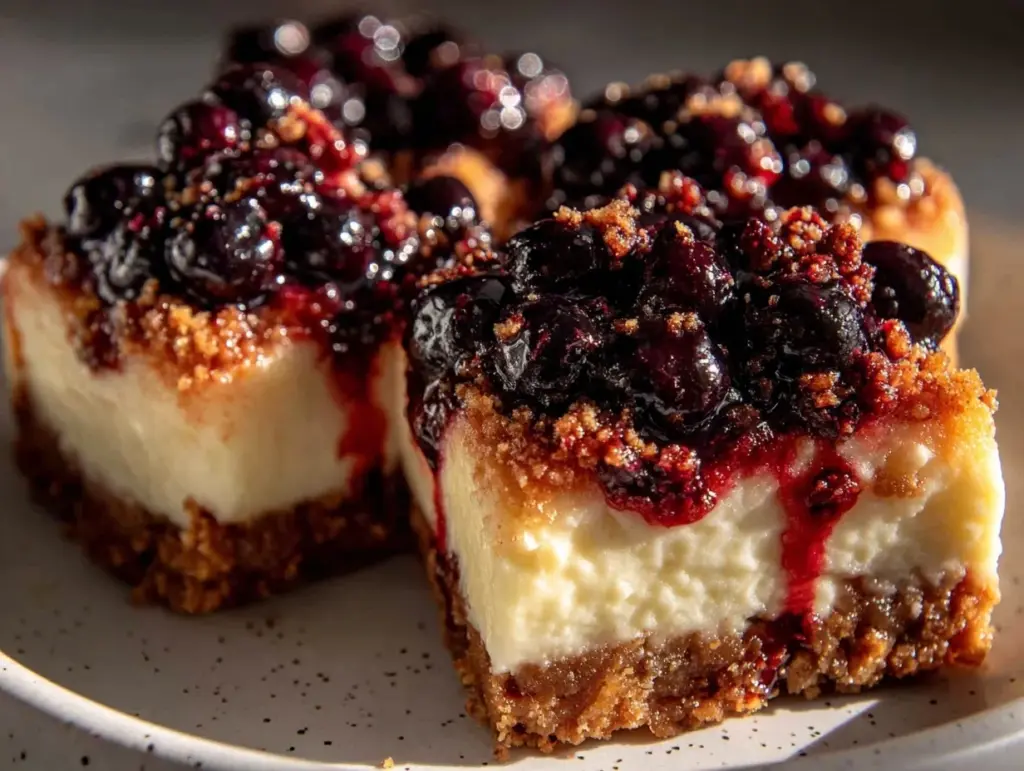
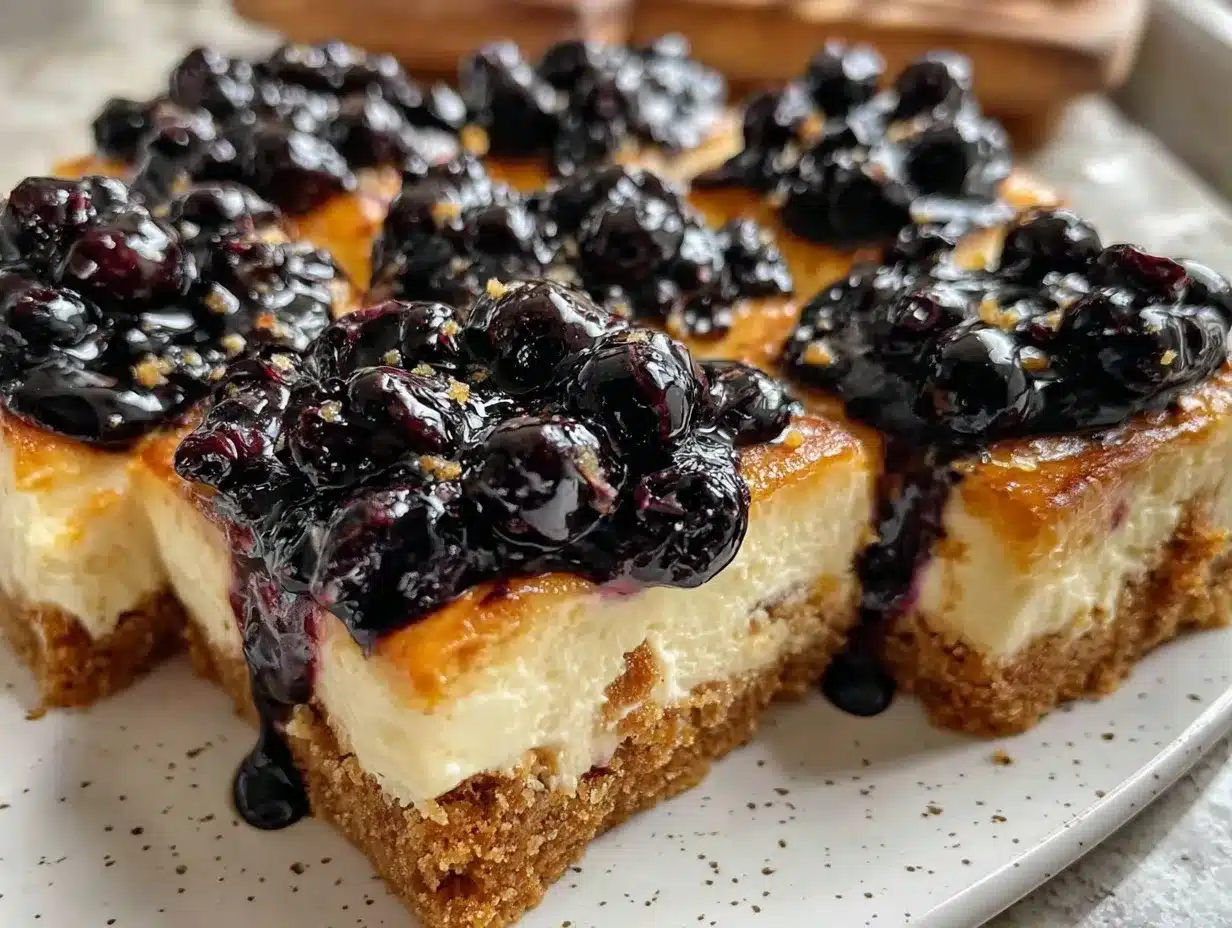
That’s how these creamy wild huckleberry lemon cheesecake bars came to be—a total improvisation that turned into a small miracle. The tang of fresh lemon zested through the soft, velvety cheesecake while the wild huckleberries added that perfect, slightly tart pop. The crust held everything together like a warm hug, buttery but not too heavy. I remember biting into a bar and feeling surprised at how something so simple could taste so comforting and fresh all at once.
It’s funny how some of the best recipes aren’t planned; they sneak up on you when you least expect them. These cheesecake bars have stuck around because they’re not just delicious—they’re a little reminder that creativity in the kitchen often comes from moments like this. You don’t have to have a full fridge or fancy ingredients to pull off something impressive. Sometimes, all you need is a pint of wild berries and a dash of lemony sunshine to save the day.
Why You’ll Love This Recipe
This recipe for creamy wild huckleberry lemon cheesecake bars has been through many kitchen tests, and it keeps winning. I’ve made it for last-minute visitors, summer picnics, and even casual dinner parties—and it never disappoints. Here’s why you might want to stash this one in your recipe box too:
- Quick & Easy: From start to finish, you’re looking at about 45 minutes prep and bake time. Perfect when you need a sweet fix without the fuss.
- Simple Ingredients: No exotic items here. You probably already have cream cheese, lemon, and those wild huckleberries waiting for you. If not, frozen berries work just as well.
- Perfect for Summer or Anytime: These bars are great for potlucks, brunch, or as a refreshing dessert after a heavy meal. They balance richness with brightness.
- Crowd-Pleaser: Kids, adults, picky eaters—everyone asks for seconds. The creamy texture combined with tangy lemon and juicy berries hits all the right notes.
- Distinct Flavor Twist: Unlike your average cheesecake bar, the wild huckleberries bring a unique flavor that isn’t overly sweet but deeply satisfying. The lemon zest adds just enough zing to keep things lively.
This isn’t just another cheesecake bar recipe; it’s the one that makes you pause and savor the moment. Honestly, it’s the kind of dessert that gets you closing your eyes after the first bite, savoring how creamy and fresh it tastes. If you love the idea of a dessert that feels both indulgent and a little bit wild, then these bars will quickly become a go-to.
What Ingredients You Will Need
These wild huckleberry lemon cheesecake bars lean on simple, wholesome ingredients that come together beautifully without much fuss. Most are pantry staples, with the wild huckleberries stealing the show. If you can’t find fresh, frozen works just fine, especially if you’re craving this in off-season months.
- For the Crust:
- 1 1/2 cups graham cracker crumbs (about 10 full sheets, crushed finely)
- 1/4 cup granulated sugar (balances the buttery crust)
- 6 tablespoons unsalted butter, melted (I prefer Kerry Gold for richness)
- For the Cheesecake Filling:
- 16 ounces cream cheese, softened (full fat for best creaminess)
- 2/3 cup granulated sugar
- 2 large eggs, room temperature (helps with smooth texture)
- 1 teaspoon pure vanilla extract
- 2 teaspoons lemon zest (freshly grated, not dried)
- 3 tablespoons fresh lemon juice (adds bright acidity)
- For the Huckleberry Topping:
- 1 1/2 cups wild huckleberries (fresh or frozen, thawed)
- 2 tablespoons granulated sugar (to sweeten the tart berries)
- 1 tablespoon cornstarch (optional, for thickening if berries are too juicy)
Pro tip: If you want a gluten-free version, swap the graham cracker crumbs with almond flour or gluten-free cookie crumbs. Also, if you’re dairy-free, try a plant-based cream cheese alternative—but fair warning, the texture might shift a bit.
Equipment Needed
- 9×9 inch (23×23 cm) baking pan – the perfect size for these bars to bake evenly
- Mixing bowls – a couple of medium bowls for crust and filling
- Hand mixer or stand mixer – makes blending the cream cheese silky smooth
- Spatula – for scraping down the sides and folding in ingredients
- Measuring cups and spoons – precise measurements really help with cheesecake consistency
- Food processor or resealable bag and rolling pin – for crushing graham crackers (a rolling pin is my go-to when I want less mess)
- Oven mitts – safety first, especially when handling hot pans
Honestly, this recipe doesn’t require fancy gadgets. If you don’t have a mixer, just be ready to put in a bit of elbow grease for creaming the cheese and sugar. For best results, soften your cream cheese ahead of time so it blends effortlessly.
Preparation Method
- Preheat your oven to 325°F (160°C). Line your 9×9 inch pan with parchment paper, leaving an overhang on two sides for easy removal later. This little step saves a lot of hassle.
- Make the crust: In a medium bowl, combine 1 1/2 cups graham cracker crumbs, 1/4 cup sugar, and 6 tablespoons melted butter. Mix until the crumbs are evenly coated and feel like wet sand. Press firmly and evenly into the bottom of your prepared pan. Use the bottom of a glass to compact it tightly. Bake for 10 minutes, then remove from oven and let cool slightly. This pre-bake keeps the crust crisp instead of soggy.
- Prepare the huckleberry topping: Toss the berries with 2 tablespoons sugar and 1 tablespoon cornstarch if you want a thicker topping. Set aside so the sugar begins to draw out the juices while you make the cheesecake filling.
- Make the cheesecake filling: In a large bowl, beat the softened cream cheese with 2/3 cup sugar until smooth and creamy (about 2-3 minutes with a mixer). Add the eggs, one at a time, blending well after each addition. Stir in the vanilla extract, lemon zest, and lemon juice. Mix until just combined; avoid overmixing to prevent cracks.
- Assemble: Pour half of the cheesecake filling over the cooled crust and spread evenly. Spoon the huckleberry mixture over this layer, distributing berries as evenly as possible. Gently dollop the remaining cheesecake filling on top and use a spatula to smooth it out, carefully covering the berries.
- Bake: Place the pan in the oven and bake for 35-40 minutes until the edges are set but the center still jiggles slightly when nudged. This slight wobble means creamy, not dry.
- Cool completely: Remove from oven and cool on a wire rack for about an hour. Then refrigerate for at least 4 hours, ideally overnight. This chilling step is crucial—it lets the bars set up perfectly and flavors meld beautifully.
- Slice and serve: Using the parchment overhang, lift the cheesecake bars out of the pan. Cut into 12 squares with a sharp knife (dip the knife in hot water and wipe clean between cuts for neat edges). Serve chilled or at room temperature.
If you notice any cracks after baking, don’t panic—they’re normal. The lemon juice sometimes causes slight cracking, but the berry layer covers imperfections nicely. I’ve found that letting the bars chill overnight smooths everything out.
Cooking Tips & Techniques
Cheesecake bars can be finicky, but a few tricks from my experience make all the difference:
- Softened cream cheese is key. Cold cream cheese lumps up and ruins the texture. Let it sit out for at least 30 minutes.
- Don’t overmix the batter. Too much air can cause cracks. Mix just until combined and smooth.
- Use room temperature eggs. They blend better, preventing lumps or a curdled appearance.
- Pre-bake the crust. This helps avoid a soggy bottom, which is a common cheesecake pitfall.
- Keep an eye on baking time. The cheesecake should be firm around the edges but slightly jiggly in the center when you pull it out.
- Chill thoroughly. I learned the hard way that skipping the fridge step leads to runny bars.
- For a cleaner cut, warm your knife under hot water and wipe it between slices. This prevents crumbling and messy edges.
Also, I once tried swirling the huckleberry topping through the filling for a marbled look—it’s pretty but a bit messier. Layered berries give a nicer contrast and hold up better.
Variations & Adaptations
Feel like mixing it up? Here are some tasty ways to customize these bars:
- Berry swap: Use fresh blueberries, raspberries, or a mix of wild berries instead of huckleberries. In summer, fresh berries add a different brightness.
- Gluten-free crust: Replace graham cracker crumbs with almond flour or crushed gluten-free cookies. The texture will be slightly different but still delicious.
- Dairy-free option: Use dairy-free cream cheese and butter substitutes. I’ve tried this with coconut cream cheese, which gives a slight coconut flavor but still creamy results.
- Lemon twist: Add a teaspoon of lemon extract or swap lemon zest for orange zest for a citrus change-up.
- Crunchy topping: Sprinkle chopped toasted pecans or almonds over the berry layer before adding the final cheesecake layer for a nutty crunch.
Personally, I once adapted this into mini cheesecake cups by layering the crust, filling, and berries in small jars—great for summer parties and less mess. If you want to try something lighter, pairing these bars with a fresh cucumber dill salad from this recipe balances the richness nicely.
Serving & Storage Suggestions
These bars shine best served chilled but not ice cold. Let them sit out for about 10 minutes before cutting and serving so the flavors open up and the texture softens slightly. They make a beautiful dessert on their own, but a dollop of whipped cream or a small scoop of vanilla ice cream takes things over the top.
For a perfect summer gathering, pair these cheesecake bars with a refreshing drink like the fresh strawberry basil lemonade. The tartness and herbs complement the lemon and berries wonderfully.
Store any leftovers in an airtight container in the refrigerator for up to 5 days. The flavors actually deepen after a day or two, making them even better. If you want to freeze them, wrap tightly in plastic wrap and foil—they freeze well for up to 2 months. Thaw overnight in the fridge before serving.
Reheating isn’t necessary, but if you prefer, let them come to room temperature for about 20 minutes. Resist the urge to microwave, which can mess with the creamy texture.
Nutritional Information & Benefits
Each serving of these wild huckleberry lemon cheesecake bars provides a satisfying blend of protein, calcium, and antioxidants. The cream cheese is rich in calcium and healthy fats, while the wild huckleberries contribute vitamin C and fiber. The lemon adds a boost of fresh vitamin C and bright flavor without added sugar.
While these bars are an indulgence, the portion control and fresh ingredients make them a more balanced dessert option. For those watching carbs or gluten, simple ingredient swaps make this recipe adaptable to your needs.
Note: Contains dairy, eggs, and gluten (unless modified). If you’re sensitive to any of these, consider the suggested substitutions.
Conclusion
Nothing about these creamy wild huckleberry lemon cheesecake bars was planned, but they’ve become one of my favorite go-to desserts for good reason. They combine simple, accessible ingredients with bold flavors that somehow feel special and fresh. Plus, they’re forgiving and easy to make even if you’re not a seasoned baker.
Feel free to play with the berries, zest, or crust to make the recipe your own. I love how versatile it is—whether you’re whipping these up for a last-minute treat or a special occasion, they never disappoint. Honestly, they remind me that sometimes the best meals come from what’s on hand and a little bit of kitchen bravery.
If you try these cheesecake bars, I’d love to hear your twists or stories about how they turned out for you. Sharing recipes and kitchen wins is what makes cooking fun and rewarding. Happy baking!
Frequently Asked Questions
- Can I use frozen huckleberries? Yes! Just thaw and drain excess juice before using to avoid a soggy crust.
- What if I don’t have graham crackers? Substitute with digestive biscuits, vanilla wafers, or gluten-free cookie crumbs.
- How do I prevent cracks in my cheesecake bars? Avoid overmixing, use room temperature ingredients, and don’t overbake. A slight jiggle in the center is perfect.
- Can I make these bars ahead of time? Absolutely! They taste even better after chilling overnight.
- How should I store leftover bars? Keep them refrigerated in an airtight container for up to 5 days or freeze for longer storage.
Pin This Recipe!
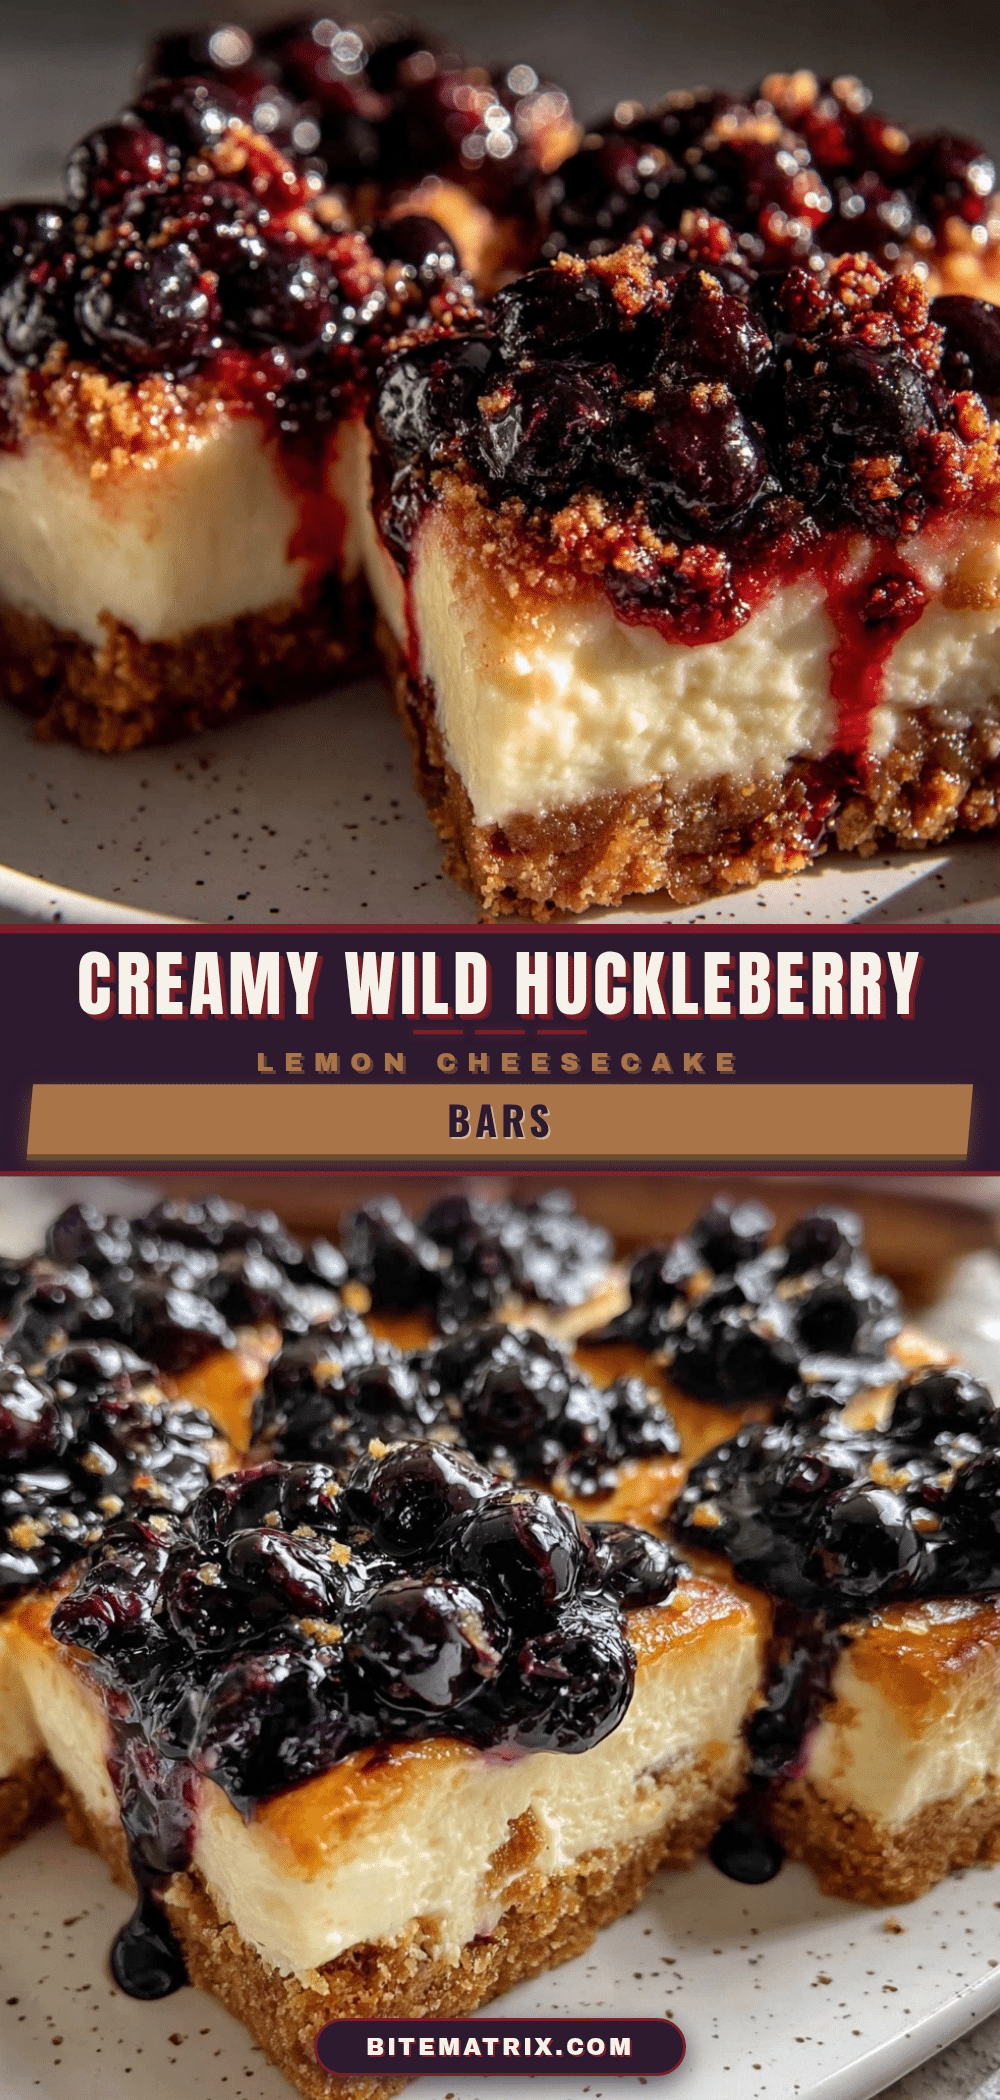
Creamy Wild Huckleberry Lemon Cheesecake Bars

These creamy wild huckleberry lemon cheesecake bars combine a tangy lemon cheesecake with a buttery graham cracker crust and a tart wild huckleberry topping, perfect for a quick and easy dessert that feels fresh and indulgent.
- Prep Time: 15 minutes
- Cook Time: 45 minutes
- Total Time: 4 hours 45 minutes
- Yield: 12 servings 1x
- Category: Dessert
- Cuisine: American
Ingredients
- 1 1/2 cups graham cracker crumbs (about 10 full sheets, crushed finely)
- 1/4 cup granulated sugar
- 6 tablespoons unsalted butter, melted
- 16 ounces cream cheese, softened (full fat)
- 2/3 cup granulated sugar
- 2 large eggs, room temperature
- 1 teaspoon pure vanilla extract
- 2 teaspoons lemon zest (freshly grated)
- 3 tablespoons fresh lemon juice
- 1 1/2 cups wild huckleberries (fresh or frozen, thawed)
- 2 tablespoons granulated sugar
- 1 tablespoon cornstarch (optional)
Instructions
- Preheat your oven to 325°F (160°C). Line a 9×9 inch pan with parchment paper, leaving an overhang on two sides for easy removal.
- Make the crust: In a medium bowl, combine graham cracker crumbs, 1/4 cup sugar, and melted butter. Mix until crumbs are evenly coated and feel like wet sand. Press firmly and evenly into the bottom of the prepared pan. Use the bottom of a glass to compact it tightly. Bake for 10 minutes, then remove and let cool slightly.
- Prepare the huckleberry topping: Toss the berries with 2 tablespoons sugar and 1 tablespoon cornstarch if using. Set aside.
- Make the cheesecake filling: In a large bowl, beat softened cream cheese with 2/3 cup sugar until smooth and creamy (2-3 minutes). Add eggs one at a time, blending well after each. Stir in vanilla extract, lemon zest, and lemon juice. Mix until just combined.
- Assemble: Pour half of the cheesecake filling over the cooled crust and spread evenly. Spoon the huckleberry mixture over this layer. Dollop the remaining cheesecake filling on top and smooth out with a spatula, covering the berries.
- Bake for 35-40 minutes until edges are set but center jiggles slightly when nudged.
- Cool completely on a wire rack for about an hour, then refrigerate for at least 4 hours or overnight.
- Lift bars out using parchment overhang, cut into 12 squares with a sharp knife dipped in hot water between cuts. Serve chilled or at room temperature.
Notes
Use softened cream cheese for best texture. Avoid overmixing to prevent cracks. Pre-bake crust to avoid sogginess. Chill bars overnight for best flavor and texture. For gluten-free, substitute graham crackers with almond flour or gluten-free crumbs. For dairy-free, use plant-based cream cheese and butter alternatives.
Nutrition
- Serving Size: 1 bar (1/12th of rec
- Calories: 320
- Sugar: 18
- Sodium: 210
- Fat: 22
- Saturated Fat: 13
- Carbohydrates: 25
- Fiber: 1
- Protein: 5
Keywords: wild huckleberry cheesecake bars, lemon cheesecake bars, easy cheesecake bars, summer dessert, berry dessert, creamy cheesecake, homemade cheesecake bars