Snap, crunch, and that unmistakable pop of fresh green beans — that’s the whole point. The way these beans hold their crispness, even after soaking in a tangy apple cider vinegar brine, is what made me keep coming back to this recipe again and again. I remember the first time I made these; I was obsessed with the texture. The beans weren’t just pickled; they had this lively, toothsome snap that felt like a mini celebration in every bite. Honestly, I’m a texture-driven cook — I taste with my eyes and fingertips before anything else, and these beans deliver that satisfying crispness like little green firecrackers.
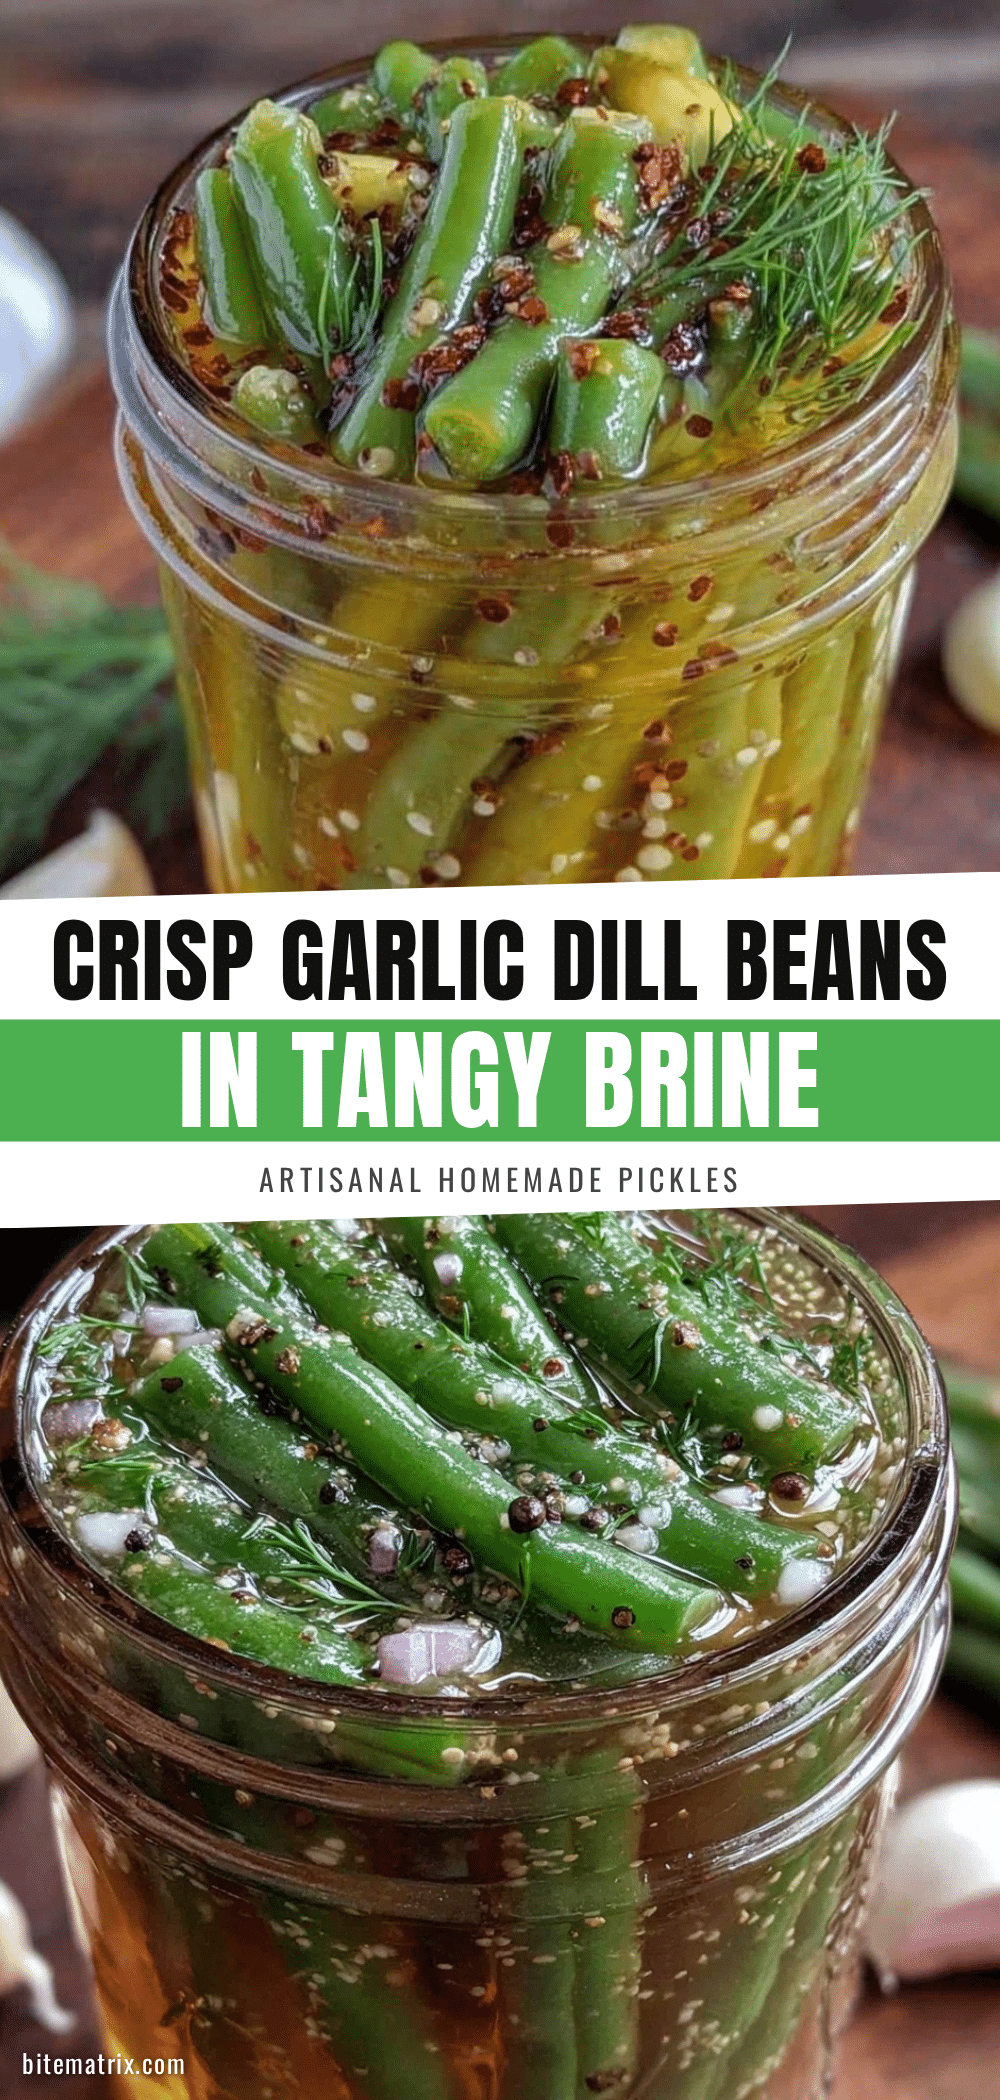
The visual of those shiny, firm beans nestled in a jar filled with fragrant garlic cloves and dill sprigs never failed to make my kitchen feel alive. The brine’s tangy sheen gave the beans a glossy finish that looked almost like jewels in a jar. And the way the garlic and dill wove through the brine, visible as flecks and sprigs, hinted at the flavor explosion waiting for me. I’ve tried a handful of pickled bean recipes, but this one nailed that perfect balance between savory, tart, and herbal, all wrapped up in a texture that’s just so satisfying.
Making crisp garlic dill beans in tangy apple cider vinegar brine became a kind of ritual for me, a way to capture the height of summer’s green bean bounty before the season slipped away. There’s a quiet satisfaction in preserving that snap, that brightness, that fresh crunch — it’s like bottling a small piece of sunlit garden magic. For anyone who’s ever wished for pickled beans that don’t turn mushy or bitter, this recipe is a quiet promise of exactly that: fresh, crisp, and tangy beans that keep their character and charm. Trust me, once you try this, you’ll get why I keep making this again and again.
Why You’ll Love This Recipe
This crisp garlic dill beans recipe in tangy apple cider vinegar brine isn’t just another jar on your shelf; it’s a texture and flavor experience perfected through trial and error in my kitchen. Here’s why this recipe has earned a permanent spot in my rotation:
- Quick & Easy: Comes together in under 30 minutes, making it perfect for a last-minute preserve or gift.
- Simple Ingredients: Uses pantry staples and fresh garden finds—no fancy or hard-to-find items needed.
- Perfect for Summer & Fall: Ideal for preserving your garden harvest or jazzing up picnic spreads and potluck tables.
- Crowd-Pleaser: These beans always get rave reviews at gatherings, from kids to adults—they love the crunchy tang!
- Unbelievably Delicious: The combination of garlic, fresh dill, and that apple cider vinegar brine creates a bright, well-rounded flavor that’s anything but ordinary.
What makes this recipe stand out is the precise way the apple cider vinegar brine is balanced. It’s not overpowering, which keeps the beans tasting fresh and lively. Plus, the garlic isn’t just an afterthought—it infuses every bean with just the right punch, and the dill adds a garden-fresh herbaceous note that ties it all together beautifully. This isn’t just pickled beans; it’s a crunchy, tangy, garlicky celebration in a jar.
Honestly, after making these a few times, I noticed how much easier it is to keep that perfect snap by blanching the beans just right and packing them tight with fresh seasonings. It’s the kind of recipe that feels like a little secret weapon for impressing friends at summer barbecues or spicing up weekday sandwiches—try pairing it with the Italian sub sandwich skewers for a tangy crunch that’s next level.
What Ingredients You Will Need
This recipe uses simple, wholesome ingredients to deliver bold flavor and satisfying texture without the fuss. Most are pantry staples or fresh garden finds, and substitutions are easy if you need them.
- Fresh green beans (about 1 ½ pounds / 680 grams): Choose firm, crisp beans, preferably straight and unblemished for the best texture.
- Garlic cloves (6-8 large, peeled): Adds that unmistakable punch; fresh and whole cloves work best for slow flavor infusion.
- Fresh dill sprigs (4-5 sprigs): The star herb—use fresh for vibrant flavor. If unavailable, dill seeds can substitute but won’t be as bright.
- Apple cider vinegar (2 cups / 480 ml): The tangy base of the brine; I prefer Bragg’s for its raw qualities and balanced acidity.
- Water (2 cups / 480 ml): Dilutes the vinegar to ensure the brine isn’t too harsh.
- Kosher salt (2 tablespoons): Avoid iodized salt for a cleaner brine flavor.
- Granulated sugar (1 tablespoon): Balances the tang with a touch of sweetness without overpowering.
- Whole black peppercorns (1 teaspoon): Adds a subtle spice note and complexity.
- Optional red pepper flakes (½ teaspoon): For a gentle kick of heat if you like a little spice.
If you want a gluten-free brine, this recipe fits perfectly as-is. For a slightly different flavor, swapping apple cider vinegar with white wine vinegar works well but will alter the tang slightly. For a dairy-free, vegan pantry, this recipe is naturally compliant. When fresh dill isn’t in season, dried dill can work—use about 1 teaspoon, but fresh is definitely best for that aromatic snap.
Equipment Needed
- Large pot or saucepan: For heating the brine. A heavy-bottomed pot helps prevent scorching.
- Large mixing bowl: To blanch and cool the green beans quickly.
- Colander or strainer: For draining the beans after blanching.
- Glass jars with lids: Quart-sized (about 1 liter) canning jars work perfectly for storage and presentation.
- Tongs or jar funnel: To pack beans neatly into jars without mess.
- Ladle: For pouring the hot brine over the beans.
If you don’t have canning jars, any airtight container will do, but glass jars are best to preserve flavor and texture. I’ve used mason jars for years because they’re durable and make the beans look so inviting on the shelf. For budget-conscious cooks, basic sterilized glass jars from the store work just fine. Just be sure they seal tightly to keep your beans crisp and fresh.
Preparation Method

- Prepare the green beans: Rinse 1 ½ pounds (680 g) of fresh green beans under cold water. Trim the stem ends but leave the beans whole to preserve that satisfying snap. Set aside.
- Blanch the beans: Bring a large pot of water to a boil. Add the green beans and blanch for exactly 3 minutes to soften them just slightly without losing their crunch. Immediately transfer the beans to a bowl of ice water to stop cooking and preserve their bright green color. Drain well.
- Prepare the brine: In a saucepan, combine 2 cups (480 ml) apple cider vinegar, 2 cups (480 ml) water, 2 tablespoons kosher salt, and 1 tablespoon granulated sugar. Add 1 teaspoon whole black peppercorns and, if using, ½ teaspoon red pepper flakes. Heat over medium heat, stirring occasionally until salt and sugar dissolve. Remove from heat.
- Pack the jars: Place 6-8 peeled garlic cloves and 4-5 fresh dill sprigs into each sterilized quart jar. Pack the blanched green beans tightly in, standing upright for a neat presentation but don’t crush them.
- Pour the hot brine: Using a ladle, pour the hot brine over the beans, filling the jars and covering the beans completely. Leave about ½ inch (1.3 cm) of headspace at the top.
- Seal and cool: Screw the lids on tightly and let the jars cool to room temperature. Then refrigerate for at least 48 hours before eating to let the flavors develop fully.
Tip: If you’re new to pickling, be careful not to over-blanch the beans—they should be crisp-tender, not soft. Also, packing the jars tightly helps keep the beans from floating and ensures they soak evenly in the brine.
Cooking Tips & Techniques
Getting the perfect crispness in pickled beans is a bit of an art, and I’ve learned a few lessons the hard way. First, the blanch time is critical—too long and you lose the crunch, too short and the beans can taste raw and tough. Three minutes in boiling water followed by a quick ice bath is my sweet spot.
Using fresh garlic cloves rather than minced garlic is key for a mellow but distinct garlic flavor that doesn’t overpower. Whole cloves infuse slowly, creating that perfect garlicky note. Also, don’t skip the dill — the fresh sprigs are not just for looks; they add an herbal brightness that lifts the whole jar.
When heating the brine, make sure the salt and sugar are fully dissolved. Undissolved salt can lead to uneven flavor and a gritty texture. I usually stir until everything looks crystal clear, then remove from heat to preserve the vinegar’s sharpness.
Lastly, pack the beans snugly but gently. I like to use tongs to stand them upright, which helps the brine cover every bean evenly. This technique also makes the jars look beautiful on your pantry shelf or at your next potluck.
Variations & Adaptations
- Spicy Kick: Add a few sliced jalapeño peppers or increase the red pepper flakes for a fiery twist.
- Herb Swap: Substitute dill with fresh tarragon or rosemary for a unique herbal profile.
- Low-Sodium Option: Reduce the salt by half and increase the vinegar slightly, but keep in mind this may affect preservation time.
- Different Vinegar: Use white wine vinegar or even rice vinegar for a milder tang.
- Quick Pickles: For immediate snackers, skip the canning process and refrigerate for 24 hours, though flavor deepens with time.
I once tried adding a splash of the brine from my fresh creamy cucumber dill salad to the jar before sealing — it added a subtle creaminess that was surprisingly tasty. Don’t be afraid to experiment a bit; that’s part of the fun with pickling!
Serving & Storage Suggestions
Serve these crisp garlic dill beans chilled or at room temperature as a tangy, crunchy snack or side dish. They pair beautifully with grilled meats, especially smoky dishes like the beer can chicken with herb butter glaze, adding a refreshing contrast to rich flavors.
Store the jars in the refrigerator for up to 4 weeks. For longer storage, you can process them in a hot water bath for 10 minutes to seal for shelf stability—just make sure to leave enough headspace in the jars. Flavors deepen over time, so if you can resist, wait at least 2 days before digging in.
To reheat, gently warm the beans in their brine on the stove, but I personally love them cold, right out of the jar. The snap and tanginess shine best that way.
Nutritional Information & Benefits
These crisp garlic dill beans are a low-calorie, nutrient-packed snack. One serving (about ½ cup or 125 g) contains roughly:
| Calories | 25 |
|---|---|
| Carbohydrates | 5 g |
| Fiber | 2 g |
| Protein | 1 g |
| Fat | 0 g |
| Sodium | 450 mg |
Green beans provide vitamins A, C, and K, along with antioxidants. Apple cider vinegar has been associated with blood sugar regulation and improved digestion. Garlic adds immune-supporting compounds, and fresh dill offers anti-inflammatory benefits. This recipe fits well into gluten-free, vegan, and low-carb diets.
Conclusion
If you’re craving a crunchy, tangy, garlicky snack that’s as satisfying as it is simple, these crisp garlic dill beans in tangy apple cider vinegar brine are just the thing. Their texture is the real star—and once you nail the blanching and packing, you’ll be hooked on that snap. I love how versatile they are, whether as a side for grilled dinners, a zesty topping for sandwiches, or a stand-alone snack straight from the jar.
This recipe is a keeper because it captures the best of fresh green beans and turns them into something that lasts well beyond the season. Make it your own by tweaking the spice level or herb mix, and I promise you’ll find these beans popping up in your meals time and again. Don’t hesitate to share your variations or questions below—I’m always curious how others put their spin on this crunchy classic!
Frequently Asked Questions
How long do the crisp garlic dill beans last in the refrigerator?
They typically stay fresh and crunchy for up to 4 weeks when stored properly in airtight jars in the fridge.
Can I use frozen green beans for this recipe?
It’s best to use fresh green beans for the best texture; frozen beans tend to be softer and won’t hold the crisp snap after pickling.
Do I need to sterilize the jars before packing the beans?
Yes, sterilizing jars helps prevent spoilage and extends shelf life, especially if you plan to store the beans for several weeks.
Can I make this recipe without fresh dill?
You can substitute with dill seeds or dried dill, but the flavor won’t be as vibrant or fresh.
Is it possible to can these beans for shelf storage?
Yes, you can process the sealed jars in a boiling water bath for about 10 minutes to make them shelf-stable, but be sure to follow safe canning guidelines for pickled vegetables.
Pin This Recipe!
Crisp Garlic Dill Beans Recipe Easy Tangy Apple Cider Vinegar Brine

These crisp garlic dill beans are preserved in a tangy apple cider vinegar brine, delivering a satisfying snap and bright, well-rounded flavor. Perfect for preserving summer green beans with a crunchy, garlicky, and herbal twist.
- Prep Time: 15 minutes
- Cook Time: 15 minutes
- Total Time: 30 minutes
- Yield: 4 servings 1x
- Category: Side Dish
- Cuisine: American
Ingredients
- 1 ½ pounds (680 grams) fresh green beans
- 6–8 large garlic cloves, peeled
- 4–5 fresh dill sprigs
- 2 cups (480 ml) apple cider vinegar
- 2 cups (480 ml) water
- 2 tablespoons kosher salt
- 1 tablespoon granulated sugar
- 1 teaspoon whole black peppercorns
- ½ teaspoon red pepper flakes (optional)
Instructions
- Rinse 1 ½ pounds (680 g) of fresh green beans under cold water. Trim the stem ends but leave the beans whole.
- Bring a large pot of water to a boil. Add the green beans and blanch for exactly 3 minutes. Immediately transfer the beans to a bowl of ice water to stop cooking and preserve color. Drain well.
- In a saucepan, combine 2 cups (480 ml) apple cider vinegar, 2 cups (480 ml) water, 2 tablespoons kosher salt, and 1 tablespoon granulated sugar. Add 1 teaspoon whole black peppercorns and ½ teaspoon red pepper flakes if using. Heat over medium heat, stirring until salt and sugar dissolve. Remove from heat.
- Place 6-8 peeled garlic cloves and 4-5 fresh dill sprigs into each sterilized quart jar. Pack the blanched green beans tightly in, standing upright but not crushed.
- Pour the hot brine over the beans, filling the jars and covering the beans completely. Leave about ½ inch (1.3 cm) headspace at the top.
- Screw the lids on tightly and let the jars cool to room temperature. Refrigerate for at least 48 hours before eating to let flavors develop.
Notes
Do not over-blanch the beans; 3 minutes is ideal to keep them crisp-tender. Use whole garlic cloves for a mellow garlic flavor. Pack beans tightly but gently to prevent floating and ensure even brining. For shelf stability, process jars in a boiling water bath for 10 minutes. Refrigerate for at least 48 hours before eating for best flavor.
Nutrition
- Serving Size: ½ cup (125 g)
- Calories: 25
- Sodium: 450
- Carbohydrates: 5
- Fiber: 2
- Protein: 1
Keywords: green beans, pickled beans, garlic dill beans, apple cider vinegar brine, crunchy pickles, easy preserves, summer vegetables