I burned the first batch of these chicken tenders so badly the smoke alarm went off and my neighbor actually knocked on the door to check if everything was okay. Embarrassing, right? But honestly, that failure taught me everything I needed to know about getting them right. These crispy air fryer chicken tenders for lunchboxes are now the one thing my kids actually look forward to finding in their lunch bags, and I make them without breaking a sweat.
The secret wasn’t some fancy technique or expensive equipment. It was learning to trust the air fryer’s quirks and stop treating it like a mini oven. Once I figured out the right temperature, the perfect breading, and the simple trick to keep them crunchy even after hours in a lunchbox, everything clicked. Now I make a double batch every Sunday evening, and it saves me from the dreaded 6 a.m. lunch-packing scramble all week long.
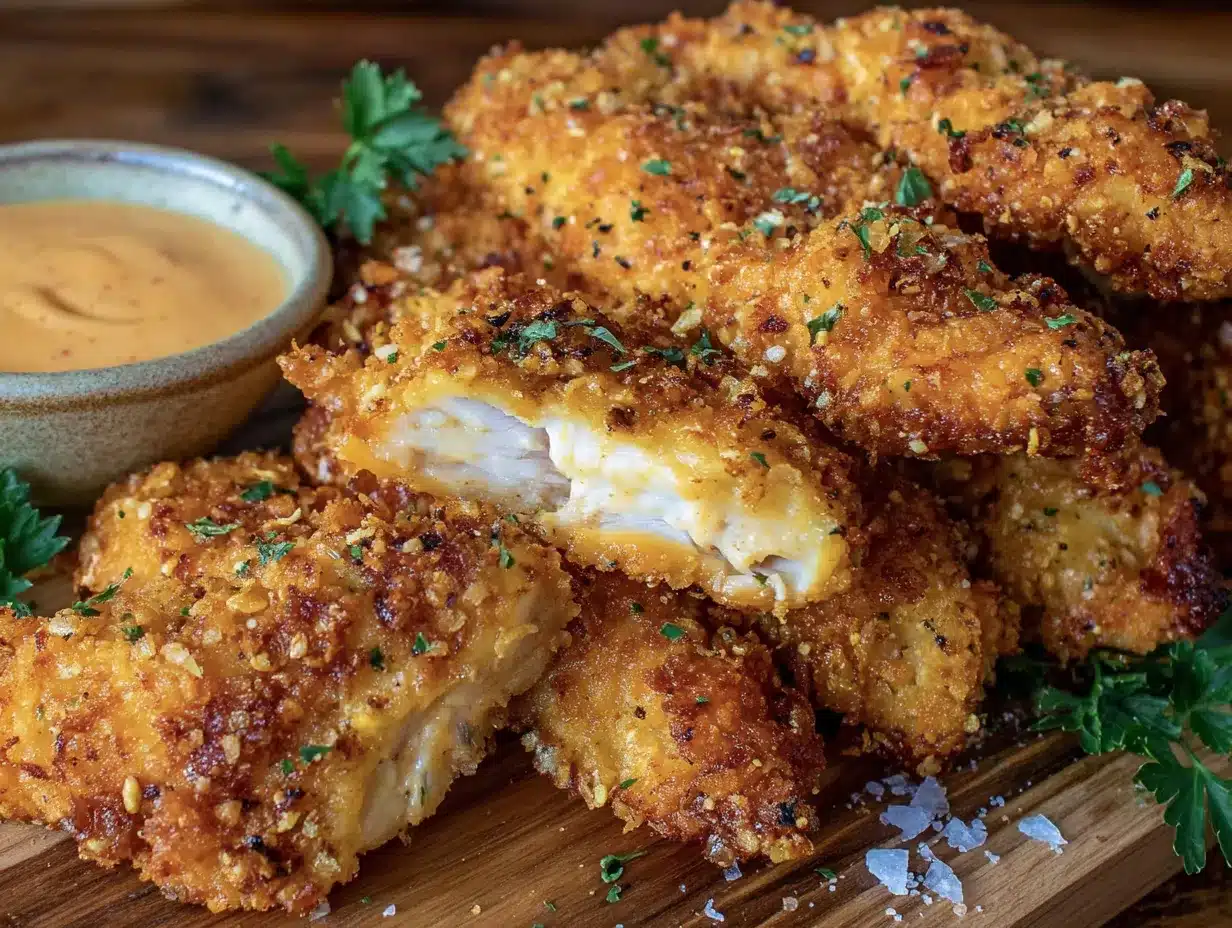
This recipe isn’t about gourmet cooking. It’s about real life where you need something fast, kid-approved, and actually good for them. These tenders come out golden, crunchy, and juicy on the inside without being greasy. And they stay that way, which is the real magic for lunchboxes.
Why You’ll Love This Recipe
Let me tell you why this recipe became my go-to. I’ve tested it more times than I care to admit, tweaked the breading ratios, and even accidentally used almond flour once (don’t recommend that one). Here’s what makes it special:
- Ready in Under 20 Minutes : From start to finish, these chicken tenders come together fast. Perfect for those nights when you realize tomorrow’s lunches aren’t packed yet and you’re already tired.
- Simple Pantry Ingredients : No weird specialty items. You probably have everything in your kitchen right now, except maybe the chicken itself.
- Lunchbox-Ready Texture : The air fryer creates a crust that actually survives the lunchbox. No soggy chicken fingers here, I promise.
- Kid-Approved, Parent-Proud : My kids inhale these, and I feel good knowing they’re eating real chicken with a crunchy coating that’s not deep-fried.
- Budget-Friendly : Chicken tenders can get expensive, but this recipe stretches your dollar because the breading stays put and nothing goes to waste.
What makes these different from every other recipe out there? It’s the double-dip method and the exact air fryer temperature that gives you that deep golden crunch without drying out the meat. I’ve tried the single-dip approach, and it just doesn’t hold up. This version? It’s the one that finally worked for me, and I think it’ll work for you too.
There’s something about watching your kid open their lunchbox and actually smile at what’s inside. These tenders do that. They’re the kind of food that makes lunch feel like a treat, even though you know they’re getting protein and not a bunch of mystery ingredients.
What Ingredients You Will Need
This recipe uses simple, everyday ingredients that come together to create something genuinely delicious. No fancy shopping trips required, just honest food that works.
For the Chicken
- 1 pound boneless skinless chicken breasts (about 2 medium breasts) – Look for even thickness so they cook uniformly. If they’re really thick, butterfly them open.
- 1 teaspoon salt – I use kosher salt, but table salt works fine. Just reduce to ¾ teaspoon if using table salt.
- ½ teaspoon black pepper – Freshly ground tastes better, but pre-ground is totally fine.
- ½ teaspoon garlic powder – Not garlic salt. We’re controlling the salt ourselves.
- ½ teaspoon paprika – Regular or smoked, both work. Smoked adds a subtle warmth that’s lovely.
For the Breading Station
- ½ cup all-purpose flour – This is the first layer that helps the egg wash stick.
- 2 large eggs – They act as the glue for the breadcrumbs. Room temperature works best.
- 1 tablespoon water – Thins the eggs just enough for even coating.
- 1 cup panko breadcrumbs – These are non-negotiable for maximum crunch. Regular breadcrumbs won’t give you the same texture.
- ¼ cup finely grated Parmesan cheese – Adds flavor and helps the browning. The powdery kind from a can works, but freshly grated is better.
- ½ teaspoon dried oregano – Optional but adds a little Italian-inspired flavor that kids somehow never complain about.
For Spraying (Essential)
- Avocado oil spray or olive oil spray – You need this to get that golden color. Without it, the panko stays pale and sad-looking.
A quick note on the chicken: I prefer using chicken breasts over pre-cut tenders because you control the size. Cut them into strips about 1-inch wide and 3-4 inches long. Too thin and they dry out, too thick and they won’t cook through before the breading burns. Trust me on this, I’ve made both mistakes.
For the panko, I’ve tried several brands and honestly, store-brand works just as well as the fancy imported stuff. The key is getting those big, flaky crumbs that create that signature crunch. If you only have regular breadcrumbs, pulse them in a food processor briefly, but it won’t be quite the same.
If someone in your house has an egg allergy, you can substitute ¼ cup buttermilk or plain yogurt mixed with 1 tablespoon cornstarch for the egg wash. It’s not identical, but it works in a pinch.
Equipment Needed
You don’t need a professional kitchen to make these. Here’s what you’ll actually use:
- Air fryer – Any size works, but a 5-6 quart basket-style is ideal. I use a Cosori, but I’ve made these in a Ninja and an Instant Pot air fryer lid too.
- Cutting board and sharp knife – For slicing the chicken into even strips.
- Three shallow bowls – For the flour, egg wash, and breadcrumb mixture. Pie plates work great.
- Tongs – For transferring the chicken without making a mess.
- Spray bottle for oil – If you don’t have aerosol oil spray, a mister works fine.
- Wire rack – Optional but helpful for holding breaded tenders before cooking.
If you don’t have an air fryer yet, honestly, it’s worth the investment for recipes like this. But you can also bake these in a 425°F oven on a wire rack set over a baking sheet. They won’t be quite as crunchy, but they’ll still be good.
Preparation Method
Let me walk you through this step by step. I’ve made every mistake possible, so you don’t have to.
- Prep the chicken (5 minutes) – Place your chicken breasts on the cutting board. Pat them dry with paper towels. Cut against the grain into strips about 1 inch wide and 3-4 inches long. Try to keep them similar in size so they cook evenly. Season the strips with salt, pepper, garlic powder, and paprika. Let them sit while you set up the breading station.
- Set up the breading station (3 minutes) – Grab three shallow bowls. In the first, add the flour. In the second, whisk the eggs with 1 tablespoon water until smooth and slightly frothy. In the third, combine the panko breadcrumbs, grated Parmesan, and dried oregano. Mix with your fingers to distribute the cheese evenly.
- Bread the chicken (8 minutes) – Take one chicken strip and coat it completely in the flour. Shake off any excess. Then dip it into the egg wash, letting any extra drip off. Finally, press it into the panko mixture, making sure every surface is covered. Don’t be shy here, really press the crumbs in. Place the breaded strip on a wire rack or plate. Repeat with all the strips.
- Preheat the air fryer (3 minutes) – Set your air fryer to 400°F and let it preheat for 3 minutes. This step matters more than you think. A cold air fryer won’t give you that immediate sear that creates crunch.
- Spray and arrange (2 minutes) – Lightly spray the air fryer basket with oil. Place the breaded chicken tenders in a single layer, making sure they don’t touch. You’ll probably need to work in batches depending on your air fryer size. Spray the tops of the tenders generously with oil. This is what creates that golden, crispy exterior.
- Cook the first batch (8-10 minutes) – Air fry at 400°F for 8 minutes. Open the basket, flip each tender with tongs, and spray the other side with oil. Cook for another 2-4 minutes until golden brown and the internal temperature reaches 165°F. The exact time depends on the thickness of your strips and your air fryer model.
- Rest and repeat (5 minutes) – Transfer the cooked tenders to a wire rack (not paper towels, which trap steam and make them soggy). Let them rest while you cook the remaining batches. Keep the cooked tenders warm in a 200°F oven if needed.
- Cool for lunchboxes (10 minutes) – If you’re packing these for lunches, let them cool completely on the wire rack before storing. This step is crucial. Warm chicken in a sealed container creates condensation, and condensation means soggy breading. Let them cool until they’re room temperature.
One thing I learned the hard way: don’t overcrowd the basket. I know it’s tempting to cram in as many as possible, but the air needs to circulate. Overcrowding leads to uneven cooking and a pale, soft crust. Two batches is better than one sad batch.
Another tip: if your chicken strips are on the thicker side, lower the temperature to 375°F and add 2-3 minutes to the cooking time. This prevents the outside from burning before the inside is cooked through.
Cooking Tips & Techniques
After burning, undercooking, and generally messing up more batches than I’d like to admit, here’s what I’ve learned:
The double-dip myth – Some recipes swear by double-dipping (flour, egg, breadcrumbs, then egg, breadcrumbs again). I tried it. It creates a thicker crust, but it also makes the tenders heavier and they don’t cook as evenly. Stick with the single breading. Trust me.
Temperature matters more than time – Every air fryer runs differently. My Cosori runs hot, so I check at 7 minutes. A friend’s Ninja takes the full 10 minutes. Use a meat thermometer to check for 165°F internal temperature. It’s the only way to be sure.
The resting rule – Letting the breaded tenders sit for 5-10 minutes before cooking helps the coating adhere better. I know it’s an extra step, but it prevents that annoying situation where the breading falls off in the air fryer.
Oil is your friend – Don’t skip the spray. I made that mistake once thinking the panko would brown on its own. It didn’t. The tenders came out pale and sad-looking, like they’d given up on life. A good spray of oil transforms them into golden perfection.
Batch cooking strategy – While the first batch cooks, bread the second batch. This keeps the workflow smooth and prevents that frantic scramble between batches. I learned this after burning my fingers trying to bread chicken while the air fryer beeped at me.
Don’t flip too early – Let the first side cook for at least 6-7 minutes before flipping. If you try to flip too early, the breading will stick to the basket and tear off. Patience pays off here.
Variations & Adaptations
This recipe is flexible, and I’ve tried quite a few variations over the months. Here are the ones that actually worked:
Spicy version – Add ½ teaspoon cayenne pepper and 1 teaspoon chili powder to the panko mixture. My husband loves these, though the kids find them a bit much. I make a separate batch with just paprika for them.
Gluten-free option – Substitute the all-purpose flour with a gluten-free all-purpose blend (I like King Arthur’s) and use gluten-free panko. The texture is slightly different, but still crunchy and good. My sister-in-law has celiac disease, and she approves of this version.
Parmesan-herb variation – Add 1 tablespoon mixed dried herbs (thyme, rosemary, basil) to the panko mixture. This gives the tenders an Italian-restaurant vibe that’s surprisingly good cold in a lunchbox.
Buttermilk soak – For extra juicy tenders, soak the raw chicken strips in buttermilk for 30 minutes before breading. Drain them well before starting the breading process. This adds moisture and a slight tang that complements the crunchy coating.
Air fryer to oven adaptation – If you’re cooking for a crowd, bake these at 425°F on a wire rack over a baking sheet for 12-15 minutes, flipping halfway through. They won’t be quite as crunchy as the air fryer version, but they’re still delicious.
I tried a coconut flour version once, thinking it would be a healthy twist. Don’t do it. The texture was weird, and the flavor was off. Some experiments just don’t work, and that’s okay.
Serving & Storage Suggestions
These chicken tenders are versatile, and how you serve them depends on the occasion.
For lunchboxes – Pack the cooled tenders in a container with a small dipping cup of honey mustard, ranch, or barbecue sauce. Add some cucumber slices, cherry tomatoes, and a handful of grapes for a complete lunch. The tenders stay crunchy for hours, which still amazes me.
For dinner – Serve hot with a side of creamy cucumber dill salad and some roasted potatoes. The cool, tangy salad balances the warm, crunchy chicken perfectly. Or go with creamy BLT pasta salad for a heartier meal.
For parties – Cut the chicken into smaller, bite-sized pieces before breading and cooking. Serve with a variety of dipping sauces like sriracha mayo, garlic aioli, and classic ranch. They disappear fast.
Storage instructions – Store cooled tenders in an airtight container in the refrigerator for up to 4 days. Layer them between paper towels to absorb any excess moisture. For longer storage, freeze them in a single layer on a baking sheet, then transfer to a freezer bag. They’ll keep for up to 3 months.
Reheating tips – The air fryer is your best friend here. Reheat at 350°F for 3-4 minutes until hot and crispy. The microwave works in a pinch, but the texture suffers. If you’re reheating from frozen, add 2-3 minutes to the time.
Flavor development – Here’s something interesting: these tenders actually taste better the next day. The flavors meld together, and the breading softens just slightly while staying crunchy. It’s like the chicken marinates in its own seasoning overnight.
Nutritional Information & Benefits
Per serving (about 4-5 tenders):
- Calories: 320
- Protein: 35g
- Carbohydrates: 18g
- Fat: 12g
- Fiber: 1g
- Sodium: 580mg
These numbers are estimates and depend on your exact ingredients and portion sizes.
What I love about this recipe is that it’s a healthier alternative to deep-fried chicken tenders without sacrificing flavor or texture. The air fryer uses a fraction of the oil, which means less fat and fewer calories. Plus, you’re getting a solid dose of protein from the chicken breast, which helps keep kids full and focused through the afternoon.
Chicken breast is also a great source of B vitamins, particularly niacin and B6, which support energy metabolism. The Parmesan adds a little calcium, and the whole thing is free from artificial preservatives and weird additives you’d find in store-bought frozen tenders.
If you’re watching your sodium, reduce the salt in the seasoning and use low-sodium breadcrumbs. You can also skip the Parmesan, though it does add a lot of flavor for just a small amount.
This recipe is naturally nut-free, which makes it school-friendly. Just double-check your breadcrumb labels if allergies are a concern.
Conclusion
These crispy air fryer chicken tenders have become a staple in my kitchen for good reason. They’re fast, reliable, and actually deliver on the promise of crunchy, juicy chicken without the guilt of deep frying. The fact that they survive the lunchbox gauntlet is just the cherry on top.
I hope you give them a try and make them your own. Maybe you’ll add a different spice blend, or find a dipping sauce your kids go crazy for. That’s the beauty of a simple recipe like this, it’s a starting point, not a rulebook.
If you make these, I’d love to hear how they turned out. Drop a comment below and let me know if your kids gave them the thumbs up, or if you discovered a variation that worked even better. And if you’re looking for another lunchbox-friendly option, check out these crispy air fryer chicken taquitos for a fun twist.
Happy cooking, and here’s to lunchboxes that come home empty!
Frequently Asked Questions
Can I use frozen chicken tenders in the air fryer?
You can, but this recipe works best with fresh chicken. Frozen tenders release moisture as they cook, which can make the breading soggy. If you’re using frozen, thaw them completely in the refrigerator first, then pat them very dry before breading.
How do I keep the breading from falling off?
The key is the flour layer. Don’t skip it. The flour gives the egg wash something to grip, and the egg wash gives the breadcrumbs something to stick to. Also, let the breaded tenders rest for 5-10 minutes before cooking. This helps the coating set.
Can I make these ahead of time for meal prep?
Absolutely. I make a double batch every Sunday. Cook them completely, let them cool on a wire rack, then store in an airtight container in the fridge. They reheat beautifully in the air fryer at 350°F for 3-4 minutes.
Why are my chicken tenders dry?
You’re probably overcooking them. Chicken tenders cook fast in the air fryer. Check the internal temperature at 8 minutes. Once they hit 165°F, they’re done. Also, make sure your strips aren’t too thin. Strips that are less than ½ inch thick will dry out before they get a chance to brown.
Can I use this recipe for chicken nuggets instead of tenders?
Yes! Just cut the chicken into smaller, bite-sized pieces. Reduce the cooking time to 6-8 minutes total, checking at the 6-minute mark. Kids love the nugget version even more, if that’s possible.
Pin This Recipe!
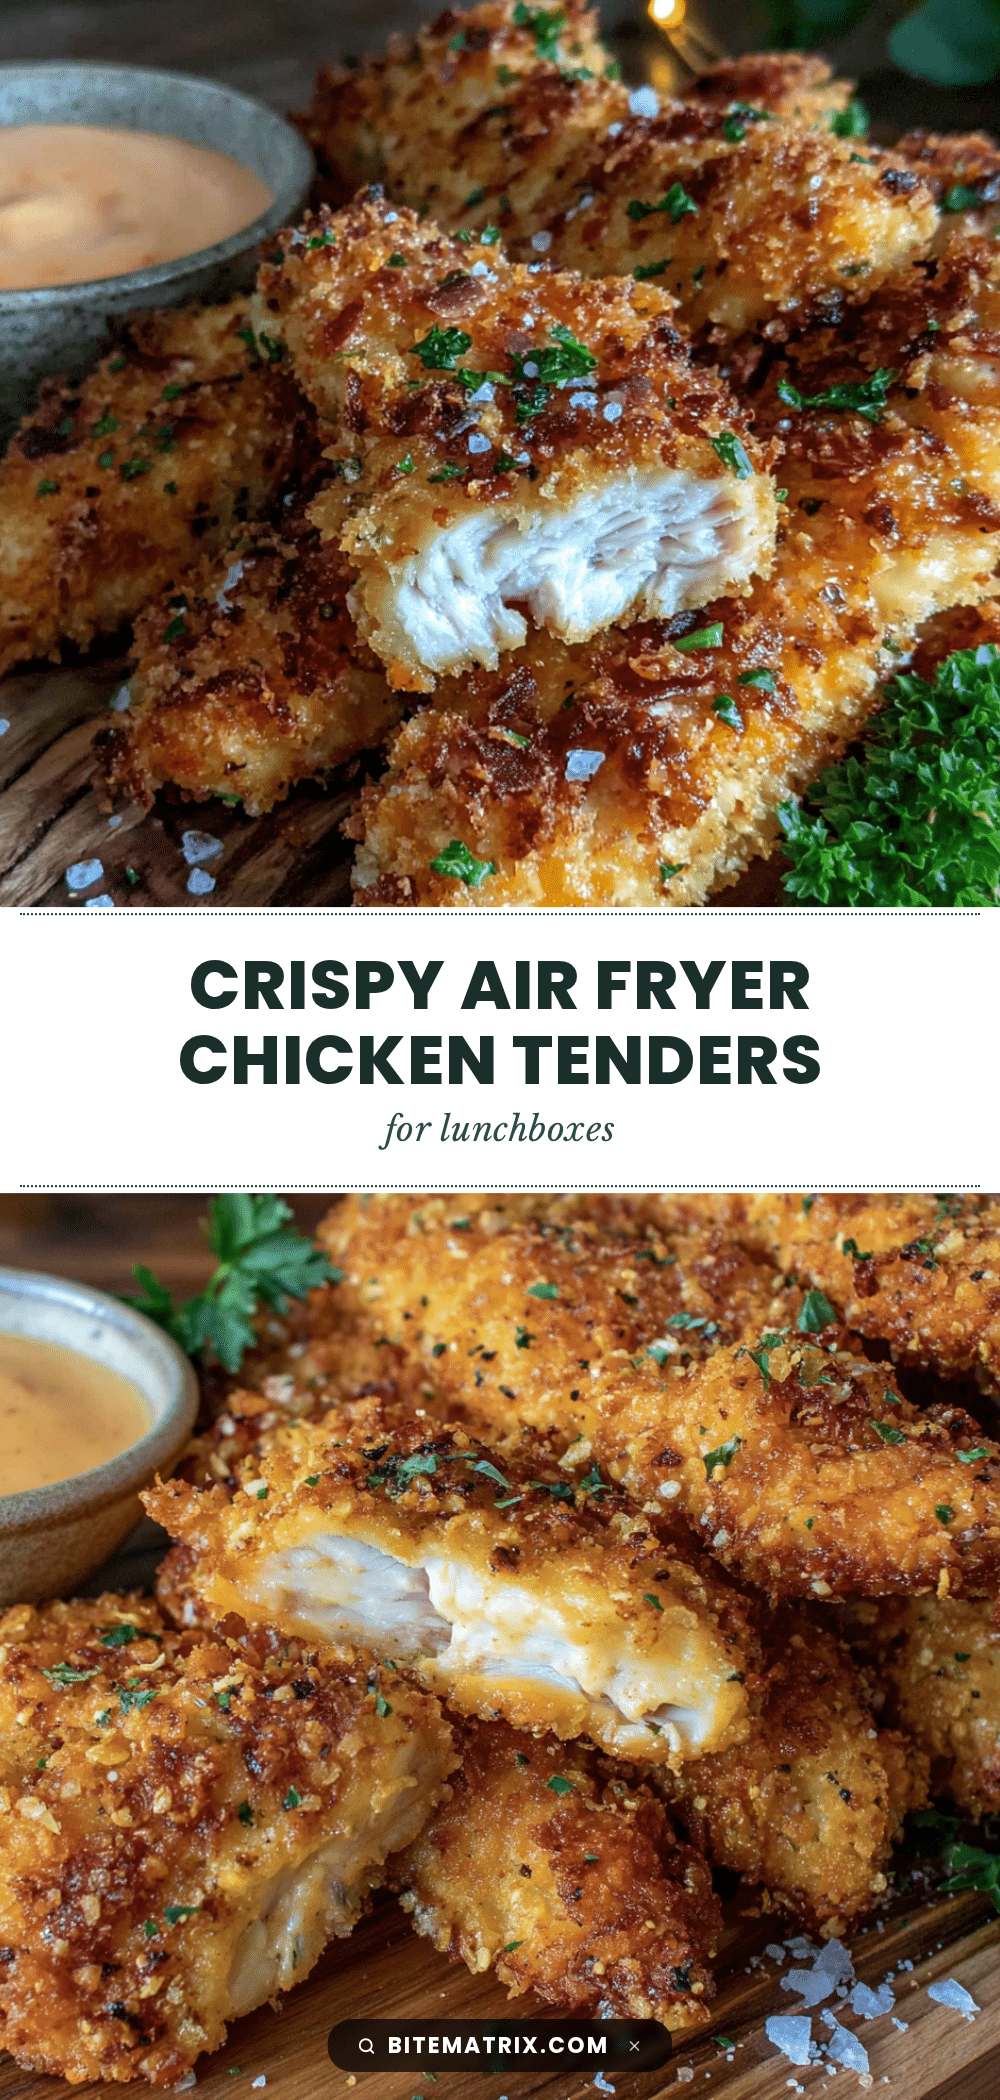
Crispy Air Fryer Chicken Tenders Easy Lunchbox Idea

These crispy air fryer chicken tenders are fast, kid-approved, and actually good for them. They come out golden, crunchy, and juicy on the inside without being greasy, and they stay that way even after hours in a lunchbox.
- Prep Time: 15 minutes
- Cook Time: 10 minutes
- Total Time: 25 minutes
- Yield: 4 servings 1x
- Category: Main Course
- Cuisine: American
Ingredients
- 1 pound boneless skinless chicken breasts (about 2 medium breasts)
- 1 teaspoon kosher salt (or ¾ teaspoon table salt)
- ½ teaspoon black pepper
- ½ teaspoon garlic powder
- ½ teaspoon paprika (regular or smoked)
- ½ cup all-purpose flour
- 2 large eggs (room temperature)
- 1 tablespoon water
- 1 cup panko breadcrumbs
- ¼ cup finely grated Parmesan cheese
- ½ teaspoon dried oregano (optional)
- Avocado oil spray or olive oil spray
Instructions
- Prep the chicken: Pat chicken breasts dry with paper towels. Cut against the grain into strips about 1 inch wide and 3-4 inches long. Season strips with salt, pepper, garlic powder, and paprika. Let sit while setting up breading station.
- Set up breading station: In first shallow bowl, add flour. In second, whisk eggs with 1 tablespoon water until smooth. In third, combine panko breadcrumbs, grated Parmesan, and dried oregano. Mix with fingers.
- Bread the chicken: Coat each chicken strip in flour, shake off excess. Dip into egg wash, let extra drip off. Press into panko mixture, covering all surfaces. Place on wire rack or plate. Repeat with all strips.
- Preheat air fryer to 400°F for 3 minutes.
- Lightly spray air fryer basket with oil. Place breaded chicken tenders in a single layer without touching. Spray tops generously with oil.
- Air fry at 400°F for 8 minutes. Flip each tender with tongs, spray other side with oil. Cook for another 2-4 minutes until golden brown and internal temperature reaches 165°F.
- Transfer cooked tenders to a wire rack. Let rest while cooking remaining batches. Keep warm in 200°F oven if needed.
- For lunchboxes: Let tenders cool completely on wire rack before storing to prevent condensation and sogginess.
Notes
Don’t overcrowd the air fryer basket; work in batches for best results. Let breaded tenders rest 5-10 minutes before cooking to help coating adhere. Use a meat thermometer to ensure internal temperature reaches 165°F. For thicker strips, lower temperature to 375°F and add 2-3 minutes. Cool completely before storing for lunchboxes to maintain crunchiness.
Nutrition
- Serving Size: 4-5 tenders
- Calories: 320
- Sugar: 1
- Sodium: 580
- Fat: 12
- Saturated Fat: 3
- Carbohydrates: 18
- Fiber: 1
- Protein: 35
Keywords: air fryer chicken tenders, crispy chicken tenders, lunchbox ideas, kid-friendly chicken, healthy chicken tenders, easy chicken recipe