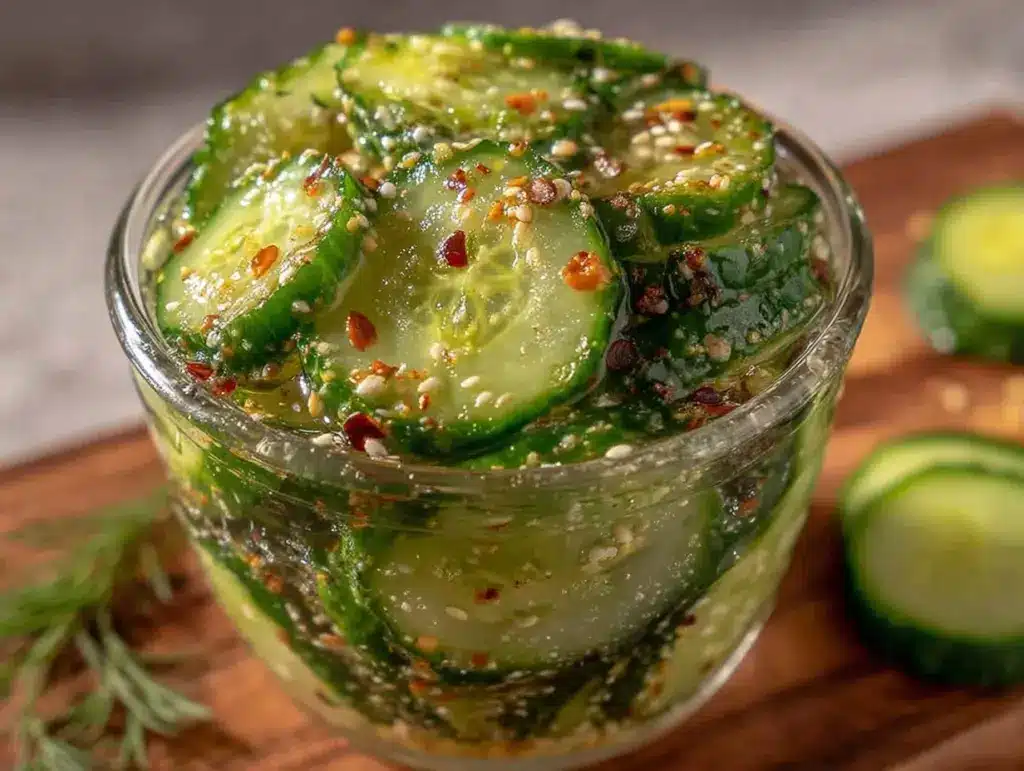
I want crunchy, tangy pickles right now and have everything except the patience for days of waiting. Honestly, the idea of waiting a week for that perfect dill bite is just not happening today. So, I’m reaching for the quick fix: crispy dill refrigerator pickles ready in 24 hours. The sound of that first crunch, the burst of briny dill and garlic, the sharpness that wakes up your taste buds—it’s like a little celebration in your mouth, and it happens fast. No fuss with canning, no long-term planning, just a simple jar in your fridge that transforms ordinary cucumbers into something magical overnight.
What’s funny is how this recipe slipped into my routine almost by accident. One evening, craving something fresh and punchy to go alongside a batch of savory beer-can chicken, I didn’t want to wait for traditional pickles. So I tweaked my usual brine, upped the dill, and cut the wait time way down. The result? Pickles that stay crisp with just the right amount of tang, ready the next day. It’s a simple, no-canning method that feels like a small secret weapon in my kitchen arsenal.
These refrigerator pickles have stuck with me because they bring that fresh, homemade crunch without the hassle. They’re just perfect for those moments when you want something bright and refreshing but don’t want to wait forever. Plus, they pair beautifully with everything from sandwiches to snacks, adding a punch that turns a simple meal into something memorable. It’s honestly the kind of recipe that feels like a little gift to yourself, ready to grab from the fridge whenever the pickle craving hits.
Why You’ll Love This Recipe
This crispy dill refrigerator pickles recipe is one of those rare finds that feels both effortless and satisfying. Here’s why it’s become a staple in my kitchen:
- Quick & Easy: Ready in just 24 hours, these pickles are perfect for those last-minute snack attacks or when you need a fresh side fast.
- Simple Ingredients: No need to hunt down obscure spices or specialty vinegars. The pantry staples you already have—fresh cucumbers, dill, garlic, and vinegar—are all you need.
- Perfect for Any Occasion: Whether it’s a casual lunch, a backyard BBQ, or paired with a hearty Italian sub sandwich skewer, these pickles add that zing that guests love.
- Crowd-Pleaser: Kids, adults, pickle lovers, skeptics—everyone tends to reach for seconds.
- Unbelievably Delicious: The crunch stays intact thanks to a smart brining trick, and the flavor balance between dill, garlic, and vinegar is spot on.
This isn’t just another pickle recipe you scroll past. It uses a straightforward brine with just the right salt-to-vinegar ratio, and I toss in a bit of sugar to round out the sharp edges without making it sweet. Plus, the dill is generous and fresh, which really brings the flavor home. The quick turnaround means you don’t have to plan weeks ahead, and honestly, it’s the kind of recipe you’ll find yourself making again and again, especially when you want that fresh pickle crunch to brighten up your meals.
What Ingredients You Will Need
This recipe uses simple, wholesome ingredients to deliver bold flavor and satisfying texture without the fuss. Most are pantry staples, and the fresh cucumbers and dill make all the difference.
- Kirby cucumbers (about 4 medium-sized, 1.5 pounds / 680 grams) – These smaller cucumbers are firm and perfect for pickling, holding their crunch well.
- Fresh dill sprigs (4-5 sprigs) – The star herb here, look for fragrant, bright green sprigs for maximum flavor.
- Garlic cloves (3 large, smashed) – Adds pungency and depth; fresh is best.
- White vinegar (1 cup / 240 ml) – The acidity backbone; plain white vinegar works best for that classic pickle tang.
- Water (1 cup / 240 ml) – Balances the vinegar for a smooth brine.
- Kosher salt (1 tablespoon) – Use a good-quality brand like Diamond Crystal for clean, even salting.
- Granulated sugar (1 tablespoon) – Just a touch to soften the sharpness; optional but recommended.
- Black peppercorns (1 teaspoon) – For a mild peppery hint.
- Red pepper flakes (½ teaspoon, optional) – If you like a little heat in your pickles.
You can easily swap the white vinegar for apple cider vinegar if you want a slightly fruitier note, or use sea salt instead of kosher salt if that’s what you have on hand. For a dairy-free brine, everything here is naturally suitable. I’ve also tried adding a few slices of fresh jalapeño for a spicy kick, which worked wonders.
Equipment Needed
You don’t need fancy tools for this recipe, which is part of what makes it so approachable. Here’s what you’ll want on hand:
- Sharp knife for slicing cucumbers evenly—this helps with consistent pickling.
- Cutting board sturdy enough to handle the slicing.
- Mixing bowl to whisk together the brine ingredients.
- Measuring cups and spoons for precise vinegar, water, and seasoning amounts.
- Glass jar or airtight container with a lid—something like a quart-sized Mason jar is perfect for refrigerator pickles and keeps everything fresh.
If you don’t have a Mason jar, any clean, food-safe lidded container works fine. I’ve even used old glass pickle jars that are cleaned out (just skip the original label for aesthetics). For slicing, a mandoline can speed things up, but I find a good, sharp chef’s knife just as effective and safer if you’re careful. Remember to rinse your jar well to avoid any lingering odors from previous contents.
Preparation Method

- Wash and slice the cucumbers: Rinse your Kirby cucumbers under cold water and pat dry. Slice them into ¼-inch (6 mm) thick rounds or spears, depending on your preference. Spears take a bit longer to pickle but offer a great crunch. (About 10 minutes)
- Prepare the brine: In a mixing bowl, combine 1 cup (240 ml) white vinegar, 1 cup (240 ml) water, 1 tablespoon kosher salt, and 1 tablespoon granulated sugar. Whisk until the salt and sugar dissolve completely. (About 5 minutes)
- Add aromatics: Toss in the smashed garlic cloves, black peppercorns, red pepper flakes (if using), and fresh dill sprigs into the brine. Give everything a gentle stir. The garlic should smell fragrant but not overpowering. (1-2 minutes)
- Pack the cucumbers: Place your cucumber slices tightly but gently into a clean quart-sized glass jar or container. The goal is to minimize air pockets without crushing the slices. (5 minutes)
- Pour the brine over cucumbers: Slowly pour the brine mixture into the jar, covering the cucumbers completely. Use a clean utensil to poke around and release any trapped air bubbles. The cucumbers should be fully submerged—add a small weight if needed. (3 minutes)
- Seal and refrigerate: Close the jar with a lid and place it in the refrigerator. Let the pickles marinate for at least 24 hours before tasting. The flavor improves the longer they sit, but 24 hours is the sweet spot for crispness and flavor. (Overnight or 24 hours)
- Check and enjoy: After 24 hours, open the jar and give the pickles a sniff and a taste. They should be crunchy, tangy, and punchy with dill and garlic notes. Store leftovers in the fridge and consume within 2-3 weeks for best quality.
If you notice the pickles are turning soft, it could be due to cucumbers not being fresh or insufficient salt in the brine. I always recommend fresh, firm cucumbers and precise measuring of salt for that perfect crunch. Also, using cold water and cold vinegar helps keep the cucumbers crisp. I sometimes add a few grape leaves or horseradish leaves on top to help maintain crunch, but that’s optional.
Cooking Tips & Techniques
Making crispy dill refrigerator pickles is straightforward, but a few handy tips can make all the difference between soggy and perfectly crunchy:
- Choose the right cucumbers: Kirby cucumbers are best because they have fewer seeds and thicker skins, which hold up well to pickling. Avoid large slicing cucumbers that can get mushy.
- Don’t skip the salt: Kosher salt draws out moisture and helps preserve the crunch. If you use table salt, reduce the amount by about half to avoid over-salting.
- Slice evenly: Uniform slices pickle evenly. If you’re in a hurry, a mandoline slicer can be a lifesaver, but a sharp knife works just fine.
- Keep cucumbers submerged: Air exposure leads to soft spots and mold. Use a fermentation weight or a small clean jar lid inside your container to keep cucumbers under the brine.
- Refrigerate promptly: This recipe isn’t canned or shelf-stable. Always keep your pickles chilled to slow bacterial growth and keep them crisp.
- Patience pays off: While the recipe is ready in 24 hours, letting the pickles sit 2-3 days intensifies flavor without sacrificing crunch.
One mistake I made early on was rushing the slicing and ending up with uneven pieces. Some slices turned soft while others were crisp. Since then, I take my time slicing, and the consistency is night and day. Also, using a mix of fresh dill and garlic in the brine creates a flavor that’s unbeatable—honestly, it’s what sets these pickles apart from store-bought jars.
Variations & Adaptations
This crispy dill refrigerator pickles recipe is flexible and easy to tweak based on your preferences or dietary needs:
- Spicy Pickles: Add sliced jalapeños or extra red pepper flakes to the brine for a fiery kick. I’ve done this when pairing picks with tacos or taco pasta salad, and it’s a hit.
- Garlic-Free Version: Omit the garlic if you prefer a milder flavor or have sensitivities. Increase dill and peppercorns for depth.
- Low-Sodium Option: Use less salt in the brine but increase refrigeration time slightly. The texture may soften a bit sooner, so consume within 1-2 weeks.
- Herb Twists: Try swapping dill for fresh tarragon, basil, or even a mix of herbs for a unique flavor profile that pairs well with summer dishes like grilled corn on the cob.
- Vinegar Variations: Apple cider vinegar or rice vinegar can replace white vinegar for a fruitier, less sharp brine.
I once made a batch with fresh horseradish root added to the jar, which gave an unexpected but fantastic spicy warmth. It’s a variation I keep coming back to when I want something extra bold. Also, if you want to experiment with pickled vegetables, you might enjoy my fresh creamy cucumber dill salad recipe that complements these pickles beautifully.
Serving & Storage Suggestions
These refrigerator pickles are best served cold straight from the fridge, where they maintain their satisfying crunch. Here are some ideas to enjoy them to the fullest:
- As a side: They’re a perfect tangy companion to grilled meats like the fall-off-the-bone BBQ ribs or a juicy burger.
- In sandwiches: Add slices to your favorite sandwiches or subs for a bright, crunchy layer.
- Snack time: Enjoy straight from the jar with a sprinkle of flaky sea salt or alongside a cheese board.
- Storage: Keep pickles refrigerated in an airtight container. They last 2-3 weeks but taste best within the first week.
- Reheating: Not recommended—these pickles are meant to stay cold and crunchy.
The flavors actually deepen if you let them sit a few days, but after a week, the texture may soften a bit. I like to make smaller batches more frequently to keep that fresh, crisp bite. When serving at gatherings, popping a jar alongside a platter of no-bake strawberry cheesecake cups or strawberry basil lemonade makes for a well-rounded spread everyone enjoys.
Nutritional Information & Benefits
These crispy dill refrigerator pickles are a low-calorie, flavorful snack that offers more than just taste. A typical serving (about 1 ounce or 28 grams) contains roughly 5-10 calories, making them an ideal guilt-free crunch. The cucumbers provide small amounts of vitamins K and C, while the vinegar has been linked to potential blood sugar regulation benefits.
The fresh dill contributes antioxidants and may support digestion, while the garlic adds immune-boosting compounds. These pickles are naturally gluten-free, vegan, and low in carbs, fitting well into a variety of diets. Just watch the sodium if you’re monitoring salt intake, but you can always tweak the recipe to suit your health needs. I appreciate having a flavorful snack that feels fresh and homemade without any preservatives or additives.
Conclusion
This crispy dill refrigerator pickles recipe is a keeper for anyone who loves fresh, crunchy, and tangy pickles without the long wait or fuss of canning. It’s simple, reliable, and adaptable, which is why I turn to it over and over. Whether you’re pairing them with a juicy classic burger slider or just want a quick snack, these pickles bring that perfect balance of flavor and texture.
Feel free to tweak the heat, herbs, or sweetness based on your taste buds. I love how this recipe invites customization without losing its crisp charm. Honestly, it’s become my secret weapon for packing a punch of flavor with very little effort. Give it a try, and I’d love to hear how you make these pickles your own.
FAQs
- How long do refrigerator pickles last?
They typically stay fresh and crunchy for 2-3 weeks when kept refrigerated in a sealed container. - Can I use regular cucumbers instead of Kirby cucumbers?
You can, but Kirby cucumbers are preferred because they stay crisper during pickling. Regular slicing cucumbers may turn softer faster. - Do I need to boil the brine for refrigerator pickles?
No, this recipe uses a cold brine method. Just dissolve salt and sugar in vinegar and water, then pour over cucumbers. - Can I make these pickles without garlic?
Yes, simply omit the garlic if you prefer a milder flavor or have any sensitivities. - How can I keep pickles crunchy longer?
Use fresh, firm cucumbers, keep them fully submerged in the brine, and refrigerate promptly. Adding grape or horseradish leaves can also help maintain crunch.
Pin This Recipe!
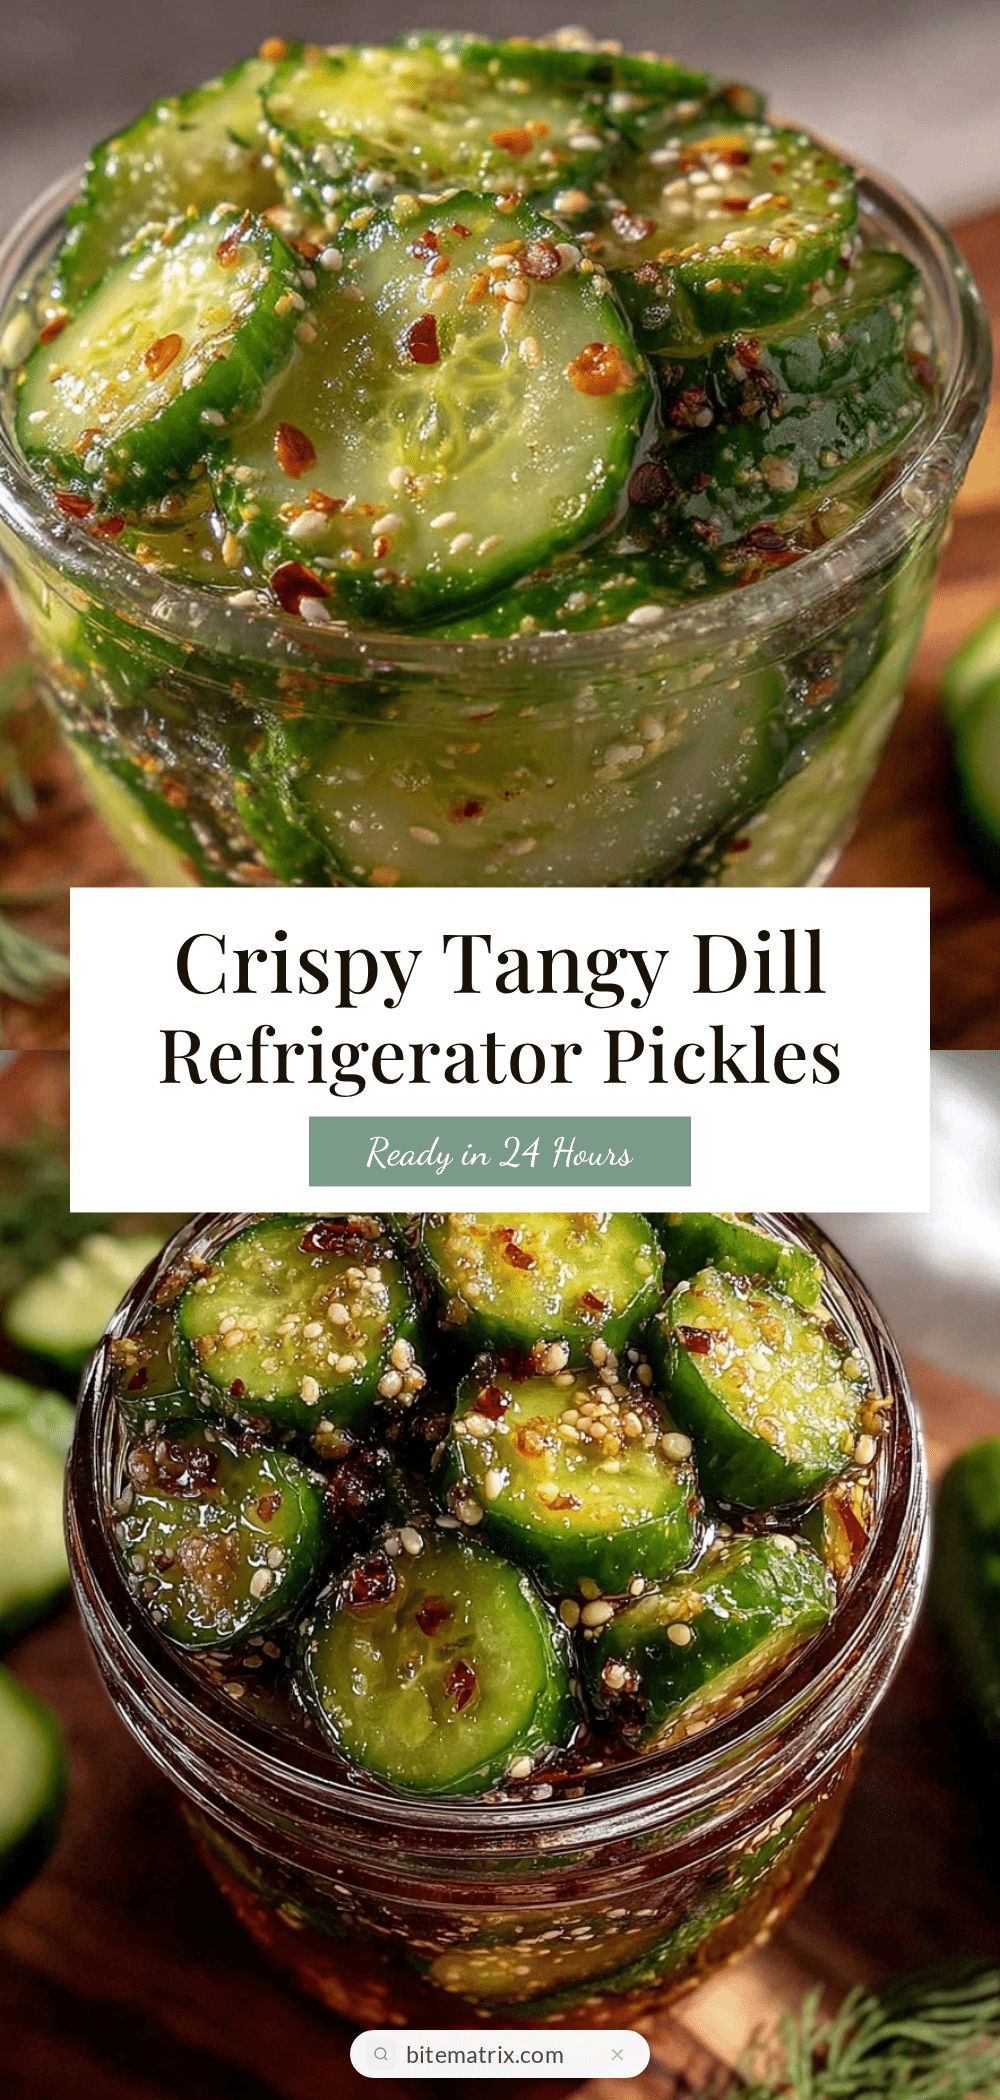
Crispy Dill Refrigerator Pickles

Quick and easy refrigerator pickles ready in 24 hours, offering a fresh, crunchy, and tangy bite without the wait or fuss of canning.
- Prep Time: 15 minutes
- Cook Time: 0 minutes
- Total Time: 24 hours 15 minutes
- Yield: About 4 servings 1x
- Category: Side Dish
- Cuisine: American
Ingredients
- 4 medium Kirby cucumbers (about 1.5 pounds / 680 grams)
- 4–5 fresh dill sprigs
- 3 large garlic cloves, smashed
- 1 cup (240 ml) white vinegar
- 1 cup (240 ml) water
- 1 tablespoon kosher salt (e.g., Diamond Crystal)
- 1 tablespoon granulated sugar (optional but recommended)
- 1 teaspoon black peppercorns
- ½ teaspoon red pepper flakes (optional)
Instructions
- Wash and slice the cucumbers into ¼-inch (6 mm) thick rounds or spears, depending on preference.
- In a mixing bowl, combine 1 cup white vinegar, 1 cup water, 1 tablespoon kosher salt, and 1 tablespoon granulated sugar. Whisk until salt and sugar dissolve.
- Add smashed garlic cloves, black peppercorns, red pepper flakes (if using), and fresh dill sprigs to the brine. Stir gently.
- Pack cucumber slices tightly but gently into a clean quart-sized glass jar or airtight container.
- Pour the brine over the cucumbers, ensuring they are fully submerged. Use a utensil to release trapped air bubbles; add a weight if needed.
- Seal the jar and refrigerate for at least 24 hours before tasting. The flavor improves with longer marinating.
- After 24 hours, open and enjoy the pickles. Store leftovers refrigerated and consume within 2-3 weeks.
Notes
Use fresh, firm Kirby cucumbers for best crunch. Keep cucumbers fully submerged in brine to avoid soft spots. Refrigerate promptly. Optionally add grape or horseradish leaves to maintain crunch. Letting pickles sit 2-3 days intensifies flavor without losing crispness. Adjust salt if using table salt (reduce by half).
Nutrition
- Serving Size: About 1 ounce (28 gr
- Calories: 510
- Sugar: 0.51
- Sodium: 20030
- Carbohydrates: 12
- Fiber: 0.3
- Protein: 0.2
Keywords: refrigerator pickles, dill pickles, quick pickles, crispy pickles, easy pickles, no canning pickles, homemade pickles