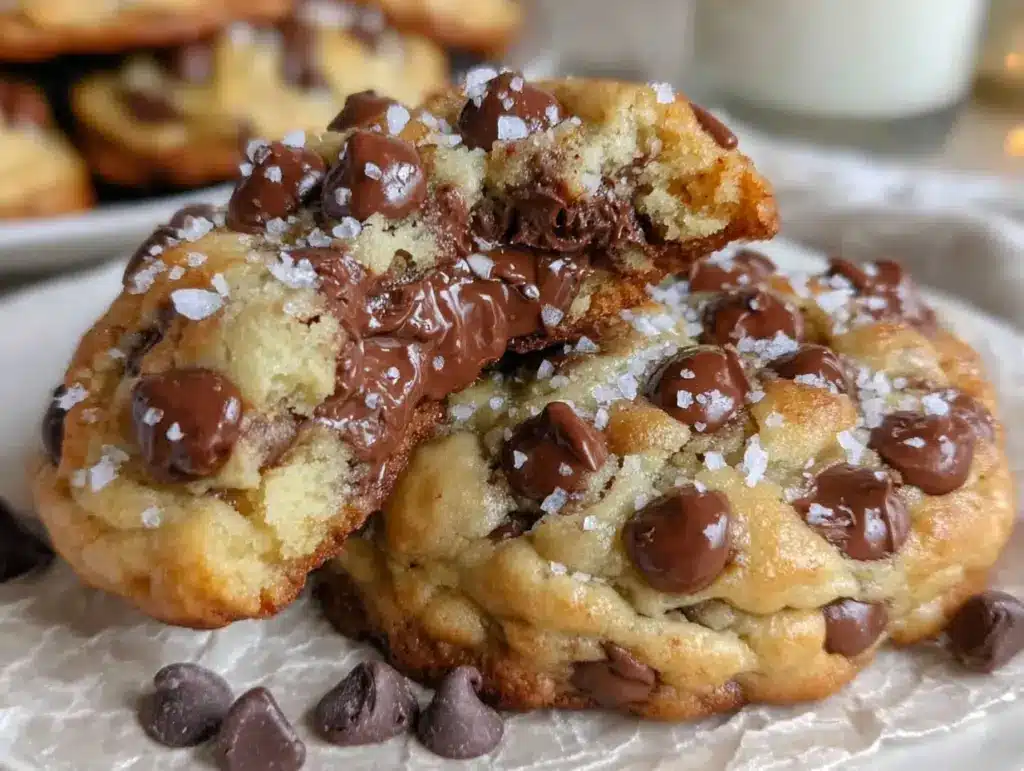
If you could bottle the scent of warm, gooey chocolate chip cookies fresh out of the oven, I’d have a whole shelf dedicated to it. There’s something absolutely magical about the buttery aroma mingling with melting chocolate—every time I make these perfect thick & chewy chocolate chip cookies, my kitchen turns into a haven of pure comfort. The first time I baked a batch, I caught myself just standing there, inhaling deeply, grinning like a fool, and thinking, “This is it—the cookie I’ve been searching for.” It’s the kind of moment where you pause, take a deep breath, and just smile because you know you’re onto something truly special.
Honestly, these cookies have a bit of my childhood baked right in. When I was knee-high to a grasshopper, my grandma used to sneak extra chocolate chips into the dough, saying, “There’s no such thing as too much chocolate.” She was right, you know. Years ago, I tried to recreate her famous cookies but never quite nailed the texture. It wasn’t until a rainy weekend (after far too many Pinterest fails) that I stumbled onto the secret—more brown sugar, extra egg yolk, and chilling the dough. Now, I wish I’d figured it out years ago.
Every single time I make these, my family can’t stop sneaking them off the cooling rack (I can’t really blame them). Friends have requested the recipe for potlucks, and my kids beg for them as an after-school treat. They’re dangerously easy and provide pure, nostalgic comfort—perfect for a sweet treat after dinner, prepping dessert boards, or brightening up your Pinterest cookie board! I’ve tested this recipe more times than I’d like to admit (in the name of research, of course), and it’s become a staple for family gatherings, gifting, and cozy nights in. It feels like a warm hug in every bite, and, trust me, you’re going to want to bookmark this one.
Why You’ll Love This Recipe
Let’s face it—there are a gazillion chocolate chip cookie recipes out there, but this one? It’s got a few tricks up its sleeve that set it apart from the rest. After baking countless batches and tasting more cookies than I should admit, I can confidently say these thick & chewy chocolate chip cookies earn their spot as my go-to for any occasion.
- Quick & Easy: Ready in under 45 minutes, including chilling time. Perfect for those “I need cookies NOW” moments or unexpected guests.
- Simple Ingredients: No fancy grocery runs required—you probably have everything in your pantry already.
- Perfect for Every Occasion: These cookies shine at potlucks, holiday parties, bake sales, or just a Wednesday night treat.
- Crowd-Pleaser: Kids (and adults!) absolutely adore them. I’ve had neighbors knock on my door after smelling them baking.
- Unbelievably Delicious: The balance of buttery dough, sweet brown sugar, and pockets of gooey chocolate is comfort food at its best.
What really makes this chocolate chip cookies recipe stand out is the texture—thick, soft, and satisfyingly chewy with just the right amount of crispness around the edges. The secret’s in the ratio of brown sugar to granulated sugar, plus that extra egg yolk for richness (trust me, don’t skip it!). Chilling the dough isn’t optional—it’s what gives you those bakery-style cookies that stay tall and thick, instead of spreading into sad, thin pancakes.
If you’ve ever been disappointed by flat, lifeless cookies, this recipe is your redemption arc. It’s comfort food, reimagined—faster, richer, and honestly, more foolproof. It’s the kind of cookie that gets you compliments, recipe requests, and maybe even a few new friends. Whether you’re a seasoned baker or just dipping your toes into homemade treats, these thick & chewy chocolate chip cookies are about to become your new obsession.
What Ingredients You Will Need
This chocolate chip cookies recipe uses simple, wholesome ingredients that deliver bold flavor and irresistible texture—no complicated steps, no hard-to-find items. Most are pantry staples (and if you’re like me, you always have a stash of chocolate chips for emergencies!).
- For the dough:
- 2 1/4 cups (280g) all-purpose flour (spooned & leveled for accuracy)
- 1 teaspoon baking soda
- 1/2 teaspoon salt (fine sea salt gives a subtle boost to the flavor)
- 1 cup (227g) unsalted butter, softened (I recommend Kerrygold for extra richness)
- 3/4 cup (150g) packed light brown sugar (adds chew and depth—don’t skimp!)
- 1/2 cup (100g) granulated sugar
- 2 large eggs, room temperature
- 1 extra egg yolk (key for extra chewy texture)
- 2 teaspoons pure vanilla extract (use the real stuff if you can—trust me on this)
- For the chocolate:
- 2 cups (340g) semisweet chocolate chips (I love Ghirardelli or Guittard)
- Optional: 1/2 cup (85g) chopped dark chocolate or milk chocolate chunks (for melty pockets)
- For extra flavor (optional):
- 1/2 cup (50g) chopped toasted walnuts or pecans (for a nutty twist)
- Flaky sea salt for sprinkling on top before baking (boosts flavor and makes the cookies Pinterest-worthy!)
Ingredient notes:
- Flour: For gluten-free cookies, swap in a 1-to-1 gluten-free baking blend like Bob’s Red Mill.
- Butter: Dairy-free? Use a plant-based butter substitute, but look for one with a high fat content for best results.
- Eggs: If eggs are off the table, a flaxseed “egg” works (1 tbsp ground flax + 2.5 tbsp water per egg, let sit for 5 mins).
- Chocolate: Any chips work, but a mix of chips and chunks gives you those dreamy melted pools. In summer, try adding chopped dried cherries or cranberries for a fruity pop.
Whatever you choose, don’t skimp on quality chocolate. It truly makes a difference—those melty bits are what cookie dreams are made of. If you prefer less sweet, go for bittersweet chocolate instead. And if you’re feeling adventurous, a pinch of espresso powder (about 1/2 teaspoon) deepens the chocolate flavor without tasting like coffee.
Equipment Needed
You don’t need a professional bakery setup to make these thick & chewy chocolate chip cookies, but having the right tools makes a world of difference (and saves you some headaches).
- Large mixing bowl (glass or metal, for easier creaming)
- Medium bowl (for dry ingredients)
- Hand mixer or stand mixer (I’ve used both—hand mixer works fine, but stand mixer makes it easier)
- Rubber spatula (for scraping down the bowl and folding in chocolate chips)
- Measuring cups and spoons (accurate measurements matter for cookies!)
- Cookie scoop (for perfectly even, bakery-style cookies—tablespoon or 2-tablespoon size works well)
- Baking sheets (heavy-duty, uncoated sheets help cookies bake evenly)
- Parchment paper or silicone baking mat (for easy cleanup and no sticking)
- Wire cooling rack (lets cookies cool evenly and stay chewy, not soggy)
- Optional: Digital kitchen scale (for precise measurements—especially if you bake often)
If you don’t have a cookie scoop, two spoons do the trick (though your cookies might be a little more “rustic”—which is fine by me). For baking sheets, I’ve found that investing in one or two good ones is worth it—they don’t warp, and cookies bake more evenly. If you’re using silicone mats, rinse them well after use—chocolate can leave stubborn streaks. And if budget’s on your mind, you can find most of these tools at big box stores or even thrift shops (some of my favorite spatulas were secondhand finds!).
Preparation Method
- Prep the Baking Sheets: Line two baking sheets with parchment paper or silicone baking mats. Preheat oven to 350°F (175°C).
- Mix Dry Ingredients: In a medium bowl, whisk together 2 1/4 cups (280g) flour, 1 teaspoon baking soda, and 1/2 teaspoon salt. Set aside.
- Cream Butter and Sugars: In a large bowl, beat 1 cup (227g) softened unsalted butter, 3/4 cup (150g) brown sugar, and 1/2 cup (100g) granulated sugar until light and fluffy—about 2-3 minutes. The mixture should look pale and fluffy (if it’s gritty, keep mixing).
- Add Eggs and Vanilla: Beat in 2 large eggs, one at a time, then add the extra yolk and 2 teaspoons vanilla extract. Scrape down the sides of the bowl. The mixture will look glossy and thick.
- Combine Wet and Dry: Gradually add the flour mixture to the wet ingredients, mixing on low speed until just combined. Don’t overmix—stop when you see no dry streaks (overmixing = tough cookies!).
- Stir in Chocolate and Nuts: Use a spatula to fold in 2 cups (340g) chocolate chips and any extras (chunks, nuts). The dough should be thick and sticky.
- Chill the Dough: Cover the bowl and chill in the fridge for at least 30 minutes (up to 2 hours). This step is crucial for thick cookies! If you’re in a hurry, 20 minutes in the freezer works, but the longer the chill, the thicker the cookie.
- Scoop and Portion: Use a cookie scoop (or two spoons) to scoop out 2-tablespoon portions of dough, spacing them about 2 inches apart on the baking sheets. For extra “Pinterest appeal,” dot a few extra chips on top before baking.
- Bake: Bake for 10-12 minutes, until the edges are golden and the centers look just set but still soft. (Don’t wait for them to look fully cooked—they’ll keep baking on the sheet after you pull them out.)
- Finishing Touch: Immediately sprinkle with flaky sea salt if desired. Let cookies cool on the sheet for 5 minutes, then transfer to a wire rack to cool completely.
Troubleshooting tips:
- If cookies spread too much, your dough may be too warm or you may have under-measured flour. Chill longer and double-check measurements.
- For extra-thick cookies, stack two scoops of dough on top of each other before baking.
Personal tip: I always bake one test cookie first—sometimes my oven runs hot, and this saves a whole batch from overbaking. Trust your nose, too. If it smells like cookies, they’re probably ready to come out!
Cooking Tips & Techniques
After more cookie batches than I can count, I’ve picked up a few tricks for getting those thick, chewy chocolate chip cookies just right. Don’t skip these—honestly, they make all the difference.
- Room Temperature Butter: Softened butter is key—cold butter won’t cream properly and melted butter can make cookies too flat.
- Chill That Dough: I know, chilling feels like a pain when you want cookies now. But it’s non-negotiable for thick cookies. Chilling solidifies the fat and lets the flour hydrate, so the cookies hold their shape.
- Don’t Overmix: Once the flour goes in, mix just until combined. Overworking the gluten leads to tough cookies. (I learned this the hard way—one batch turned out like hockey pucks.)
- Watch the Clock: If you wait until cookies look fully cooked in the oven, they’ll end up dry. Pull them when the edges are set but centers are soft—they’ll firm up as they cool.
- Multi-tasking: While the dough chills, wash up your mixing bowls and set out your cooling racks. Efficiency means more time for cookie eating!
- Consistency: Use a cookie scoop for even sizes—this helps them bake uniformly. If you don’t have one, don’t worry, but keep an eye on smaller cookies (they’ll bake faster).
- Chocolate Distribution: Dot a few extra chips on top before baking for that “Pinterest-perfect” look and extra chocolate in every bite.
I’ve had my fair share of lopsided cookies and burnt bottoms. If that happens, try rotating your pans halfway through baking and always bake in the center of the oven. The little steps really add up to bakery-level results!
Variations & Adaptations
One of the best things about this chocolate chip cookies recipe? It’s endlessly adaptable. I rarely make them the same way twice!
- Gluten-Free: Swap in a 1-to-1 gluten-free flour blend (like King Arthur or Bob’s Red Mill). The cookies are just as thick and chewy—no one will guess.
- Low-Sugar: Use coconut sugar instead of brown and granulated sugar, or cut the sugar by 1/3 if you prefer less sweet (they’ll still be plenty tasty!).
- Seasonal Twist: In fall, add 1 teaspoon cinnamon and 1/2 cup chopped dried apples for a cozy vibe. In spring, toss in pastel chocolate chips or mix in lemon zest for a citrusy pop.
- Flavor Preferences: Swap out semisweet chips for milk chocolate, white chocolate, or even butterscotch. Add orange zest, a pinch of cardamom, or dried fruit for your own signature spin.
- Allergen Substitutions: For egg-free, use flax eggs. For dairy-free, use vegan butter and allergen-friendly chips (Enjoy Life is a good brand).
- Personal Favorite: Try stirring in 1/2 cup chopped toffee bits and a sprinkle of espresso powder—my husband swears these are the ultimate “grown-up” cookies.
Don’t be afraid to experiment! The basic dough is super forgiving, so whether you’re baking for allergies, picky eaters, or just feeling creative, you’ll get a cookie worth sharing (or keeping all for yourself—I won’t judge).
Serving & Storage Suggestions
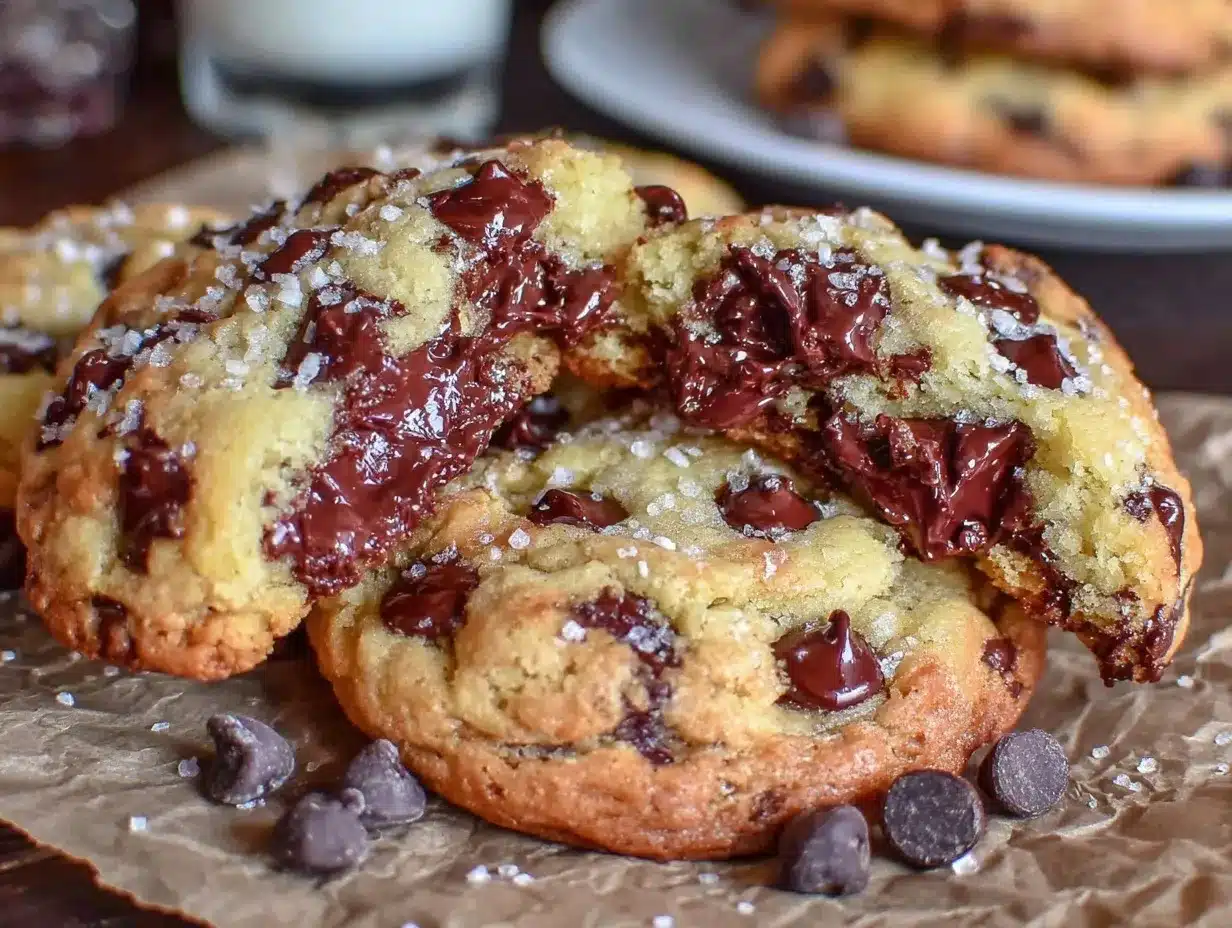
These thick & chewy chocolate chip cookies are best served warm, with the chocolate still a little melty and the centers soft. I love piling them high on a rustic wooden board, paired with cold milk or hot coffee—it’s a classic for a reason.
- Serving: Let cookies cool for 10 minutes before eating; this keeps them soft but not too gooey. Add a sprinkle of flaky sea salt for an Insta-worthy finish.
- Pairings: Serve with ice cream for DIY cookie sandwiches, or next to a fruit platter for a balanced dessert spread.
- Storage: Store cooled cookies in an airtight container at room temperature for up to 4 days. Layer with parchment paper if stacking.
- Freezing: Freeze baked cookies in a zip-top bag for up to 2 months. Thaw at room temp or microwave for 10-15 seconds for that “fresh-baked” warmth.
- Reheating: For that bakery-fresh texture, pop a cookie in the oven at 300°F (150°C) for 3-4 minutes, or microwave briefly. The chocolate gets gooey all over again!
Fun fact: The flavor actually deepens after a day or two, so if you can wait, they’re even better on day two. (But honestly, good luck keeping them around that long!)
Nutritional Information & Benefits
Each thick & chewy chocolate chip cookie (about 1/18th of the dough) has approximately:
- Calories: 210
- Fat: 10g
- Carbohydrates: 28g
- Sugar: 18g
- Protein: 3g
Brown sugar adds trace minerals and a boost of flavor, while dark chocolate chips bring antioxidants. Using nuts adds healthy fats and a little extra protein. If you opt for gluten-free or dairy-free versions, you’ll still enjoy the same rich flavor profile—just check your ingredient labels for hidden allergens.
From a wellness perspective, these cookies are a treat, not an everyday snack, but sharing them with friends or family brings joy (which is good for you too!). Allergy note: Contains wheat, dairy, egg, and may contain nuts if added. Always check for allergen-friendly substitutions if needed.
Conclusion
If you’re looking for the ultimate chocolate chip cookies recipe, these thick & chewy beauties are worth every minute in the kitchen. They’re simple, nostalgic, and the kind of treat that brings people together—whether it’s a Tuesday night, a birthday party, or just a craving that won’t quit.
Feel free to tweak the recipe to suit your tastes—swap the chips, add nuts, or play with spices. That’s the beauty of homemade cookies: you get to make them your own. I love this recipe because it never fails, even when I’m baking with kids running around or trying to impress a crowd.
Now, I’d love to hear how your batch turns out! Drop a comment below (and let me know your favorite variation), pin this recipe to your Pinterest board, and share with your fellow cookie lovers. Happy baking—and may your cookie jar always be full!
Frequently Asked Questions
How do I keep my chocolate chip cookies thick and chewy?
Chill the dough before baking and use an extra egg yolk. Also, measure your flour carefully—too little and the cookies will spread, too much and they’ll be cakey.
Can I freeze the cookie dough?
Yes! Scoop the dough onto a tray, freeze until solid, then transfer to a zip-top bag. Bake straight from frozen, adding 1-2 minutes to the baking time.
What’s the best chocolate for these cookies?
Semi-sweet chips work great, but mixing in chopped dark chocolate or chocolate chunks creates melty pockets. Use your favorite brand—quality chocolate makes a big difference!
Can I make these cookies gluten-free?
Absolutely. Just swap in a 1-to-1 gluten-free flour blend. The cookies will still be thick, chewy, and delicious.
Why do my cookies sometimes turn out flat?
Usually it’s warm dough, not enough flour, or melted butter. Make sure to chill the dough, measure flour accurately, and use softened (not melted) butter.
Pin This Recipe!
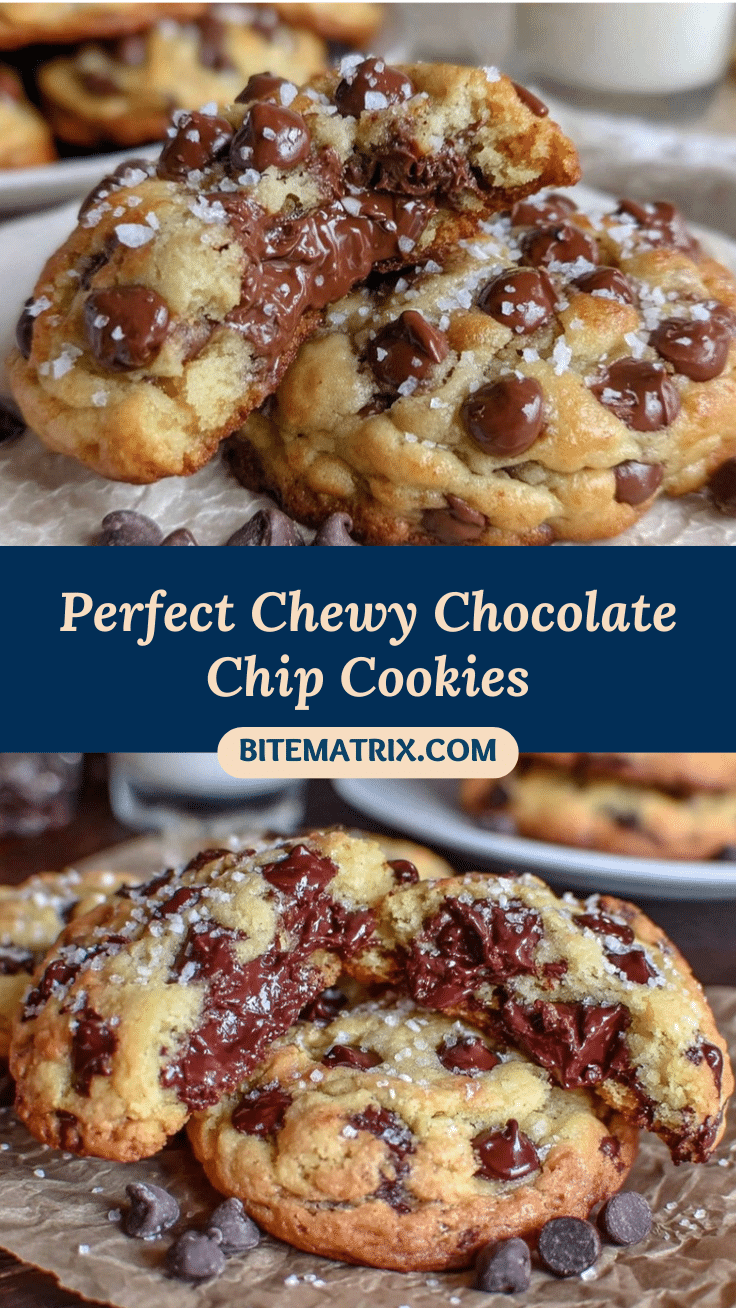
Chocolate Chip Cookies Recipe: Easy Thick & Chewy Cookies for Cookie Lovers

These thick and chewy chocolate chip cookies are the ultimate comfort treat, packed with gooey chocolate and a rich, buttery flavor. Perfect for family gatherings, potlucks, or a cozy night in, this easy recipe delivers bakery-style cookies every time.
- Prep Time: 20 minutes
- Cook Time: 12 minutes
- Total Time: 45 minutes
- Yield: 18 cookies 1x
- Category: Dessert
- Cuisine: American
Ingredients
- 2 1/4 cups all-purpose flour (spooned & leveled)
- 1 teaspoon baking soda
- 1/2 teaspoon salt (fine sea salt preferred)
- 1 cup unsalted butter, softened
- 3/4 cup packed light brown sugar
- 1/2 cup granulated sugar
- 2 large eggs, room temperature
- 1 extra egg yolk
- 2 teaspoons pure vanilla extract
- 2 cups semisweet chocolate chips
- Optional: 1/2 cup chopped dark chocolate or milk chocolate chunks
- Optional: 1/2 cup chopped toasted walnuts or pecans
- Optional: Flaky sea salt for sprinkling on top before baking
Instructions
- Line two baking sheets with parchment paper or silicone baking mats. Preheat oven to 350°F (175°C).
- In a medium bowl, whisk together flour, baking soda, and salt. Set aside.
- In a large bowl, beat softened butter, brown sugar, and granulated sugar until light and fluffy (about 2-3 minutes).
- Beat in eggs one at a time, then add the extra yolk and vanilla extract. Scrape down the sides of the bowl.
- Gradually add the flour mixture to the wet ingredients, mixing on low speed until just combined. Do not overmix.
- Fold in chocolate chips and any optional extras (chunks, nuts) with a spatula. Dough will be thick and sticky.
- Cover the bowl and chill dough in the fridge for at least 30 minutes (up to 2 hours). For a quick chill, 20 minutes in the freezer works.
- Scoop out 2-tablespoon portions of dough, spacing them about 2 inches apart on the baking sheets. Dot extra chips on top if desired.
- Bake for 10-12 minutes, until edges are golden and centers look just set but still soft.
- Immediately sprinkle with flaky sea salt if desired. Let cookies cool on the sheet for 5 minutes, then transfer to a wire rack to cool completely.
Notes
Chilling the dough is crucial for thick cookies. For gluten-free, use a 1-to-1 gluten-free flour blend. For dairy-free, substitute plant-based butter. For egg-free, use flaxseed ‘egg’. Dot extra chocolate chips on top before baking for a bakery-style look. Cookies are best served warm and can be stored in an airtight container for up to 4 days or frozen for up to 2 months.
Nutrition
- Serving Size: 1 cookie
- Calories: 210
- Sugar: 18
- Sodium: 90
- Fat: 10
- Saturated Fat: 6
- Carbohydrates: 28
- Fiber: 2
- Protein: 3
Keywords: chocolate chip cookies, thick cookies, chewy cookies, easy cookie recipe, homemade cookies, dessert, baking, comfort food, classic cookies, American cookies


