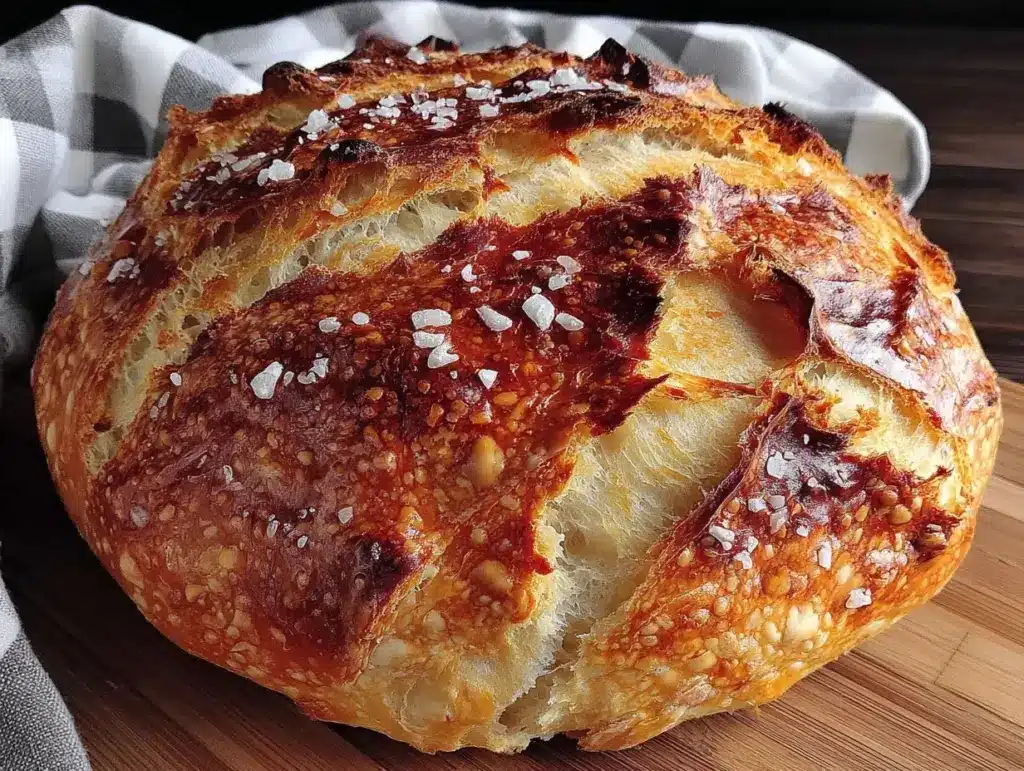
Let me tell you, the sight and smell of a freshly baked artisan bread loaf coming out of the oven is enough to make anyone’s heart skip a beat. That crackling crust, the golden brown surface with beautiful, intricate patterns — honestly, it’s like edible art. The first time I tried my hand at artisan bread scoring art, I was instantly hooked. There’s something so satisfying about watching those cuts bloom in the oven, revealing a loaf that looks as stunning as it tastes. It’s the kind of moment where you pause, take a deep breath, and just smile because you know you’re onto something truly special.
Years ago, when I was knee-high to a grasshopper, I remember watching my grandma score her homemade loaves, creating simple but elegant designs that made every loaf look like it belonged in a bakery window. I wish I’d discovered the magic of artisan bread scoring art sooner. Since then, my family couldn’t stop sneaking pieces off the cooling rack (and I can’t really blame them). This technique isn’t just for pros — it’s dangerously easy and offers pure, nostalgic comfort that brightens up your Pinterest cookie board or your weekend baking adventures. After testing numerous patterns and tips (in the name of research, of course), scoring has become a staple in my bread-making routine. Trust me, you’re going to want to bookmark this one.
Why You’ll Love This Recipe
When it comes to artisan bread scoring art, this guide is a family-approved, chef-tested treasure chest of tips that’ll make your homemade loaves stand out. Here’s why you’ll adore these techniques:
- Quick & Easy: Learn five simple scoring tips that take just minutes but make a huge visual difference.
- Simple Ingredients: No fancy gadgets needed — just your trusty bread dough and a sharp blade or lame.
- Perfect for Impressing: Whether it’s brunch, potlucks, or cozy dinners, these scoring ideas add that wow-factor.
- Crowd-Pleaser: The stunning patterns will have guests oohing and aahing before they even taste the bread.
- Unbelievably Delicious: Scoring isn’t just for looks; it helps the loaf expand beautifully, creating that perfect crust and crumb.
What sets this scoring art apart? It’s a blend of classic and creative patterns, balanced to fit your skill level and loaf shape. For example, swapping in a gentle leaf design or a bold cross can transform your bread’s personality. This isn’t just another loaf — it’s your best version of artisan bread scoring art. And let’s face it, closing your eyes after the first bite of a perfectly scored loaf is pure bliss. It’s comfort food with a creative twist, making homemade bread feel like a celebration.
What Ingredients You Will Need
This scoring art guide focuses on simple, wholesome ingredients that let your bread shine without fuss. Your dough is the canvas, and the scoring is the brushstroke. Here’s what you’ll need for your artisan loaf:
- Flour: Bread flour or all-purpose flour, depending on your recipe (I prefer King Arthur bread flour for consistent texture).
- Water: Lukewarm, filtered water to hydrate your dough properly.
- Yeast: Active dry or instant yeast to give your dough that perfect rise.
- Salt: Fine sea salt, enhances flavor and controls fermentation.
- Optional Add-ins: Seeds, nuts, or herbs to personalize your bread.
For scoring:
- Bread lame or sharp razor blade: Essential for clean, precise cuts.
- Sharp knife: If you don’t have a lame, just make sure it’s razor-sharp.
- Flour for dusting: Helps prevent sticking and adds a rustic, artisan look.
Note: You don’t need fancy ingredients to create stunning artisan bread scoring art — just good dough and a steady hand. Feel free to experiment with whole wheat or gluten-free blends, but keep in mind scoring might differ slightly due to dough texture. When in doubt, a light dusting of flour before scoring can highlight your patterns beautifully.
Equipment Needed
To achieve stunning artisan bread scoring art, you’ll need a few essential kitchen tools that are pretty budget-friendly and easy to find. Here’s what I recommend:
- Bread lame: This is a small, double-sided razor blade tool designed specifically for scoring bread. I’ve tried several, and the OXO Good Grips lame is my personal favorite for its comfort and precision.
- Sharp knife or razor blade: If you don’t have a lame, a very sharp utility knife or straight razor works fine — just be careful!
- Mixing bowls: For dough prep and proofing.
- Baking stone or sheet: A stone helps with even heat distribution; I’ve found it makes a big difference in crust development.
- Dutch oven (optional): Great for steam retention, which enhances crust crispiness and scoring expansion.
- Proofing basket (banneton): Helps shape the dough and creates beautiful surface texture that complements scoring art.
Maintenance tip: Keep your lame or blade razor-sharp by replacing blades regularly or honing if possible. A dull blade tears the dough instead of slicing cleanly, and trust me, that’s no fun. If you’re on a budget, you can skip the banneton and use a bowl lined with a well-floured kitchen towel instead. It’s all about making artisan bread scoring art work for you!
Preparation Method
- Prepare Your Dough: Mix 500g (about 4 cups) of bread flour, 350ml (1.5 cups) lukewarm water, 2 tsp salt, and 2 tsp yeast in a large bowl. Stir with a wooden spoon until all ingredients come together into a shaggy dough. This will take about 10 minutes. Tip: Use a digital scale for precision; baking is a science, after all.
- Knead or Fold: Knead for 8-10 minutes until the dough is smooth and elastic. Alternatively, perform stretch and folds every 30 minutes during a 2-hour bulk fermentation for a lighter crumb. The dough should feel soft but hold its shape.
- First Rise (Bulk Fermentation): Cover the bowl with a damp towel or plastic wrap and let the dough rise until doubled in size, about 1.5 to 2 hours at room temperature (around 75°F/24°C).
- Shape the Loaf: Gently turn the dough onto a floured surface. Shape into a round boule or an oval bâtard, depending on your preference. Place it seam-side up in a floured banneton or a bowl lined with a floured towel. Let it proof for 45-60 minutes until it springs back slowly when poked.
- Preheat Oven and Prepare for Baking: About 30 minutes before baking, preheat your oven to 475°F (245°C) with a baking stone or Dutch oven inside. This high heat is key for artisan crusts and scoring expansion.
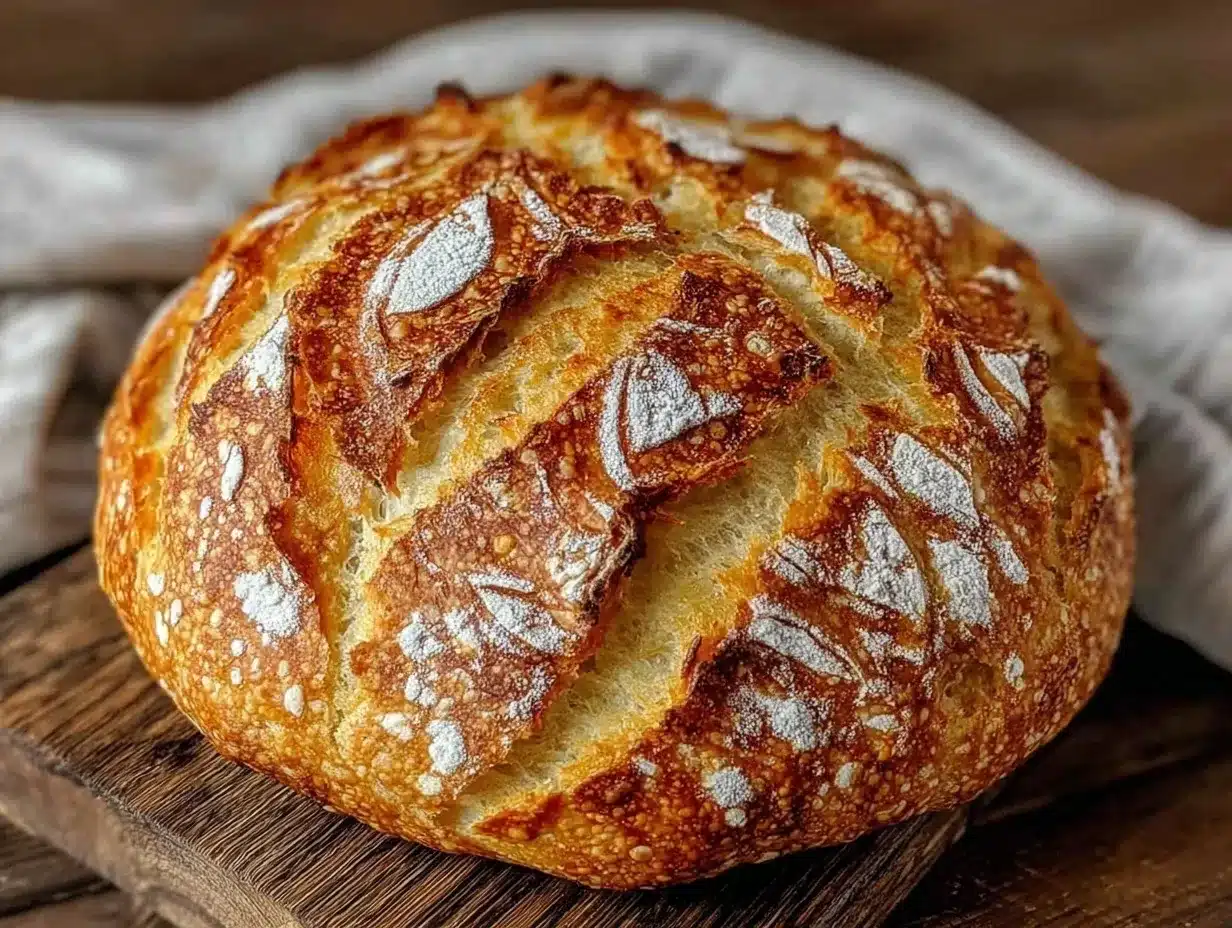
- Score Your Loaf: Dust the dough lightly with flour to highlight your design. Using your bread lame or sharp blade, make confident, swift cuts about 1/4-inch (0.6 cm) deep. For example, a simple cross or leaf pattern works beautifully. Avoid dragging the blade slowly — a quick slice is the secret to clean cuts.
- Bake: Place the scored dough onto the hot stone or into the Dutch oven. Bake covered for 20 minutes, then remove the lid and bake for another 15-20 minutes until deep golden brown with crackling crust.
- Cool: Let the bread cool completely on a wire rack before slicing. This allows the crumb to set and prevents gummy texture.
Pro tip: Scoring can feel intimidating, but practice makes perfect. Don’t worry if your first few loaves don’t look bakery-perfect — each one teaches you something new. Watch the dough bloom in the oven, and you’ll feel like a true artisan baker in no time.
Cooking Tips & Techniques
Mastering artisan bread scoring art is all about technique and timing. Here’s what I’ve learned from many batches (and a few dough disasters):
- Use a Sharp Blade: A dull blade will tear the dough and ruin your pattern. Change razor blades regularly or keep your lame honed.
- Score Just Before Baking: Cutting too early lets the dough dry out and lose its spring. I always score right before sliding the loaf into the oven.
- Don’t Press Too Deep: Aim for shallow, confident cuts about 1/4-inch deep. Deep cuts can cause the loaf to collapse.
- Work Quickly: Scoring is best done swiftly. Slow cuts are more likely to drag and tear the dough.
- Use Flour to Your Advantage: Dusting the dough lightly with flour before scoring helps your design pop and prevents sticking.
- Practice Simple Patterns First: Start with crosses or single slashes. Once you build confidence, try more intricate designs like wheat ears or spirals.
- Steam Helps Crust Formation: If you don’t have a Dutch oven, place a pan with water on the oven floor to create steam. This helps the bread expand beautifully around your scoring.
Honestly, I’ve had loaves that split in unexpected places or lost their shape completely. It’s all part of the learning curve. Keep a sense of humor and remember that every loaf gets better. Timing your scoring right before baking and using the right blade changed the game for me.
Variations & Adaptations
Artisan bread scoring art is wonderfully adaptable, letting you customize your loaves for any occasion or dietary need. Here are a few variations I’ve tried and loved:
- Seasonal Themes: Try leaf patterns in fall using a serrated blade for texture or waves for a summery beach vibe.
- Gluten-Free Dough: Scoring on gluten-free bread can be tricky due to less elasticity, but gentle shallow cuts still work well. Experiment with softer patterns.
- Different Shapes: Try scoring batards, baguettes, or even focaccia. Each shape offers unique design opportunities — for example, diagonal slashes on baguettes create classic ears.
- Flavored Doughs: Incorporate herbs, olives, or cheese into your dough for flavor. Scoring can help release steam and add rustic charm.
- Personal Twist: I once tried a sunflower pattern for a friend’s garden party. It took a couple attempts, but the smile on their face made it worth every minute.
Feel free to mix and match techniques or invent your own designs. Scoring is part skill, part creativity — and the more you play with it, the more stunning your homemade loaves become.
Serving & Storage Suggestions
Freshly baked artisan bread deserves to be enjoyed at its best. Serve your stunningly scored loaf slightly warm or at room temperature for optimal flavor and texture. A crisp crust with a tender crumb is simply irresistible.
Pair your bread with butter, olive oil, or your favorite cheese for a simple yet satisfying snack. It also shines alongside soups, salads, or as the base for sandwiches. Honestly, scoring art makes it a showstopper on any table.
To store, keep the bread in a paper bag or wrapped loosely in a kitchen towel at room temperature for up to two days. For longer storage, slice and freeze in airtight bags. When reheating, pop slices in a toaster or warm the whole loaf in a 350°F (175°C) oven for 10 minutes to revive that crusty goodness.
Flavors actually develop over a day or two, so if you can resist eating it all at once (ha!), your loaf will taste even better the next day. Just watch out for the crumb drying out — proper wrapping helps keep that perfect texture intact.
Nutritional Information & Benefits
Homemade artisan bread made with simple ingredients offers wholesome nutrition and satisfaction beyond store-bought loaves. A typical slice (about 50g) contains roughly:
| Calories | 130-150 kcal |
|---|---|
| Carbohydrates | 25-30 g |
| Protein | 4-5 g |
| Fat | 1-2 g |
| Fiber | 1-2 g |
Key benefits come from using quality flour and minimal additives, giving you natural energy and essential nutrients. Incorporating whole grains, seeds, or nuts boosts fiber and healthy fats, supporting digestion and heart health.
For those with gluten sensitivities, experimenting with gluten-free flours can make artisan bread scoring art accessible to more diets. Just remember that dough elasticity changes, affecting scoring technique.
From my wellness perspective, making bread at home connects you with your food in a meaningful way. It’s therapeutic, rewarding, and a delicious reminder that sometimes the simplest things are the most nourishing.
Conclusion
Artisan bread scoring art transforms simple homemade loaves into stunning, bakery-worthy creations you’ll be proud to share. With just a few tips and a bit of practice, you’ll find yourself looking forward to scoring as much as baking. Customize your patterns to match your mood, season, or occasion — the possibilities are endless.
I love this technique because it turns a humble loaf into a canvas for creativity and tradition all at once. It’s like sharing a little piece of joy with every slice. So grab your lame, dust your dough, and get ready to impress your family and friends with artisan bread scoring art that’s as delicious as it is beautiful.
Don’t forget to leave a comment below with your favorite scoring designs or any twists you’ve tried. Sharing your baking journey makes this community all the richer. Happy baking — you’ve got this!
FAQs
What is artisan bread scoring art?
It’s the practice of making intentional, decorative cuts on the surface of bread dough before baking. These cuts allow the bread to expand and create beautiful patterns as it bakes.
What tools do I need for scoring bread?
A bread lame (a special razor blade tool) is ideal, but a very sharp knife or razor blade can work as well. The key is having a clean, sharp edge for precise cuts.
How deep should I score my bread?
Generally, cuts about 1/4-inch (0.6 cm) deep work best. Too shallow and the bread won’t expand well; too deep and it might collapse.
Can I score bread dough ahead of baking?
It’s best to score just before baking to keep the dough from drying out and to get the best oven spring (rise).
What if my bread doesn’t bloom after scoring?
This can happen if the blade isn’t sharp enough, cuts are too shallow, or the oven isn’t hot enough. Make sure to use a sharp blade, score confidently, and preheat your oven thoroughly.
Pin This Recipe!
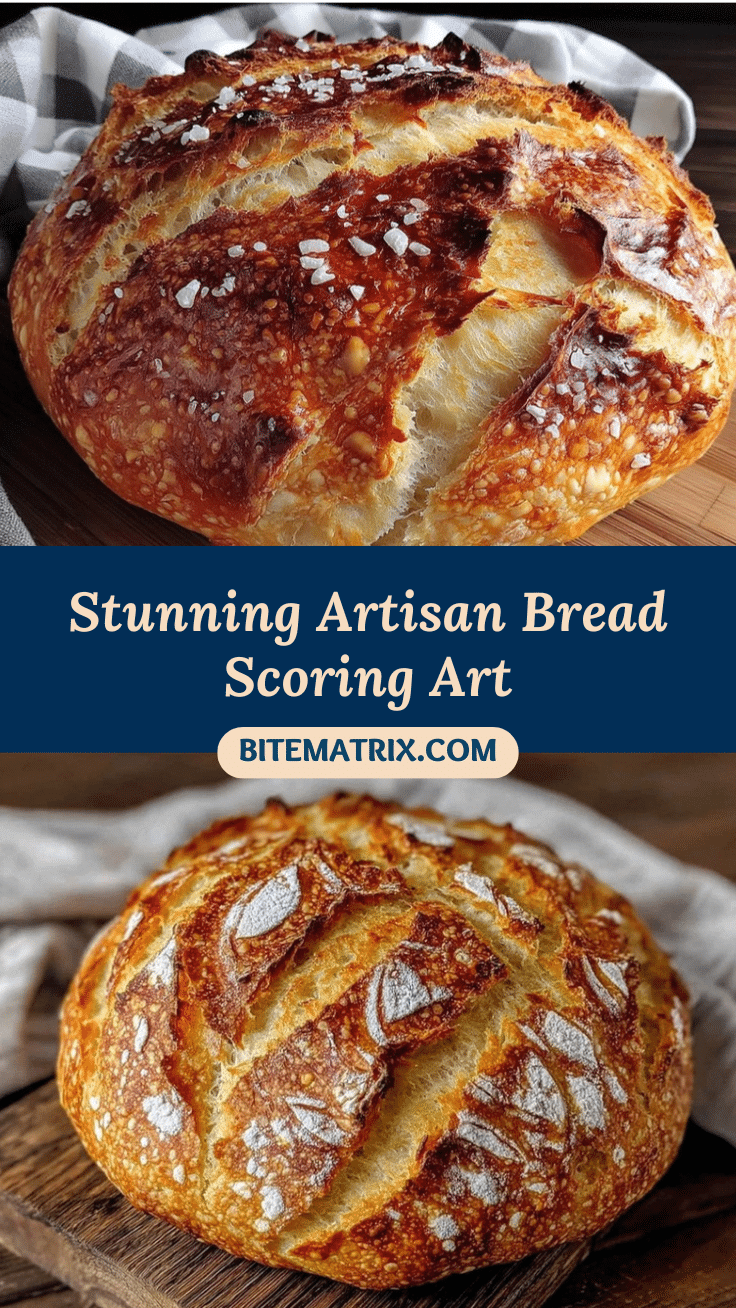
Artisan Bread Scoring Art: 5 Easy Tips for Stunning Homemade Loaves
Learn simple and effective artisan bread scoring techniques to create stunning homemade loaves with beautiful crust patterns that enhance both appearance and texture.
- Prep Time: 20 minutes
- Cook Time: 35-40 minutes
- Total Time: 3 hours 45 minutes
- Yield: 1 loaf (about 8-10 servings) 1x
- Category: Bread
- Cuisine: Artisan / European
Ingredients
- 500g (about 4 cups) bread flour or all-purpose flour
- 350ml (1.5 cups) lukewarm filtered water
- 2 tsp salt (fine sea salt preferred)
- 2 tsp active dry or instant yeast
- Optional add-ins: seeds, nuts, or herbs
- Flour for dusting
Instructions
- Mix 500g (about 4 cups) of bread flour, 350ml (1.5 cups) lukewarm water, 2 tsp salt, and 2 tsp yeast in a large bowl until a shaggy dough forms (about 10 minutes).
- Knead the dough for 8-10 minutes until smooth and elastic, or perform stretch and folds every 30 minutes during a 2-hour bulk fermentation.
- Cover the bowl and let the dough rise until doubled in size, about 1.5 to 2 hours at room temperature (75°F/24°C).
- Turn the dough onto a floured surface and shape into a round boule or oval bâtard. Place seam-side up in a floured banneton or bowl lined with a floured towel. Proof for 45-60 minutes until it springs back slowly when poked.
- Preheat oven to 475°F (245°C) with a baking stone or Dutch oven inside about 30 minutes before baking.
- Dust the dough lightly with flour. Using a bread lame or sharp blade, make confident, swift cuts about 1/4-inch (0.6 cm) deep to create your scoring pattern.
- Place the scored dough onto the hot stone or into the Dutch oven. Bake covered for 20 minutes, then remove the lid and bake for another 15-20 minutes until deep golden brown with a crackling crust.
- Cool the bread completely on a wire rack before slicing to allow the crumb to set.
Notes
Use a sharp blade for clean cuts; score just before baking to prevent dough drying out; keep cuts about 1/4-inch deep; work quickly when scoring; dust dough lightly with flour to highlight patterns; steam in oven helps crust and scoring expansion (use Dutch oven or pan of water).
Nutrition
- Serving Size: 1 slice (about 50g)
- Calories: 130150
- Sugar: 1
- Sodium: 40050
- Fat: 12
- Carbohydrates: 2530
- Fiber: 12
- Protein: 45
Keywords: artisan bread, bread scoring, homemade bread, bread baking, bread lame, bread crust, bread patterns, baking tips, bread recipe


