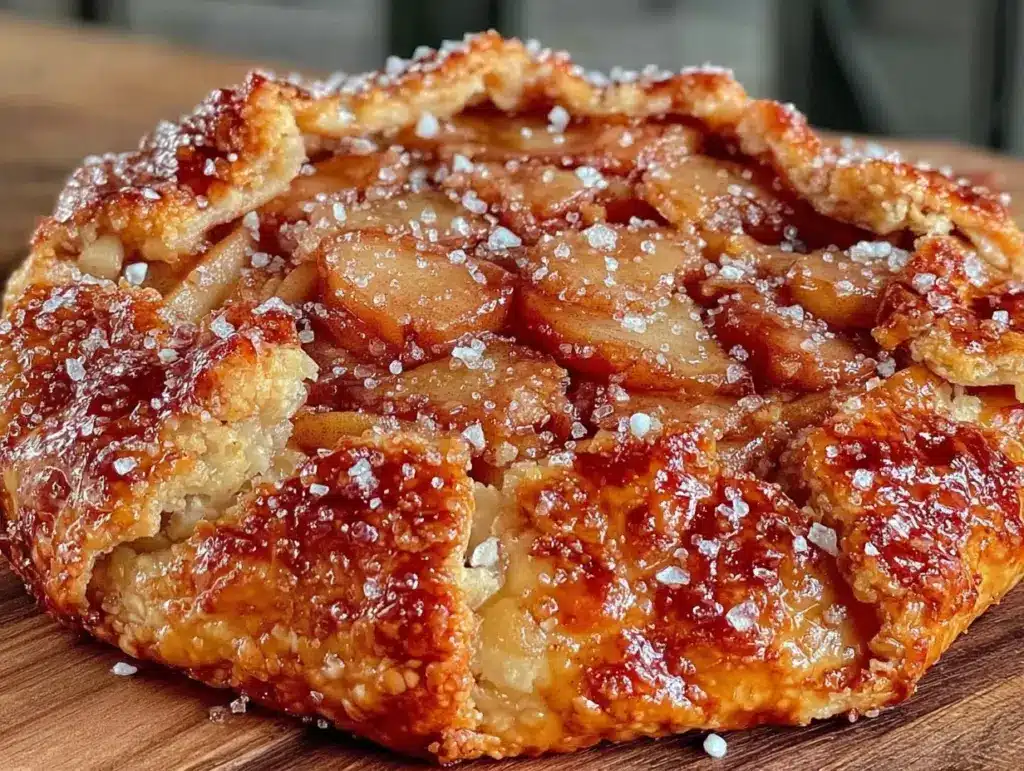
Three-time-in-a-week, and the brown sugar crust still manages to surprise me. I was halfway through folding the edges of the galette when the smell of caramelizing sugar and fall fruit hit me like a warm blanket. Honestly, this recipe pulled me back every single Friday for a whole month, each time tweaking the crust thickness or swapping the pear ripeness. At first, I thought it was just the apples—those tart, crisp slices—but no, the pears added that soft, juicy contrast that made me keep coming back. The rustic, free-form shape with the browned, sugar-speckled crust wasn’t just a dessert; it was the kind of kitchen magic that made me pause and really savor the moment.
There’s this oddly comforting crackle when you cut into the galette, the kind that promises a good evening ahead. The brown sugar crust isn’t just sweet; it’s got this deep molasses undertone that hugs the fruit filling perfectly. I remember thinking about how much this recipe felt like fall itself—warm, a bit messy, and full of simple pleasures. Each iteration taught me something new about balancing the sugar and spices, and how important it is to let the fruit rest just a bit to keep its shape while baking.
It’s funny how a galette, something so humble and unpretentious, can become a weekly obsession. Not because it’s complicated but because it’s comforting, familiar, and just a little adventurous with that brown sugar crust twist. For me, this recipe stuck because it’s not just about the end result but the ritual of making it, the smell filling the kitchen, and the cozy feeling it brings when shared. It’s like a little fall harvest celebration, no matter what day it is.
Why You’ll Love This Cozy Fall Harvest Apple and Pear Galette with Brown Sugar Crust
This galette is the kind of recipe that sneaks up on you. Tested by a dozen repeat attempts (no exaggeration), it’s perfected for both taste and ease. Whether you’re a seasoned baker or someone who usually sticks to no-bake desserts, this one welcomes you in with open arms.
- Quick & Easy: Ready in under 90 minutes, the galette is great for busy fall afternoons when you want baking magic without fuss.
- Simple Ingredients: Uses pantry staples and seasonal fruits—no obscure items or specialty stores needed.
- Perfect for Cozy Fall Gatherings: Whether it’s a weekend brunch or a casual dinner, this galette fits right in.
- Crowd-Pleaser: The combination of tart apples and sweet pears gets nods from both kids and adults alike.
- Unbelievably Delicious: The brown sugar crust adds a caramelized edge that’s not typical in pies or tarts, making it uniquely comforting.
What sets this recipe apart is that crust. I mean, you’ve had galettes before, but the brown sugar crust? It’s like a secret handshake in fall baking circles. It caramelizes just enough to add depth without overpowering the fruit. Plus, folding the edges by hand gives it that imperfect, rustic look that always impresses without stress. This isn’t just a galette—it’s your go-to for making fall feel extra special.
What Ingredients You Will Need
This recipe uses simple, wholesome ingredients to deliver bold flavor and satisfying texture without the fuss. Most of these are pantry staples, and the apples and pears can be swapped depending on what’s fresh or on hand.
- For the Brown Sugar Crust:
- All-purpose flour – 1 ¼ cups (150g), sifted for tenderness
- Brown sugar, packed – ¼ cup (50g), the key for that caramel flavor
- Unsalted butter, cold and cubed – ½ cup (113g), use a good-quality brand like Plugrá for best texture
- Ice water – 3 to 4 tablespoons (45-60ml), to bring the dough together without melting butter
- Salt – ¼ teaspoon, balances sweetness
- For the Fruit Filling:
- Apples, firm and tart (like Granny Smith or Honeycrisp) – 2 medium, peeled, cored, and thinly sliced
- Pears, ripe but firm (Bartlett or Bosc) – 2 medium, peeled, cored, and thinly sliced
- Brown sugar – 2 tablespoons (25g), for sweetening the fruit
- Cinnamon – 1 teaspoon, freshly ground if possible
- Nutmeg – ¼ teaspoon, adds warmth
- Lemon juice – 1 tablespoon (15ml), keeps fruit bright and prevents browning
- All-purpose flour or cornstarch – 1 tablespoon (8g), to thicken fruit juices
- Optional Toppings:
- Coarse sugar or turbinado sugar for sprinkling on crust
- Vanilla ice cream or whipped cream for serving
Feel free to substitute almond flour for a gluten-free crust or swap Greek yogurt in the crust recipe for a slight tang. In late fall, using frozen but thawed apples and pears works surprisingly well—just drain excess liquid. For an extra fall twist, add a handful of chopped walnuts or pecans to the filling.
Equipment Needed
- Mixing bowls – at least two, for dough and fruit
- Pastry cutter or food processor – helps to cut butter into flour quickly; if you don’t have one, use two knives or your fingers
- Rolling pin – essential for rolling out the dough evenly
- Baking sheet – lined with parchment paper or a silicone mat
- Sharp knife or mandoline – for thin, uniform apple and pear slices
- Pastry brush – for brushing egg wash or melted butter on crust edges (optional)
I’ve tried making this galette without a rolling pin (using a wine bottle) and it works in a pinch. If you have a silicone baking mat, it makes rolling out dough less messy. Just a heads-up: keep your butter cold for that flaky crust, so a chilled bowl or working quickly helps. If you want to get fancy, a mini tart pan works, but honestly, the rustic look is part of the charm.
Preparation Method
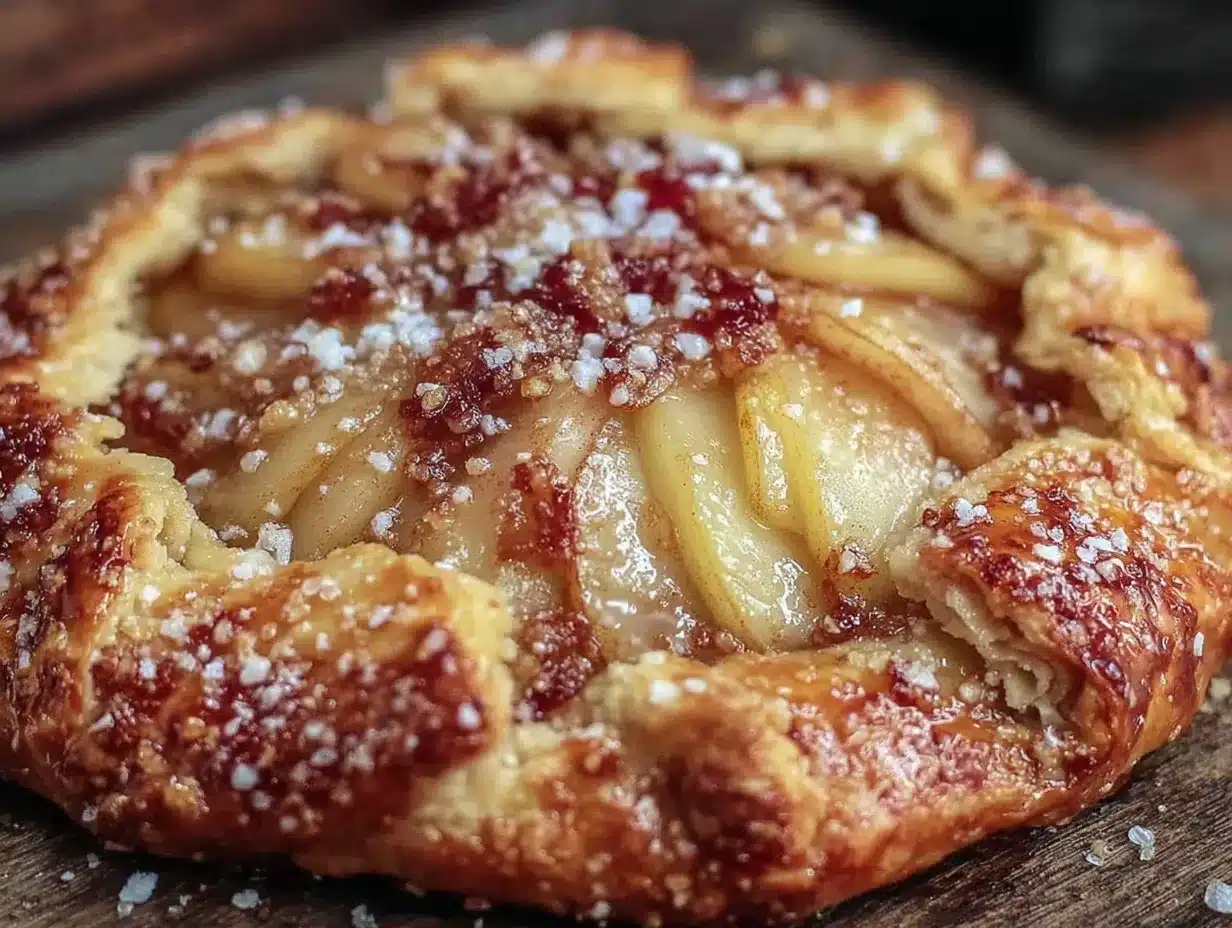
- Make the Brown Sugar Crust Dough (15 minutes + chilling): In a large bowl, whisk together 1 ¼ cups (150g) flour, ¼ cup (50g) brown sugar, and ¼ teaspoon salt. Add ½ cup (113g) cold, cubed unsalted butter and use a pastry cutter or your fingers to work the butter into the flour until mixture resembles coarse crumbs with pea-sized pieces. Slowly add 3 to 4 tablespoons (45-60ml) ice water, stirring gently until dough holds together without being wet or sticky. Form into a disk, wrap in plastic, and refrigerate for at least 30 minutes.
- Prepare the Fruit Filling (10 minutes): While dough chills, peel, core, and thinly slice 2 apples and 2 pears. Toss slices with 2 tablespoons (25g) brown sugar, 1 teaspoon cinnamon, ¼ teaspoon nutmeg, 1 tablespoon (15ml) lemon juice, and 1 tablespoon (8g) flour or cornstarch. Let the fruit mixture sit for 10 minutes to macerate and thicken.
- Roll Out the Dough (10 minutes): On a lightly floured surface, roll out chilled dough into a roughly 12-inch (30cm) circle, about ⅛ inch (3mm) thick. Transfer dough to a parchment-lined baking sheet. Don’t worry about perfect edges; rustic is the goal.
- Assemble the Galette (10 minutes): Mound the fruit mixture in the center of the dough, leaving a 2-inch (5cm) border all around. Carefully fold the edges up and over the fruit, pleating dough as needed to create a rustic edge. Brush crust edges with a little water or beaten egg to encourage browning, then sprinkle with coarse sugar for crunch.
- Bake (45-50 minutes): Preheat oven to 375°F (190°C). Bake galette for 45-50 minutes until crust is golden brown and fruit is bubbly. Rotate the pan halfway through baking for even coloring. If crust edges brown too fast, tent loosely with foil.
- Cool and Serve (10 minutes): Let galette cool on the baking sheet for at least 10 minutes before slicing. This helps the filling set slightly for cleaner slices. Serve warm or at room temperature with a scoop of vanilla ice cream or a dollop of whipped cream.
If the filling looks too wet before baking, a quick tip is to drain excess liquid or add a bit more flour. Also, cutting fruit slices uniformly helps them cook evenly and look pretty. I learned the hard way that rushing the dough chilling step leads to a crumbly crust, so patience really pays off here.
Cooking Tips & Techniques for the Perfect Galette
Making a galette is forgiving, but a few tricks will make yours shine every time. First, keep your butter cold when making the dough. It’s the cold butter that creates those flaky layers when baked. If it melts, you get a tough crust instead.
When rolling out the dough, don’t stress about perfect circles or edges. The whole point is that rustic charm, but try to keep the dough evenly thin to avoid uneven baking. I often chill the dough twice—before and after rolling—to make it easier to handle.
For slicing apples and pears, a mandoline makes quick work, but a sharp knife works fine. Aim for thin, even slices so the fruit cooks through but still holds shape. Tossing the fruit with lemon juice keeps it from browning and adds a subtle brightness.
Don’t overfill the galette. Too much fruit means soggy crust and messy baking. Leaving a good border for folding is crucial. And when folding, pleating the dough gently helps it hold shape and looks pretty without stress.
Lastly, watch your oven temperature. Sometimes home ovens run hot, so if your crust is browning too fast, tent with foil. Letting the galette cool before slicing is a must to keep juicy filling from running off.
After a few tries, I found multitasking (like starting the filling while dough chills) saves time and sanity. Baking this galette is a relaxed process once you get the rhythm, making it a perfect weekend project or a cozy weeknight treat.
Variations & Adaptations
This apple and pear galette is versatile and easy to customize based on what you have or your dietary needs. Here are some variations I’ve tried or recommend:
- Seasonal Fruit Swaps: In late fall, swap pears for quince or add figs for an earthy twist. Summer peaches or plums work nicely too but reduce spices.
- Gluten-Free Crust: Use almond flour or a gluten-free baking mix with a touch of xanthan gum. The texture will be a bit different but still delicious.
- Spice it Up: Add a pinch of ground ginger, cardamom, or cloves for warmer spice notes. I once added a splash of vanilla extract to the fruit for subtle complexity.
- Nutty Crunch: Toss chopped walnuts, pecans, or sliced almonds into the fruit filling or sprinkle on top before baking for texture contrast.
- Alternative Sweeteners: Swap brown sugar for coconut sugar or maple syrup in the crust and filling for a different caramel flavor and slight health boost.
When I first tried adding chopped pecans, it gave a lovely crunch that played well against the soft fruit. Adjust baking time slightly if your filling has higher moisture content, as with juicy ripe pears.
Serving & Storage Suggestions
This galette is best served warm or at room temperature. The brown sugar crust crisps up nicely once cooled but keeps a tender bite. For serving, a scoop of vanilla ice cream or a dollop of lightly whipped cream adds a cool, creamy contrast.
It pairs beautifully with a hot cup of spiced apple cider or even a glass of chilled Riesling for adults. If you’re looking for a savory complement, a simple mixed greens salad with tangy vinaigrette balances the sweetness.
Store leftovers covered loosely with foil or plastic wrap at room temperature for up to two days. For longer storage, refrigerate and reheat gently in a 325°F (160°C) oven for 10-15 minutes to restore crispness. Avoid microwaving directly as it can make the crust soggy.
Flavors tend to deepen if you make the galette a few hours ahead or even the day before, making it a great make-ahead dessert for gatherings. Just bring it back to room temp or warm it slightly before serving.
Nutritional Information & Benefits
This cozy fall harvest galette is a treat that also brings nutritional perks from its fresh ingredients. Each serving (roughly 1/6 of the galette) contains approximately:
| Calories | 280-320 kcal |
|---|---|
| Carbohydrates | 45g |
| Fat | 10g |
| Protein | 3g |
| Fiber | 4g |
Apples and pears are great sources of dietary fiber and vitamin C, supporting digestion and immunity. The use of brown sugar (instead of refined white) adds trace minerals and a deeper flavor. Butter provides satisfying fats that help absorb fat-soluble vitamins.
This recipe can fit into gluten-free or vegetarian diets with simple substitutions. Be mindful of allergies if adding nuts or alternative flours. Overall, it’s a wholesome indulgence that pairs well with balanced meals.
Conclusion
After baking this Cozy Fall Harvest Apple and Pear Galette with Brown Sugar Crust multiple times, it became clear why it’s a staple for chilly days. It’s not just the delicious balance of tart and sweet fruit or the caramel-kissed crust that won me over—it’s the whole experience of making something from scratch that fills the kitchen with warmth and invites sharing.
This galette is forgiving, adaptable, and invites your own twists depending on your pantry or mood. I love how it brings a little rustic charm and seasonal joy to the table without fuss, making fall feel just a bit cozier.
Give it a try, play with the spices or fruits, and let it become your next favorite comfort baking ritual. And hey, if you’re in the mood for more crowd-pleasing dishes with a homemade touch, you might enjoy the savory beer can chicken recipe with easy herb butter glaze or the creamy delight of easy no-bake strawberry cheesecake cups.
Frequently Asked Questions
Can I make the galette crust ahead of time?
Yes, you can prepare the dough a day ahead. Wrap it tightly in plastic wrap and keep it refrigerated. Let it sit at room temperature for 10 minutes before rolling out.
What types of apples and pears work best?
Firm and tart apples like Granny Smith or Honeycrisp hold up well, paired with ripe but firm pears like Bartlett or Bosc for texture contrast.
How do I prevent the crust from getting soggy?
Use a thickening agent like flour or cornstarch in the fruit mixture, and avoid overfilling. Letting the dough chill before baking also helps maintain flakiness.
Can I freeze this galette?
Yes, you can freeze the assembled but unbaked galette wrapped tightly for up to one month. Bake from frozen, adding a few extra minutes to the baking time.
Is there a vegan alternative for the crust?
Absolutely! Substitute butter with a plant-based vegan butter and use a flax egg (1 tablespoon ground flaxseed mixed with 3 tablespoons water) to help bind the dough.
Pin This Recipe!
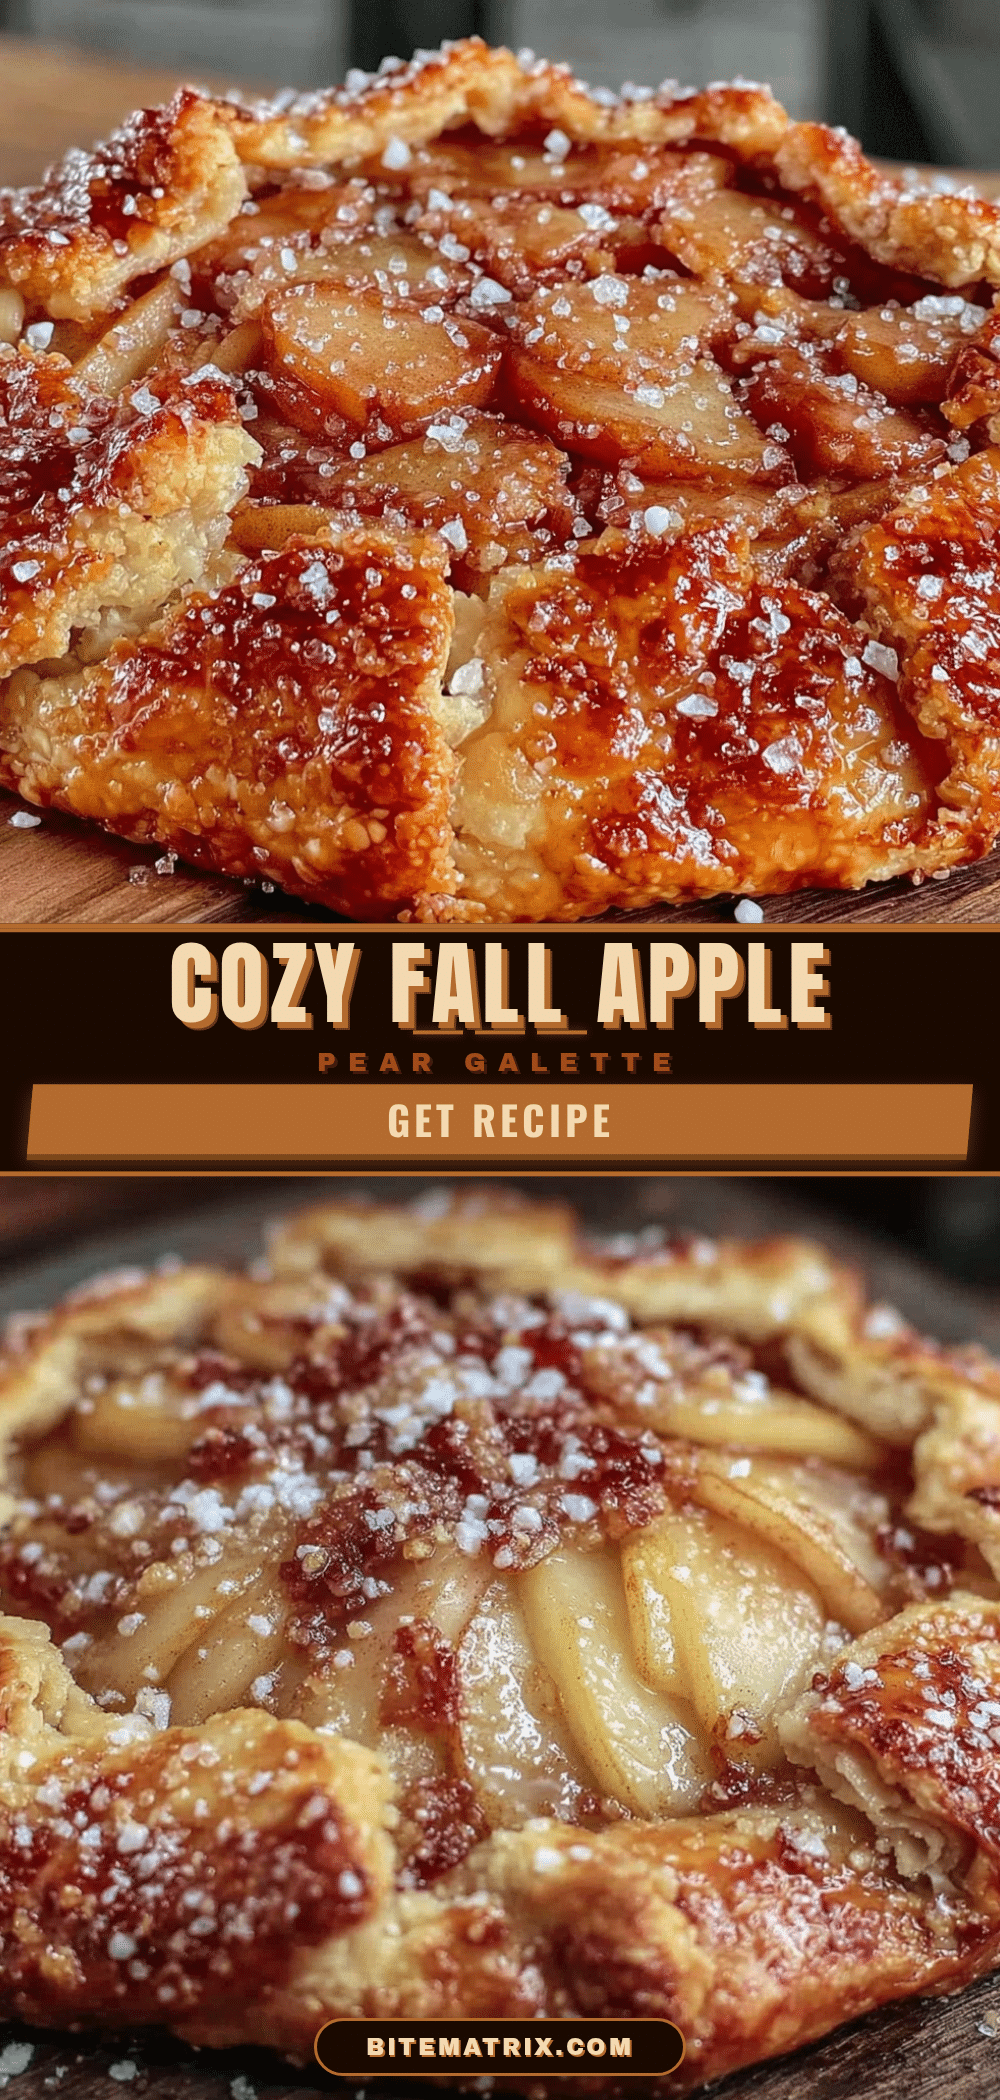
Cozy Fall Harvest Apple and Pear Galette Easy Recipe with Brown Sugar Crust

A rustic, comforting galette featuring tart apples and sweet pears with a caramelized brown sugar crust, perfect for cozy fall gatherings.
- Prep Time: 35 minutes
- Cook Time: 45-50 minutes
- Total Time: 80-85 minutes
- Yield: 6 servings
- Category: Dessert
- Cuisine: American
Ingredients
- All-purpose flour – 1 ¼ cups (150g), sifted for tenderness
- Brown sugar, packed – ¼ cup (50g), the key for that caramel flavor
- Unsalted butter, cold and cubed – ½ cup (113g), use a good-quality brand like Plugrá for best texture
- Ice water – 3 to 4 tablespoons (45-60ml), to bring the dough together without melting butter
- Salt – ¼ teaspoon, balances sweetness
- Apples, firm and tart (like Granny Smith or Honeycrisp) – 2 medium, peeled, cored, and thinly sliced
- Pears, ripe but firm (Bartlett or Bosc) – 2 medium, peeled, cored, and thinly sliced
- Brown sugar – 2 tablespoons (25g), for sweetening the fruit
- Cinnamon – 1 teaspoon, freshly ground if possible
- Nutmeg – ¼ teaspoon, adds warmth
- Lemon juice – 1 tablespoon (15ml), keeps fruit bright and prevents browning
- All-purpose flour or cornstarch – 1 tablespoon (8g), to thicken fruit juices
- Coarse sugar or turbinado sugar for sprinkling on crust (optional)
- Vanilla ice cream or whipped cream for serving (optional)
Instructions
- Make the Brown Sugar Crust Dough (15 minutes + chilling): In a large bowl, whisk together 1 ¼ cups (150g) flour, ¼ cup (50g) brown sugar, and ¼ teaspoon salt. Add ½ cup (113g) cold, cubed unsalted butter and use a pastry cutter or your fingers to work the butter into the flour until mixture resembles coarse crumbs with pea-sized pieces. Slowly add 3 to 4 tablespoons (45-60ml) ice water, stirring gently until dough holds together without being wet or sticky. Form into a disk, wrap in plastic, and…
- Prepare the Fruit Filling (10 minutes): While dough chills, peel, core, and thinly slice 2 apples and 2 pears. Toss slices with 2 tablespoons (25g) brown sugar, 1 teaspoon cinnamon, ¼ teaspoon nutmeg, 1 tablespoon (15ml) lemon juice, and 1 tablespoon (8g) flour or cornstarch. Let the fruit mixture sit for 10 minutes to macerate and thicken.
- Roll Out the Dough (10 minutes): On a lightly floured surface, roll out chilled dough into a roughly 12-inch (30cm) circle, about ⅛ inch (3mm) thick. Transfer dough to a parchment-lined baking sheet. Don’t worry about perfect edges; rustic is the goal.
- Assemble the Galette (10 minutes): Mound the fruit mixture in the center of the dough, leaving a 2-inch (5cm) border all around. Carefully fold the edges up and over the fruit, pleating dough as needed to create a rustic edge. Brush crust edges with a little water or beaten egg to encourage browning, then sprinkle with coarse sugar for crunch.
- Bake (45-50 minutes): Preheat oven to 375°F (190°C). Bake galette for 45-50 minutes until crust is golden brown and fruit is bubbly. Rotate the pan halfway through baking for even coloring. If crust edges brown too fast, tent loosely with foil.
- Cool and Serve (10 minutes): Let galette cool on the baking sheet for at least 10 minutes before slicing. This helps the filling set slightly for cleaner slices. Serve warm or at room temperature with a scoop of vanilla ice cream or a dollop of whipped cream.
Notes
Keep butter cold to ensure a flaky crust. Let the dough chill before and after rolling for easier handling. Use lemon juice to prevent fruit browning. If crust edges brown too fast, tent with foil. Let galette cool before slicing to prevent filling from running. You can substitute almond flour for gluten-free crust or use vegan butter and flax egg for a vegan version.
Nutrition
- Serving Size: 1/6 of the galette
- Calories: 280320
- Sugar: 20
- Sodium: 150
- Fat: 10
- Saturated Fat: 6
- Carbohydrates: 45
- Fiber: 4
- Protein: 3
Keywords: apple galette, pear galette, fall dessert, brown sugar crust, rustic galette, easy baking, seasonal fruit dessert