The other night, I found myself staring into the freezer, wishing for a sweet fix but without the usual hassle. Honestly, I wasn’t in the mood to drag out the ice cream maker or wait hours for the classic churned version. That craving nudged me to try making creamy no-churn salted caramel ice cream from scratch — no fancy gadgets, just simple ingredients and a bit of patience. I was skeptical at first, thinking, “Could something so simple really match the indulgent, buttery richness of caramel ice cream from a shop?” But after just a couple of tries, it became clear that this recipe wasn’t just a shortcut; it was a downright winner.
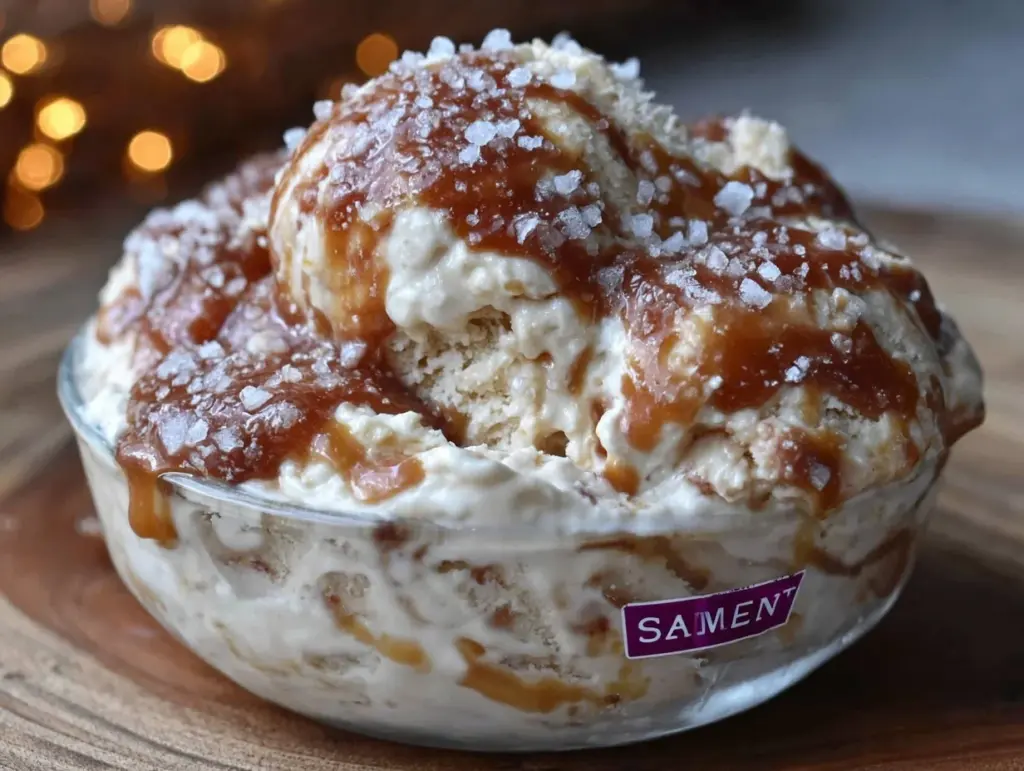
What really hooked me was the way that salty-sweet caramel ribbon swirled through the cool, velvety base. It’s that little contrast, you know? Like biting into something that’s both comforting and surprising. Plus, the fact that it all came together without any churning made it a perfect late-night experiment, especially when the kitchen was quiet and my mind was wandering. This no-churn salted caramel ice cream ended up being the kind of treat that I’d gladly make over and over, especially when I want dessert fast but don’t want to compromise on flavor or texture.
Since then, it’s become my go-to when friends drop by unexpectedly (which happens more often than you’d think). I once paired it with a batch of warm beer-can chicken glazed with herb butter for a casual weekend dinner — talk about contrast! The creaminess of the ice cream balanced the savory dish perfectly, making it a combo that folks still talk about. Honestly, there’s something about this recipe that feels effortlessly special, like dessert without the drama. It quickly found a permanent spot in my kitchen repertoire, and I suspect it might do the same for you.
Why You’ll Love This Recipe
Having whipped up this creamy no-churn salted caramel ice cream recipe multiple times, I can say it’s one of those rare desserts that checks all the boxes:
- Quick & Easy: This recipe comes together in under 20 minutes, and then you just let the freezer do the work. Perfect when you need a sweet fix fast, no ice cream machine required.
- Simple Ingredients: You don’t need a long list of fancy stuff. Pantry staples like sweetened condensed milk, heavy cream, and caramel sauce make this a breeze to throw together.
- Perfect for Any Occasion: Whether it’s a casual weeknight dessert or a last-minute treat for unexpected guests, this ice cream fits the bill. It’s also fantastic for summer cookouts or cozy winter nights.
- Crowd-Pleaser: I’ve served this at family gatherings and parties, and it’s always met with enthusiasm — the kind of dessert even picky eaters ask for seconds on.
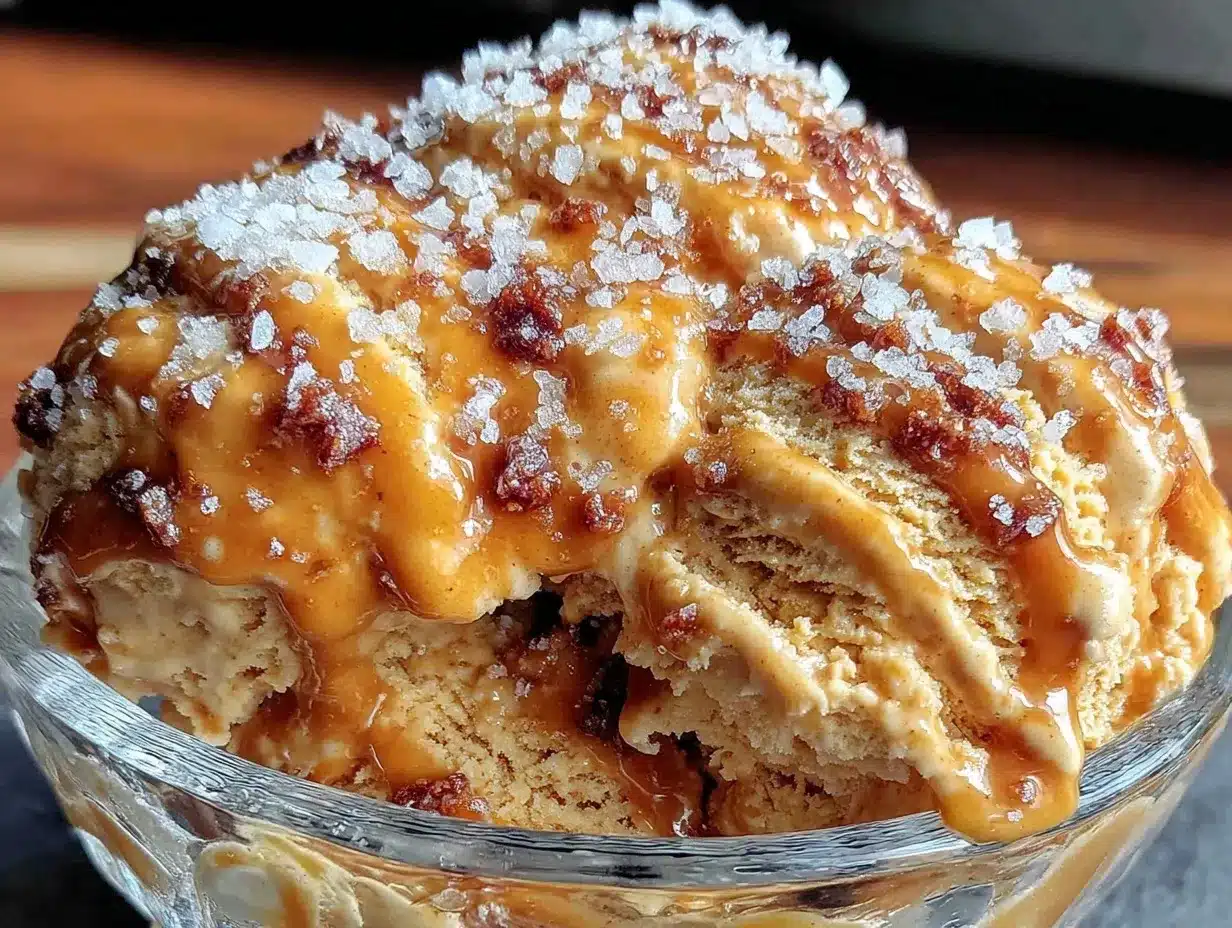
- Unbelievably Delicious: The smooth, creamy texture mixed with the hit of salted caramel is honestly next-level. It’s comforting and indulgent, without feeling heavy or greasy.
What sets this recipe apart is the way the salted caramel is incorporated — not just drizzled on top, but gently folded in to create those luscious ribbons of flavor throughout each scoop. Plus, the no-churn method means you get that soft, creamy texture without the fuss or special equipment. It’s a straightforward approach that feels homemade but tastes like you spent hours perfecting it.
This recipe isn’t just about satisfying a sweet tooth; it’s about capturing that sweet-salty magic that brings a little pause to your day. It’s a dessert you can trust to deliver comfort and a touch of luxury, all from ingredients you likely have on hand.
What Ingredients You Will Need
To make this creamy no-churn salted caramel ice cream, the ingredient list is refreshingly simple — focusing on a few key players that build flavor and richness without complication.
- Sweetened Condensed Milk (14 oz / 396 g can) – This is the backbone of the ice cream’s sweetness and creaminess. I usually grab Nestlé since it’s reliable and smooth.
- Heavy Whipping Cream (1 ½ cups / 360 ml) – Whipping this to soft peaks gives the ice cream its airy, velvety texture. Use the freshest cream you can get.
- Vanilla Extract (1 tsp / 5 ml) – Adds a warm, subtle depth to the base flavor. Pure vanilla extract always wins over artificial.
- Salted Caramel Sauce (¾ cup / 180 ml) – The star of the show. You can use store-bought or homemade caramel sauce. I prefer a slightly chunky caramel for texture, but smooth works fine too.
- Sea Salt (½ tsp / 3 g) – Enhances the salted caramel flavor and balances sweetness.
Optional add-ins and notes:
- Butter (1 tbsp / 14 g) – If you’re making your own caramel sauce, a touch of butter rounds out the flavor beautifully.
- Light Brown Sugar (¼ cup / 50 g) – Used in homemade caramel sauce to deepen the molasses notes.
- Substitutions: For a dairy-free version, swap heavy cream with full-fat coconut cream and use a dairy-free condensed milk alternative.
For a summer twist, I sometimes fold in chopped nuts or swirl in a bit of fresh strawberry compote for a fruity contrast. The ingredients are pantry-friendly and don’t require a special trip to the store, which makes this recipe approachable for any home cook.
Equipment Needed
- Mixing Bowls: One large bowl for whipping cream and another for mixing condensed milk and vanilla.
- Electric Mixer or Hand Whisk: An electric mixer saves time and energy whipping the cream to soft peaks, but a sturdy whisk works if you’re patient.
- Spatula: For folding the whipped cream gently into the condensed milk mixture.
- Loaf Pan or Freezer-Safe Container: A 9×5-inch loaf pan works well for freezing the ice cream evenly. You can substitute with any freezer-safe container with a lid.
- Measuring Cups and Spoons: Accuracy helps here, especially with the caramel sauce and salt.
If you don’t have an electric mixer, no worries—just expect to spend a little extra time whipping the cream. Also, a sturdy spatula makes folding easier; I’ve tried silicone and wooden, and silicone gives a bit more gentle control. For storage, using a container with a tight-fitting lid prevents ice crystals from forming, keeping the ice cream creamy longer.
Preparation Method
- Whip the Cream: Pour 1 ½ cups (360 ml) of heavy whipping cream into a chilled bowl. Using an electric mixer on medium-high speed, whip until soft peaks form—about 3 to 5 minutes. You’ll know you’re there when the cream holds a gentle peak that softly folds over when you lift the beaters. Avoid over-whipping or it’ll turn grainy.
- Mix Condensed Milk and Vanilla: In a separate bowl, combine the entire can (14 oz / 396 g) of sweetened condensed milk with 1 tsp (5 ml) of pure vanilla extract and ½ tsp (3 g) sea salt. Stir gently until fully incorporated.
- Fold Whipped Cream into Condensed Milk: Carefully add one-third of the whipped cream to the condensed milk mixture, folding gently with a spatula. Continue folding in the remaining whipped cream in two additions, keeping as much air in the mixture as possible. The texture should be light and creamy, not runny.
- Swirl in Salted Caramel: Warm ¾ cup (180 ml) of salted caramel sauce slightly to make it pourable but not hot. Dollop the caramel over the ice cream base, then use a butter knife or skewer to create gentle swirls—don’t overmix or you’ll lose the ribbon effect.
- Freeze: Pour the mixture into a 9×5-inch loaf pan or similar freezer-safe container. Cover tightly with plastic wrap or a lid. Freeze for at least 6 hours, preferably overnight, until firm but scoopable.
- Serve: When ready, let the ice cream sit at room temperature for 5 minutes to soften slightly for easy scooping. Scoop into bowls or cones and enjoy that perfect salty-sweet bite.
Tip: If your caramel sauce is too thick, warming it gently in the microwave or over a double boiler helps make swirling easier. Also, folding gently is key — rushing this step can deflate the whipped cream and make the ice cream dense.
Cooking Tips & Techniques
Making no-churn ice cream is deceptively simple, but a few tricks can make the difference between a creamy dream and a frozen brick.
- Whip to Soft Peaks: This means the cream holds shape but still folds easily. Too soft, and the ice cream won’t hold air; too stiff, and it can become grainy.
- Folding Gently: Use a light hand when combining whipped cream and condensed milk. Think slow, deliberate folds instead of mixing vigorously. This keeps the ice cream airy.
- Caramel Swirling: Use room-temperature caramel and a narrow utensil to swirl. Overmixing will blend the caramel fully, losing those pretty ribbons we all love.
- Freeze Properly: Cover the container tightly to prevent ice crystals. If you have space, freeze overnight for the best texture.
- Patience Pays: No-churn ice cream takes hours to freeze solid. Resist the urge to dig in too early or you’ll get a melty mess.
Early on, I made the mistake of rushing the whipping process and ended up with a dense, icy block. Lesson learned: whipping properly and folding carefully are the real game-changers here. Also, if your caramel sauce is store-bought and too thick, warming it just a bit before folding makes swirling effortless.
Variations & Adaptations
Once you nail this base recipe, the possibilities open up:
- Chocolate Salted Caramel: Fold in ½ cup (90 g) finely chopped dark chocolate or chocolate chips for a bittersweet crunch.
- Nutty Twist: Add ½ cup (60 g) toasted pecans or almonds for texture and a complementary nutty flavor that pairs beautifully with caramel.
- Dairy-Free Version: Use full-fat coconut cream instead of heavy cream and substitute sweetened condensed milk with a coconut milk-based condensed milk alternative.
- Seasonal Swirls: In warmer months, try folding in fresh peach slices or a berry compote for a fruity counterpoint to the caramel.
- Espresso Caramel: Stir in 1 tbsp (15 ml) espresso or strong coffee to the caramel before swirling for a mocha-inspired flavor.
One variation I adore is folding in a handful of chopped homemade cheesecake cups crumbs for an extra indulgent surprise. It’s a little extra work but totally worth it for special occasions.
Serving & Storage Suggestions
This no-churn salted caramel ice cream is best served just slightly softened, which allows the creamy texture and caramel ribbons to shine. Scoop it into chilled bowls or cones for a classic presentation.
Pair it with complementary desserts like warm apple pie, brownies, or even alongside a rich chocolate lava cake. For a lighter option, a fresh fruit salad or a crisp cucumber dill salad balances the indulgence nicely.
Store leftovers in an airtight container in the freezer for up to two weeks. When reheating, let it sit at room temperature for about 5–10 minutes to soften before scooping. The flavors often deepen after a day or two in the freezer, making it even better the next day.
Nutritional Information & Benefits
Each serving of this creamy no-churn salted caramel ice cream (about ½ cup / 120 ml) contains approximately:
| Calories | 280 |
|---|---|
| Fat | 16 g |
| Saturated Fat | 10 g |
| Sugar | 28 g |
| Protein | 3 g |
The sweetened condensed milk and caramel sauce make this dessert rich in sugars and fats, so it’s definitely a treat to enjoy in moderation. However, using real vanilla and sea salt adds flavor depth without extra calories. For those watching carbs or dairy, the coconut cream version offers a tasty alternative with a slightly different nutrient profile.
The key ingredients bring some benefits too: heavy cream contains fat-soluble vitamins, and caramel’s sea salt can help balance electrolytes in small amounts. Just be mindful if you’re sensitive to sugar or dairy.
Conclusion
This creamy no-churn salted caramel ice cream recipe has become my go-to for quick, indulgent dessert moments that don’t demand a lot of prep or special tools. It’s the kind of treat that feels homemade yet impresses with its rich, buttery flavor and smooth, soft texture. What I love most is how easy it is to tweak—whether adding chocolate, nuts, or a fruity swirl—to suit whatever mood or occasion strikes.
Give it a try, and you might find yourself making it again and again, just like I did. There’s something wonderfully satisfying about crafting ice cream without the churn, and this salted caramel version delivers every time. If you do experiment with it, I’d love to hear your twists and favorites—drop a comment below and share your creamy creation!
Frequently Asked Questions
Can I make this salted caramel ice cream without heavy cream?
You can substitute heavy cream with full-fat coconut cream for a dairy-free option, but the texture may be slightly different—still delicious, though!
How long does the no-churn salted caramel ice cream need to freeze?
It should freeze for at least 6 hours, but overnight is best for a firm, scoopable texture.
Can I use store-bought caramel sauce for this recipe?
Yes, store-bought caramel works great. Just warm it slightly before swirling to make it easier to fold in.
Is this recipe suitable for vegans?
Not in its original form, but by using coconut cream and a dairy-free condensed milk alternative, you can make a vegan-friendly version.
How do I prevent ice crystals from forming in no-churn ice cream?
Cover the container tightly with plastic wrap or a lid and store in the coldest part of your freezer. Also, avoid frequent thawing and refreezing.
Pin This Recipe!
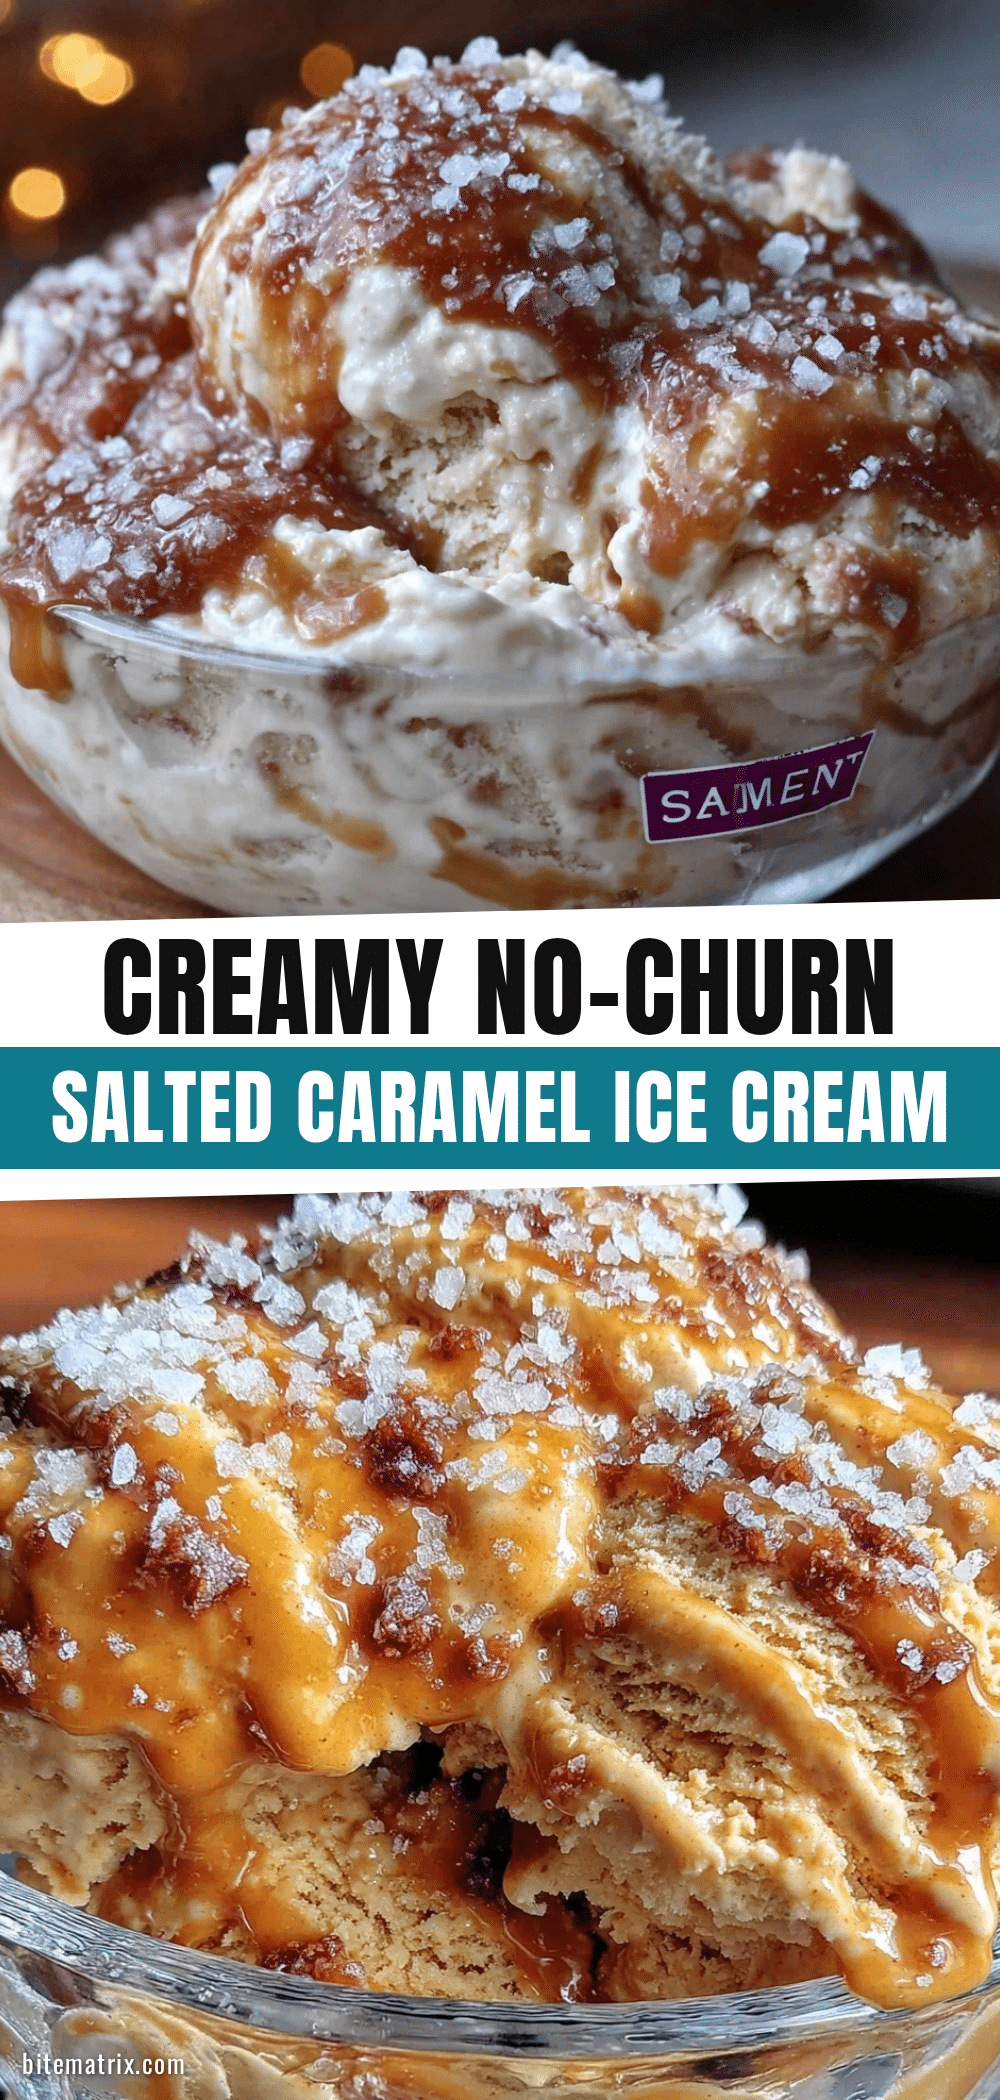
Creamy No-Churn Salted Caramel Ice Cream

A quick and easy no-churn ice cream recipe featuring a velvety base swirled with salty-sweet caramel ribbons, perfect for a homemade indulgent dessert without an ice cream maker.
- Prep Time: 15 minutes
- Cook Time: 0 minutes
- Total Time: 6 hours 15 minutes
- Yield: 8 servings 1x
- Category: Dessert
- Cuisine: American
Ingredients
- 14 oz (396 g) sweetened condensed milk
- 1 ½ cups (360 ml) heavy whipping cream
- 1 tsp (5 ml) vanilla extract
- ¾ cup (180 ml) salted caramel sauce
- ½ tsp (3 g) sea salt
- Optional: 1 tbsp (14 g) butter (for homemade caramel sauce)
- Optional: ¼ cup (50 g) light brown sugar (for homemade caramel sauce)
- Optional substitutions: full-fat coconut cream instead of heavy cream and dairy-free condensed milk alternative for a dairy-free version
Instructions
- Pour 1 ½ cups (360 ml) of heavy whipping cream into a chilled bowl. Using an electric mixer on medium-high speed, whip until soft peaks form, about 3 to 5 minutes.
- In a separate bowl, combine the entire can (14 oz / 396 g) of sweetened condensed milk with 1 tsp (5 ml) vanilla extract and ½ tsp (3 g) sea salt. Stir gently until fully incorporated.
- Carefully fold one-third of the whipped cream into the condensed milk mixture using a spatula. Continue folding in the remaining whipped cream in two additions, keeping as much air in the mixture as possible until light and creamy.
- Warm ¾ cup (180 ml) of salted caramel sauce slightly to make it pourable but not hot. Dollop the caramel over the ice cream base, then use a butter knife or skewer to create gentle swirls without overmixing.
- Pour the mixture into a 9×5-inch loaf pan or similar freezer-safe container. Cover tightly with plastic wrap or a lid.
- Freeze for at least 6 hours, preferably overnight, until firm but scoopable.
- Before serving, let the ice cream sit at room temperature for 5 minutes to soften slightly. Scoop into bowls or cones and enjoy.
Notes
Warm caramel sauce slightly before swirling to make it easier to fold in. Fold whipped cream gently to keep the mixture airy. Freeze overnight for best texture. Use a container with a tight-fitting lid to prevent ice crystals. For dairy-free version, substitute heavy cream with full-fat coconut cream and use dairy-free condensed milk alternative.
Nutrition
- Serving Size: ½ cup (120 ml)
- Calories: 280
- Sugar: 28
- Fat: 16
- Saturated Fat: 10
- Protein: 3
Keywords: no-churn ice cream, salted caramel, easy dessert, homemade ice cream, no ice cream maker, quick dessert, creamy ice cream


