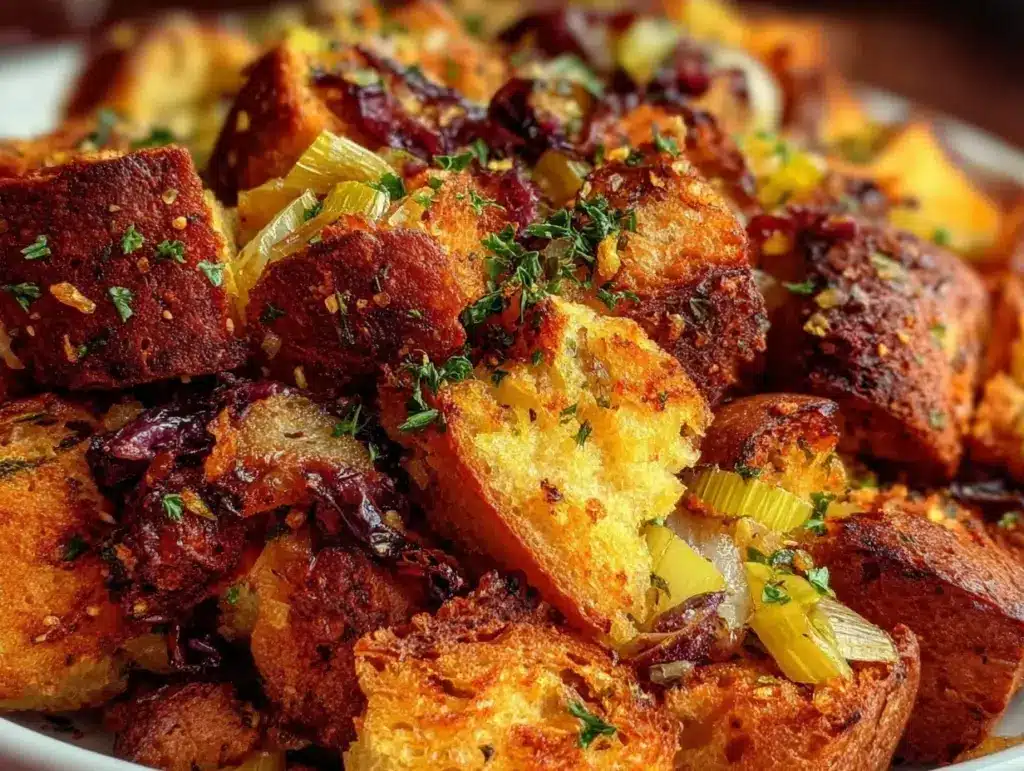
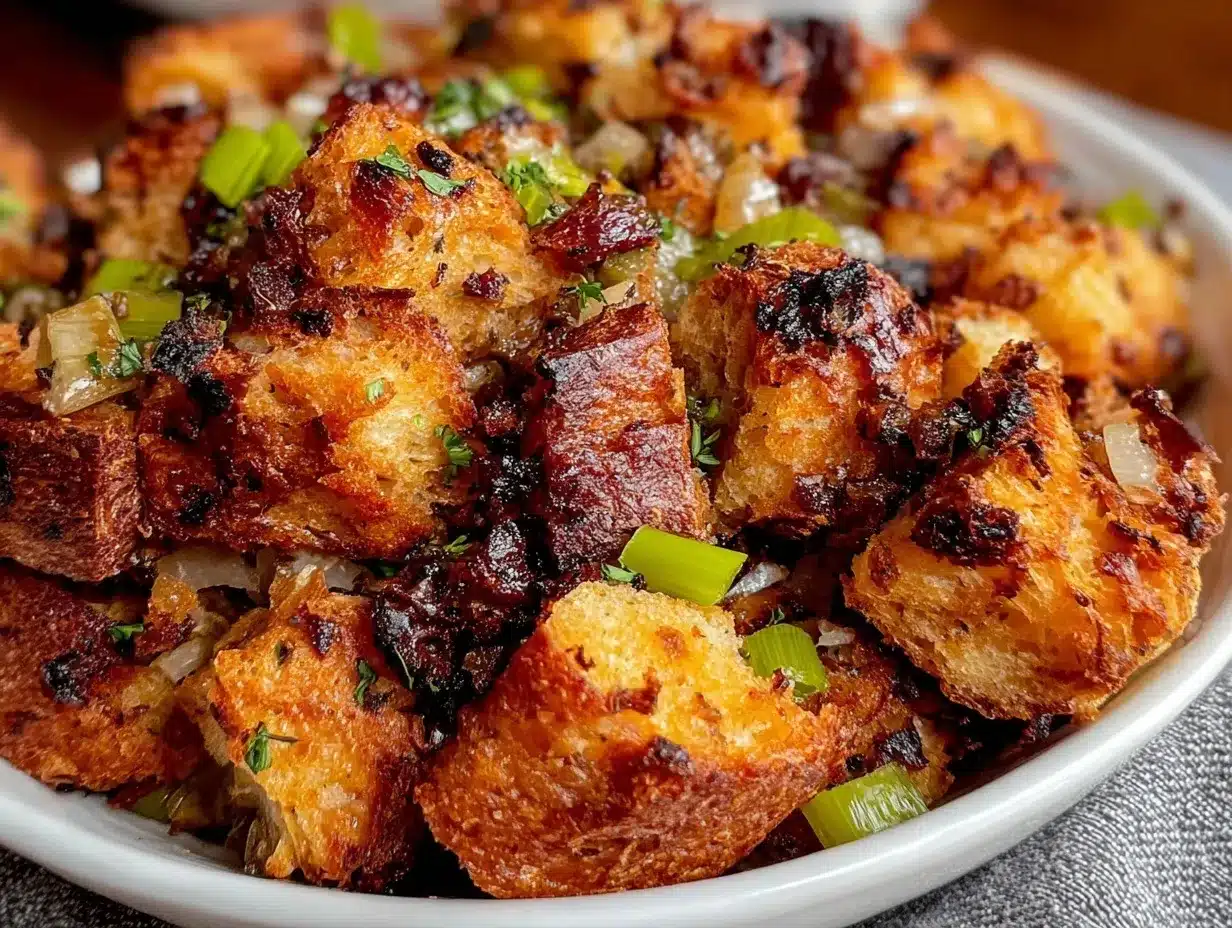
Let me set the scene for you—imagine the oven filling your whole house with the deep, mouthwatering aroma of toasted bread mingling with fresh herbs, caramelized onions, and a hint of sizzling butter. That’s the magic of this crispy, savory holiday stuffing recipe. The top is golden and crackly, while every bite underneath is soft, rich, and just bursting with Thanksgiving flavor. Honestly, if comfort food had a mascot, this stuffing would be it.
The first time I made this for Thanksgiving, I was knee-high to a grasshopper, standing on a stool next to my grandma as she let me tear up the bread. She always said, “The stuffing makes the meal,” and she wasn’t wrong. I remember pausing in that warm, bustling kitchen, taking in the smells, and realizing this was more than just a side—it was a tradition in the making. Fast forward to today, and my own family can’t keep their hands off it (I’m not judging, because let’s face it, I’m always sneaking extra spoonfuls straight from the pan myself).
Over the years, I’ve tweaked, tested, and taste-tested this recipe more times than I care to admit—in the name of research, of course! It’s become our staple for family gatherings, gifting, and those holiday moments that just feel like a warm hug. If you’re searching for the ultimate Thanksgiving side, or a dish that’ll make your Pinterest board pop, you’re going to want to bookmark this one. Pure, nostalgic comfort with a crispy twist!
Why You’ll Love This Crispy Savory Holiday Stuffing Recipe
Having cooked my way through countless stuffing recipes (some dry, some soggy, some just plain bland), I can say with confidence that this one hits every mark. Through trial and a few hilarious mishaps—like the year I forgot the eggs and ended up with stuffing crumble—I’ve landed on a recipe that’s both foolproof and absolutely delicious.
- Quick & Easy: Comes together in under 1 hour, so you won’t be stuck in the kitchen all day (more time for pie!).
- Simple Ingredients: No fancy grocery trips—just classic, wholesome staples you likely already have.
- Perfect for Thanksgiving Dinner: The ideal companion for turkey, gravy, and all your holiday favorites.
- Crowd-Pleaser: Every year, kids and adults fight for the crispy edges—no leftovers in sight.
- Unbelievably Delicious: The texture is a dream—crunchy on top, buttery-soft inside, with aromatic herbs in every bite.
This crispy savory holiday stuffing stands out because of the extra step: tossing the bread cubes in melted butter and toasting them before baking. It gives that unbeatable crunch, and honestly, it just makes the dish sing. Unlike some stuffings that turn into a soggy mess, this one holds its structure and flavor. Whether you’re a stuffing purist or someone who likes a little adventure (bacon bits, anyone?), this recipe is flexible enough for your taste.
It’s the kind of Thanksgiving side that makes you close your eyes after the first bite and just savor the moment. Comfort food, but with the crispy, savory twist you wish you’d discovered years ago. Whether you’re hosting a crowd or just cooking for your family, it’s guaranteed to impress—without any stress.
What Ingredients You Will Need
This recipe uses simple, honest ingredients to deliver bold flavor and that signature crispy texture—no weird stuff, just the good stuff. Most are pantry staples, and you can swap a few things out for what’s in season or what you have on hand. Here’s what you’ll need for the ultimate savory holiday stuffing:
- Bread Cubes (about 12 cups, 500g): Day-old French bread, sourdough, or rustic white bread (cut into 1-inch cubes; stale is best for texture).
- Unsalted Butter (1/2 cup, 115g): Melted, for tossing with bread and sautéing veggies (adds richness).
- Yellow Onion (2 medium, finely chopped): Sweet and aromatic base flavor (Vidalia works great if you want extra sweetness).
- Celery (4 stalks, diced): Adds crunch and classic stuffing taste.
- Carrots (2 medium, diced): Optional, but I love the pop of color and subtle sweetness.
- Garlic (4 cloves, minced): For that extra layer of savory depth.
- Fresh Parsley (1/2 cup, chopped): Brightens up the flavor—use flat-leaf for best texture.
- Fresh Sage (2 tablespoons, chopped): Classic Thanksgiving herb—dried works if needed, but fresh is best.
- Fresh Thyme (1 tablespoon, chopped): Aromatic and earthy.
- Salt (1 1/2 teaspoons): Adjust to taste.
- Black Pepper (1 teaspoon): For a bit of kick.
- Poultry Seasoning (1 teaspoon): Optional, but it really brings out that holiday flavor.
- Chicken or Vegetable Broth (2 1/2 cups, 600ml): Low-sodium preferred (you can use turkey stock for extra richness).
- Large Eggs (2, lightly beaten): Helps bind everything together—don’t skip! (Can use flax eggs for vegan option.)
If you want to go gluten-free, swap the bread for your favorite GF loaf (I’ve tried Canyon Bakehouse, and it holds up well). For a vegetarian version, just use vegetable broth. In summer, I sometimes toss in fresh chopped basil or chives for a different twist. If you’re feeling festive, a handful of dried cranberries or chopped apples can add a subtle sweet note that pairs perfectly with turkey.
I recommend using a sturdy, rustic bread—it gives you that chewy, golden bite that really makes this recipe shine. If the bread is very fresh, cube it and let it sit out overnight to dry. That little bit of planning pays off in crispiness!
Equipment Needed
You don’t need anything fancy for this crispy savory holiday stuffing. I’ve made it in everything from vintage Pyrex to disposable aluminum pans (hey, sometimes you just want easy cleanup!). Here’s what I suggest:
- Large Mixing Bowl: For tossing the bread cubes and combining everything. If you don’t have one, use a clean stock pot.
- Sharp Chef’s Knife: For chopping veggies and herbs. Keep it sharp for easier prep—dull knives make for mushy onions.
- Cutting Board: Preferably one with a groove to catch any veggie juices.
- Large Skillet: For sautéing the onions, celery, carrots, and garlic. Nonstick or stainless both work; just watch the heat.
- 9×13-inch Baking Dish (or similar size): I use glass for even browning, but metal pans give an extra-crispy edge.
- Aluminum Foil: For covering the stuffing during part of the bake.
- Rubber Spatula or Wooden Spoon: For mixing—wooden spoons just feel right for holiday cooking.
If you’re on a budget, all these items can be found at discount stores. Just make sure your baking dish is big enough to hold everything—overcrowding leads to soggy stuffing. And don’t forget to grease the dish lightly with butter for extra flavor and easy cleanup.
Preparation Method
-
Prep the Bread:
Preheat your oven to 350°F (175°C). Spread the bread cubes in a single layer on a large baking sheet. Drizzle with half the melted butter (about 1/4 cup/60g), toss gently, and toast in the oven for 10-15 minutes until lightly golden and crisp. Keep an eye out so they don’t burn—the best cue is a light crunch and golden color. -
Sauté the Vegetables:
Heat the remaining butter (1/4 cup/60g) in your large skillet over medium heat. Add onions, celery, and carrots. Cook, stirring often, for 8-10 minutes until soft and fragrant. Add garlic, parsley, sage, and thyme; cook for 2 more minutes, just until the herbs release their aroma. If the veggies start to brown too quickly, lower the heat. -
Mix It All Together:
In your large mixing bowl, combine toasted bread cubes, sautéed veggies, and herbs. Sprinkle in salt, pepper, and poultry seasoning. Pour in the broth slowly while tossing—stop when the bread is moist but not soggy. (You might not need all the broth, depending on your bread’s dryness.) Let it sit for about 5 minutes; the bread will absorb the liquid. -
Add the Eggs:
Beat eggs lightly and drizzle over the stuffing mixture. Toss gently to combine. This step helps hold the stuffing together—don’t skip! If you want extra richness, you can add an extra yolk. -
Transfer to Baking Dish:
Lightly butter your 9×13-inch baking dish. Spoon the stuffing in and spread it out evenly, pressing gently with the spatula. If you like extra crunch, drizzle a bit more melted butter over the top. -
Bake:
Cover with aluminum foil and bake at 350°F (175°C) for 30 minutes. Remove foil and bake for another 15-20 minutes, until the top is crispy and golden brown. If you want extra-crispy edges, broil for an additional 2-3 minutes—but watch closely so it doesn’t burn. -
Rest & Serve:
Let the stuffing sit for 10 minutes out of the oven before serving. This helps it set and makes slicing easier. Serve warm for the best flavor and texture!
If your stuffing looks too dry after baking, drizzle a little warm broth over the top and return to the oven for 5 minutes. If it’s too wet, bake uncovered a bit longer. Trust your senses—the stuffing should smell savory and toasty, feel moist but not mushy, and look irresistibly golden.
Cooking Tips & Techniques
Stuffing is one of those dishes that’s easy to make but tricky to get just right. I’ve learned a ton from years of Thanksgiving experiments (some successful, some…not so much).
- Toast the Bread: For optimal crispiness, always toast your bread cubes first. Fresh bread just turns to mush.
- Layer Your Flavors: Sautéing the veggies and herbs before mixing gives a deeper flavor—raw onions just don’t cut it.
- Don’t Overcrowd the Pan: Stuffing needs air to crisp. Spread it out in the baking dish and avoid packing it too tightly.
- Moisture Matters: The bread should feel damp but not soggy after adding broth. If you’re unsure, add the liquid in small increments.
- Use Fresh Herbs: Dried work in a pinch, but fresh sage and thyme really make this stuffing pop. Chop them finely for even flavor.
- Timing is Everything: Bake covered first, then uncover to crisp the top. Broil for the last few minutes if you want extra crunch, but don’t walk away—burnt stuffing is a tragedy!
One year I forgot to toast the bread and ended up with a sad, soggy mess—lesson learned! Don’t be afraid to adjust the seasoning. Taste the mixture before baking and add a pinch more salt or pepper if needed. For multitasking, sauté veggies ahead of time and store them in the fridge until you’re ready to assemble. And remember, practice makes perfect—your stuffing will get better every time!
Variations & Adaptations
This crispy savory holiday stuffing is a blank canvas for creativity. Here are some of my favorite twists and swaps:
- Vegetarian Version: Use vegetable broth and skip the eggs (swap for flax eggs). Add roasted mushrooms for earthy flavor.
- Gluten-Free: Use your favorite gluten-free bread. I’ve had great success with millet and rice bread—just toast a bit longer.
- Flavor Boost: Stir in 1 cup (120g) cooked, crumbled sausage or bacon for a smoky, hearty stuffing. Chopped apples or dried cranberries add a sweet-tart kick.
- Seasonal Adaptation: In spring, swap carrots for asparagus tips and add lemon zest. In winter, add chestnuts or roasted squash.
- Nut-Free: Skip any nut additions if allergies are a concern.
I’ve tried adding roasted garlic or swapping sage for rosemary, and it’s always a hit. For oven-free cooking, spoon the stuffing into muffin tins and bake—individual “stuffing muffins” are amazing for portion control and crispy edges!
Serving & Storage Suggestions
Serve this stuffing warm, straight from the oven, for maximum crispiness. I love piling it high on a platter next to roasted turkey, creamy mashed potatoes, and a tangy cranberry relish. The golden top makes an impressive centerpiece for your Thanksgiving table—trust me, it’ll disappear fast!
If you’re prepping ahead, let the stuffing cool completely. Cover tightly and refrigerate for up to 3 days. For longer storage, wrap portions in plastic and freeze for up to 1 month. To reheat, sprinkle with a little broth and bake at 350°F (175°C) until warmed through and crispy again.
Leftovers taste even better the next day! I sometimes fry slices in a skillet for breakfast (stuffing hash, anyone?). The flavors deepen overnight, and the crispy bits stay crunchy with proper reheating.
Nutritional Information & Benefits
Estimated per serving (based on 10 servings):
- Calories: ~220
- Protein: 7g
- Fat: 9g
- Carbohydrates: 28g
- Fiber: 3g
- Sodium: 420mg
With fresh herbs, vegetables, and quality bread, this stuffing offers a good dose of fiber, vitamins A and C, and protein. Using low-sodium broth keeps salt in check, and swapping butter for olive oil makes it heart-friendlier. If you need gluten-free, just swap the bread, and for vegan, use plant-based broth and flax eggs. Allergens include wheat, eggs, and dairy (if using butter), so take care for sensitive eaters.
From a wellness perspective, I love that this recipe lets you sneak in extra veggies and herbs—thanksgiving comfort with a little nutrition boost!
Conclusion
This crispy ultimate savory holiday stuffing for Thanksgiving dinner truly is a must-try. With the perfect balance of texture, flavor, and nostalgia, it’s a side dish that brings everyone together—kids, grandparents, and picky eaters alike. Whether you stick to tradition or mix in your own favorite flavors, you’ll end up with a stuffing that’s both satisfying and memorable.
I love this recipe for its simplicity and versatility. It’s become a staple at my own holiday table, and I hope it finds a place at yours too! Don’t be afraid to tweak it—add your own touch, swap out an ingredient, or make it ahead for stress-free hosting. And hey, if you try it, let me know in the comments or share your photos on Pinterest. Here’s to cozy holidays, crispy stuffing, and those little moments of pure comfort!
Frequently Asked Questions
Can I make this stuffing ahead of time?
Yes! Prepare and assemble the stuffing a day in advance, cover, and refrigerate. Bake just before serving for the freshest crispy top.
What’s the best bread for stuffing?
Day-old French bread, sourdough, or rustic Italian bread work best. The firmer the bread, the crispier your stuffing will be.
How do I make stuffing gluten-free?
Just swap in your favorite gluten-free bread and check that your broth is gluten-free. Toast the bread cubes as usual to keep the texture.
Can I add sausage or other mix-ins?
Absolutely! Cooked sausage, bacon bits, roasted mushrooms, or dried fruit can all be stirred in before baking. Adjust seasoning as needed.
What’s the secret to a crispy stuffing top?
Toast the bread cubes before mixing, don’t overcrowd the pan, bake uncovered for the last 15-20 minutes, and if you want extra crunch, broil briefly at the end.
Pin This Recipe!
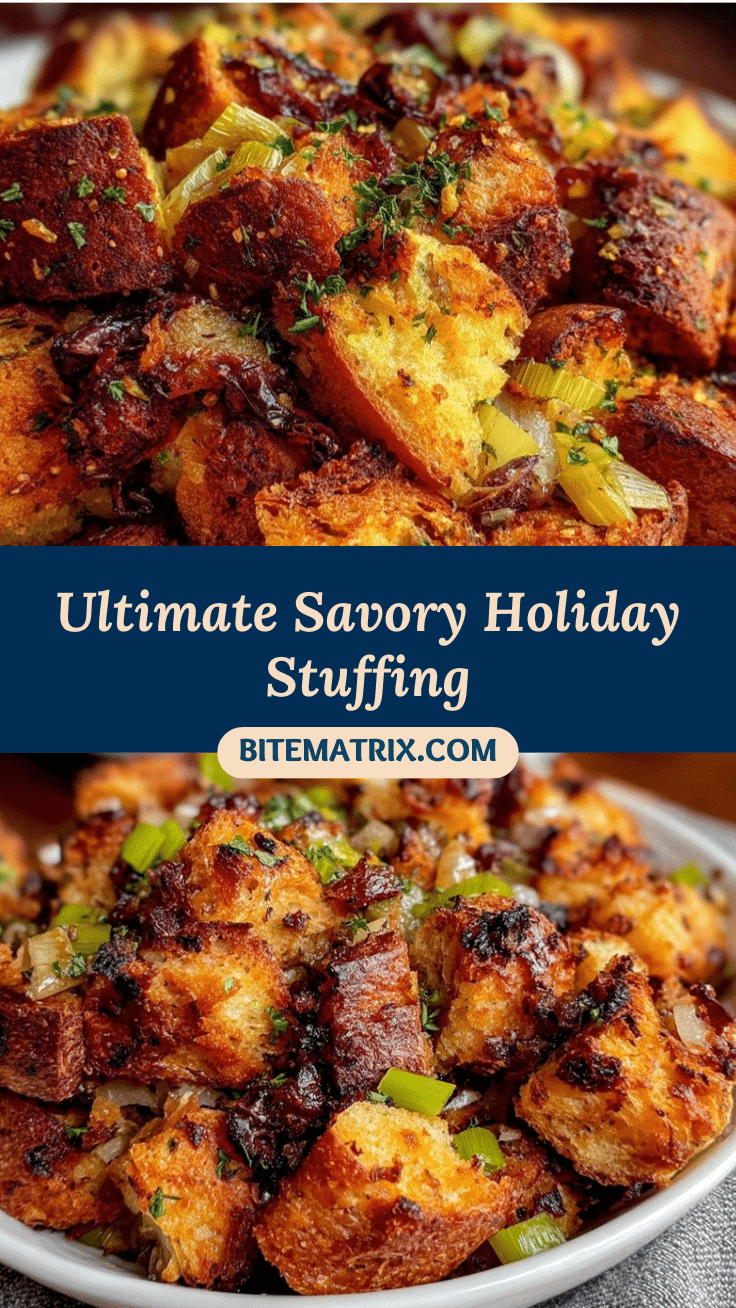
Crispy Savory Holiday Stuffing Recipe – Ultimate Thanksgiving Side

This crispy, savory holiday stuffing features toasted bread cubes, fresh herbs, and sautéed vegetables for the perfect Thanksgiving side. The top is golden and crunchy, while the inside stays soft and flavorful—comfort food at its best.
- Prep Time: 20 minutes
- Cook Time: 45 minutes
- Total Time: 1 hour 5 minutes
- Yield: 10 servings 1x
- Category: Side Dish
- Cuisine: American
Ingredients
- 12 cups (about 1 lb) day-old French bread, sourdough, or rustic white bread, cut into 1-inch cubes
- 1/2 cup (1 stick) unsalted butter, melted, divided
- 2 medium yellow onions, finely chopped
- 4 celery stalks, diced
- 2 medium carrots, diced (optional)
- 4 cloves garlic, minced
- 1/2 cup fresh parsley, chopped
- 2 tablespoons fresh sage, chopped (or 2 teaspoons dried)
- 1 tablespoon fresh thyme, chopped (or 1 teaspoon dried)
- 1 1/2 teaspoons salt, or to taste
- 1 teaspoon black pepper
- 1 teaspoon poultry seasoning (optional)
- 2 1/2 cups low-sodium chicken or vegetable broth
- 2 large eggs, lightly beaten
Instructions
- Preheat oven to 350°F (175°C). Spread bread cubes on a large baking sheet, drizzle with half the melted butter, toss, and toast for 10-15 minutes until lightly golden and crisp.
- Heat remaining butter in a large skillet over medium heat. Add onions, celery, and carrots; sauté for 8-10 minutes until soft. Add garlic, parsley, sage, and thyme; cook for 2 more minutes.
- In a large mixing bowl, combine toasted bread cubes, sautéed veggies, and herbs. Sprinkle in salt, pepper, and poultry seasoning. Gradually add broth while tossing until bread is moist but not soggy. Let sit for 5 minutes.
- Drizzle beaten eggs over the mixture and toss gently to combine.
- Lightly butter a 9×13-inch baking dish. Spoon stuffing into dish, spread evenly, and drizzle with extra melted butter if desired.
- Cover with aluminum foil and bake for 30 minutes. Remove foil and bake for another 15-20 minutes until top is crispy and golden. For extra crunch, broil for 2-3 minutes, watching closely.
- Let stuffing rest for 10 minutes before serving. Serve warm.
Notes
For gluten-free, use GF bread. For vegan, use vegetable broth and flax eggs. Toasting the bread is key for crispiness. Add-ins like sausage, bacon, apples, or dried cranberries are delicious. Taste and adjust seasoning before baking. If prepping ahead, assemble and refrigerate, then bake before serving.
Nutrition
- Serving Size: 1/10 of recipe (abou
- Calories: 220
- Sugar: 4
- Sodium: 420
- Fat: 9
- Saturated Fat: 5
- Carbohydrates: 28
- Fiber: 3
- Protein: 7
Keywords: stuffing, Thanksgiving, holiday, crispy, savory, side dish, bread, herbs, comfort food


