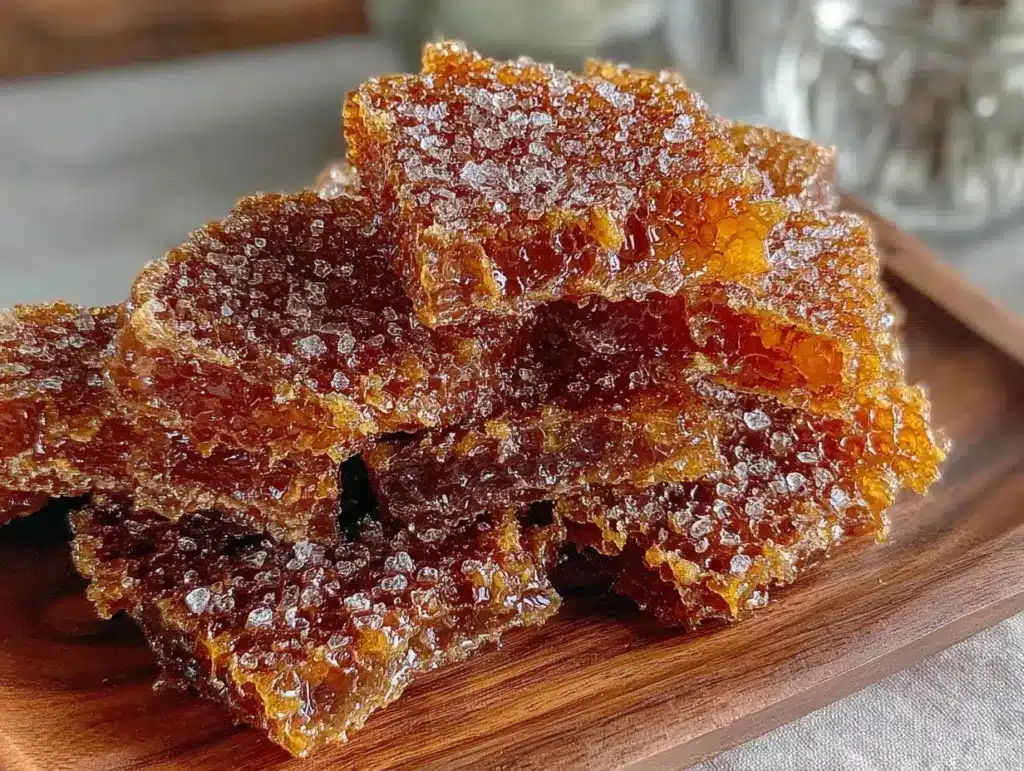
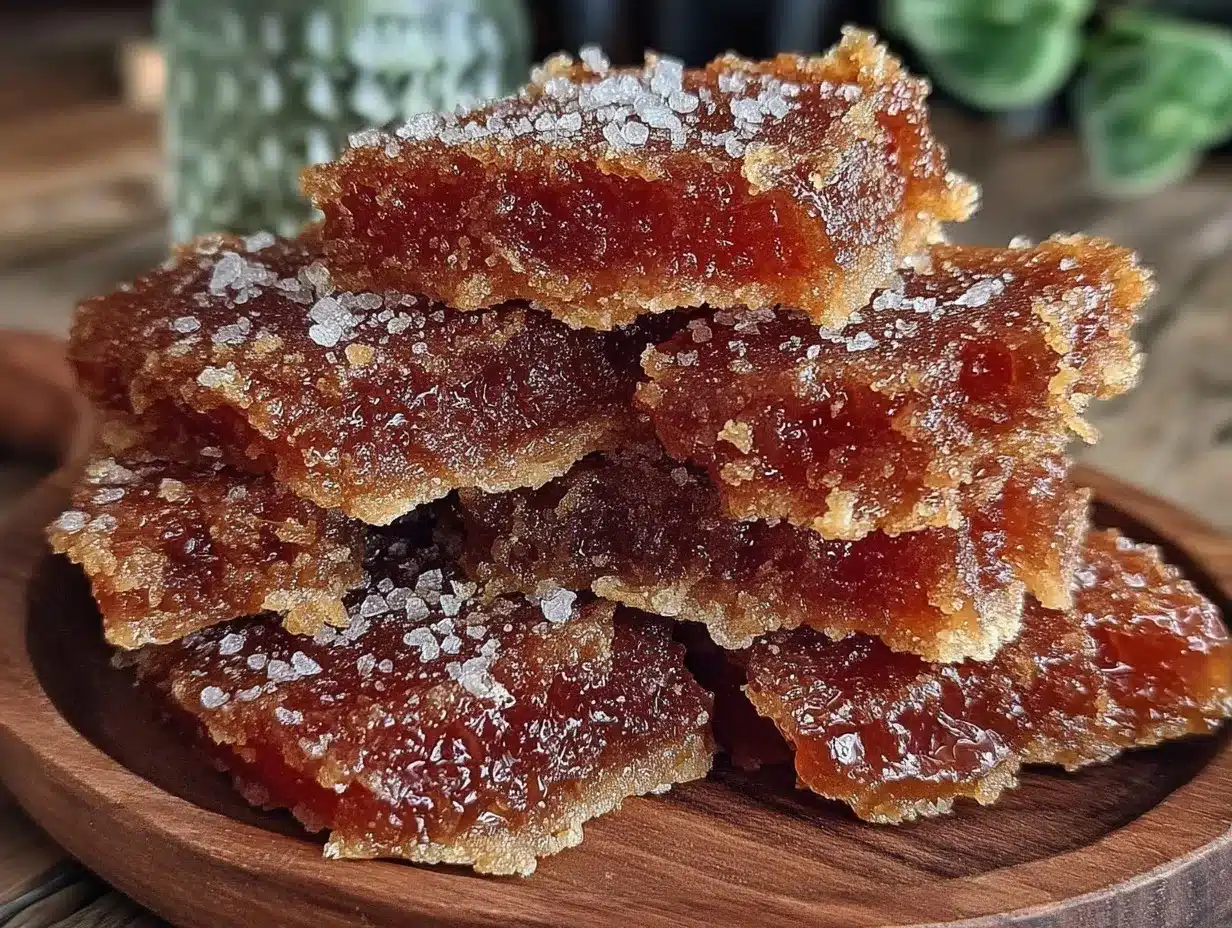
Let me tell you, the moment that golden honeycomb candy crackles under your teeth and releases a burst of sweet, buttery crunch is nothing short of magical. The scent alone—warm caramelized sugar mingling with a hint of toffee—can make anyone’s mouth water instantly. The first time I made this crunchy honeycomb candy recipe, I was honestly hooked. It was one of those rare kitchen moments where everything just falls perfectly into place, and the kind of moment where you pause, take a deep breath, and just smile because you know you’re onto something truly special.
Years ago, when I was knee-high to a grasshopper, my grandma used to make a similar treat on chilly winter afternoons. Watching her stir the bubbling sugar mixture felt like a secret ritual, and the honeycomb candy was always the star of our holiday gatherings. I stumbled upon this exact recipe on a rainy weekend, trying to recreate that nostalgic comfort with ingredients I had at hand. Honestly, I wish I had discovered this crunchy honeycomb candy recipe years ago—it’s dangerously easy and delivers pure, nostalgic comfort in every bite.
My family couldn’t stop sneaking the candy off the cooling rack (and I can’t really blame them). It’s perfect for sweetening up a potluck or as a fun treat for your kids’ lunchboxes. You know what? This crunchy honeycomb candy recipe is a must-try if you want an easy homemade sweet treat that’s sure to brighten up your Pinterest cookie board and your snack stash. After testing it multiple times in the name of research, of course, it’s become a staple for family gatherings and gifting. This candy feels like a warm hug, and you’re going to want to bookmark this one.
Why You’ll Love This Recipe
I’ve tried quite a few honeycomb candy recipes, and this one stands out for a bunch of reasons that I’m excited to share. It’s not just another candy recipe; it’s the best version I’ve found after many kitchen experiments and tweaks.
- Quick & Easy: Comes together in under 30 minutes, perfect for those last-minute sweet cravings or a fun weekend project.
- Simple Ingredients: You likely already have everything in your pantry—no fancy or hard-to-find items required.
- Perfect for Gift-Giving: Great for holidays, birthdays, or just because. Homemade candy always impresses without the fuss.
- Crowd-Pleaser: Kids and adults alike rave about the crunchy texture and sweet, airy flavor.
- Unbelievably Delicious: The combination of caramelized sugar and bubbly honeycomb crunch is pure bliss.
What makes this crunchy honeycomb candy recipe different? The secret lies in the perfect timing and the addition of a touch of baking soda, which creates that signature airy texture. Plus, using golden syrup instead of plain corn syrup gives it a richer flavor that’s just irresistible. This recipe isn’t just good—it’s the kind of treat that makes you close your eyes after the first bite. It’s comfort food reimagined—simple, fast, and with that soul-soothing satisfaction that keeps you coming back for more. Whether you’re looking to impress guests without stress or just want a sweet treat that’s a bit nostalgic, this one’s got you covered.
What Ingredients You Will Need
This crunchy honeycomb candy recipe uses simple, wholesome ingredients to deliver bold flavor and that satisfying airy texture without any fuss. Most are pantry staples, and a few tips on selecting the best versions will help you get that perfect crunch.
- Granulated Sugar – 1 cup (200 g); the base for caramelization and sweetness.
- Golden Syrup – 1/4 cup (85 g); adds richness and depth of flavor. I prefer Lyle’s Golden Syrup for the best results.
- Honey – 2 tablespoons (42 g); contributes natural sweetness and a subtle floral note.
- Baking Soda – 1 1/2 teaspoons (7 g); the magic ingredient that creates the airy, bubbly texture.
- Water – 2 tablespoons (30 ml); helps dissolve sugar evenly during cooking.
- Unsalted Butter – 1 tablespoon (14 g), melted (optional); for a smoother flavor and slight richness.
Ingredient Tips: If you can’t find golden syrup, light corn syrup is a workable substitute, but the flavor won’t be quite as rich. For a dairy-free version, simply skip the butter or use a vegan alternative. Use fresh baking soda to ensure the honeycomb bubbles up nicely—old baking soda won’t give you that perfect crunch. If you want to try a seasonal twist, adding a pinch of cinnamon or a splash of vanilla extract after baking can be delightful.
Equipment Needed
- Heavy-bottomed saucepan – This helps spread heat evenly and prevent burning. I use a 2-quart stainless steel pan.
- Candy thermometer – For precise temperature control, aiming for the hard crack stage (300°F / 150°C). If you don’t have one, a digital instant-read thermometer works well.
- Wooden spoon or heatproof silicone spatula – To stir the bubbling mixture without melting or scratching your pan.
- Baking tray lined with parchment paper or a silicone baking mat – To pour and cool the honeycomb candy.
- Measuring cups and spoons – Accurate measurements are key to success here.
If you’re on a budget, you can skip the candy thermometer by using the cold water test to check if the sugar has reached the hard crack stage. Just drop a small amount of syrup into cold water and see if it hardens and cracks easily. I’ve tried both methods, but the thermometer gives me peace of mind every time.
Preparation Method
- Prepare your workspace: Line a baking tray (9×13 inches / 23×33 cm) with parchment paper or a silicone baking mat. Have your baking soda measured and ready to go—once the sugar reaches temperature, things move fast. (5 minutes)
- Combine sugar, golden syrup, honey, and water: In your heavy-bottomed saucepan, mix 1 cup (200 g) granulated sugar, 1/4 cup (85 g) golden syrup, 2 tablespoons (42 g) honey, and 2 tablespoons (30 ml) water. Stir gently to combine without splashing sugar crystals on the sides. (2 minutes)
- Cook the mixture: Place the pan over medium heat and allow the sugar to dissolve, stirring occasionally. Once dissolved, stop stirring and clip your candy thermometer to the side. Let the syrup bubble until it reaches 300°F (150°C), the hard crack stage. This usually takes about 8-10 minutes. Keep a close eye to avoid burning—the color should be a rich amber. (8-10 minutes)
- Remove from heat and add baking soda: Quickly take the pan off the heat and immediately sprinkle in 1 1/2 teaspoons (7 g) baking soda. Stir briskly but gently—the mixture will foam up and grow rapidly, turning light and airy. (30 seconds)
- Pour onto prepared tray: Pour the foamy mixture immediately onto your lined baking tray. Don’t spread it out; let it flow naturally to keep the bubbly texture. (1 minute)
- Cool completely: Allow the honeycomb candy to cool and harden at room temperature, about 1 hour. Avoid refrigerating, as moisture can soften the crunch. (1 hour)
- Break into pieces: Once set, use your hands or a rolling pin to gently break the honeycomb into bite-sized chunks. Store in an airtight container to keep it crunchy. (5 minutes)
Pro Tip: If the mixture starts to crystallize or grain, it means sugar crystals formed during cooking. To avoid this, make sure you don’t stir after the sugar dissolves and wipe down the saucepan sides with a wet pastry brush before heating. The timing and temperature are key, so patience really pays off here.
Cooking Tips & Techniques
Making crunchy honeycomb candy can seem intimidating, but honestly, it’s all about timing and a few simple tricks I’ve picked up after some kitchen mishaps.
- Use a heavy-bottomed pan: This prevents hot spots that can burn the sugar, which will ruin the flavor and texture.
- Don’t stir after sugar dissolves: Once the sugar is fully dissolved, stirring can cause sugar crystals on the pan’s edge to fall into the syrup and cause grainy candy.
- Work quickly when adding baking soda: The reaction happens fast, so stir it in immediately and pour out the mixture before the foam collapses.
- Temperature matters: If you don’t reach the hard crack stage (300°F/150°C), the candy won’t be crunchy. Too hot and it can burn. If you don’t have a candy thermometer, the cold water test is your friend.
- Practice patience during cooling: Let the honeycomb cool fully at room temperature. Refrigeration or humidity can make it sticky and soften the crunch.
I learned the hard way that old baking soda won’t give you that perfect bubbly texture. Also, if you try to rush the cooling process or move the candy too soon, it can collapse. Multitasking is tempting, but give this recipe your full attention for the best results.
Variations & Adaptations
This crunchy honeycomb candy recipe is a great base for customization. Here are a few ideas to make it your own or cater to dietary needs:
- Chocolate-Dipped Honeycomb: Once cooled, dip pieces halfway in melted dark or milk chocolate. Let them set on parchment paper for a decadent twist.
- Vegan Version: Skip the butter or replace it with coconut oil. Use maple syrup instead of honey for a fully vegan treat.
- Flavored Honeycomb: Add a pinch of cinnamon, ground ginger, or a few drops of vanilla extract right before pouring to add a warm spice or flavor note.
- Nutty Crunch: Sprinkle chopped toasted nuts (like almonds or hazelnuts) on top immediately after pouring for extra texture and flavor.
- Gluten-Free & Allergy-Friendly: This recipe is naturally gluten-free and dairy-free if you omit butter. Just double-check your baking soda to ensure it’s pure and allergen-free.
One variation I tried recently involved sprinkling a little sea salt on top before the candy cooled—it created this fantastic sweet-salty combo that had my family asking for more.
Serving & Storage Suggestions
Serve this crunchy honeycomb candy at room temperature for the best crunch and flavor. It’s fantastic on its own or crumbled over ice cream, yogurt, or even baked goods for a delightful texture contrast.
Pair it with a hot cup of tea or coffee to balance the sweetness, or serve alongside fresh fruit for a refreshing contrast. If you’re gifting, wrap in parchment paper and tie with a ribbon for a charming presentation.
For storage, keep the honeycomb candy in an airtight container at room temperature. Avoid the fridge, as humidity can make it sticky and lose its crunch. Stored properly, it stays fresh for up to two weeks.
If it softens, gently re-crisp pieces in a low oven (250°F / 120°C) for 5-7 minutes, but watch carefully so it doesn’t melt or burn. Over time, the flavor deepens slightly, making it even more delicious.
Nutritional Information & Benefits
While honeycomb candy is definitely a treat best enjoyed in moderation, it’s made with simple ingredients that offer some benefits compared to processed sweets. Here’s an estimate per serving (about 1 piece, 15 g):
| Nutrient | Amount |
|---|---|
| Calories | 70 kcal |
| Sugar | 15 g |
| Fat | 0.5 g (if butter included) |
| Protein | 0 g |
| Carbohydrates | 18 g |
Honey and golden syrup provide natural sugars along with trace minerals and antioxidants, unlike refined white sugar alone. This recipe is naturally gluten-free and can be dairy-free if you omit the butter. Please note it contains baking soda, so avoid if allergic or sensitive.
From a wellness perspective, I like that this recipe keeps it simple with no artificial additives or preservatives. It’s a sweet treat that feels a little closer to homemade goodness than your average candy bar.
Conclusion
This crunchy honeycomb candy recipe is a sweet little gem that’s worth keeping in your kitchen arsenal. It’s quick, simple, and absolutely delicious—a treat that feels both nostalgic and fresh. You can customize it easily, impress friends or family, or just enjoy a piece (or two) yourself whenever the craving hits.
Honestly, I love this recipe because it reminds me of those cozy family moments while being so straightforward that even a beginner can nail it. I’d love to hear how you make it your own, so please drop a comment or share your favorite tweaks below. Give it a try—you’re going to want to keep this one bookmarked.
FAQs About Crunchy Honeycomb Candy
How do I know when the honeycomb candy is done cooking?
Use a candy thermometer and watch for the hard crack stage at 300°F (150°C). If you don’t have one, drop a small amount of syrup into cold water—if it hardens and cracks easily, it’s ready.
Why did my honeycomb candy turn out sticky?
Humidity or storing it in the fridge can cause stickiness. Make sure to store it in an airtight container at room temperature and avoid moisture.
Can I use corn syrup instead of golden syrup?
Yes, but golden syrup gives a richer, more complex flavor. Corn syrup works in a pinch but the taste won’t be quite the same.
What causes my honeycomb to be grainy?
Stirring after the sugar dissolves or sugar crystals on the pan edges falling in can cause graininess. Use a wet pastry brush to wash down the sides during cooking and avoid stirring once dissolved.
Can I flavor the honeycomb candy?
Absolutely! Add spices like cinnamon or a splash of vanilla right after you add the baking soda, before pouring it out to cool.
Pin This Recipe!
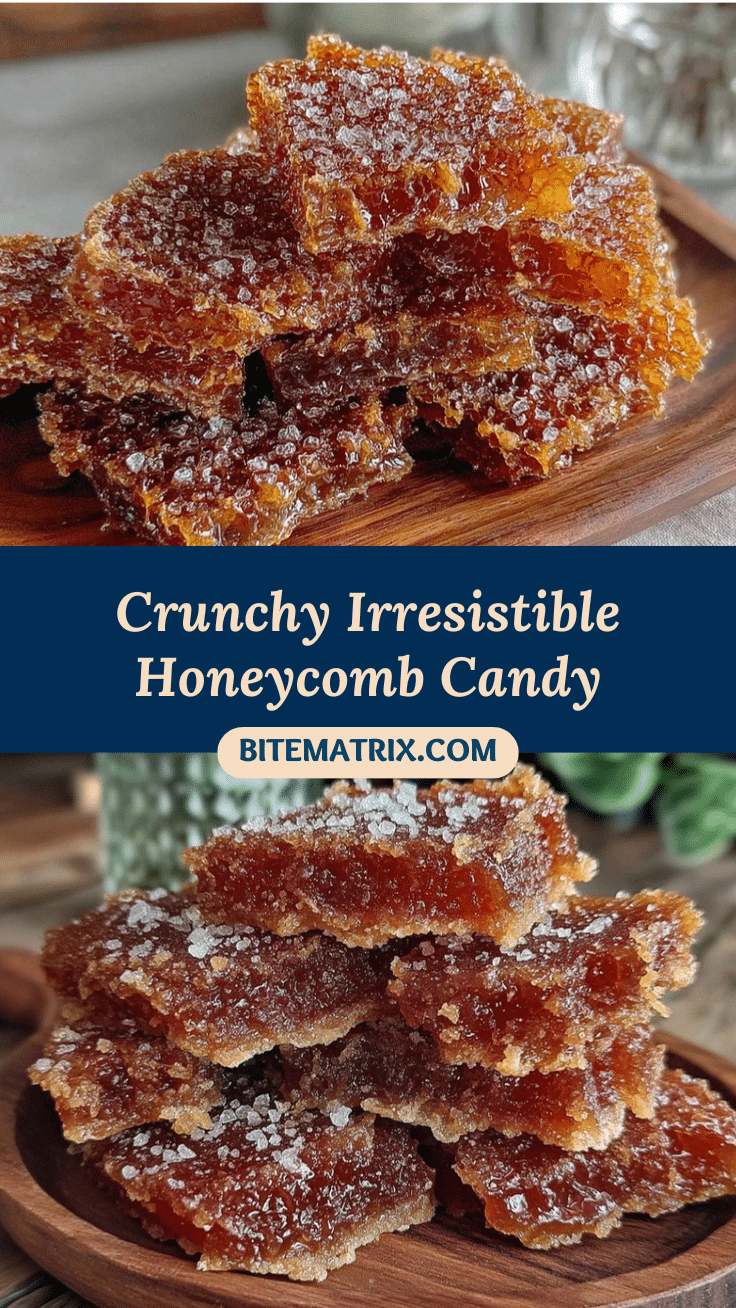
Crunchy Honeycomb Candy
A quick and easy homemade honeycomb candy recipe that delivers a sweet, buttery crunch with a nostalgic flavor. Perfect for gifting, potlucks, or a fun treat for kids.
- Prep Time: 7 minutes
- Cook Time: 10 minutes
- Total Time: 1 hour 17 minutes
- Yield: About 12 servings 1x
- Category: Dessert
- Cuisine: British
Ingredients
- 1 cup (200 g) granulated sugar
- 1/4 cup (85 g) golden syrup
- 2 tablespoons (42 g) honey
- 1 1/2 teaspoons (7 g) baking soda
- 2 tablespoons (30 ml) water
- 1 tablespoon (14 g) unsalted butter, melted (optional)
Instructions
- Line a 9×13 inch (23×33 cm) baking tray with parchment paper or a silicone baking mat. Measure baking soda and have it ready.
- In a heavy-bottomed saucepan, combine granulated sugar, golden syrup, honey, and water. Stir gently to combine without splashing sugar crystals on the sides.
- Place the pan over medium heat and stir occasionally until sugar dissolves. Stop stirring and clip a candy thermometer to the pan. Let syrup bubble until it reaches 300°F (150°C), the hard crack stage, about 8-10 minutes. Watch carefully to avoid burning; syrup should be rich amber.
- Remove pan from heat and immediately sprinkle in baking soda. Stir briskly but gently as mixture foams and grows light and airy.
- Pour the foamy mixture immediately onto the prepared baking tray. Do not spread; let it flow naturally to keep bubbly texture.
- Allow honeycomb candy to cool and harden at room temperature for about 1 hour. Avoid refrigeration to maintain crunch.
- Once set, break honeycomb into bite-sized chunks using hands or a rolling pin. Store in an airtight container.
Notes
Use fresh baking soda for best bubbly texture. Avoid stirring after sugar dissolves to prevent graininess. Work quickly when adding baking soda and pouring mixture. Cool at room temperature to maintain crunch. For dairy-free, omit butter or use vegan alternative. Golden syrup preferred over corn syrup for richer flavor. Optional flavor additions include cinnamon or vanilla extract after baking soda addition.
Nutrition
- Serving Size: 1 piece (about 15 g)
- Calories: 70
- Sugar: 15
- Sodium: 10
- Fat: 0.5
- Saturated Fat: 0.3
- Carbohydrates: 18
Keywords: honeycomb candy, homemade candy, crunchy candy, easy candy recipe, sweet treats, honeycomb, golden syrup candy


