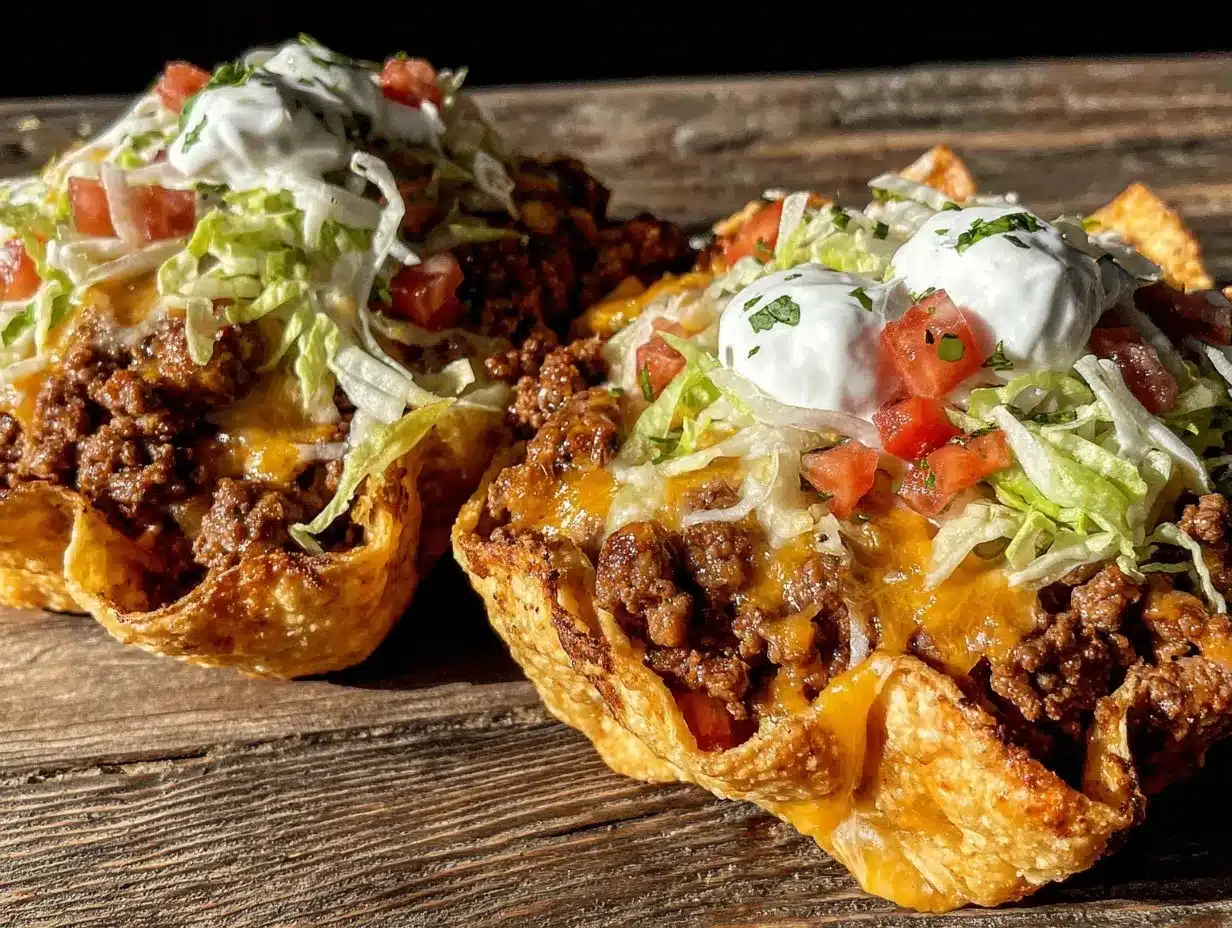
“You’re telling me we’re eating tacos in a chip bag?” my friend asked with a raised eyebrow, clearly skeptical. Honestly, I couldn’t blame her—sometimes the simplest ideas sound too good to be true. This “Flavorful Walking Taco Bar in Crunchy Chip Bags” came about on a lazy Saturday afternoon when we had a bunch of friends dropping by unexpectedly. I was short on time and didn’t want to mess with plates or forks, so I grabbed a few large crunchy chip bags from the pantry and started layering taco meat, cheese, and all the fixings right inside them. The crunch held up better than I expected, and the flavors? Well, let’s just say it quickly became the highlight of that night’s casual gathering.
There’s something oddly satisfying about eating tacos this way—portable, fun, and perfect for a crowd that’s just as interested in chatting as they are in eating. I kept tweaking the recipe over the next few weeks, testing different seasonings and toppings, until it became my go-to for easy entertaining. I even caught myself making it twice in one week during an obsession phase, which says a lot given I’m usually juggling a million things in the kitchen.
What stuck with me is how this recipe turns a simple snack into a flavorful meal without any fuss. It’s the kind of thing that makes you pause—mid-bite—and smile because it’s unexpectedly good. Plus, you don’t have to worry about cleanup or fancy plates, which is a win in my book. So, if you’re curious about a fresh twist on tacos that’s as easy as it is tasty, this walking taco bar in crunchy chip bags might just become your new favorite.
Why You’ll Love This Recipe
After many trials and happy eaters, here’s why this flavorful walking taco bar recipe stands out from the crowd:
- Quick & Easy: You can whip this together in under 30 minutes, which is perfect for busy weeknights or impromptu get-togethers.
- Simple Ingredients: No need for specialty grocery runs—most ingredients are pantry staples or easy finds at any store.
- Perfect for Casual Parties: Whether it’s a backyard hangout, a game night, or just a chill Sunday, this setup keeps everyone happy and fed.
- Crowd-Pleaser: Kids and adults alike love the handheld convenience and layered flavors that hit all the right notes.
- Unbelievably Delicious: The balance of seasoned beef, melty cheese, fresh toppings, and that crunchy chip bag texture is straight-up comfort food magic.
This recipe isn’t your average taco night. I use a homemade seasoning blend that’s not too spicy but packed with flavor, and layering everything in individual chip bags adds a playful, grab-and-go vibe that people always ask about. Honestly, it feels like a mini fiesta every time it’s on the table—without the stress or mess. If you’re looking for a fresh way to bring tacos to your next gathering, this recipe delivers both taste and fun in one crunchy package. Plus, it’s a great companion to lively dishes like fresh taco pasta salad or even a sweet finish like easy no-bake strawberry cheesecake cups.
What Ingredients You Will Need
This walking taco bar recipe uses simple, wholesome ingredients to deliver bold flavor and a satisfying crunch without the fuss. Most are pantry staples, making it easy to pull together last minute.
- Ground Beef (1 lb / 450 g): Choose 80/20 for juicy, flavorful meat; leaner options work too but may be less rich.
- Taco Seasoning: A blend of chili powder, cumin, smoked paprika, garlic powder, onion powder, salt, pepper, and a pinch of cayenne. (You can use a store-bought mix if pressed for time.)
- Crunchy Large Nacho Cheese or Cool Ranch Chip Bags (individual size): These act as edible containers—grab brands you trust for consistent crunch and flavor.
- Shredded Cheddar Cheese (2 cups / 200 g): Sharp cheddar adds a nice tang, but a Mexican blend is great too.
- Fresh Toppings:
- Diced tomatoes (1 cup / 150 g)
- Shredded lettuce (1 cup / 30 g)
- Chopped green onions (1/4 cup / 15 g)
- Jalapeño slices (optional, to taste)
- Fresh cilantro (a handful, roughly chopped)
- Sour Cream or Greek Yogurt (1/2 cup / 120 ml): For that creamy cool contrast.
- Fresh Lime Wedges: Adds a zesty finish that brightens every bite.
- Optional Extras: Black olives, diced avocado, or a drizzle of hot sauce.
For substitutions, use ground turkey or plant-based crumbles instead of beef for a lighter or vegetarian option. Greek yogurt can replace sour cream for a protein boost and tangy flavor. If you want gluten-free, pick chips labeled gluten-free, like some tortilla chip brands offer.
Equipment Needed
- Large Skillet or Frying Pan: Perfect for browning the beef evenly; non-stick is handy but not mandatory.
- Mixing Spoon or Spatula: For stirring and breaking up the meat.
- Measuring Spoons and Cups: Essential for the taco seasoning and toppings.
- Serving Bowls or Small Containers: To hold your chopped toppings and cheese so guests can build their walking tacos easily.
- Optional: A slow cooker can be used if you want to prepare the beef ahead of time and keep it warm for serving.
Personally, I’ve found that a cast iron skillet gives the best sear on the meat, but any heavy-bottomed pan works well. For keeping things budget-friendly, a simple non-stick pan and basic utensils will do just fine. Just make sure your chip bags are sturdy enough to hold the ingredients without tearing—larger size bags from trusted brands tend to hold up best.
Preparation Method
- Brown the Ground Beef (about 10 minutes): Heat your skillet over medium-high heat. Add the ground beef and break it apart with a spatula. Cook until no longer pink and starting to brown, about 8-10 minutes. Drain excess fat if desired.
- Add Taco Seasoning (2 minutes): Sprinkle your homemade or store-bought taco seasoning over the beef. Stir well to coat evenly. Pour in 1/4 cup (60 ml) water and simmer for 2-3 minutes, stirring occasionally until the liquid reduces and the beef is nicely seasoned.
- Prep Your Toppings (5-10 minutes): While the beef simmers, chop tomatoes, shred lettuce, slice jalapeños, and get your cheese and sour cream ready in bowls for easy access.
- Assemble the Walking Tacos (5 minutes per person): Open each crunchy chip bag carefully, keeping it upright. Spoon in a generous 1/3 to 1/2 cup (75-120 g) of the seasoned beef, then layer shredded cheese, lettuce, tomatoes, green onions, jalapeños, and a dollop of sour cream. Finish with a squeeze of fresh lime and a sprinkle of cilantro.
- Serve Immediately: Hand out the walking tacos with napkins and enjoy! The combination of warm beef and cool toppings inside the crunchy chip bag offers a fun and tasty experience.
Tip: If you notice your chip bags getting soggy quickly, serve smaller amounts and encourage eating soon after assembling to keep that satisfying crunch. I learned this the hard way after a few half-eaten bags turned mushy.
Cooking Tips & Techniques
One trick I’ve picked up is to brown the beef in batches if your pan feels crowded. This helps caramelize the meat better, which amps up the flavor. Also, don’t rush draining the fat—too much grease can weigh down the whole dish and make the chips soggy.
When seasoning, start with less salt and spice, then adjust to taste. It’s easy to add more later, but you can’t take it away once it’s in. I usually add a pinch of smoked paprika for a subtle smoky note that pairs perfectly with the crunchy chips.
Timing is everything here. The key to this recipe’s success is assembling just before serving. If you prep too early, your chip bags risk losing their crunch, which kind of defeats the whole point. To save time, prep all your toppings and cooked beef beforehand, then assemble quickly when guests arrive.
For a smoother sour cream finish, I sometimes mix in a little lime juice and minced garlic for an extra punch. It’s a small thing but adds a lot of personality to the dish. Trust me, these little touches make a difference when you’re aiming to impress without stress.
Variations & Adaptations
- Vegetarian Version: Swap the ground beef for seasoned black beans or lentils. Add extra veggies like corn and diced bell peppers to keep things hearty.
- Spicy Kick: Mix in chipotle powder or hot sauce to the taco seasoning for those who like it hotter. Top with pickled jalapeños to dial up the heat.
- Seasonal Twist: In summer, add fresh corn kernels and diced avocado for a bright, fresh flavor. During fall, try roasted sweet potatoes or butternut squash for a cozy, earthy touch.
- Different Chips: Use cool ranch or spicy nacho chips for a flavor twist. For a gluten-free option, ensure the chips are certified gluten-free.
- Personal Favorite: I once tried mixing in a little crumbled queso fresco and fresh mango salsa to bring a sweet and salty balance that blew everyone away at a summer picnic.
Serving & Storage Suggestions
Serve these walking tacos immediately after assembling for the best texture and flavor. They’re perfect for eating on the go or mingling at parties without plates or forks. If you want to add a side, a light, refreshing salad like fresh creamy cucumber dill salad pairs beautifully.
Leftovers? Keep the seasoned beef separate in an airtight container in the fridge for up to 3 days. Toppings like lettuce and tomatoes are best fresh but can be stored separately for a day. Avoid storing assembled chip bags—they’ll get soggy fast.
To reheat the beef, microwave or warm in a skillet over medium heat until heated through. Assemble fresh afterward. If you’re planning ahead for a party, consider prepping the beef and toppings in advance, then setting up a self-serve taco bar for guests to customize their own.
Nutritional Information & Benefits
Each walking taco bag contains roughly 400-500 calories, depending on the portion size and toppings. Ground beef provides a good source of protein and iron, while fresh vegetables add fiber, vitamins, and minerals. Using Greek yogurt instead of sour cream boosts protein and reduces fat.
This recipe can easily be adapted for gluten-free, low-carb, or vegetarian diets by swapping ingredients accordingly. Keep in mind the chips carry most of the carbohydrates, so choosing baked or lower-sodium chip options can make it lighter.
From a wellness standpoint, the fresh toppings balance the rich flavors and add a satisfying crunch, making this not just tasty but nourishing. It’s a fun way to sneak in veggies while still enjoying all the comforting taco flavors.
Conclusion
This flavorful walking taco bar recipe in crunchy chip bags is a winner because it’s easy, fun, and utterly delicious. Whether you’re hosting a casual party or just craving a no-fuss dinner, it’s a recipe that adapts to your needs and impresses without stress.
Feel free to customize the toppings and spice levels to suit your taste—this recipe welcomes creativity. I love how it brings people together, hands busy with food and smiles spreading across faces, making mealtime feel like a celebration.
If you try it out, I’d love to hear how you tweaked it or what your favorite toppings are. It’s the kind of dish that keeps evolving, just like good company and great conversations. Here’s to many crunchy, flavorful bites ahead!
FAQs About Flavorful Walking Taco Bar in Crunchy Chip Bags
Can I make the walking tacos ahead of time?
It’s best to keep the beef and toppings separate and assemble just before serving to keep the chips crunchy.
What chip bags work best for this recipe?
Large nacho cheese or cool ranch chip bags that are sturdy and full-sized work best to hold all the ingredients without tearing.
How can I make this recipe vegetarian?
Replace the ground beef with black beans, lentils, or plant-based crumbles, and load up on veggies and cheese.
Is this recipe gluten-free?
Yes, as long as you use gluten-free chips and check the seasoning ingredients for gluten.
Can I use a slow cooker for the taco meat?
Absolutely! Brown the meat first, then add seasoning and water to a slow cooker and cook on low for 2-3 hours for tender, flavorful meat.
Pin This Recipe!
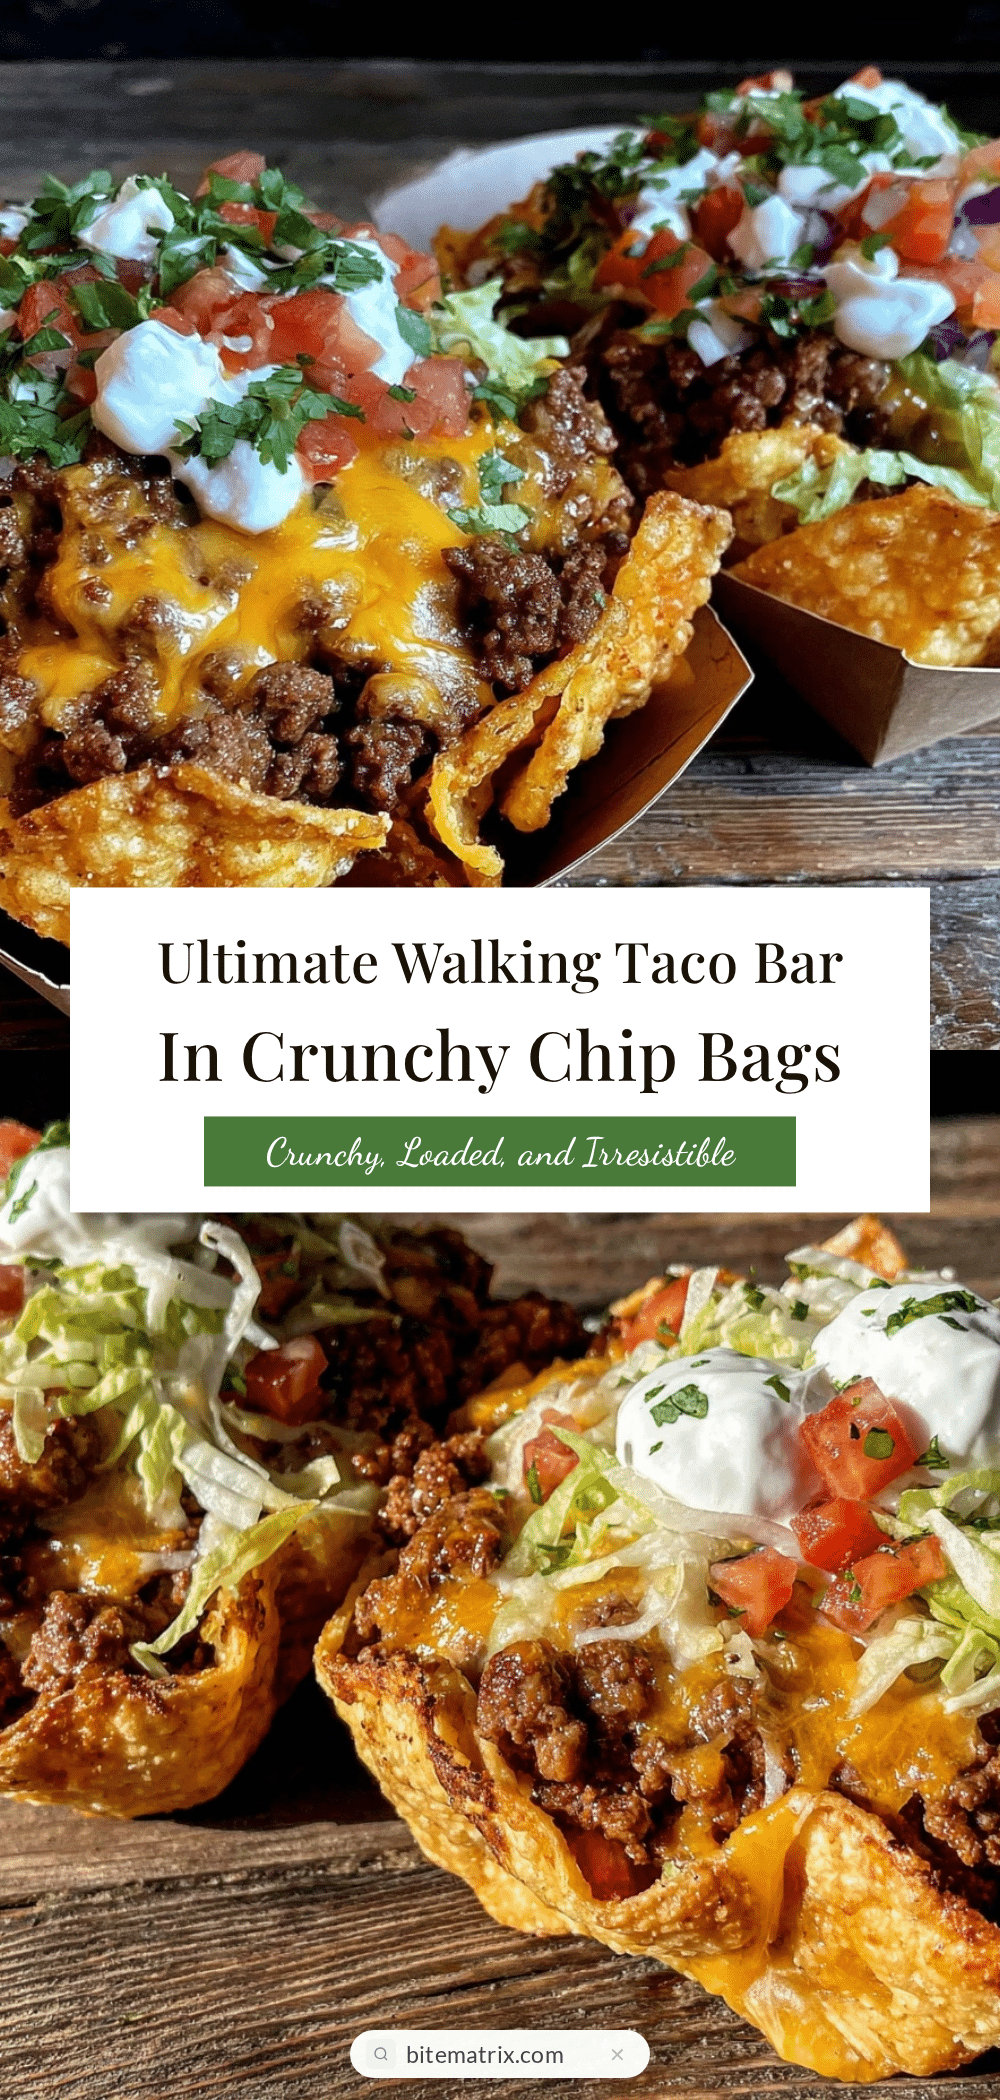
Flavorful Walking Taco Bar Recipe Easy Homemade Crunchy Chip Bags

A fun and easy walking taco bar served in crunchy chip bags, perfect for casual parties and quick meals. This recipe features seasoned ground beef, melty cheese, fresh toppings, and a satisfying crunch.
- Prep Time: 10 minutes
- Cook Time: 15 minutes
- Total Time: 25 minutes
- Yield: 6 servings 1x
- Category: Main Course
- Cuisine: Mexican
Ingredients
- 1 lb ground beef (80/20 recommended)
- Taco seasoning (blend of chili powder, cumin, smoked paprika, garlic powder, onion powder, salt, pepper, pinch of cayenne) or store-bought mix
- Large crunchy nacho cheese or cool ranch chip bags (individual size)
- 2 cups shredded cheddar cheese (about 200 g)
- 1 cup diced tomatoes (about 150 g)
- 1 cup shredded lettuce (about 30 g)
- 1/4 cup chopped green onions (about 15 g)
- Jalapeño slices (optional, to taste)
- Fresh cilantro (a handful, roughly chopped)
- 1/2 cup sour cream or Greek yogurt (about 120 ml)
- Fresh lime wedges
- Optional extras: black olives, diced avocado, hot sauce
Instructions
- Heat a large skillet over medium-high heat. Add ground beef and break apart with a spatula. Cook until no longer pink and starting to brown, about 8-10 minutes. Drain excess fat if desired.
- Sprinkle taco seasoning over the beef. Stir well to coat evenly. Pour in 1/4 cup water and simmer for 2-3 minutes, stirring occasionally until liquid reduces and beef is seasoned.
- While beef simmers, chop tomatoes, shred lettuce, slice jalapeños, and prepare cheese and sour cream in bowls for easy access.
- Open each crunchy chip bag carefully, keeping upright. Spoon in 1/3 to 1/2 cup of seasoned beef, then layer shredded cheese, lettuce, tomatoes, green onions, jalapeños, and a dollop of sour cream. Finish with a squeeze of fresh lime and sprinkle cilantro on top.
- Serve immediately with napkins and enjoy.
Notes
Serve immediately after assembling to keep chip bags crunchy. If chip bags get soggy quickly, serve smaller portions and encourage eating soon after assembly. Brown beef in batches for better caramelization. Adjust seasoning gradually. Mix lime juice and minced garlic into sour cream for extra flavor. For vegetarian version, substitute beef with black beans, lentils, or plant-based crumbles. Use gluten-free chips for gluten-free option.
Nutrition
- Serving Size: 1 walking taco bag
- Calories: 450
- Sugar: 3
- Sodium: 600
- Fat: 25
- Saturated Fat: 10
- Carbohydrates: 30
- Fiber: 3
- Protein: 25
Keywords: walking tacos, taco bar, chip bag tacos, easy taco recipe, party food, ground beef tacos, handheld tacos