
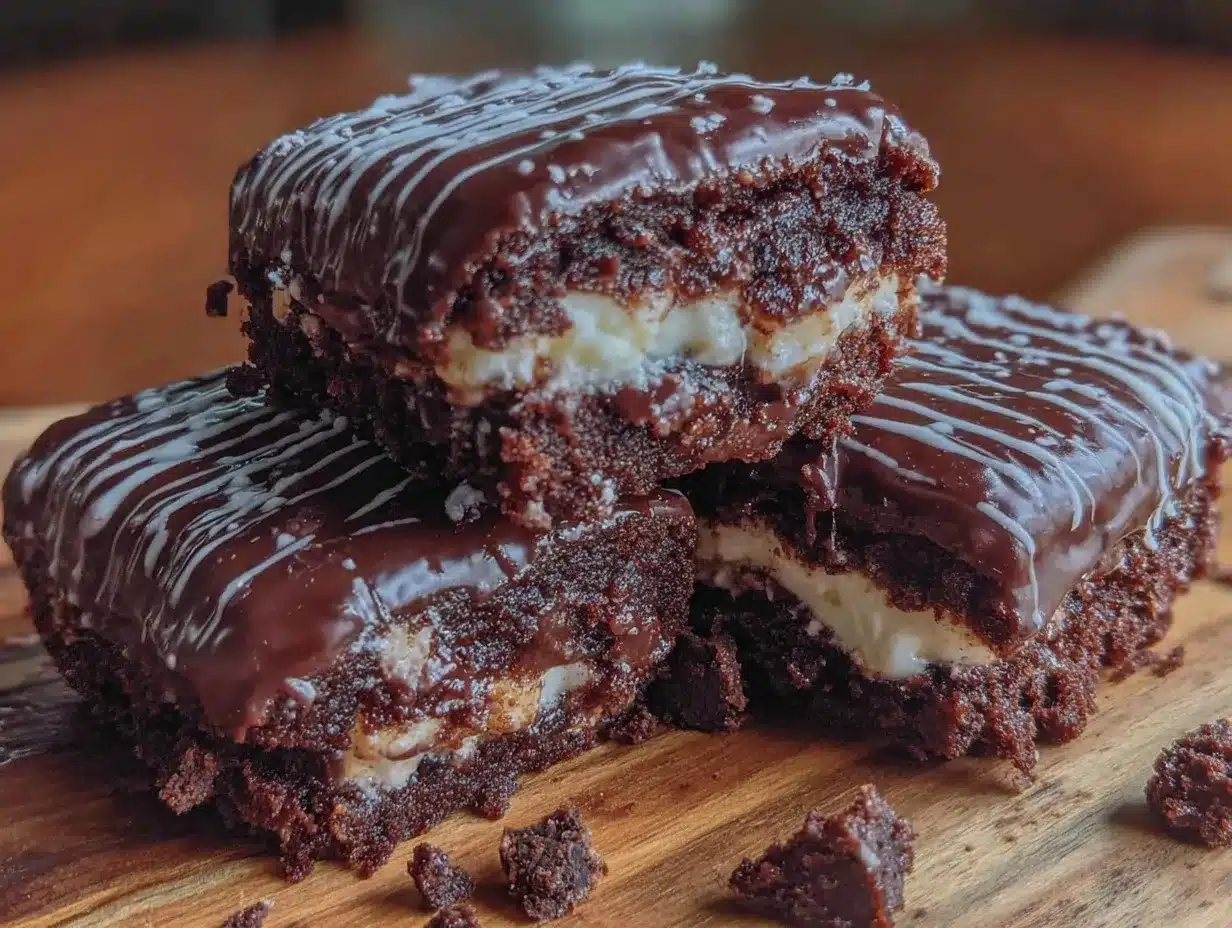
Let me tell you, the moment the scent of rich cocoa and sweet vanilla swirled together in my kitchen, I knew I was onto something dangerously delicious. Honestly, the first time I baked these homemade zebra cakes, it was one of those rare kitchen moments where you pause, take a deep breath, and just smile—because you realize you’ve created a treat that’s pure, nostalgic comfort wrapped in a playful black-and-white swirl. When I was knee-high to a grasshopper, zebra cakes were the kind of snack that vanished faster than you could blink, but years ago, I never imagined I could whip up such a beauty right at home without a mix or fancy ingredients.
I stumbled on this recipe during a rainy weekend baking spree, trying to recreate the magic of those boxed snacks from childhood but with better texture and way more flavor. My family couldn’t stop sneaking them off the cooling rack (and I can’t really blame them). This homemade zebra cakes recipe is perfect for potlucks, a sweet surprise for your kids’ lunchboxes, or even to brighten up your Pinterest cookie board with something a little different. I tested it more times than I can count—strictly in the name of research, of course—and it’s now a staple for family gatherings, gifting, and those moments when you just want a little slice of joy that feels like a warm hug.
Why You’ll Love This Homemade Zebra Cakes Recipe
Honestly, this homemade zebra cakes recipe is the kind of treat that feels both fancy and familiar, and here’s why it’s quickly become a favorite in my kitchen:
- Quick & Easy: Comes together in under 45 minutes, perfect for busy weeknights or last-minute cravings.
- Simple Ingredients: No fancy grocery trips needed; you probably already have everything in your pantry.
- Perfect for Any Occasion: Great for birthday parties, afternoon tea, or just a cozy dessert to share.
- Crowd-Pleaser: Kids and adults alike rave about the moist texture and that beautiful chocolate-vanilla swirl.
- Unbelievably Delicious: The combo of soft vanilla cake with rich cocoa ribbons is next-level comfort food.
What makes this homemade zebra cakes recipe stand out? It’s all in the layering technique that creates those striking black-and-white stripes, and the batter’s perfect consistency that bakes up moist without any dryness. Plus, I use a hint of real vanilla extract and cocoa powder that’s just the right touch—not too bitter, not too sweet. This isn’t just another homemade cake; it’s the best version you’ll find—trust me. It’s comfort food reimagined with a nostalgic twist that makes your eyes close after the first bite. Whether you’re impressing guests or just treating yourself, these zebra cakes bring a little magic to the table.
What Ingredients You Will Need
This homemade zebra cakes recipe uses simple, wholesome ingredients to deliver bold flavor and that satisfying striped texture without any fuss. Most of these are pantry staples, and if you’re missing something, I’ve got easy swaps for you.
- For the Batter:
- All-purpose flour – 2 cups (240g), sifted for smooth batter
- Baking powder – 2 teaspoons (8g) to help the cakes rise beautifully
- Salt – ¼ teaspoon (1.5g), just enough to balance flavors
- Granulated sugar – 1 cup (200g), for that perfect sweetness
- Unsalted butter – ½ cup (115g), softened (I like using Land O’Lakes for best texture)
- Large eggs – 3, room temperature (helps batter mix evenly)
- Whole milk – ¾ cup (180ml), for moist, tender crumb (use dairy-free milk if needed)
- Pure vanilla extract – 2 teaspoons (10ml), adds warmth and depth
- Unsweetened cocoa powder – ⅓ cup (35g), sifted for smooth, rich stripes (I recommend Valrhona for deep flavor)
- For Optional Topping:
- Powdered sugar – for dusting
- Chocolate glaze – melt semi-sweet chocolate with a splash of cream for drizzling
- Mixing bowls (one large, one medium)
- Electric hand mixer or stand mixer (alternatively, a sturdy whisk)
- Measuring cups and spoons (accuracy matters here!)
- Sifter or fine-mesh sieve for dry ingredients
- Rubber spatula for folding
- 9-inch (23cm) round cake pan – greased and lined
- Toothpick or cake tester
- Preheat your oven: Set it to 350°F (175°C) and position the rack in the middle. This ensures even baking throughout.
- Prepare your pan: Grease your 9-inch round cake pan with butter or non-stick spray, then line the bottom with parchment paper. This little step means your zebra cake will come out cleanly every time.
- Mix dry ingredients: In a bowl, sift together 2 cups (240g) of all-purpose flour, 2 teaspoons (8g) baking powder, and ¼ teaspoon (1.5g) salt. Set aside.
- Cream butter and sugar: In a large bowl, beat ½ cup (115g) softened unsalted butter with 1 cup (200g) granulated sugar using a mixer on medium speed until light and fluffy—about 3-4 minutes. You’ll notice it turns pale and smooth, which is the perfect texture.
- Add eggs: Crack in 3 large eggs one at a time, mixing well after each addition. This helps the batter emulsify and rise beautifully.
- Incorporate vanilla extract: Stir in 2 teaspoons (10ml) pure vanilla extract for that classic flavor that ties everything together.
- Alternate adding dry ingredients and milk: With your mixer on low, add the dry flour mixture in three parts, alternating with ¾ cup (180ml) whole milk—start and end with the flour. Mix just until combined to keep the batter tender. Overmixing will toughen the cake.
- Divide batter: Scoop out about 1⅓ cups (320g) of batter into a separate bowl. Stir in ⅓ cup (35g) sifted unsweetened cocoa powder until fully combined and smooth. This will be your chocolate batter.
- Assemble the stripes: Now comes the fun part! In the center of your prepared pan, spoon 2 tablespoons of vanilla batter. On top of that, spoon 2 tablespoons of chocolate batter. Repeat layering vanilla and chocolate batter alternately, always spooning right in the center, and watch those beautiful rings form. Gently tap the pan on the counter to settle the batter.
- Bake: Place the pan in your preheated oven and bake for 35-40 minutes. The cake should spring back lightly when pressed, and a toothpick inserted in the center should come out clean or with a few moist crumbs.
- Cool: Let the cake cool in the pan for 15 minutes before transferring to a wire rack to cool completely. This prevents sogginess and keeps the zebra pattern crisp.
- Optional finishing touch: Dust with powdered sugar or drizzle with a simple chocolate glaze for that extra wow factor.
- Chocolate Hazelnut Twist: Add ¼ cup (60ml) of hazelnut spread swirled in between the layers for a nutty surprise. Just dollop it gently before adding the next spoonful of batter.
- Berry Swirl: Fold in ½ cup (75g) fresh or frozen raspberries into the vanilla batter for a fruity pop that brightens the classic flavor.
- Gluten-Free Option: Swap all-purpose flour for a 1:1 gluten-free baking flour. The texture is slightly denser but still delicious. Make sure your cocoa powder is gluten-free too!
- Vegan Version: Use flax eggs (3 tablespoons ground flaxseed mixed with 9 tablespoons water) instead of eggs, vegan butter, and plant-based milk. The batter may be a bit thicker, so adjust with a splash more milk.
If you want a gluten-free option, swapping all-purpose flour with almond flour works nicely, though the texture will be a bit more crumbly. For a dairy-free twist, use coconut or almond milk and vegan butter substitutes, and the recipe still turns out delightful.
Equipment Needed
To make these homemade zebra cakes, you’ll need just a few kitchen essentials. A standard mixing bowl and a hand mixer or stand mixer make life easier but a whisk and some elbow grease can do the trick too. I use a 9-inch (23cm) round cake pan for the best shape and stripe effect.
If you don’t have a 9-inch pan, an 8-inch (20cm) pan works too—just adjust baking time slightly. For cleanup, I find silicone spatulas the easiest, and keeping a kitchen towel handy helps with sticky batter drips. Don’t fret if you’re on a budget; these tools are pretty standard and will serve you well beyond this recipe.
Preparation Method
Tip: If your batter seems too thick to layer nicely, add a splash more milk (1 tablespoon at a time) until it flows smoothly but isn’t runny. And if your cakes bake unevenly, rotate the pan halfway through baking for even heat distribution.
Cooking Tips & Techniques
Making homemade zebra cakes is all about patience and technique, but a few insider tips can save you from common pitfalls. First, be sure to soften your butter well before starting—cold butter won’t cream properly and can leave lumps.
When mixing the batter, avoid overbeating once you add the flour. Overmixing develops gluten, which makes the cake dense, not light and tender like you want. You know what I learned the hard way? Rushing this step leads to tough cakes every time.
Layering the batter in the center is key to getting those perfect zebra stripes. Resist the urge to spread or swirl; the batter will naturally spread out during baking. If you try to manipulate it, you’ll lose the effect. Also, keep your spoonfuls consistent in size for even rings.
Timing is everything here. Set a timer so you don’t overbake—the cakes dry out fast once past their prime. I like to check around 35 minutes with a toothpick, then every couple of minutes after. Lastly, cooling is crucial. Pulling the cake out too soon can make it fall apart, and leaving it too long in the pan traps steam and ruins the crisp pattern.
Variations & Adaptations
One of the best parts about this homemade zebra cakes recipe is how easy it is to customize. Here are some variations I’ve tried and loved:
Trying different baking pans is also fun—muffin tins make adorable individual zebra cakes perfect for lunchboxes or parties. Just reduce baking time to about 18-22 minutes. I once swapped in coffee powder to the cocoa batter for a mocha flavor that was surprisingly addictive!
Serving & Storage Suggestions
Serve these zebra cakes slightly warm or at room temperature to enjoy their soft, tender crumb. They look stunning sliced, showing off those hypnotic black-and-white rings, so slice carefully with a serrated knife for neat cuts.
Pair them with a scoop of vanilla ice cream or a dollop of whipped cream for a simple, elegant dessert. For drinks, a cup of strong coffee or a creamy hot chocolate complements the chocolate and vanilla flavors beautifully.
To store, wrap the cooled cakes tightly in plastic wrap or place in an airtight container. They keep well at room temperature for up to 2 days. For longer storage, refrigerate for up to a week or freeze for up to 3 months. When freezing, slice and separate layers with parchment paper to avoid sticking.
Reheat gently in a microwave for 15-20 seconds or warm in a low oven (300°F / 150°C) wrapped in foil for 10 minutes. Flavors actually deepen and the texture softens after a day or two, so sometimes waiting a bit pays off.
Nutritional Information & Benefits
One slice (about 1/12 of the cake) of these homemade zebra cakes contains approximately:
| Calories | 220 |
|---|---|
| Fat | 10g |
| Saturated Fat | 6g |
| Carbohydrates | 30g |
| Sugar | 18g |
| Protein | 3g |
The key ingredients like eggs provide quality protein and the cocoa powder is rich in antioxidants, which is a nice bonus. Using whole milk and real butter adds richness but also nutrients like calcium and vitamin A. For those watching carbs, swapping sugar with a natural sweetener can reduce sugar content, though it affects texture slightly.
Keep in mind, this recipe contains dairy, gluten, and eggs, so it’s not suitable for those with allergies to those ingredients unless adapted. From a wellness standpoint, this homemade zebra cakes recipe is a treat that balances indulgence with wholesome ingredients—just the kind of sweet escape you want now and then.
Conclusion
If you’re looking for a show-stopping yet easy-to-make treat, this homemade zebra cakes recipe is absolutely worth trying. It’s got the perfect balance of chocolate and vanilla, a moist texture, and that fun zebra pattern that never fails to impress. You can tweak it to suit your taste or dietary needs, making it a versatile recipe to keep close.
Personally, I love this recipe because it brings back wonderful memories while giving me that warm, cozy feeling of homemade comfort food. Give it a shot, and I’d love to hear how you customize it or what moments you share it with. Don’t forget to leave a comment or share your photos—I’m always here to cheer on your baking adventures!
FAQs About Homemade Zebra Cakes
What makes zebra cakes different from regular marble cakes?
Zebra cakes have distinct, even rings of chocolate and vanilla batter layered to resemble zebra stripes, whereas marble cakes have a more random swirl pattern. The layering technique is key to that classic look.
Can I make this recipe gluten-free?
Yes! Swap the all-purpose flour for a 1:1 gluten-free baking flour blend and ensure your cocoa powder is gluten-free. The texture will be a bit denser but still tasty.
How do I store leftover zebra cakes?
Store cooled cakes in an airtight container at room temperature for 2 days, refrigerate up to a week, or freeze slices for up to 3 months. Thaw before serving.
Can I use oil instead of butter?
You can, but butter adds flavor and helps with the cake’s structure. If using oil, stick to a neutral-flavored one like vegetable or canola and expect a slightly different texture.
Why is my zebra cake not showing clear stripes?
Make sure you spoon the batter slowly and always into the center of the pan. Also, avoid spreading or swirling. The batter’s consistency should be pourable but not too runny for distinct rings.
Pin This Recipe!
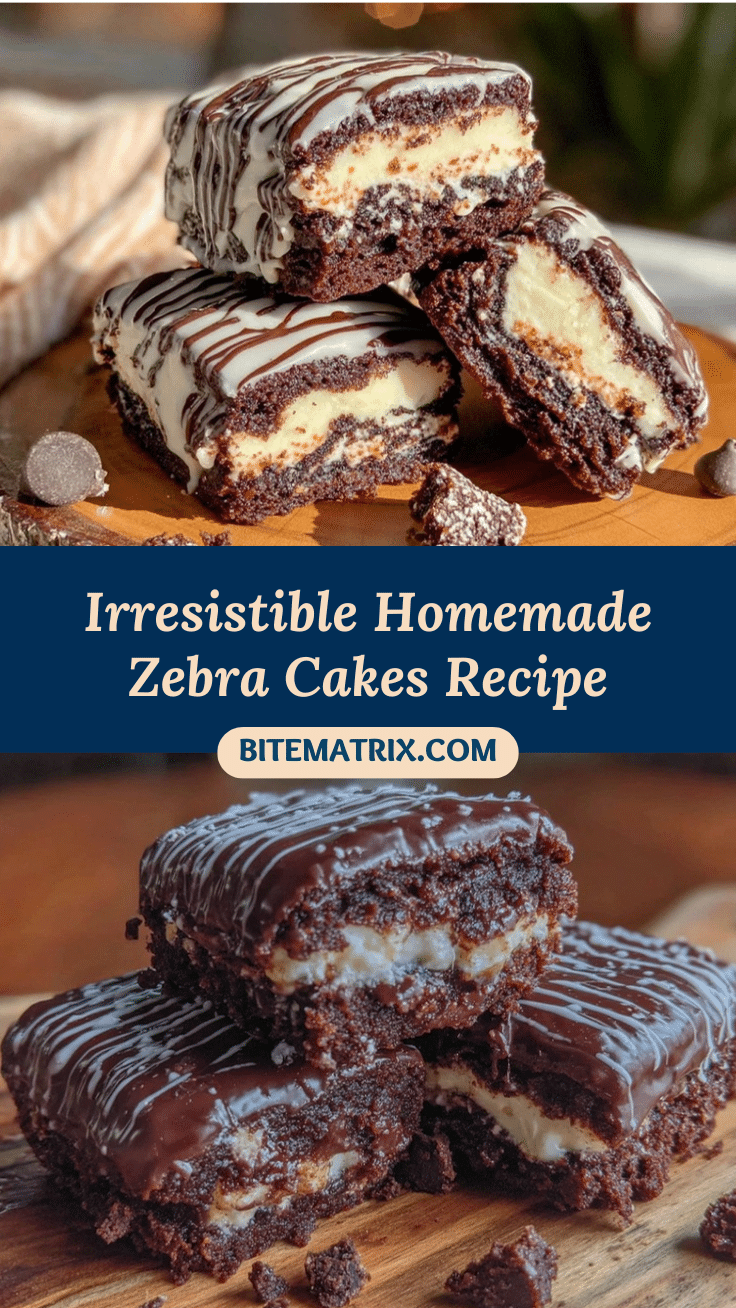
Irresistible Homemade Zebra Cakes

A nostalgic and delicious homemade zebra cake recipe featuring striking black-and-white stripes with a moist vanilla and cocoa batter. Perfect for any occasion and easy to make with simple pantry ingredients.
- Prep Time: 15 minutes
- Cook Time: 35-40 minutes
- Total Time: 50-55 minutes
- Yield: 12 servings 1x
- Category: Dessert
- Cuisine: American
Ingredients
- 2 cups (240g) all-purpose flour, sifted
- 2 teaspoons (8g) baking powder
- 1/4 teaspoon (1.5g) salt
- 1 cup (200g) granulated sugar
- 1/2 cup (115g) unsalted butter, softened
- 3 large eggs, room temperature
- 3/4 cup (180ml) whole milk
- 2 teaspoons (10ml) pure vanilla extract
- 1/3 cup (35g) unsweetened cocoa powder, sifted
- Optional toppings:
- Powdered sugar for dusting
- Chocolate glaze (melt semi-sweet chocolate with a splash of cream)
Instructions
- Preheat your oven to 350°F (175°C) and position the rack in the middle.
- Grease a 9-inch round cake pan with butter or non-stick spray and line the bottom with parchment paper.
- In a bowl, sift together the flour, baking powder, and salt. Set aside.
- In a large bowl, beat the softened butter and granulated sugar on medium speed until light and fluffy, about 3-4 minutes.
- Add eggs one at a time, mixing well after each addition.
- Stir in the vanilla extract.
- With the mixer on low, add the dry ingredients in three parts, alternating with the milk, starting and ending with the flour mixture. Mix just until combined.
- Scoop about 1⅓ cups (320g) of batter into a separate bowl and mix in the cocoa powder until smooth to create the chocolate batter.
- In the center of the prepared pan, spoon 2 tablespoons of vanilla batter, then 2 tablespoons of chocolate batter on top. Repeat layering alternately, always spooning in the center, to form rings.
- Gently tap the pan on the counter to settle the batter.
- Bake for 35-40 minutes until the cake springs back lightly and a toothpick inserted comes out clean or with a few moist crumbs.
- Cool the cake in the pan for 15 minutes, then transfer to a wire rack to cool completely.
- Optionally, dust with powdered sugar or drizzle with chocolate glaze before serving.
Notes
If batter is too thick for layering, add milk 1 tablespoon at a time until pourable but not runny. Rotate pan halfway through baking for even cooking. Soften butter well before creaming. Avoid overmixing after adding flour to keep cake tender. Layer batter by spooning in the center without spreading to maintain zebra stripes.
Nutrition
- Serving Size: 1 slice (1/12 of cak
- Calories: 220
- Sugar: 18
- Fat: 10
- Saturated Fat: 6
- Carbohydrates: 30
- Protein: 3
Keywords: zebra cake, homemade zebra cakes, chocolate vanilla cake, striped cake, easy cake recipe, nostalgic dessert, layered cake


