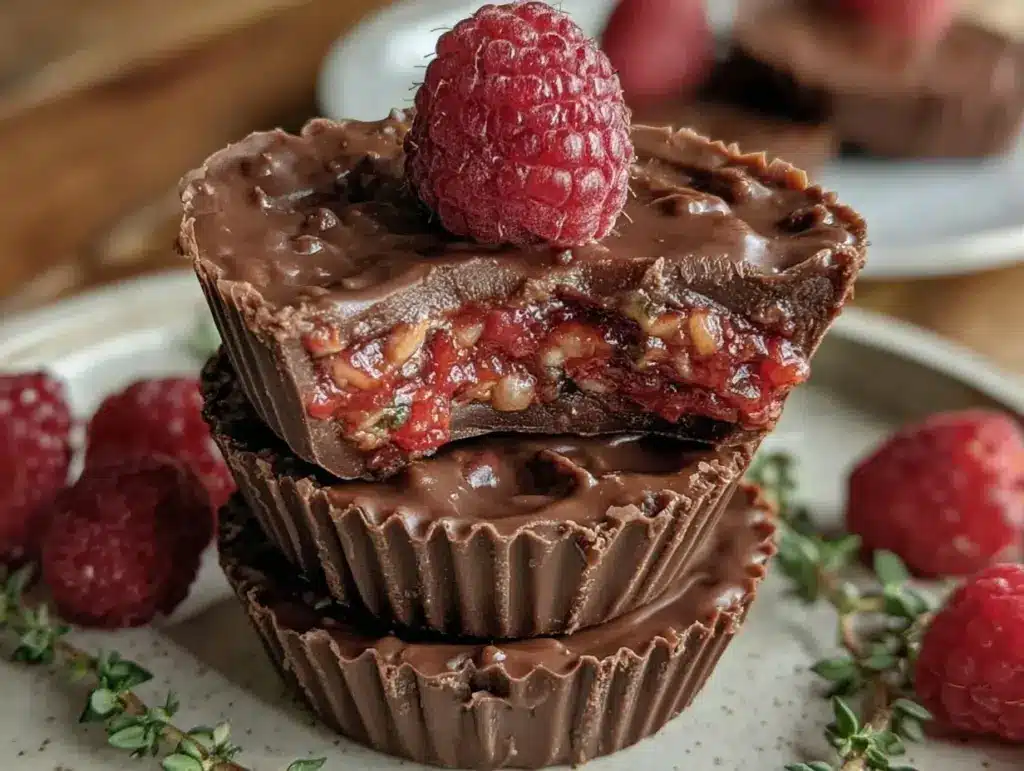
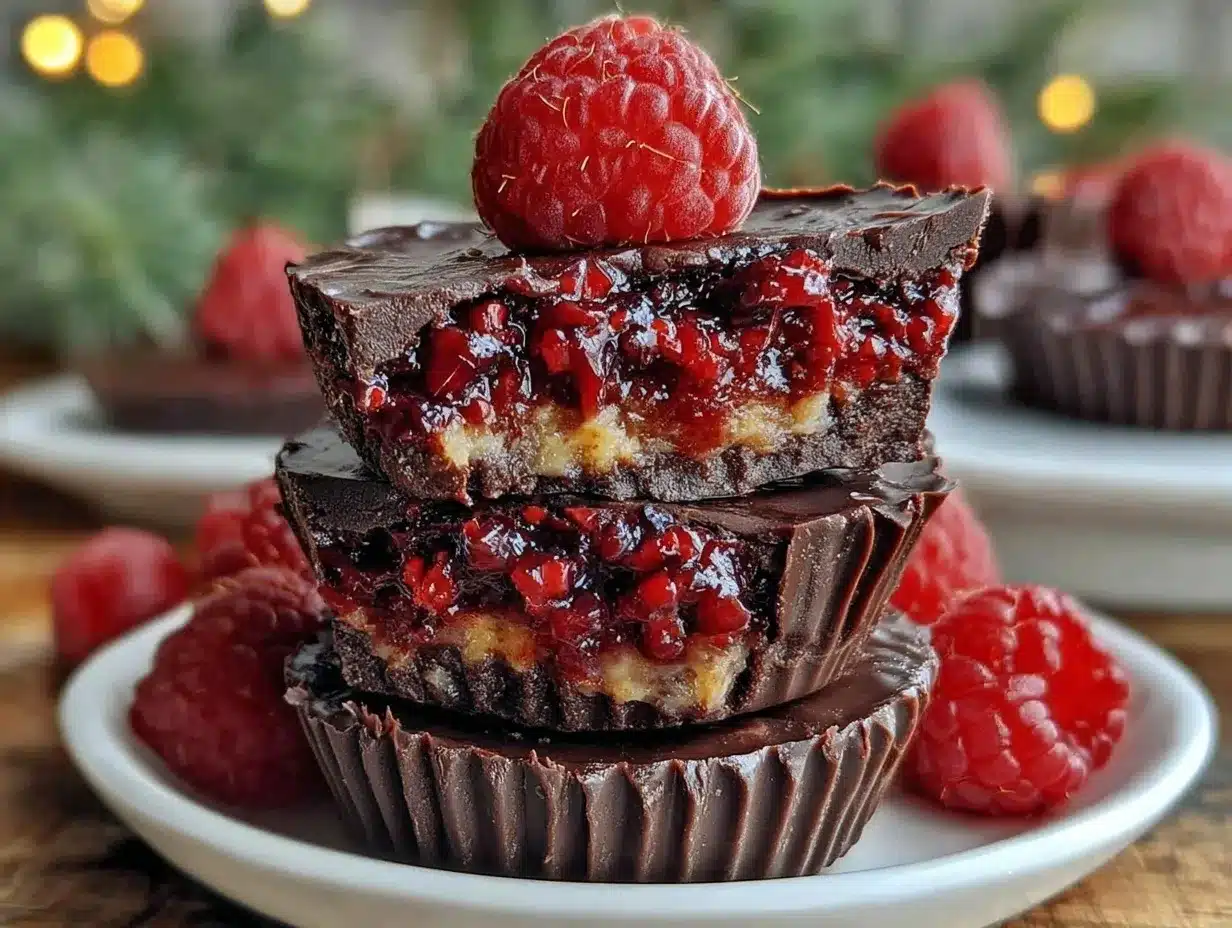
Imagine biting into a rich, velvety chocolate shell that gives way to a burst of tangy raspberry filling—pure bliss, right? The first time I made these Perfect Chocolate Raspberry Cups, the kitchen smelled like a confectionery dream. The combination of sweet and tart, paired with the smooth texture of chocolate, is the kind of treat you savor slowly, letting each bite take you somewhere magical. They’re the perfect indulgence for a cozy night in, a romantic dessert, or a simple treat to brighten your day. And let me tell you, my family couldn’t stop sneaking them off the tray—no matter how stealthy I tried to be!
These cups were born out of my love for chocolate and berries. Years ago, I tried something similar at a quaint little bakery, and I couldn’t stop thinking about the flavor combo. So, I set out to recreate them at home. After a few (delicious) experiments, I finally nailed the recipe that has since become a staple for celebrations, gifting, and, honestly, those “just because” moments. You know the kind—the kind of treat that feels like a hug in dessert form. Bookmark this recipe now, because trust me, you’ll want it in your life forever.
Why You’ll Love This Recipe
- Quick & Easy: These chocolate raspberry cups come together in under 30 minutes, making them perfect for last-minute treats.
- Simple Ingredients: No need for fancy shopping trips—you probably already have everything you need in your pantry and fridge.
- Perfect for Any Occasion: Whether it’s a romantic night, a potluck, or a sweet addition to your dessert table, these cups fit the bill.
- Crowd-Pleaser: Kids and adults alike love the balance of rich chocolate and tart raspberry.
- Unbelievably Delicious: The combination of the smooth, creamy chocolate with the zingy raspberry filling is heavenly.
What sets this recipe apart is the homemade raspberry filling—it’s not just a dollop of jam but a fresh, flavorful mixture that sings. Plus, the chocolate shells are silky smooth and have the perfect snap when you bite into them. If you’re looking for a dessert that’s equal parts stunning and simple, this is it. And let’s be honest, who doesn’t love the combination of chocolate and raspberries? It’s like a love story for your taste buds.
What Ingredients You Will Need
This recipe uses simple, wholesome ingredients to create a dessert that feels anything but basic. Here’s what you’ll need:
- Dark chocolate chips: Choose high-quality chocolate for the best flavor and texture.
- Fresh raspberries: Sweet and tart, these are the star of the show. (Frozen raspberries work too, just thaw and drain them first.)
- Powdered sugar: Adds a touch of sweetness to the filling.
- Cream cheese: Softened to room temperature for a creamy, tangy filling.
- Vanilla extract: For a hint of warmth and depth in the filling.
- Coconut oil: Helps the chocolate melt smoothly and gives it a glossy finish.
If you’re feeling adventurous, you can swap out the raspberries for other berries like strawberries or blackberries. And, if you’re looking for a dairy-free option, you can use vegan cream cheese and dairy-free chocolate chips without sacrificing flavor.
Equipment Needed
You don’t need fancy equipment to make these chocolate raspberry cups, but a few tools will make the process easier:
- Microwave-safe bowl: For melting chocolate quickly and evenly.
- Small spoon: Essential for spreading melted chocolate and filling the cups.
- Silicone muffin molds or mini cupcake liners: These make for easy chocolate cups and no sticking.
- Hand mixer or whisk: To whip up the creamy raspberry filling effortlessly.
If you don’t have silicone molds, regular paper cupcake liners will work beautifully. I’ve used those in a pinch, and they peel off the chocolate cups just as easily.
Preparation Method
- Prepare your molds: Line a mini muffin tin with silicone molds or paper cupcake liners.
- Melt the chocolate: Place the dark chocolate chips and coconut oil in a microwave-safe bowl. Heat in 20-second intervals, stirring between each, until smooth and glossy.
- Create the chocolate shell: Spoon a small amount of melted chocolate into each mold, spreading it up the sides with the back of the spoon. Place the molds in the freezer for 10 minutes to set.
- Make the raspberry filling: In a mixing bowl, combine the cream cheese, powdered sugar, vanilla extract, and mashed raspberries. Mix until smooth and creamy.
- Fill the cups: Spoon a small dollop of raspberry filling into each chocolate shell, leaving room at the top for the final chocolate layer.
- Seal the cups: Spoon more melted chocolate on top of the raspberry filling to cover it completely. Smooth the surface with the back of your spoon.
- Chill to set: Place the filled cups back into the freezer for at least 15 minutes, or until the chocolate is firm.
- Serve and enjoy: Gently pop the cups out of the molds and serve immediately or store them for later.
Keep an eye on the chocolate while melting—overheating can cause it to seize up. If this happens, add a bit more coconut oil and stir until smooth again. And don’t skimp on the chocolate shell thickness; it’s what holds everything together!
Cooking Tips & Techniques
Here are some tried-and-true tips to make sure your chocolate raspberry cups turn out perfectly:
- Use high-quality chocolate: The better the chocolate, the better the flavor. Look for brands with high cocoa content.
- Don’t overfill the cups: Leave enough space for the top chocolate layer to seal everything in.
- Work quickly: Melted chocolate can start to harden if left out too long. Keep it warm by stirring it occasionally.
- Chill thoroughly: Let the cups set completely for the best texture and easy removal from molds.
- Experiment with flavors: Add a pinch of sea salt to the chocolate shell for a sweet-and-salty twist.
If your chocolate is too thick when melted, add a little more coconut oil to thin it out. And trust me, freezing between steps will save you from a sticky mess!
Variations & Adaptations
This recipe is wonderfully versatile! Here are a few ways to switch things up:
- Dietary swaps: Make it vegan by using dairy-free chocolate chips and vegan cream cheese.
- Seasonal twists: Swap raspberries for strawberries or blueberries when they’re in season.
- Flavor boost: Add a splash of raspberry liqueur to the filling for an adult-friendly treat.
- Nutty addition: Sprinkle chopped nuts like almonds or hazelnuts into the chocolate shell for added crunch.
My personal favorite? Adding a dash of espresso powder to the melted chocolate for a mocha-inspired version. It’s a game-changer!
Serving & Storage Suggestions
These chocolate raspberry cups are best served chilled straight from the fridge or slightly softened at room temperature (about 5 minutes). Arrange them on a pretty plate for an eye-catching dessert display, or serve them in their molds for a casual presentation. Pair with a cup of coffee, tea, or even a glass of bubbly for an elegant touch.
To store, keep them in an airtight container in the refrigerator for up to 5 days. For longer storage, place them in the freezer for up to 1 month. When you’re ready to enjoy, let them thaw in the fridge for 20-30 minutes before serving. Just be warned—the flavors intensify over time, so you might find them even more irresistible after a day or two!
Nutritional Information & Benefits
Here’s a quick summary of the nutritional benefits:
- Dark chocolate: Rich in antioxidants and known for supporting heart health.
- Raspberries: Packed with vitamin C and fiber, they add a fresh, healthy twist.
- Coconut oil: Provides healthy fats and helps create the perfect chocolate texture.
Each cup contains approximately 120-150 calories, depending on size and ingredients used. They’re naturally gluten-free, and with a few simple swaps, they can also be made vegan or dairy-free!
Conclusion
If you’re looking for a dessert that’s easy, elegant, and absolutely delicious, these Perfect Chocolate Raspberry Cups are it. The combination of rich chocolate and tangy raspberry is one of those classic pairings that never goes out of style. Plus, they’re endlessly customizable to suit your taste and dietary needs.
Now it’s your turn! Try the recipe yourself, and let me know how it goes. I’d love to hear about your variations, tips, and feedback in the comments below. Happy baking!
FAQs
Can I use milk chocolate instead of dark chocolate?
Absolutely! Milk chocolate will give a sweeter, creamier flavor. Just make sure to adjust the sweetness of the raspberry filling if needed.
Can I make these ahead of time?
Yes, these cups can be made up to 5 days in advance and stored in the refrigerator. They’re great for prepping ahead!
What if I don’t have coconut oil?
You can use butter or vegetable oil instead. Coconut oil helps with the texture, but other fats will work in a pinch.
Can I freeze these cups?
Yes, they freeze beautifully! Just store them in a freezer-safe container for up to 1 month and thaw as needed.
Can I make these without molds?
If you don’t have molds, you can use mini cupcake liners or even make them in a regular muffin tin lined with parchment paper.
Pin This Recipe!
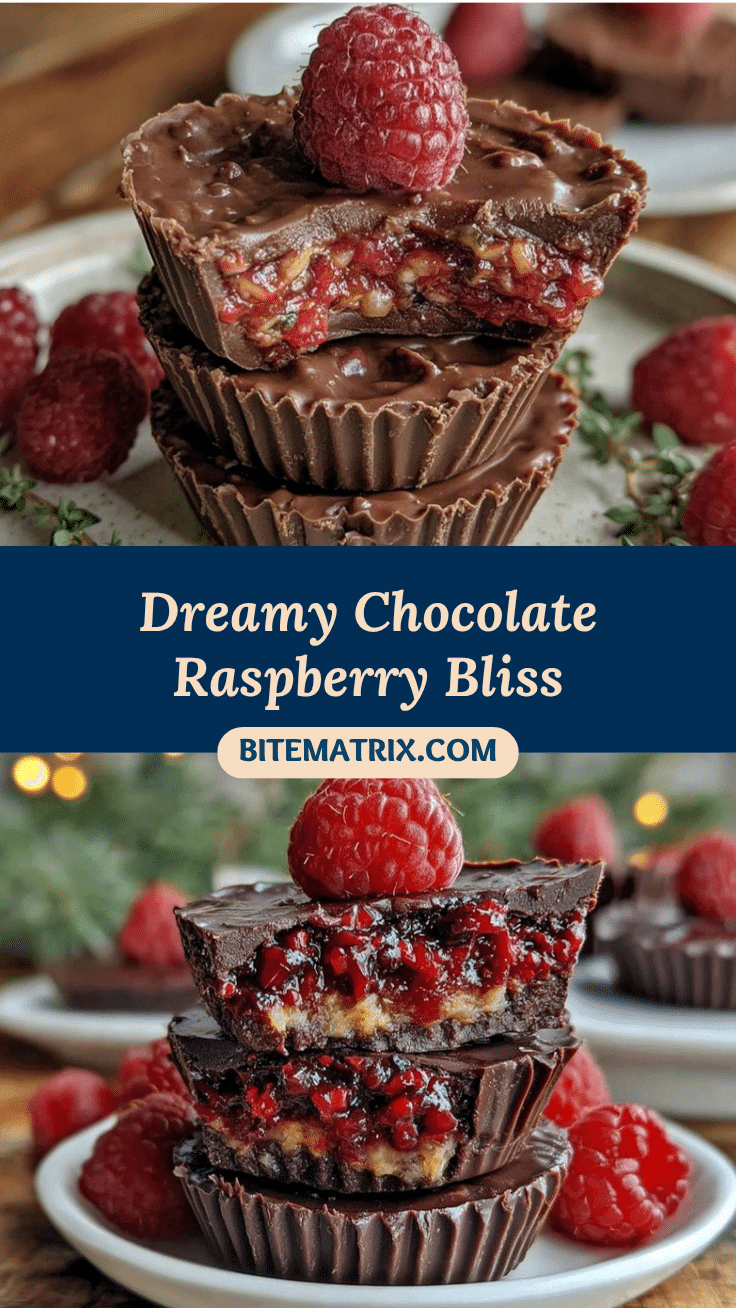
Perfect Chocolate Raspberry Cups

Rich, velvety chocolate cups filled with tangy raspberry filling, perfect for any occasion. A delightful combination of sweet and tart flavors that will leave you wanting more.
- Prep Time: 10 minutes
- Cook Time: 20 minutes
- Total Time: 30 minutes
- Yield: 12 cups 1x
- Category: Dessert
- Cuisine: American
Ingredients
- 1 cup dark chocolate chips
- 1 tablespoon coconut oil
- 1 cup fresh raspberries (or thawed and drained frozen raspberries)
- 2 tablespoons powdered sugar
- 4 ounces cream cheese, softened
- 1 teaspoon vanilla extract
Instructions
- Prepare your molds: Line a mini muffin tin with silicone molds or paper cupcake liners.
- Melt the chocolate: Place the dark chocolate chips and coconut oil in a microwave-safe bowl. Heat in 20-second intervals, stirring between each, until smooth and glossy.
- Create the chocolate shell: Spoon a small amount of melted chocolate into each mold, spreading it up the sides with the back of the spoon. Place the molds in the freezer for 10 minutes to set.
- Make the raspberry filling: In a mixing bowl, combine the cream cheese, powdered sugar, vanilla extract, and mashed raspberries. Mix until smooth and creamy.
- Fill the cups: Spoon a small dollop of raspberry filling into each chocolate shell, leaving room at the top for the final chocolate layer.
- Seal the cups: Spoon more melted chocolate on top of the raspberry filling to cover it completely. Smooth the surface with the back of your spoon.
- Chill to set: Place the filled cups back into the freezer for at least 15 minutes, or until the chocolate is firm.
- Serve and enjoy: Gently pop the cups out of the molds and serve immediately or store them for later.
Notes
Use high-quality chocolate for the best flavor. Chill thoroughly between steps to ensure the cups set properly. Experiment with flavors by adding sea salt or espresso powder to the chocolate.
Nutrition
- Serving Size: 1 cup
- Calories: 135
- Sugar: 9
- Sodium: 25
- Fat: 9
- Saturated Fat: 5
- Carbohydrates: 12
- Fiber: 2
- Protein: 2
Keywords: chocolate raspberry cups, easy dessert, gluten-free dessert, homemade chocolate cups, raspberry filling


