“You really think you can pull off a patriotic cake that looks like a flag?” my neighbor asked, eyeing the mess of bowls and bright food coloring stains all over my counter. Honestly, I wasn’t sure either. It started as a last-minute idea for the Fourth of July barbecue when all the store-bought desserts looked tired and uninspired. I had some leftover cream cheese frosting from a cheesecake experiment and thought, why not try layering red, white, and blue cake to mimic the American flag? No big plan, just a hope that it would turn out festive enough.
As I mixed the batter, the kitchen filled with that warm vanilla scent, and I realized this was going to be more fun than stressful. The vibrant red and deep blue layers came together in the oven beautifully — I couldn’t stop sneaking tastes (and yes, the cream cheese frosting was the star of the show). By the time I assembled the cake, the colors popped so perfectly that my neighbor was suddenly a believer, even joking about stealing a slice before the guests arrived.
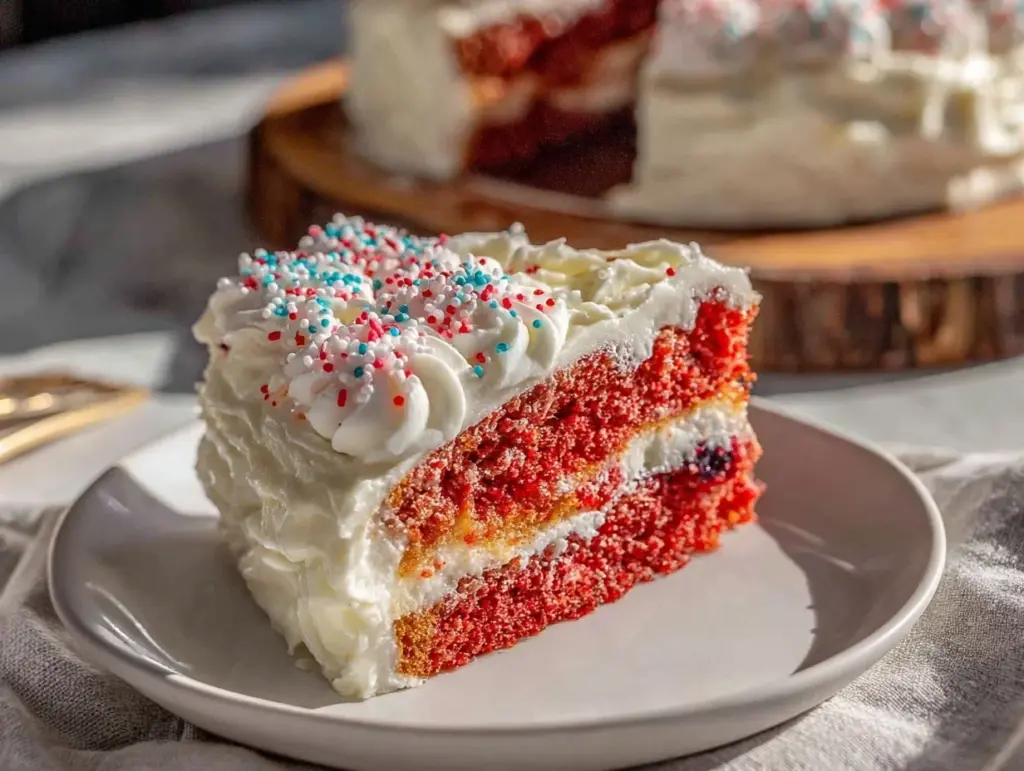
That first accidental win made this Perfect Red White and Blue Flag Cake with Cream Cheese Frosting my go-to for patriotic celebrations. It’s not just about the looks — the moist crumb and tangy frosting make it something you’ll want to slice into, no matter the occasion. There’s just something quietly satisfying about biting into a cake that feels like a small celebration in every forkful.
Why You’ll Love This Recipe
This recipe isn’t your average holiday dessert thrown together for the sake of theme. It’s been tested multiple times (I might have made it three weekends in a row last summer) and refined to deliver the perfect balance of flavor and festive flair. Here’s why it’s a staple in my recipe box:
- Quick & Easy: You’ll have the batter ready in about 20 minutes, and the whole cake comes together in under 90 minutes, including baking and assembly — perfect for busy hosts or last-minute plans.
- Simple Ingredients: No obscure spices or fancy imports needed. Everything is probably already in your pantry or fridge, including the cream cheese frosting, which is super straightforward to whip up.
- Perfect for Patriotic Gatherings: Whether it’s the 4th of July, Memorial Day, or just a summer picnic, this cake fits right in and impresses without stress.
- Crowd-Pleaser: Kids love the bright colors, and adults appreciate the moist texture and tangy frosting combo — it’s a rare dessert that truly bridges generations.
- Unbelievably Delicious: The cream cheese frosting isn’t just decoration; it adds a luscious tang that cuts through the sweetness and keeps each bite balanced.
What sets this cake apart? The layering technique — each colored cake layer is baked separately for vibrant, clean stripes, and the cream cheese frosting is spread just right to keep things neat but dreamy. It’s not just a flag; it’s a flavor showstopper. Honestly, it’s the kind of dessert that makes you pause for a moment and savor the celebration.
What Ingredients You Will Need
This recipe uses simple, wholesome ingredients to deliver bold flavors and that perfect moist crumb without the fuss. Each component plays its part, from the cake layers to the frosting, and you can easily find them at your local store.
- For the Cake Batter:
- All-purpose flour – 2 1/2 cups (310g), sifted for lightness
- Baking powder – 2 1/2 tsp (10g), to help it rise just right
- Salt – 1/2 tsp (3g), balances the sweetness
- Unsalted butter – 1 cup (226g), softened (I prefer Land O’Lakes for creaminess)
- Granulated sugar – 2 cups (400g), for that classic sweet base
- Large eggs – 4, room temperature (this helps with even mixing)
- Vanilla extract – 2 tsp (10ml), pure, for warmth
- Buttermilk – 1 cup (240ml), room temperature for moistness (substitute with milk + 1 tbsp vinegar if needed)
- Red and blue gel food coloring – concentrated colors work best to keep the batter vibrant (Wilton brand is reliable)
- For the Cream Cheese Frosting:
- Cream cheese – 8 oz (225g), softened (look for full-fat for best texture)
- Unsalted butter – 1/2 cup (113g), softened
- Powdered sugar – 4 cups (500g), sifted to avoid lumps
- Vanilla extract – 1 tsp (5ml)
- Pinch of salt – just a touch to balance sweetness
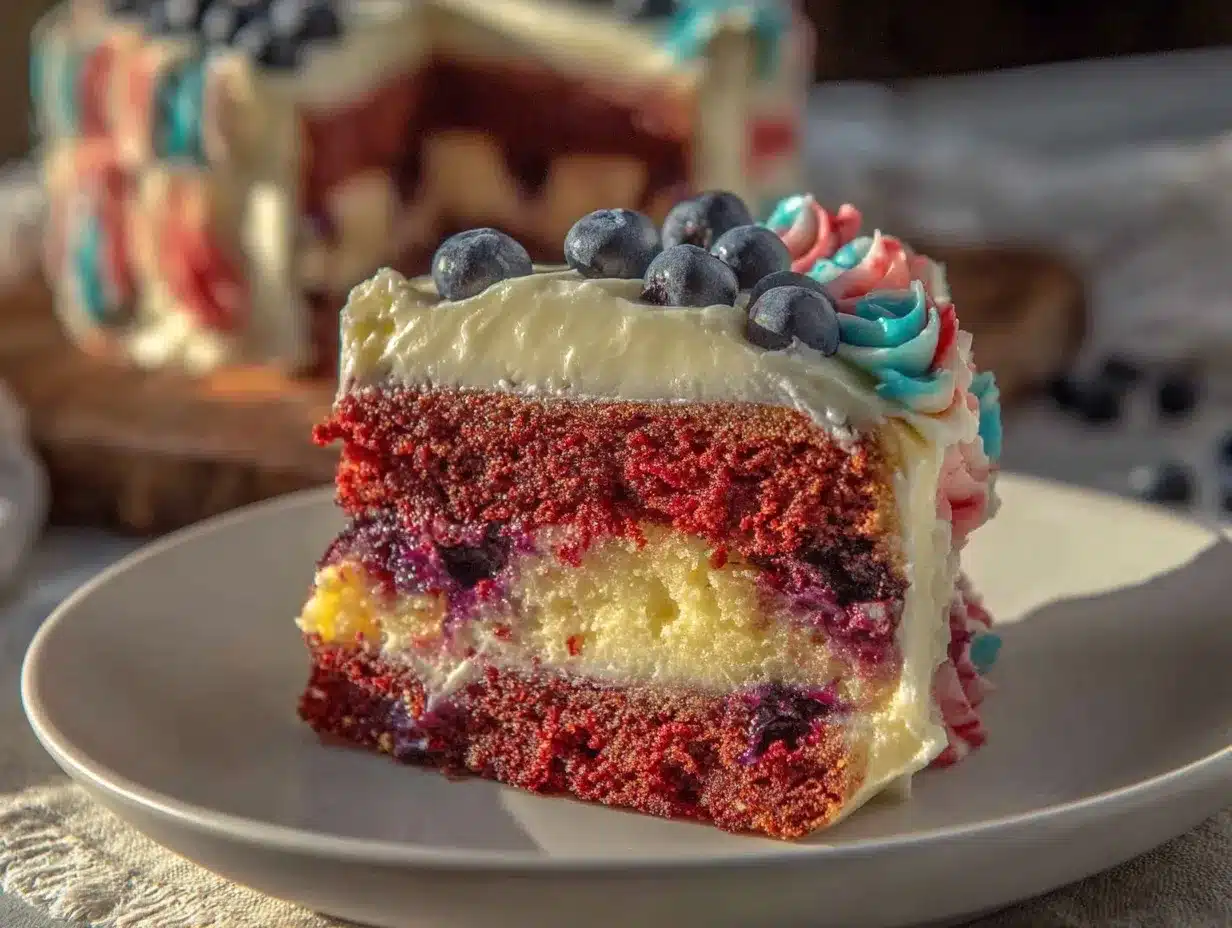
You can swap all-purpose flour for a gluten-free blend if needed, and for dairy-free options, use vegan butter and cream cheese alternatives. For seasonal twists, fresh blueberries or strawberries can garnish the top beautifully, tying in a juicy freshness reminiscent of the red white and blue berry trifle.
Equipment Needed
To make this flag cake come together without a hitch, here’s what you’ll want on hand:
- Three 8-inch (20 cm) round cake pans – non-stick or well-greased to avoid sticking
- Mixing bowls – at least two, to divide batter for coloring
- Electric mixer – handheld or stand mixer for smooth batter and frosting (I’ve used both; a stand mixer saves your wrists!)
- Measuring cups and spoons – for precise ingredient amounts
- Rubber spatula – perfect for folding and scraping bowls
- Cooling racks – crucial for letting cakes cool evenly without sogginess
- Offset spatula or butter knife – for spreading frosting cleanly
No fancy gadgets needed, but if you want to get creative, a piping bag can help with decorating edges. For budget-friendly options, silicone cake pans work well and clean up easily. Just remember to line pans with parchment paper circles to make removing the cakes a breeze — trust me, it’s worth the extra step.
Preparation Method
- Preheat and Prep: Set your oven to 350°F (175°C). Grease three 8-inch cake pans with butter and line the bottoms with parchment paper. This keeps everything smooth when it’s time to flip the cakes out.
- Mix Dry Ingredients: In a medium bowl, whisk together 2 1/2 cups (310g) sifted flour, 2 1/2 tsp baking powder, and 1/2 tsp salt. Set aside.
- Cream Butter and Sugar: Using an electric mixer, beat 1 cup (226g) softened butter with 2 cups (400g) sugar until light and fluffy, about 3-4 minutes. This step is crucial for a tender crumb.
- Add Eggs and Vanilla: Beat in 4 large eggs, one at a time, making sure each is fully incorporated. Then add 2 tsp vanilla extract.
- Alternate Adding Dry Ingredients and Buttermilk: With the mixer on low, add the dry ingredients in three parts, alternating with 1 cup (240ml) buttermilk, starting and ending with dry. Mix just until combined — overmixing can make the cake dense.
- Divide and Color Batter: Divide the batter evenly into three bowls. Leave one plain (white), add red gel food coloring to one, and blue gel food coloring to the other. Start with a small amount and add more to reach your desired vibrant shades.
- Bake the Layers: Pour each colored batter into its prepared pan. Bake for 25-30 minutes or until a toothpick inserted in the center comes out clean. Rotate pans halfway through baking for even cooking.
- Cool Completely: Remove cakes from oven and let cool in pans for 10 minutes. Then transfer to cooling racks to cool completely before frosting.
- Make the Frosting: Beat 8 oz (225g) softened cream cheese with 1/2 cup (113g) softened butter until smooth. Gradually add 4 cups (500g) powdered sugar, 1 tsp vanilla, and a pinch of salt. Beat until fluffy and spreadable.
- Assemble the Cake: Place the blue layer on your serving plate (this will be the top-left corner of the flag). Spread a thin layer of frosting on top. Next, add the white layer, then red, frosting between each. Use the remaining frosting to cover the entire cake smoothly, creating a clean, flag-like finish.
- Chill and Serve: Refrigerate for at least 30 minutes to let the frosting set before slicing. This helps keep those clean flag stripes intact.
If you notice your frosting is too soft, pop it in the fridge for 10 minutes and then try again. And if your cake layers dome in the middle, slice off the tops with a serrated knife to keep everything flat and flag-perfect. Trust me, a steady hand with the offset spatula makes all the difference for that crisp finish.
Cooking Tips & Techniques
Getting this cake just right takes a few little tricks I picked up after a couple of frosting disasters and color mishaps:
- Use gel food coloring: Regular liquid coloring thins the batter and dulls the colors. Gel stays vibrant without affecting texture.
- Don’t overmix: Once you add the flour, mix until just combined. Overmixing can lead to tough cake layers — nobody wants that.
- Bake layers separately: It might seem like extra dishes, but baking each color in its own pan keeps the stripes sharp and clean.
- Level your cakes: After cooling, level the cakes if they dome. This helps the flag layers stack neatly without wobbling.
- Frost in a cool kitchen: Warm rooms can make cream cheese frosting too soft to spread easily. Chill your cake layers or frosting if needed.
- Keep frosting smooth: Beat frosting until fluffy but not over-whipped; otherwise, it can become grainy.
- Plan your timing: You can bake the layers a day ahead and keep them wrapped in the fridge. Assemble and frost on the day of serving for freshest results.
I remember the first time I tried to frost this cake on a hot afternoon — the frosting melted right off! Lesson learned: keep it cool and take your time. And if you’re interested in a no-bake creamy twist for summer, you might enjoy the easy no-bake strawberry cheesecake cups as a refreshing companion dessert.
Variations & Adaptations
Every celebration is different, so feel free to tweak this recipe to fit your occasion or dietary needs:
- Gluten-Free Version: Swap all-purpose flour for a 1-to-1 gluten-free baking flour blend. The texture will be slightly different but still delightful.
- Vegan Adaptation: Use plant-based butter and cream cheese substitutes, and replace eggs with flax eggs (1 tbsp ground flaxseed + 3 tbsp water per egg). Baking powder helps with rise.
- Flavor Twists: Add lemon zest to the batter for a subtle citrus brightness or fold in fresh blueberries into the blue layer for bursts of flavor.
- Alternative Frosting: Try a whipped coconut cream frosting for a lighter, dairy-free option—just keep in mind it won’t be as tangy as cream cheese.
- Flag Designs: Instead of layers, bake a sheet cake and pipe stars and stripes with colored frosting for a fun, less layered look.
Once, I swapped the cream cheese frosting for a smooth chocolate ganache to surprise my family. It was a hit, but that tangy frosting really remains my favorite. For a full meal that pairs well with this dessert, consider serving alongside a fresh, crisp salad like the fresh creamy cucumber dill salad for a perfect summer picnic spread.
Serving & Storage Suggestions
Serve this cake chilled or at room temperature — both work beautifully. The frosting firms up in the fridge, making slicing cleaner, but some folks prefer it softer and creamier right out of the fridge.
For presentation, a few fresh berries or edible stars made from fondant can make it even more festive. It pairs wonderfully with a cold drink like the fresh strawberry basil lemonade, which cuts through the richness.
Store leftovers in an airtight container in the refrigerator for up to 4 days. The flavors actually deepen and meld after a day, making slices even more delicious. For longer storage, you can freeze individual slices wrapped tightly in plastic wrap and foil for up to 2 months. Thaw overnight in the fridge before serving.
When reheating, avoid microwaving as it can make the frosting oily. Instead, let slices come to room temperature naturally for the best texture.
Nutritional Information & Benefits
Each slice of this Perfect Red White and Blue Flag Cake with Cream Cheese Frosting offers roughly 350-400 calories depending on slice size, with a comforting balance of fat, carbs, and protein from the butter, cream cheese, and eggs.
The cream cheese adds a dose of calcium and protein, while the buttermilk keeps the cake moist with fewer added fats. Using real vanilla and fresh ingredients means you avoid artificial flavors often found in store-bought cakes.
For those watching allergens, note this recipe contains dairy, eggs, and gluten, but the variations section offers several substitutions. It’s a treat that fits well into an occasional indulgence plan without feeling too heavy or overly sweet.
Conclusion
This cake is more than just a dessert — it’s a little celebration you can bake yourself. The bright layers, creamy frosting, and simple ingredients come together in a way that makes you want to share it with friends and family. It’s flexible, forgiving, and honestly, quite fun to make once you get the hang of the layering.
Whether you’re planning a backyard barbecue, a picnic, or just want to make a regular day feel special, this Perfect Red White and Blue Flag Cake with Cream Cheese Frosting is a recipe you’ll come back to. I love how it turns ordinary ingredients into something that feels festive and fresh every single time.
Give it a try, tweak it to your taste, and let me know how your flag cake turns out — I’d be thrilled to hear your versions and stories!
FAQs
Can I make this cake ahead of time?
Absolutely! You can bake the cake layers up to two days in advance and keep them wrapped tightly in the refrigerator. Assemble and frost just before serving for the freshest look and taste.
What if I don’t have buttermilk?
No worries. Use regular milk with 1 tablespoon of white vinegar or lemon juice added to it. Let it sit for 5 minutes to curdle before adding to the batter.
How do I prevent the colors from running or bleeding into each other?
Bake each colored batter separately in its own pan and let the layers cool completely before stacking and frosting. Chilling the layers slightly before assembly also helps keep colors sharp.
Can I use natural food coloring instead of gel?
Natural food colorings tend to be less vibrant and can affect the cake’s texture. If you want a bright red and blue, gel colors are your best bet for this recipe.
Is this recipe suitable for freezing?
Yes, you can freeze the assembled cake or individual slices. Wrap tightly in plastic wrap and foil, then thaw overnight in the refrigerator before serving.
Pin This Recipe!
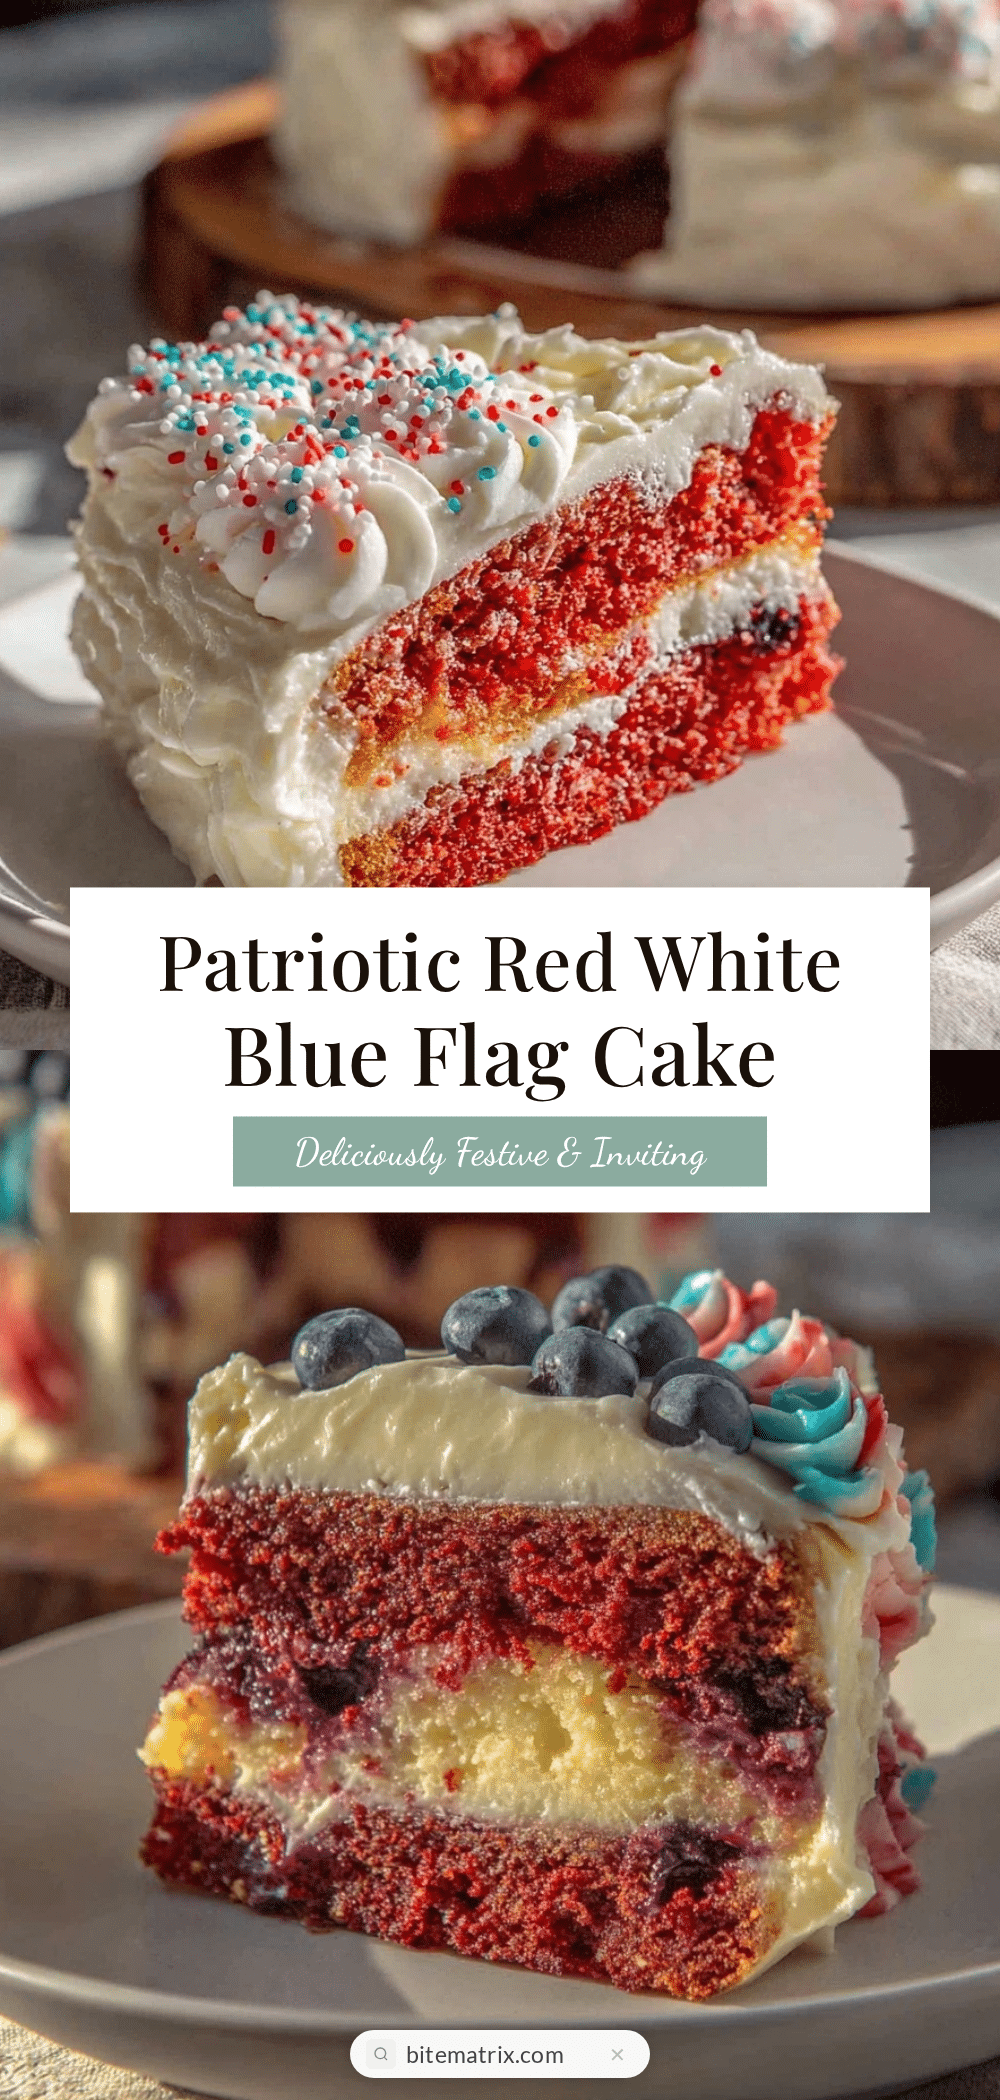
Perfect Red White and Blue Flag Cake Recipe with Cream Cheese Frosting
A festive and moist layered cake with vibrant red, white, and blue colors, topped with tangy cream cheese frosting, perfect for patriotic celebrations.
- Prep Time: 20 minutes
- Cook Time: 30 minutes
- Total Time: 50 minutes
- Yield: 12 servings 1x
- Category: Dessert
- Cuisine: American
Ingredients
- 2 1/2 cups (310g) all-purpose flour, sifted
- 2 1/2 tsp (10g) baking powder
- 1/2 tsp (3g) salt
- 1 cup (226g) unsalted butter, softened
- 2 cups (400g) granulated sugar
- 4 large eggs, room temperature
- 2 tsp (10ml) vanilla extract
- 1 cup (240ml) buttermilk, room temperature (or milk + 1 tbsp vinegar)
- Red gel food coloring
- Blue gel food coloring
- 8 oz (225g) cream cheese, softened
- 1/2 cup (113g) unsalted butter, softened
- 4 cups (500g) powdered sugar, sifted
- 1 tsp (5ml) vanilla extract
- Pinch of salt
Instructions
- Preheat oven to 350°F (175°C). Grease three 8-inch cake pans and line bottoms with parchment paper.
- In a medium bowl, whisk together flour, baking powder, and salt. Set aside.
- Using an electric mixer, beat butter and sugar until light and fluffy, about 3-4 minutes.
- Beat in eggs one at a time, then add vanilla extract.
- With mixer on low, alternate adding dry ingredients and buttermilk in three parts, starting and ending with dry ingredients. Mix until just combined.
- Divide batter evenly into three bowls. Leave one plain, add red gel food coloring to one, and blue gel food coloring to the other. Mix to desired color intensity.
- Pour each colored batter into prepared pans. Bake 25-30 minutes or until toothpick inserted comes out clean. Rotate pans halfway through baking.
- Cool cakes in pans for 10 minutes, then transfer to cooling racks to cool completely.
- For frosting, beat cream cheese and butter until smooth. Gradually add powdered sugar, vanilla, and salt. Beat until fluffy and spreadable.
- Assemble cake by placing blue layer on serving plate, spread thin layer of frosting. Add white layer, then red layer, frosting between each. Cover entire cake with remaining frosting.
- Refrigerate for at least 30 minutes before slicing to set frosting.
Notes
Use gel food coloring for vibrant colors without thinning batter. Bake each colored layer separately for clean stripes. Level cakes if domed before assembling. Chill frosting and cake layers if frosting is too soft. Cake layers can be baked a day ahead and refrigerated wrapped tightly.
Nutrition
- Serving Size: 1 slice (1/12th of c
- Calories: 375
- Sugar: 38
- Sodium: 280
- Fat: 18
- Saturated Fat: 11
- Carbohydrates: 52
- Fiber: 1
- Protein: 5
Keywords: patriotic cake, red white and blue cake, cream cheese frosting, Fourth of July dessert, layered cake, flag cake


