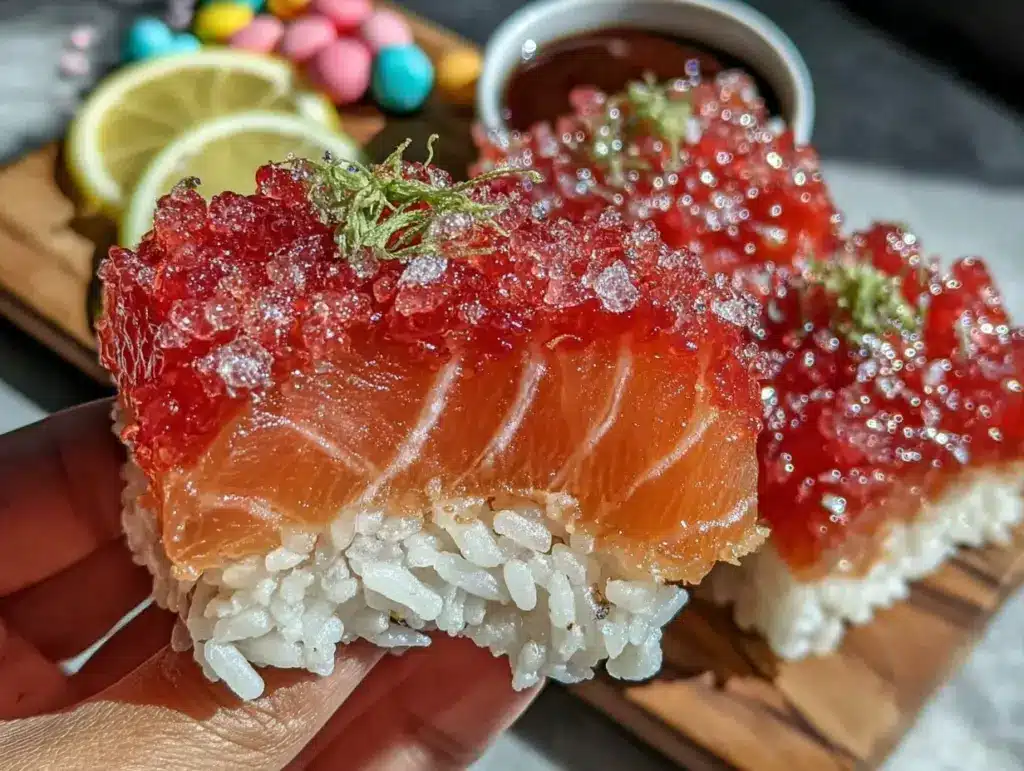
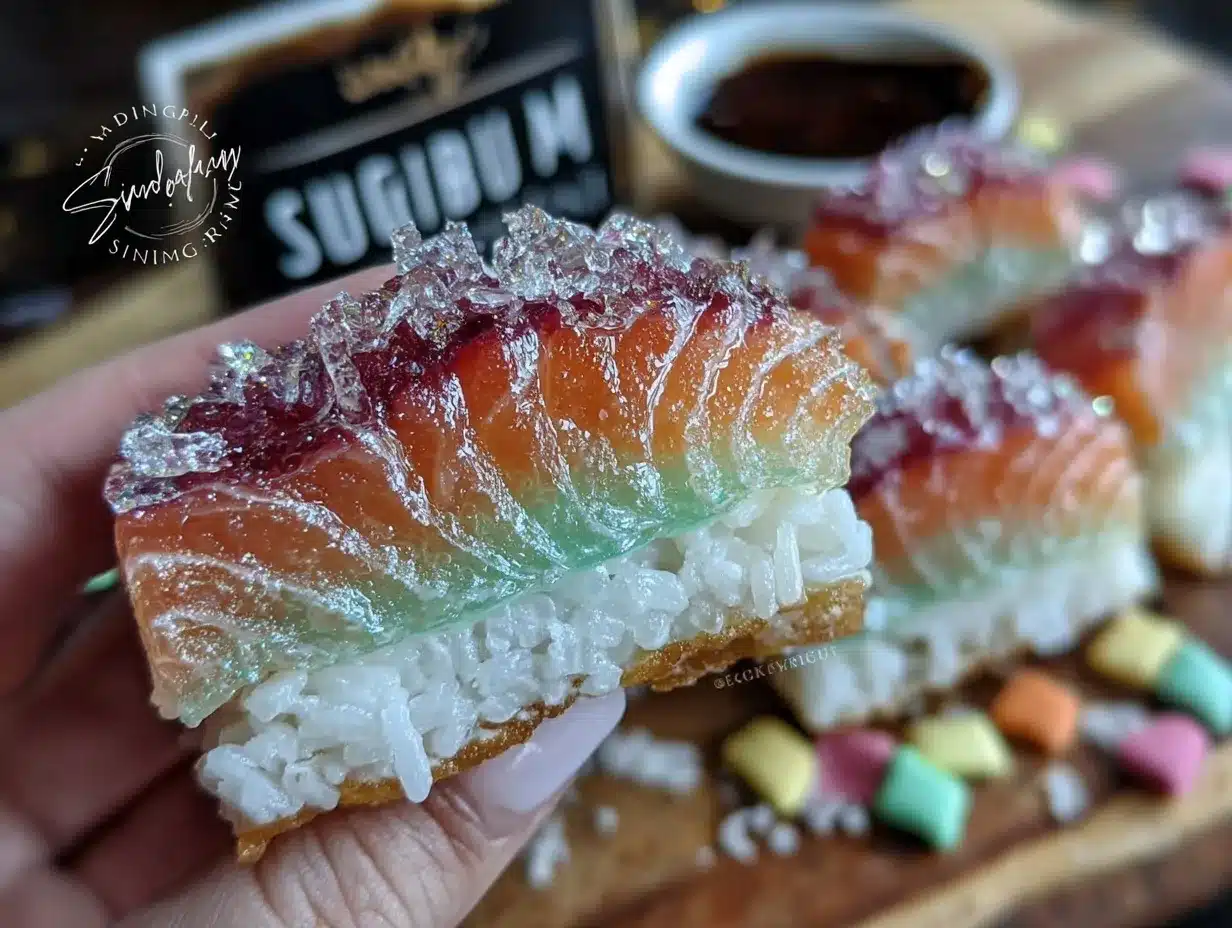
Let me tell you, the sight of brightly colored candy strips wrapped just so, mimicking the delicate art of sushi, is enough to make anyone grin ear to ear. The first time I rolled up these whimsical candy sushi rolls, it was during a rainy weekend when the kids and I were desperate for a fun kitchen project. I was instantly hooked—the kind of moment where you pause, take a deep breath, and just smile because you know you’re onto something truly special.
When I was knee-high to a grasshopper, candy and sushi seemed worlds apart—one sweet, one savory. But years ago, stumbling upon this playful recipe felt like discovering a secret handshake between those two flavors. It’s become a staple for birthday parties and a cheeky surprise at family gatherings. Honestly, my family couldn’t stop sneaking them off the platter (and I can’t really blame them).
You know what makes these candy sushi rolls dangerously easy? They don’t require any fancy sushi skills or fishy ingredients, just a handful of sweet treats and a bit of imagination. Perfect for potlucks, kid’s parties, or just brightening up your Pinterest cookie board, these rolls bring pure, nostalgic comfort wrapped in a sugar-coated bow. After testing this recipe more times than I’d like to admit (in the name of research, of course), I can tell you this is one you’re going to want to bookmark.
Why You’ll Love This Recipe
This whimsical candy sushi rolls recipe is a little slice of fun and sweetness that anyone can whip up. I’ve tried loads of candy crafts, but this one stands out because it’s so simple yet impressively eye-catching. Plus, it’s a hit with kids and adults alike—trust me, you’ll see smiles all around.
- Quick & Easy: Comes together in under 30 minutes, perfect for last-minute sweet cravings or spontaneous gatherings.
- Simple Ingredients: No need to hunt down exotic items; most are pantry staples or easy to find in any candy aisle.
- Perfect for Parties: Great for birthdays, holiday treats, or a quirky addition to your dessert table.
- Crowd-Pleaser: Kids love the colorful look, and adults enjoy the nostalgic candy flavors.
- Unbelievably Delicious: The chewy and fruity textures combine for a fun, playful bite every time.
What sets this recipe apart? It’s the playful twist on presentation and the balance of textures—soft candy “rice” with chewy gummy “fish” and crunchy sprinkles mimicking roe. I like to blend marshmallows and rice cereal for the “rice” layer to get that perfect sticky-but-not-too-sticky feel. Honestly, this isn’t just another candy snack; it’s a conversation starter that makes you want to close your eyes after the first bite.
Whether you’re impressing guests without stress or just turning a simple moment into something memorable, these whimsical candy sushi rolls bring a little magic to the table.
What Ingredients You Will Need
This recipe uses simple, wholesome candy ingredients to deliver playful flavor and texture without the fuss. Most are easy to source and can be swapped to suit your taste or dietary needs.
- For the “Rice” Base:
- Rice cereal (like Rice Krispies) – 4 cups (about 100g) (provides the crunch)
- Mini marshmallows – 3 cups (about 150g), for that sticky, chewy texture (I prefer Jet-Puffed for fluffiness)
- Unsalted butter – 3 tablespoons (45g), softened (helps bind the rice cereal)
- For the “Nori” Wrap:
- Fruit roll-up sheets or fruit leather – 4 sheets (any berry flavor works great)
- For the “Fish” and Toppings:
- Gummy candies (like gummy worms or fish) – about 1 cup (150g), sliced or whole, for that chewy bite
- Sour belts or candy strips – thinly sliced, for visual appeal and tartness
- Sprinkles or popping candy – 2 tablespoons, to mimic fish roe (optional but fun!)
- Extras:
- Confectioners’ sugar (for dusting, optional)
- Non-stick cooking spray or parchment paper (to help with rolling)
If you want to make a gluten-free version, just make sure your rice cereal is certified gluten-free. For a dairy-free option, swap the butter with coconut oil. In summer, swapping the fruit roll-ups for fresh thinly sliced strawberries or kiwi can add a fresh twist.
Equipment Needed
- Large mixing bowl – for combining the marshmallows and cereal (a heat-proof one is handy if melting marshmallows directly)
- Microwave-safe bowl or stovetop pan – to melt butter and marshmallows
- Spatula or wooden spoon – for stirring sticky mixtures
- Rolling mat or parchment paper – to help roll the candy sushi without sticking
- Sharp knife or pizza cutter – for slicing the rolls cleanly
- Measuring cups and spoons – for accurate ingredient amounts
If you don’t have a rolling mat, parchment paper works just fine and is budget-friendly. Personally, I’ve found silicone mats to be a great investment since they’re easy to clean and keep the rolling process smooth. Just make sure to grease your hands or tools lightly with non-stick spray to prevent sticky fingers (trust me, you’ll be glad you did!).
Preparation Method
- Prepare the “Rice” Base: In a large microwave-safe bowl, melt 3 tablespoons (45g) of unsalted butter on high for about 30 seconds. Add 3 cups (150g) of mini marshmallows, stir gently, and microwave in 30-second intervals, stirring in between, until fully melted and smooth (about 1-2 minutes total). Be careful not to overheat to avoid burning. The marshmallow mixture should be glossy and pourable.
- Mix in the Rice Cereal: Immediately fold in 4 cups (100g) of rice cereal with a spatula, coating all the pieces evenly. Work quickly before the marshmallow cools and hardens. The mixture should be sticky but not too loose—think sticky enough to hold shape but not dripping.
- Shape the Base: Spread the cereal mixture evenly onto a parchment-lined baking sheet or silicone mat, pressing down firmly to form a rectangle about 9×12 inches (23×30 cm) and roughly 1/2 inch (1.3 cm) thick. Use a buttered spatula or damp hands to smooth the surface. Let it cool and set for about 10-15 minutes at room temperature—this helps it firm up for rolling.
- Apply the “Nori” Wrap: Once the base is set but still pliable, carefully lay 4 fruit roll-up sheets side by side on top, overlapping slightly to cover the entire surface. This sticky fruit leather acts like the nori seaweed wrap. Press gently to adhere.
- Add the “Fish” and Toppings: Place your choice of gummy candies and sour belts in thin strips along one edge of the rectangle, leaving a small border for rolling. Sprinkle a few colorful sprinkles or popping candy over the gummies to mimic fish roe. This is where you get creative—arrange by color or shape for the best effect.
- Roll the Sushi: Starting at the edge with the candy fillings, gently but firmly roll the candy sushi into a tight log, using the parchment or silicone mat to help guide and keep the shape. If it sticks, use a little confectioners’ sugar to dust your hands or the roll’s surface.
- Slice and Serve: Using a sharp knife or pizza cutter, slice the roll into 1-inch (2.5 cm) pieces. Clean the knife between cuts for clean edges. Arrange on a serving plate, and if you like, dust lightly with more confectioners’ sugar or add a few extra sprinkles on top.
Quick tip: If the roll feels too sticky or soft, pop it in the fridge for 5-10 minutes to firm up before slicing. Also, don’t rush the rolling step—gentle pressure works wonders to keep everything intact without squishing the candy.
Cooking Tips & Techniques
One of the trickiest parts about making candy sushi rolls is handling the sticky marshmallow mixture. Always work quickly after melting, as it sets fast. I learned the hard way that waiting too long means you’ll be breaking up your “rice” instead of rolling it.
When spreading the marshmallow mixture, use a buttered spatula or spray your hands lightly with non-stick spray to avoid sticky messes. You can also wear gloves for less cleanup.
The rolling step takes a steady hand but don’t be intimidated—it’s not sushi-grade precision, just fun and a bit messy. If the fruit roll-ups crack or tear, you can patch them up with small pieces or simply overlap more sheets.
Timing is key: let the base set enough to hold shape but not so much that it becomes brittle. Refrigerating briefly can help, but don’t leave it too long or the texture changes.
Multitasking tip: melt the marshmallows while prepping your gummy candies and fruit strips to save time. And don’t forget to clean your knife between cuts for those perfect slices that look just like the real deal.
Variations & Adaptations
- Dietary Swaps: For a vegan twist, use vegan marshmallows and swap butter for coconut oil. Gluten-free rice cereal options make this suitable for gluten intolerant friends.
- Seasonal Flavors: Swap the fruit roll-ups for fresh fruit slices in summer—think kiwi or strawberry thinly sliced. In fall, cinnamon sugar dusting adds a cozy vibe.
- Flavor Twists: Add a drizzle of chocolate or caramel on top for a richer treat. Or sprinkle crushed nuts inside for crunch if allergies aren’t a concern.
- Cooking Methods: While this recipe is no-bake, you can toast the rice cereal lightly beforehand for a nuttier aroma and flavor.
- Personal Favorite Variation: I once tried pink lemonade-flavored fruit rolls with sour gummy worms—turned out to be a tangy-sweet hit that disappeared in minutes!
Serving & Storage Suggestions
Serve your whimsical candy sushi rolls at room temperature for the best chewy texture and vibrant colors. They make a charming centerpiece for dessert tables or a playful snack for kids’ lunchboxes. Pair with a cold glass of milk or a fun fruit punch for an extra treat.
Store leftovers in an airtight container at room temperature for up to 3 days. Avoid refrigeration as it can make the marshmallow “rice” hard and less pleasant to bite into. For longer storage, wrap tightly and freeze for up to 2 weeks—just thaw at room temperature before serving.
Reheating isn’t really necessary, but if you want a softer chew, a few seconds in the microwave (about 10 seconds) works wonders. Over time, the candy sushi tends to get a bit drier, so fresh is always best.
Nutritional Information & Benefits
These whimsical candy sushi rolls are a sweet treat and definitely best enjoyed in moderation. Per serving (about 2 rolls), you can expect roughly 150-180 calories, with sugars making up the bulk due to marshmallows and candy. While not a health food, the recipe uses real butter and rice cereal, which provides a bit of crunch and minimal fat.
For those mindful of allergens, note the presence of dairy (butter) and gluten (unless using gluten-free cereal). Substitutions can make this recipe friendly for many diets. From a wellness perspective, this recipe brings joy and fun to the table—sometimes, that’s just as important as nutrition!
Conclusion
Whimsical candy sushi rolls are one of those recipes that bring out the kid in all of us. They’re simple, fun, and surprisingly impressive, turning a handful of candy into a playful, shareable treat. Customize them however you like—whether you swap out the gummies or add your own flair, the base recipe is a fantastic canvas.
I love this recipe because it’s less about perfection and more about the joy of creating something silly and sweet with family or friends. So go ahead, roll up some candy sushi, share the smiles, and don’t forget to tell me how yours turned out! Drop a comment or share your favorite twists—I’m all ears.
Happy rolling, and may your sweet cravings always be satisfied!
FAQs
Can I make these candy sushi rolls ahead of time?
Yes! You can prepare them a few hours ahead and keep them in an airtight container at room temperature. Just avoid refrigeration to keep the texture soft.
What if I don’t have fruit roll-ups?
Fruit roll-ups are ideal for the “nori” wrap, but you can substitute thinly sliced fruit leather or even large, soft fruit snacks. Fresh fruit slices can be used for a different effect but won’t roll as easily.
How do I prevent the marshmallow mixture from sticking to my hands?
Lightly grease your hands or use non-stick cooking spray before handling the marshmallow “rice.” You can also use buttered spatulas or gloves for less mess.
Are there any good alternatives to rice cereal?
Rice cereal is best for its crunch and texture, but puffed quinoa or gluten-free puffed rice work well if you need gluten-free options.
Can I add chocolate or other flavors?
Absolutely! Drizzling melted chocolate or sprinkling crushed nuts adds flavor and texture. Just add these after rolling or before slicing for the best effect.
Pin This Recipe!
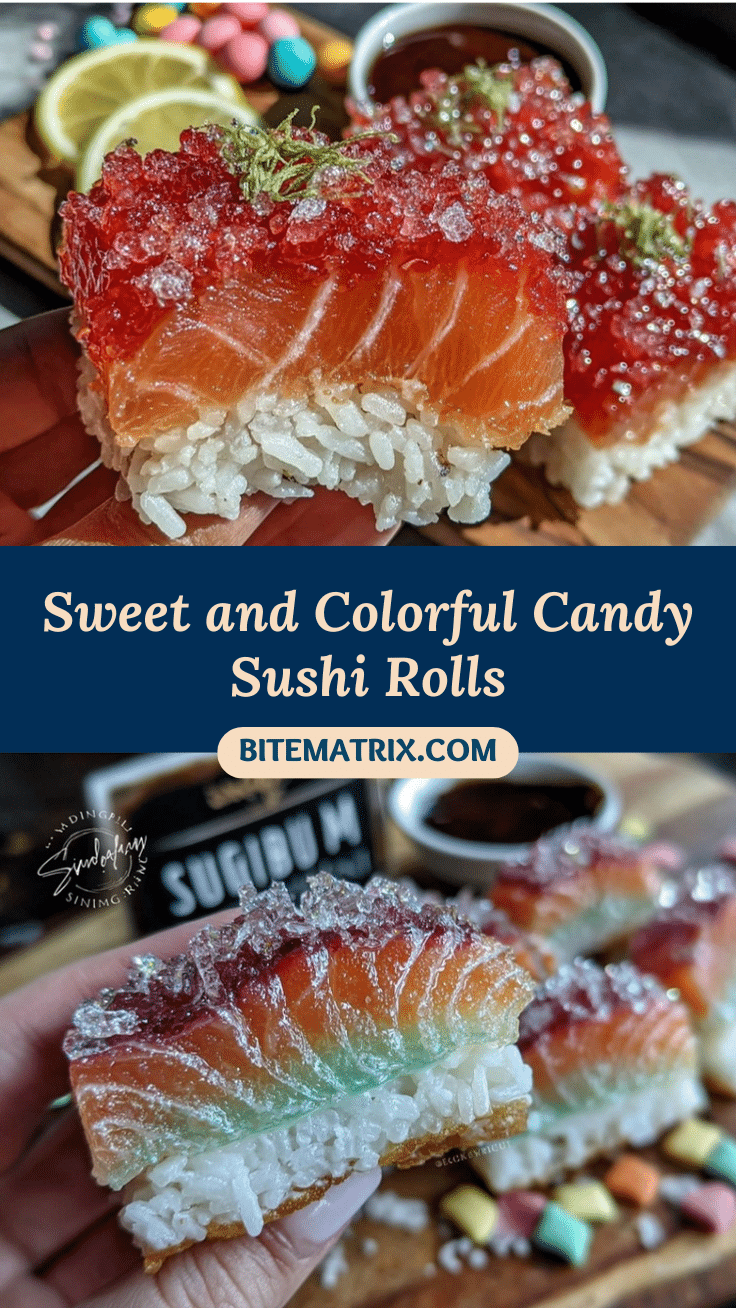
Whimsical Candy Sushi Rolls

A fun and easy homemade sweet treat that mimics sushi using candy strips, marshmallows, and rice cereal. Perfect for parties and kid-friendly gatherings.
- Prep Time: 10 minutes
- Cook Time: 10 minutes
- Total Time: 20 minutes
- Yield: 12 servings (about 24 pieces) 1x
- Category: Dessert
- Cuisine: American
Ingredients
- 4 cups rice cereal (about 100g) (e.g., Rice Krispies)
- 3 cups mini marshmallows (about 150g), preferably Jet-Puffed
- 3 tablespoons unsalted butter (45g), softened
- 4 fruit roll-up sheets (any berry flavor)
- 1 cup gummy candies (like gummy worms or fish) (about 150g), sliced or whole
- Thinly sliced sour belts or candy strips
- 2 tablespoons sprinkles or popping candy (optional)
- Confectioners’ sugar (for dusting, optional)
- Non-stick cooking spray or parchment paper (to help with rolling)
Instructions
- In a large microwave-safe bowl, melt 3 tablespoons (45g) of unsalted butter on high for about 30 seconds.
- Add 3 cups (150g) of mini marshmallows, stir gently, and microwave in 30-second intervals, stirring in between, until fully melted and smooth (about 1-2 minutes total).
- Immediately fold in 4 cups (100g) of rice cereal with a spatula, coating all the pieces evenly. Work quickly before the marshmallow cools and hardens.
- Spread the cereal mixture evenly onto a parchment-lined baking sheet or silicone mat, pressing down firmly to form a rectangle about 9×12 inches (23×30 cm) and roughly 1/2 inch (1.3 cm) thick.
- Let it cool and set for about 10-15 minutes at room temperature.
- Once the base is set but still pliable, carefully lay 4 fruit roll-up sheets side by side on top, overlapping slightly to cover the entire surface. Press gently to adhere.
- Place gummy candies and sour belts in thin strips along one edge of the rectangle, leaving a small border for rolling.
- Sprinkle a few colorful sprinkles or popping candy over the gummies to mimic fish roe.
- Starting at the edge with the candy fillings, gently but firmly roll the candy sushi into a tight log, using the parchment or silicone mat to help guide and keep the shape.
- If it sticks, dust your hands or the roll’s surface lightly with confectioners’ sugar.
- Using a sharp knife or pizza cutter, slice the roll into 1-inch (2.5 cm) pieces. Clean the knife between cuts for clean edges.
- Arrange on a serving plate and optionally dust lightly with more confectioners’ sugar or add extra sprinkles on top.
Notes
Work quickly when mixing marshmallows and rice cereal to prevent hardening. Use buttered spatula or non-stick spray to avoid sticking. Refrigerate rolls for 5-10 minutes if too soft before slicing. Store at room temperature in an airtight container for up to 3 days; avoid refrigeration to keep texture soft. For longer storage, freeze up to 2 weeks.
Nutrition
- Serving Size: About 2 rolls (piece
- Calories: 165
- Sugar: 22
- Sodium: 90
- Fat: 4
- Saturated Fat: 2.5
- Carbohydrates: 33
- Protein: 1
Keywords: candy sushi, sweet treat, kids dessert, party snack, marshmallow recipe, rice cereal dessert, no-bake dessert


