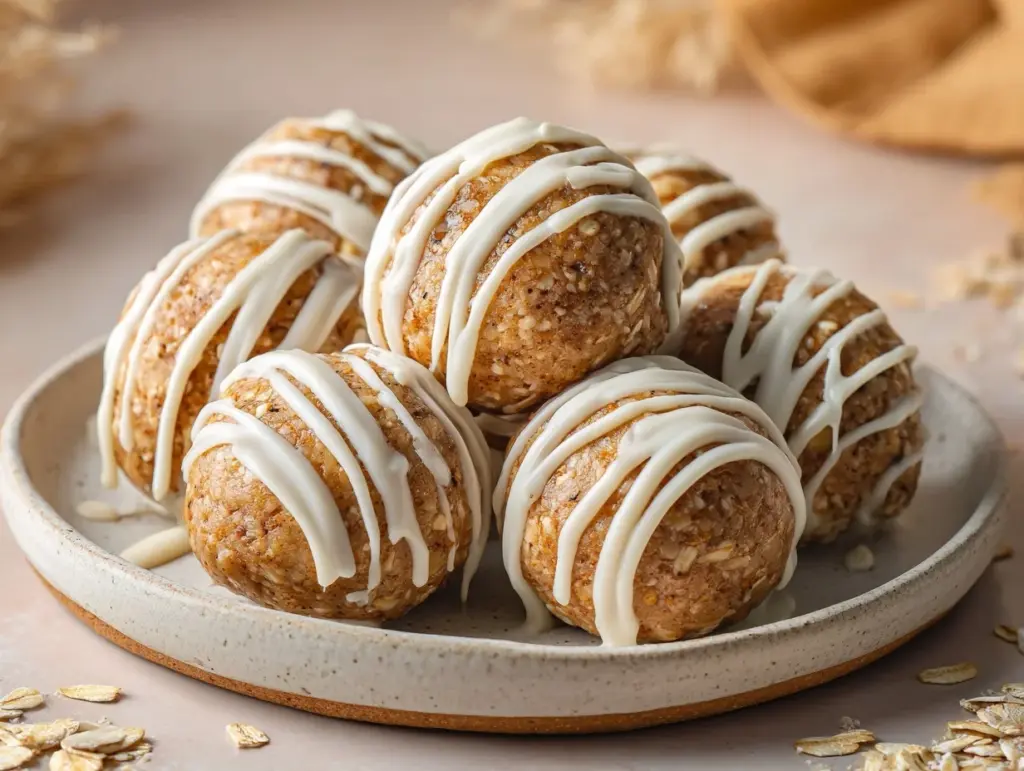
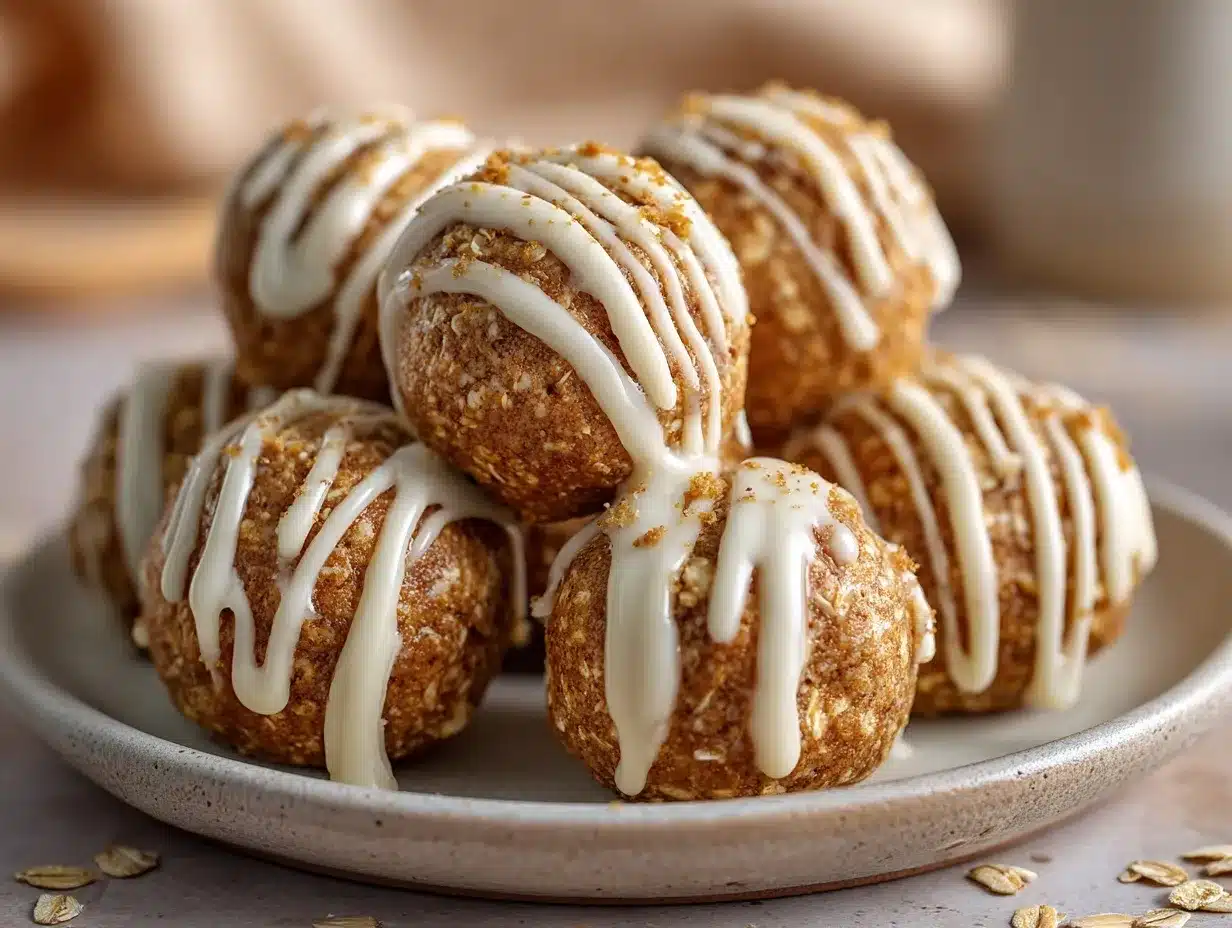
The first time I bit into one of these cinnamon roll cheesecake protein balls, I had to double check if I’d accidentally grabbed a real cinnamon roll. I mean, you get that warm, sweet cinnamon swirl, a creamy cheesecake tang, and a soft doughy bite – but here’s the kicker: these are a healthy snack you can whip up in minutes! No oven, no fuss, just grab-and-go goodness.
I came up with this recipe during a late-night craving (you know those evenings when you want something sweet but not the regret that usually follows?). I’d seen a bunch of protein ball recipes floating around, but none that hit that perfect cinnamon roll meets cheesecake flavor. So, I started experimenting – and after a bunch of taste tests (and a couple of fails), this version became my absolute favorite.
What I love about these cinnamon roll cheesecake protein balls is how easy they are to make in a pinch. You don’t need fancy protein powders or mysterious ingredients – just a handful of pantry staples, a mixing bowl, and five minutes. Plus, they’re packed with protein, so you can feel good about sneaking one (or three) any time of day. Seriously, these are perfect for busy mornings, after-school snacks, or even as a post-workout treat. If you’ve been searching for a healthy snack idea that doesn’t taste “healthy,” these cinnamon roll cheesecake protein balls are about to become your new obsession.
Why You’ll Love This Recipe
- Quick and Easy: You can make these cinnamon roll cheesecake protein balls in less than 10 minutes—no baking, no chilling required. Perfect for last-minute cravings or prepping snacks for the week.
- Simple Ingredients: Everything in this recipe is easy to find at your local grocery store. No obscure supplements or pricey protein powders needed. You probably already have most of it in your kitchen.
- Perfect Snack for Any Occasion: These protein balls are ideal for on-the-go breakfasts, after-school nibbles, or late-night treats. I love packing a few in my bag for post-gym fuel or road trips (they hold up super well!).
- Crowd-Pleaser: Every time I bring a batch to a family get-together, they disappear in minutes. Even the pickiest eaters (including my cinnamon roll-obsessed nephew) ask for seconds.
- Unbelievably Delicious: The balance of sweet cinnamon, creamy cheesecake, and a hint of vanilla really hits the spot. Honestly, these taste like dessert but with a solid protein punch.
Unlike other protein snacks that can taste chalky or bland, these have a soft, doughy bite and a real-deal cinnamon roll flavor. The secret? Blending a touch of cream cheese with the protein powder for that signature cheesecake tang. Plus, rolling them in a cinnamon-sugar coating brings all those classic flavors home.
This isn’t just another protein ball recipe—after playing around with ratios and a few secret tricks (like using oat flour for the perfect texture), I can say these are the best cinnamon roll cheesecake protein balls I’ve ever made. They’re the kind of snack that makes you pause, close your eyes, and genuinely enjoy every bite. Healthy, easy, and totally crave-worthy—what more could you want?
What Ingredients You Will Need
This recipe uses simple, wholesome ingredients to deliver big cinnamon roll flavor and cheesecake creaminess—without any complicated steps. Here’s what you’ll need to make the best cinnamon roll cheesecake protein balls:
- Old-Fashioned Oats (blended into oat flour, about 1 cup / 90g) – The base that gives these protein balls that soft, doughy texture. I use Bob’s Red Mill, but any rolled oats work. Quick oats are fine in a pinch.
- Vanilla Protein Powder (½ cup / 50g) – Use your favorite brand for the best flavor. I’ve had great results with Orgain and Garden of Life. Whey, plant-based, or collagen protein all work here.
- Light Cream Cheese (⅓ cup / 75g, softened) – Adds the creamy cheesecake flavor. You can use regular cream cheese or dairy-free if needed. Just make sure it’s at room temp for easy mixing.
- Natural Almond Butter (¼ cup / 60g) – For richness and binding. Cashew or sunflower seed butter can swap in if you have allergies or want a different flavor.
- Honey or Maple Syrup (3 tbsp / 45ml) – For sweetness and stickiness. I usually go with honey, but maple syrup gives a subtle caramel note.
- Cinnamon (2 tsp, divided) – The star of the show! You’ll use some in the dough and some for coating. Fresh cinnamon makes a difference if you have it.
- Vanilla Extract (1 tsp) – Rounds out the cheesecake flavor. Pure vanilla is best, but imitation works in a pinch.
- Pinch of Salt – Trust me, don’t skip it! Just a tiny bit brings out all the other flavors.
- Coconut Flour (1-2 tbsp, optional) – If your dough is too sticky, coconut flour helps firm it up without adding much flavor.
- For the Cinnamon “Sugar” Coating:
- 1 tbsp coconut sugar (or brown sugar)
- 1 tsp ground cinnamon
Ingredient Tips: If you’re gluten-free, make sure your oats are certified gluten-free. You can swap in peanut butter for almond butter, but the flavor will be bolder. To make this vegan, use dairy-free cream cheese and maple syrup. Out of protein powder? You can skip it and add a few more oats, though the protein content will drop a bit. I’ve even tossed in a handful of mini chocolate chips for an extra treat.
Equipment Needed
- Mixing Bowl: A medium bowl works best for stirring everything together. If you’re doubling the recipe, use a large one.
- Blender or Food Processor: For making oat flour from rolled oats. You can use a high-speed blender, a food processor, or even a small bullet blender. If you already have oat flour, you can skip this step.
- Measuring Cups and Spoons: Precision helps with protein ball texture. I love my set with easy-to-read markings (they’ve survived years of daily use!).
- Small Cookie Scoop or Tablespoon: For evenly sized protein balls. You can use your hands, but a scoop is quicker (and less messy!).
- Baking Sheet or Plate: To set the finished balls on while you work. Line with parchment paper for easy clean-up.
If you don’t have a blender, you can buy pre-ground oat flour, or just use quick oats for a slightly chunkier texture. And honestly, you don’t need fancy gear—just a bowl and a spoon will do the trick. For cleaning, I always rinse my bowl and scoop right away so the sticky dough doesn’t harden (learned the hard way more than once!). Budget tip: thrift stores are great for scoops and mixing bowls if you’re building your kitchen tool kit.
How to Make Cinnamon Roll Cheesecake Protein Balls
-
Make the Oat Flour (if needed):
Add 1 cup (90g) old-fashioned oats to a blender or food processor. Blend until you have a fine flour (about 30 seconds). You want it to feel soft and powdery—not chunky. If you already have oat flour, measure out 1 cup (90g). -
Mix the Wet Ingredients:
In a medium mixing bowl, stir together ⅓ cup (75g) softened cream cheese, ¼ cup (60g) almond butter, 3 tbsp (45ml) honey or maple syrup, and 1 tsp vanilla extract. Stir until creamy and well combined. It should look like thick frosting. -
Add the Dry Ingredients:
To the same bowl, add your oat flour, ½ cup (50g) vanilla protein powder, 1 tsp cinnamon, and a pinch of salt. Stir everything together until a dough forms. If it feels too sticky, add coconut flour 1 tbsp at a time. Aim for a soft, slightly tacky dough that holds its shape when pressed. -
Troubleshoot:
If your dough is too dry and crumbly, drizzle in a bit more honey or a splash of milk (dairy or non-dairy, about 1-2 tsp at a time). If it’s too wet, add a little more oat or coconut flour. The dough should be easy to roll—moist but not sticking to your hands much. -
Shape into Balls:
Use a small cookie scoop or tablespoon to portion the dough, then roll between your palms to make smooth balls. You should get about 12 balls, each roughly 1 inch (2.5cm) in diameter. The dough might feel a little sticky, but that’s what makes them soft and chewy. -
Make the Cinnamon “Sugar” Coating:
Mix 1 tbsp coconut sugar (or brown sugar) and 1 tsp cinnamon in a shallow bowl. Roll each protein ball in the coating, pressing gently so it sticks. This step gives that true cinnamon roll swirl and a little sparkle. -
Chill or Enjoy:
The protein balls are ready to eat immediately! But, for the best texture (and a cheesecake-like bite), pop them in the fridge for 20-30 minutes. They’ll firm up and the flavors will meld together. -
Store:
Place in an airtight container and refrigerate for up to 1 week, or freeze for up to 2 months. I always stash a few in the freezer for snack emergencies.
Notes: If your hands get sticky while rolling, lightly dampen them with water or coat with a bit of coconut oil. You can double the recipe and freeze half for later—trust me, they go fast!
Pro Tips & Techniques for Perfect Protein Balls
- Use Softened Cream Cheese: Cold cream cheese is tough to mix and can create lumps. Pull it out of the fridge 30 minutes ahead or microwave in 10-second bursts until just soft.
- Don’t Overdo the Flour: Add coconut flour sparingly—just enough to firm up the dough. Too much and your protein balls can get dry. This took me a couple of tries to get right!
- Mix Thoroughly: Make sure all the dry pockets are gone. Protein powder likes to hide out at the bottom of the bowl.
- Go Slow on Sweetener: Start with 3 tbsp honey or maple syrup, then taste. Protein powder sweetness varies a lot. You can always add a little more, but you can’t take it away.
- Chill for Texture: If you have time, chill your protein balls before eating. It firms them up and makes the cheesecake flavor pop.
- Batch Prep: These store beautifully! I often double the recipe on Sundays and portion out snacks for the week. They’re perfect for meal prep.
- Avoid Overmixing: Once the dough comes together, stop mixing. Overworking can make them dense.
I’ve definitely made the mistake of adding too much flour and ending up with protein “rocks” (not fun). If that happens, just mash in a bit more cream cheese or honey to save the batch! Multitasking tip: while the oat flour is blending, gather the rest of your ingredients—that way, you’ll be ready to mix as soon as it’s done.
Variations & Adaptations
- Gluten-Free: Use certified gluten-free oats and double-check your protein powder. I do this for my friends with allergies, and the result is just as tasty.
- Vegan: Swap in plant-based protein powder, dairy-free cream cheese, and maple syrup instead of honey. Almond or cashew butter both work for the base. I’ve made them vegan for a potluck, and nobody guessed!
- Chocolate Cinnamon Roll: Add 2 tbsp mini chocolate chips to the dough or drizzle the finished balls with melted dark chocolate. This is my husband’s favorite twist.
- Nut-Free: Use sunflower seed butter or tahini instead of almond butter. The flavor will be a little earthier, but still delicious.
- Extra Protein: Add a scoop of collagen peptides or use a higher-protein nut butter. You might need a splash more liquid if it gets too thick.
- Different Coatings: Roll in crushed pecans, extra oat flour, or a dusting of cocoa powder for a fun change.
I once added chopped dried apples for a “cinnamon apple cheesecake” vibe—so good in the fall! These protein balls are super forgiving, so don’t be afraid to play with mix-ins and toppings based on what you’ve got at home.
Serving & Storage Suggestions
These cinnamon roll cheesecake protein balls are best served chilled for that creamy, cheesecake-like bite. I love piling them on a pretty plate and sprinkling a little extra cinnamon on top—makes them look bakery-worthy (and perfect for sharing on Pinterest!).
Pair with a hot cup of coffee, chai tea, or a cold glass of almond milk for a snack that really feels like a treat. They’re great tucked into lunchboxes, packed in snack bags for hikes, or as a sweet bite after dinner.
- Storage: Keep in an airtight container in the fridge for up to 7 days. For longer storage, freeze in a single layer on a baking sheet, then transfer to a zip-top bag and freeze up to 2 months.
- Reheating: No need to reheat! If frozen, let thaw at room temperature for 20 minutes or in the fridge overnight. They taste amazing straight from the fridge or even slightly chilled—just like a real cheesecake.
- Flavor notes: The cinnamon flavor deepens after a day or two in the fridge, and the texture gets even softer. Honestly, I think they taste best on day two!
Nutritional Information & Benefits
Each cinnamon roll cheesecake protein ball packs about 90-110 calories, 5g protein, 9g carbs, and 4g healthy fats (exact numbers depend on your protein powder and sweetener choice). They’re low in sugar, high in fiber, and free from artificial junk.
Key Benefits: The oats and almond butter give you lasting energy and a dose of heart-healthy fats, the cream cheese adds calcium and creamy goodness, and the protein helps keep you full between meals. If you go gluten-free or vegan, they’re still nutrient-dense and satisfying.
Potential allergens include dairy, nuts, and gluten (unless you use substitutions). I love having these on hand as a wholesome snack that curbs my sweet tooth without derailing my wellness goals. They fit right into my balanced eating routine and honestly make healthy snacking feel fun again.
Conclusion
If you’re looking for a healthy snack idea that actually tastes like dessert, these cinnamon roll cheesecake protein balls are the answer. They’re ridiculously easy to make, completely customizable, and honestly—better than most bakery treats I’ve tried.
I love how you can tweak the recipe to fit your dietary needs or favorite flavors, and the fact that they keep so well in the fridge or freezer is a total bonus. Whether you’re meal prepping, packing school lunches, or just want something sweet after dinner, these protein balls deliver every time.
If you try this recipe, let me know in the comments how you like it—or if you come up with your own twist! Share the recipe with a friend who loves cinnamon rolls, or pin it for later. Remember: healthy eating doesn’t have to be boring or bland—sometimes, it tastes just like your favorite dessert.
FAQs About Cinnamon Roll Cheesecake Protein Balls
How long do cinnamon roll cheesecake protein balls last?
They’ll stay fresh in the fridge for up to a week. For longer storage, freeze them for up to 2 months—just thaw before eating.
Can I make these protein balls without protein powder?
Yes, you can skip the protein powder and add extra oat flour instead. The flavor and texture will still be great, though they’ll have less protein.
Are these gluten-free?
They can be! Just use certified gluten-free oats and check that your protein powder doesn’t contain gluten.
What’s the best way to make them vegan?
Use dairy-free cream cheese, plant-based protein powder, and maple syrup instead of honey. They’ll turn out just as delicious.
Can I use peanut butter instead of almond butter?
Absolutely! Peanut butter adds a stronger flavor and is a great budget-friendly swap. Cashew butter works too for a milder taste.
Pin This Recipe!
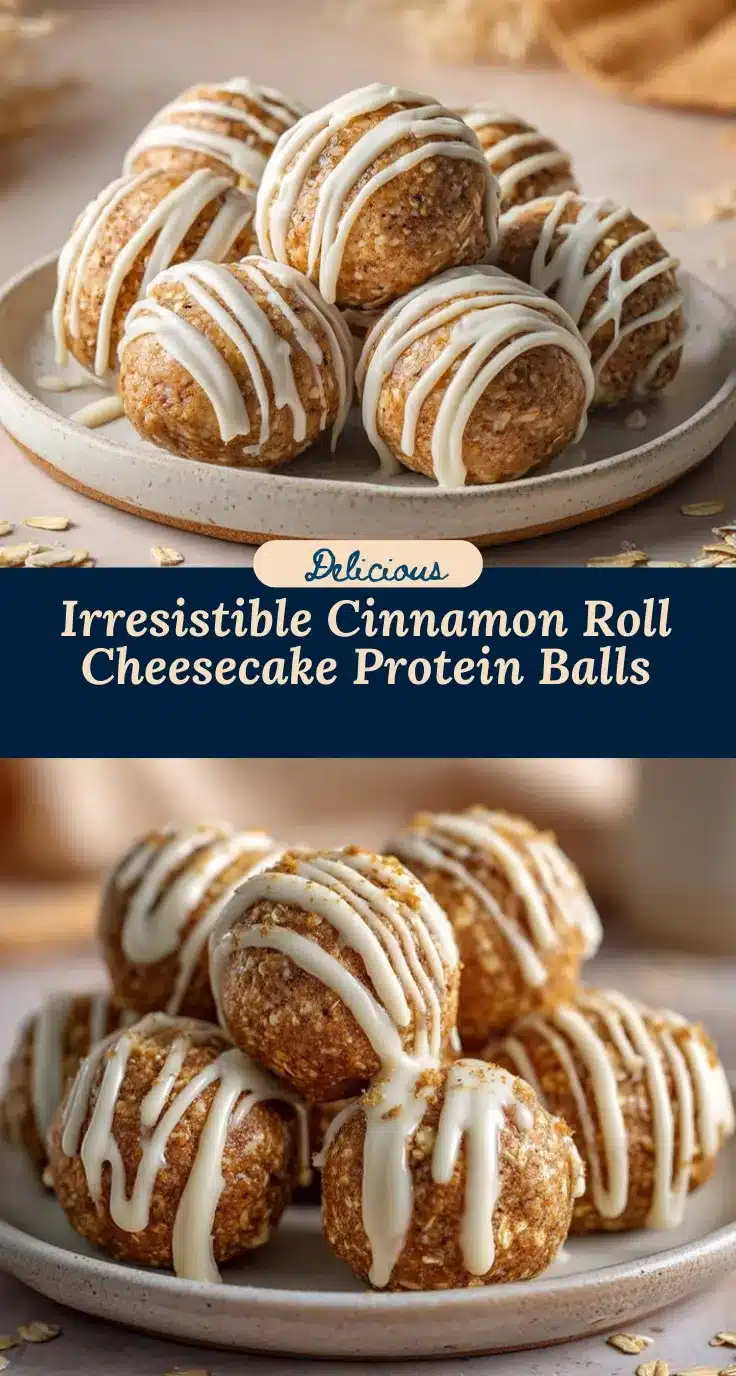
Cinnamon Roll Cheesecake Protein Balls

These cinnamon roll cheesecake protein balls combine the sweet, spiced flavor of a cinnamon roll with creamy cheesecake tang in a healthy, high-protein snack. Quick to make, no baking required, and perfect for meal prep or on-the-go snacking.
- Prep Time: 10 minutes
- Cook Time: 0 minutes
- Total Time: 10 minutes
- Yield: 12 balls (about 12 servings) 1x
- Category: Snack
- Cuisine: American
Ingredients
- 1 cup old-fashioned oats (blended into oat flour, about 90g)
- 1/2 cup vanilla protein powder (about 50g)
- 1/3 cup light cream cheese, softened (about 75g)
- 1/4 cup natural almond butter (about 60g)
- 3 tablespoons honey or maple syrup (45ml)
- 2 teaspoons ground cinnamon, divided
- 1 teaspoon vanilla extract
- Pinch of salt
- 1–2 tablespoons coconut flour (optional, as needed for texture)
- 1 tablespoon coconut sugar (or brown sugar, for coating)
- 1 teaspoon ground cinnamon (for coating)
Instructions
- If needed, blend 1 cup old-fashioned oats in a blender or food processor until a fine flour forms. Measure out 1 cup oat flour.
- In a medium mixing bowl, stir together softened cream cheese, almond butter, honey or maple syrup, and vanilla extract until creamy and well combined.
- Add oat flour, vanilla protein powder, 1 teaspoon cinnamon, and a pinch of salt to the bowl. Stir until a dough forms. If too sticky, add coconut flour 1 tablespoon at a time until the dough is soft and slightly tacky but holds its shape.
- If the dough is too dry, add a bit more honey or a splash of milk (dairy or non-dairy) 1-2 teaspoons at a time.
- Use a small cookie scoop or tablespoon to portion the dough, then roll between your palms to form about 12 balls, each about 1 inch in diameter.
- Mix 1 tablespoon coconut sugar (or brown sugar) and 1 teaspoon cinnamon in a shallow bowl. Roll each protein ball in the coating, pressing gently so it sticks.
- Enjoy immediately, or for best texture, chill in the fridge for 20-30 minutes to firm up.
- Store in an airtight container in the fridge for up to 1 week, or freeze for up to 2 months.
Notes
If your dough is too sticky, add coconut flour 1 tablespoon at a time. For vegan, use dairy-free cream cheese and maple syrup. For gluten-free, use certified gluten-free oats. Peanut butter or sunflower seed butter can be substituted for almond butter. Chill before serving for best texture. Store in fridge up to 1 week or freeze up to 2 months.
Nutrition
- Serving Size: 1 protein ball
- Calories: 100
- Sugar: 3
- Sodium: 60
- Fat: 4
- Saturated Fat: 1
- Carbohydrates: 9
- Fiber: 2
- Protein: 5
Keywords: cinnamon roll, cheesecake, protein balls, healthy snack, no bake, high protein, meal prep, gluten free, vegan option, easy snack, oat flour, almond butter, cream cheese, cinnamon, protein powder