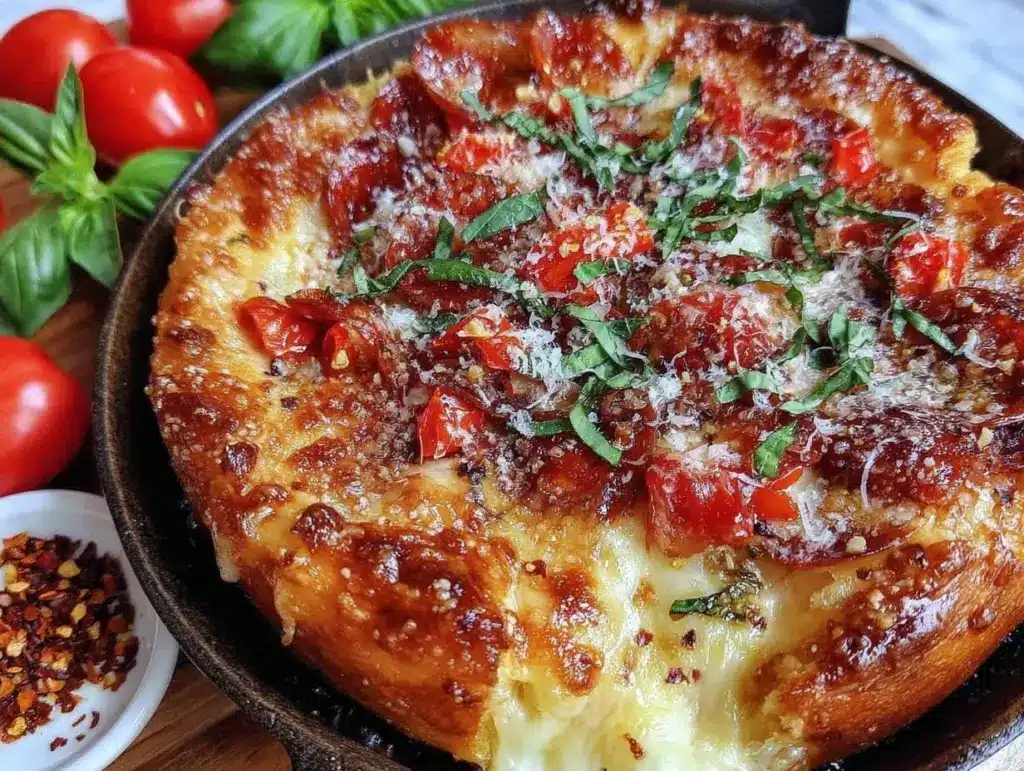
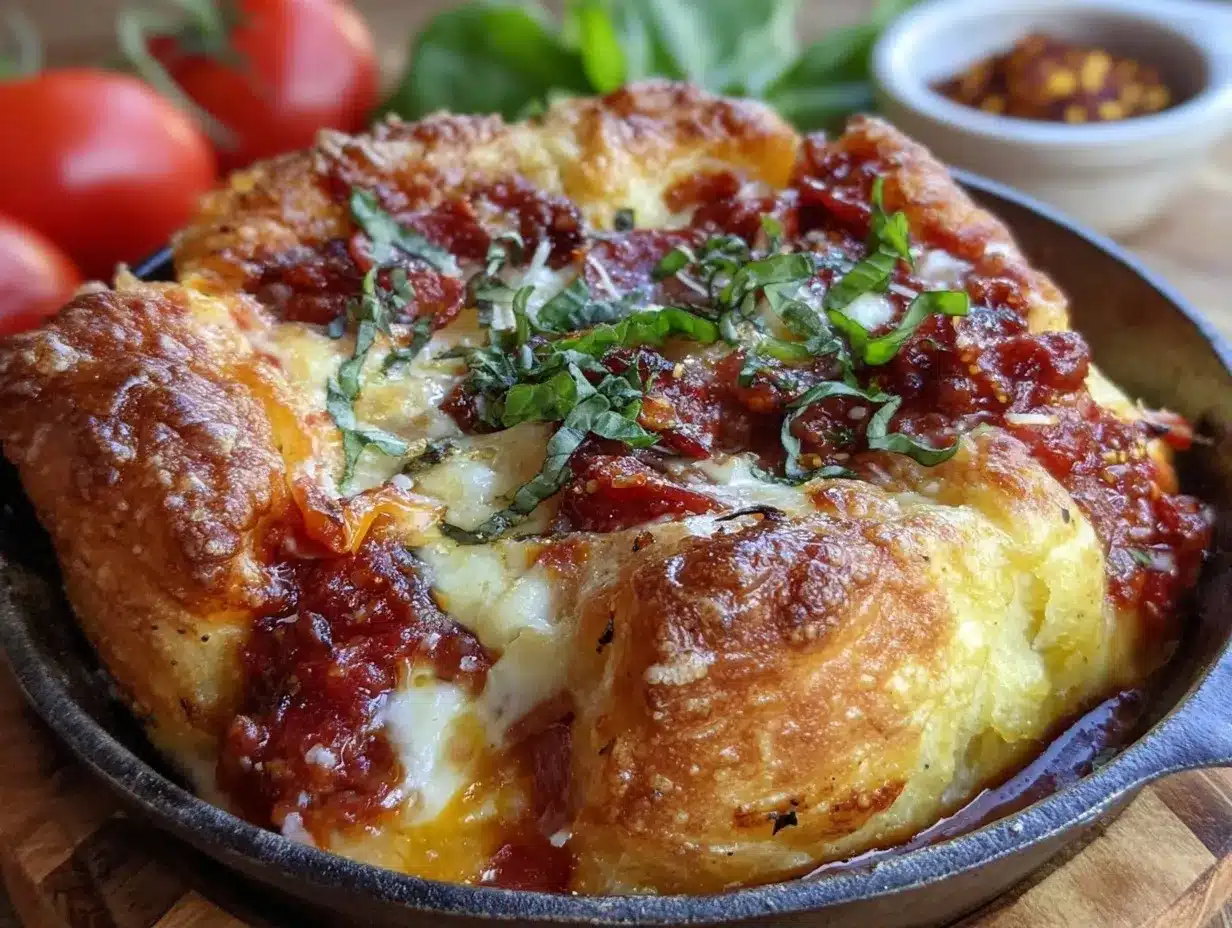
Let me tell you, the smell of bubbling cheese and sizzling dough coming from my trusty cast iron skillet is enough to make anyone’s mouth water. The first time I made this crispy personal pan pizza, I was instantly hooked. It was one of those rare kitchen moments where the crust crackled just right, the sauce was perfectly tangy, and the cheese melted into a gooey cloud of deliciousness—the kind of moment where you pause, take a deep breath, and just smile because you know you’re onto something truly special.
Years ago, when I was knee-high to a grasshopper (okay, maybe not that long ago), my grandma used to make these delightful little pizzas on lazy Sunday afternoons. I stumbled upon this cast iron skillet method on a rainy weekend, trying to recreate that nostalgic comfort. Honestly, it’s dangerously easy and delivers pure, nostalgic comfort every single time. My family couldn’t stop sneaking them off the skillet while they cooled (and I can’t really blame them). You know what? This recipe is perfect for those quick weeknight dinners or when you want a cozy treat that brightens up your Pinterest cookie board—except it’s pizza, and honestly, that’s way better.
I’ve tested this crispy personal pan pizza recipe more times than I can count—in the name of research, of course—and it’s become a staple for family gatherings, casual lunches, and even gifting little pizza dinners to friends. This skillet pizza feels like a warm hug from the inside out, and you’re going to want to bookmark this one for whenever pizza cravings strike.
Why You’ll Love This Crispy Personal Pan Pizza Recipe
With years of cooking, testing, and more than a few happy pizza nights behind me, I can say this recipe stands out for several reasons. Here’s why this crispy personal pan pizza in a cast iron skillet will quickly become your go-to:
- Quick & Easy: From start to finish in under 30 minutes—ideal for those busy nights when you want pizza without the wait.
- Simple Ingredients: No need for fancy toppings or hard-to-find items; you probably already have everything in your pantry and fridge.
- Perfect for Any Occasion: Whether it’s a solo lunch, a cozy dinner, or a casual date night, this pizza fits the bill.
- Crowd-Pleaser: Kids love it, adults rave about it, and picky eaters won’t even know they’re eating something homemade.
- Unbelievably Delicious: The crust is crisped to golden perfection, the sauce is tangy yet sweet, and the cheese melts just right—comfort food with a little extra crunch.
What makes this recipe different? It’s all in the cast iron skillet technique. The heavy pan creates a beautifully crispy crust that you just can’t get on a baking sheet. Plus, the method is forgiving—you can tweak toppings and cook times to suit your taste without losing that signature crunch. Honestly, this isn’t just another pizza recipe; it’s the best version you’ll find for a personal pan style pizza that’s fast and fuss-free.
What Ingredients You Will Need
This crispy personal pan pizza recipe uses simple, wholesome ingredients that deliver bold flavor and a satisfying crunch without any fuss. Many of these are pantry staples, and substitutions are easy if you need them.
- For the Dough:
- All-purpose flour (2 cups / 240g) – I recommend King Arthur for consistent results
- Active dry yeast (1 tsp)
- Warm water (¾ cup / 180ml) – about 110°F (43°C), perfect for yeast activation
- Olive oil (2 tbsp) – adds richness and helps crisp the crust
- Salt (½ tsp) – balances the flavors
- Sugar (1 tsp) – feeds the yeast and gives a mild sweetness
- For the Sauce:
- Canned crushed tomatoes (½ cup / 120ml) – San Marzano if you can find them
- Garlic powder (¼ tsp) – for a subtle depth
- Dried oregano (½ tsp)
- Salt and pepper to taste
- Toppings:
- Shredded mozzarella cheese (1 cup / 100g) – whole milk mozzarella melts best
- Optional: pepperoni slices, sliced mushrooms, bell peppers, or fresh basil leaves
For a gluten-free option, try a store-bought gluten-free pizza dough or substitute with almond flour blends, but note the texture will be different. You can swap olive oil with avocado oil if you prefer. If you want to make the sauce ahead, it keeps beautifully in the fridge for up to a week.
Equipment Needed
- Cast iron skillet (8 to 10 inches): This is the star of the show. A well-seasoned skillet gives the crust that unbeatable crispness.
- Mixing bowl: For activating and mixing the dough.
- Measuring cups and spoons: Precision matters here for the best dough rise.
- Wooden spoon or dough hook: To mix the dough comfortably.
- Spatula or pizza peel: Helpful for transferring the pizza in and out of the skillet.
Don’t have a cast iron skillet? A heavy stainless steel or non-stick pan works okay but won’t give quite the same crust texture. I’ve had good results with budget-friendly Lodge skillets, and they’re easy to maintain—just a quick wipe and occasional seasoning with oil keeps them in great shape.
Preparation Method
- Activate the Yeast (5-7 minutes): In your mixing bowl, combine warm water (¾ cup / 180ml) with sugar (1 tsp) and sprinkle yeast (1 tsp) on top. Let it sit until it gets foamy—this means the yeast is alive and kicking.
- Make the Dough (10 minutes): Add all-purpose flour (2 cups / 240g), salt (½ tsp), and olive oil (2 tbsp) to the yeast mixture. Stir with a wooden spoon or dough hook until a shaggy dough forms.
- Knead the Dough (5-7 minutes): Dump the dough onto a lightly floured surface and knead until smooth and elastic. If it’s sticky, sprinkle a little flour but don’t overdo it—your dough should be soft yet manageable.
- Rest the Dough (20 minutes): Place dough back in the bowl, cover with a clean kitchen towel, and let it rise in a warm spot. It won’t double in size but should puff slightly.
- Prepare the Sauce: While the dough rests, mix crushed tomatoes (½ cup / 120ml) with garlic powder (¼ tsp), oregano (½ tsp), salt, and pepper. Adjust seasoning to your taste.
- Preheat the Skillet: Heat your cast iron skillet over medium heat for about 5 minutes. Drizzle a teaspoon of olive oil to coat the bottom for a crispy crust.
- Shape the Dough: Punch down the dough gently and press it into a 7-8 inch circle to fit your skillet. Don’t worry about perfect edges; rustic is charming here.
- Cook the Crust (5 minutes): Transfer dough to the skillet and cook on medium heat until the bottom is golden brown and crispy (about 5 minutes). You can peek underneath with a spatula to check.
- Add Sauce & Toppings: Spread the prepared sauce evenly over the crust, sprinkle shredded mozzarella (1 cup / 100g), and add your favorite toppings.
- Finish in Oven (8-10 minutes): Transfer the skillet to a preheated oven at 425°F (220°C) and bake until the cheese is bubbly and golden.
- Rest & Serve: Let the pizza cool for a couple of minutes before slicing. This helps the cheese set just enough to avoid a molten lava situation!
Pro tip: If your dough starts cooking too fast on the bottom before the oven step, lower the heat slightly or remove from heat and finish in the oven sooner. The skillet retains heat like a beast, so watch closely.
Cooking Tips & Techniques
Getting the perfect crispy personal pan pizza crust takes a bit of patience but is honestly worth every second. Here’s what I’ve learned:
- Use Warm Water: Too hot, and you kill the yeast; too cold, and it won’t activate. Aim for warm but comfortable to the touch (around 110°F / 43°C).
- Kneading Matters: Knead just enough to develop gluten but don’t go overboard. The dough should be soft and elastic, not tough.
- Preheat the Skillet: This is key for that crispy crust. A cold pan will give you a soggy bottom, so let it heat fully before adding dough.
- Medium Heat is Your Friend: Too high, and you risk burning the crust before the inside cooks. Too low, and you lose crispiness.
- Don’t Overload Toppings: Too much sauce or cheese weighs down the crust, making it less crispy. Keep it balanced.
- Watch the Cheese: For a golden top, switch to broil for 1-2 minutes at the end—but keep an eagle eye to avoid burning.
Honestly, my first few tries had either a doughy center or a burnt crust, but adjusting heat and timing made all the difference. Now, multitasking is easy—I start the dough, prep toppings, then cook the crust while tidying up the kitchen. Efficiency for the win!
Variations & Adaptations
This crispy personal pan pizza recipe is as flexible as your cravings. Here are some ideas to mix things up:
- Vegetarian Twist: Load up with sautéed mushrooms, spinach, artichokes, and olives for a garden-fresh version.
- Spicy Kick: Add crushed red pepper flakes to the sauce and top with spicy pepperoni or jalapeños.
- Gluten-Free: Use a gluten-free pizza dough mix or almond flour dough. Cooking times may vary slightly, so keep an eye on the crust.
- Cheese Variations: Swap mozzarella for provolone, gouda, or even a sprinkle of parmesan for a different flavor profile.
- Cauliflower Crust: For a low-carb option, prepare a cauliflower crust and cook it in the skillet before adding toppings.
Personally, I tried adding caramelized onions and goat cheese once—pure magic. Don’t be shy about experimenting; the cast iron skillet method adapts well to your favorite ingredients.
Serving & Storage Suggestions
Serve your crispy personal pan pizza hot, right out of the skillet, for the best experience. The crust is at its crispiest and the cheese at its meltiest. Garnish with fresh basil or a drizzle of olive oil for that extra touch.
Pair it with a simple green salad or a light vinaigrette to balance the richness. For drinks, a chilled soda, a glass of red wine, or even sparkling water with lemon works wonderfully.
Leftovers? No problem. Store any uneaten pizza in an airtight container in the fridge for up to 2 days. To reheat, pop it back in a hot skillet for a few minutes—this revives the crispy crust much better than the microwave. You can also freeze cooked pizzas wrapped tightly in foil for up to a month; just thaw overnight in the fridge before reheating.
Flavors tend to deepen after resting, so sometimes I make the dough and sauce a day ahead—results are surprisingly better after a little patience.
Nutritional Information & Benefits
Each personal pan pizza slice provides roughly 350-400 calories depending on toppings, with a good balance of carbohydrates, protein, and fats. Using olive oil and fresh ingredients gives you healthy fats and antioxidants.
The tomatoes in the sauce are rich in lycopene, a powerful antioxidant linked to heart health. Whole milk mozzarella offers calcium and protein, essential for muscle and bone strength.
If you opt for gluten-free or cauliflower crust versions, this recipe can fit well into low-carb or gluten-sensitive diets. Just be mindful of dairy if you have allergies, but swaps like vegan cheese are easy to incorporate.
From a wellness perspective, making pizza at home means you control the quality and quantity of ingredients, avoiding preservatives and excessive sodium often found in takeout.
Conclusion
This crispy personal pan pizza in a cast iron skillet is one of those recipes that’s both a crowd-pleaser and a comforting solo treat. It’s simple, quick, and honestly, just downright delicious. I love how you can customize it endlessly yet still get that signature crisp crust every time.
Give this recipe a try, and don’t be afraid to make it your own—swap toppings, experiment with cheeses, or try different herb blends. I’m excited to hear what you come up with, so please leave a comment or share your variations!
Trust me, once you make this skillet pizza, you’ll find yourself reaching for your cast iron more often. It’s like a warm, crispy hug on a plate, and you deserve that kind of comfort.
FAQs About Crispy Personal Pan Pizza in Cast Iron Skillet
How do I prevent the crust from burning in the skillet?
Preheat your skillet over medium heat, and watch the bottom closely. If it’s browning too fast, lower the heat or remove from heat earlier and finish in the oven.
Can I use store-bought pizza dough for this recipe?
Absolutely! Store-bought dough works well and can save time. Just press it into the skillet and follow the cooking steps.
What if I don’t have a cast iron skillet?
A heavy stainless steel or non-stick pan can work, but the crust won’t be quite as crispy. A cast iron skillet is best for that signature crunch.
How long can I store leftover pizza?
Keep leftovers in an airtight container in the fridge for up to 2 days. Reheat in a skillet for best crispiness.
Can I make this pizza vegan?
Yes! Use vegan cheese and a dairy-free dough. The cast iron method will still give you a crispy crust and delicious flavor.
Pin This Recipe!
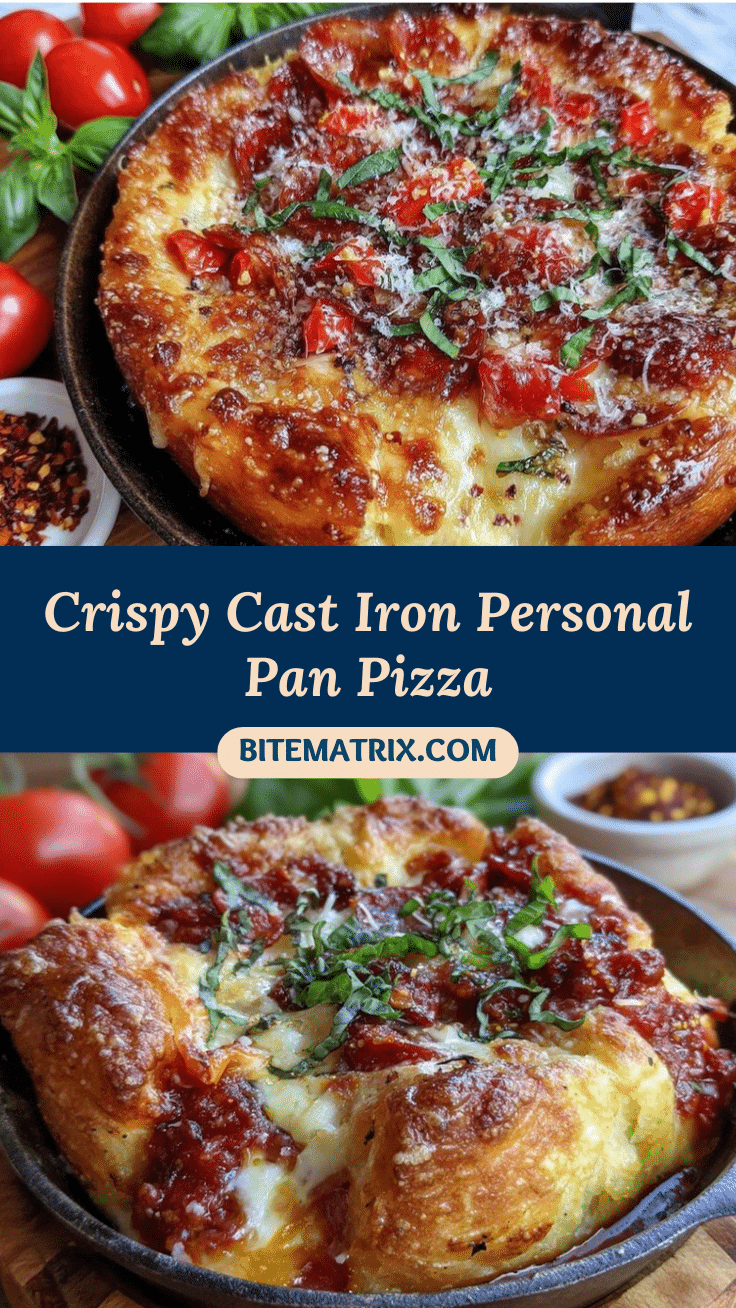
Crispy Personal Pan Pizza Recipe Easy Cast Iron Skillet Method

A quick and easy personal pan pizza recipe using a cast iron skillet for a perfectly crispy crust, tangy sauce, and gooey melted cheese. Ideal for busy nights and customizable to your taste.
- Prep Time: 15 minutes
- Cook Time: 15 minutes
- Total Time: 30 minutes
- Yield: 1 personal pan pizza (serves 1-2) 1x
- Category: Main Course
- Cuisine: Italian-American
Ingredients
- 2 cups (240g) all-purpose flour
- 1 tsp active dry yeast
- 3/4 cup (180ml) warm water (about 110°F / 43°C)
- 2 tbsp olive oil
- 1/2 tsp salt
- 1 tsp sugar
- 1/2 cup (120ml) canned crushed tomatoes
- 1/4 tsp garlic powder
- 1/2 tsp dried oregano
- Salt and pepper to taste
- 1 cup (100g) shredded mozzarella cheese
- Optional toppings: pepperoni slices, sliced mushrooms, bell peppers, fresh basil leaves
Instructions
- Activate the yeast by combining warm water, sugar, and yeast in a mixing bowl. Let sit until foamy (5-7 minutes).
- Add flour, salt, and olive oil to the yeast mixture. Stir until a shaggy dough forms (about 10 minutes).
- Knead the dough on a lightly floured surface until smooth and elastic (5-7 minutes).
- Place dough back in the bowl, cover, and let it rest in a warm spot for 20 minutes.
- Prepare the sauce by mixing crushed tomatoes, garlic powder, oregano, salt, and pepper.
- Preheat the cast iron skillet over medium heat for about 5 minutes and drizzle with a teaspoon of olive oil.
- Punch down the dough and press it into a 7-8 inch circle to fit the skillet.
- Cook the dough in the skillet on medium heat until the bottom is golden brown and crispy (about 5 minutes).
- Spread the sauce evenly over the crust, sprinkle mozzarella cheese, and add desired toppings.
- Transfer the skillet to a preheated oven at 425°F (220°C) and bake for 8-10 minutes until cheese is bubbly and golden.
- Let the pizza cool for a couple of minutes before slicing and serving.
Notes
Use warm water at about 110°F (43°C) to activate yeast properly. Preheat skillet fully for a crispy crust. Adjust heat to avoid burning the crust. For gluten-free, use store-bought gluten-free dough or almond flour blends. Leftovers can be stored in the fridge for up to 2 days and reheated in a skillet for best crispiness.
Nutrition
- Serving Size: 1 personal pan pizza
- Calories: 350400
- Sugar: 4
- Sodium: 500
- Fat: 15
- Saturated Fat: 6
- Carbohydrates: 40
- Fiber: 2
- Protein: 15
Keywords: personal pan pizza, cast iron skillet pizza, crispy pizza crust, easy pizza recipe, quick pizza, homemade pizza


