Introduction
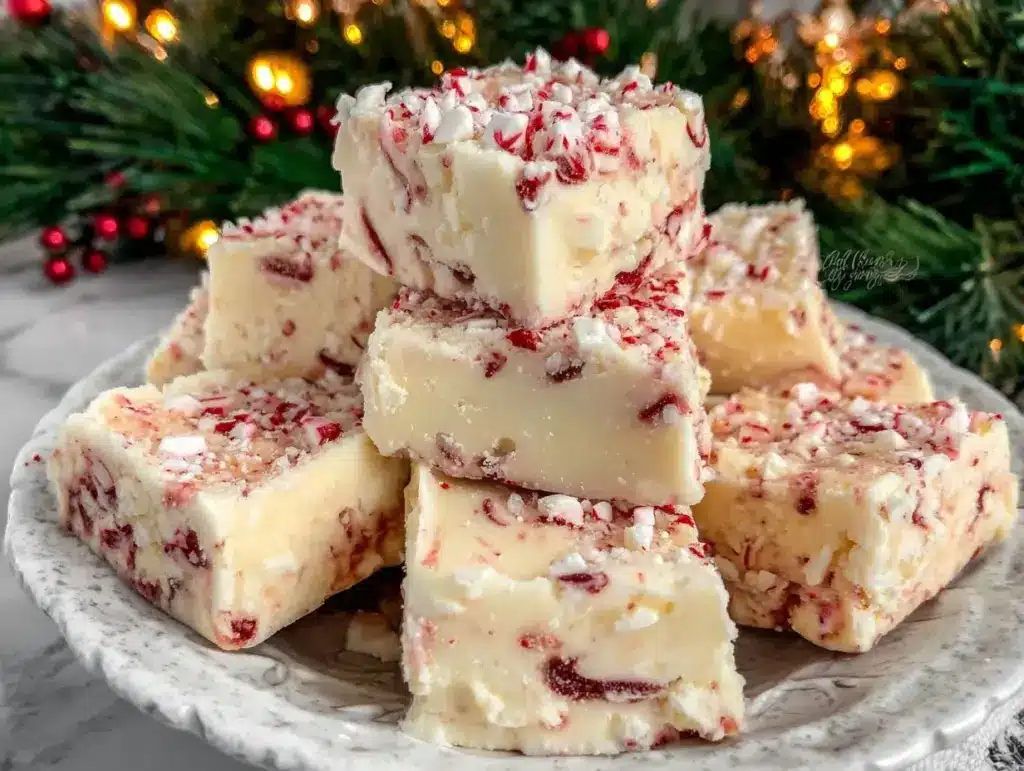
The moment you walk into the kitchen, the sweet, minty aroma fills the air—it’s the kind of smell that makes you stop and take a deep, contented breath. I still remember the first time I made these festive homemade Christmas peppermints. It was a frosty December afternoon, and I was determined to recreate the little peppermint candies my grandma used to make every holiday season. She’d have them displayed in a glass jar by the fireplace, and every few minutes, someone would sneak over to grab one. They were always the highlight of our Christmas gatherings.
Honestly, I can’t believe I waited so long to try making them myself. They’re dangerously easy to whip up, and the result is pure holiday cheer in every bite. The buttery, melt-in-your-mouth texture combined with the refreshing pop of peppermint—it’s a treat that feels nostalgic and indulgent all at once. My kids couldn’t stop popping them into their mouths, and my husband? Well, let’s just say I had to hide some away so we’d have enough for gifting!
Whether you’re looking to brighten up your Christmas cookie platter, create a memorable homemade gift for friends and neighbors, or just indulge in a little holiday spirit, these festive homemade Christmas peppermints are truly a must-try. After testing this recipe a dozen times (in the name of research, of course!), I can confidently say it’s a keeper. So, grab your apron and get ready to fall in love with this holiday favorite!
Why You’ll Love This Recipe
- Quick & Easy: These peppermints come together in under 30 minutes, making them perfect for last-minute holiday preparations.
- Simple Ingredients: You likely already have everything you need in your pantry—no fancy trips to specialty stores required.
- Perfect for Gifting: These little treats are ideal for packaging up in festive tins or jars to spread holiday cheer.
- Customizable: You can make them in any color or shape to match your festive decor or personal style.
- Kid-Friendly Fun: Let the kids help roll and shape the peppermints—it’s a great way to get them involved in holiday preparations.
What makes this recipe stand out is the perfect balance between sweetness and minty freshness. The texture is soft and creamy, with just the right amount of chew to make them utterly irresistible. Plus, unlike store-bought peppermints, you can control the flavor and ingredients to suit your preferences. Want a stronger peppermint kick? Add an extra drop or two of extract. Prefer a softer texture? Add a little more powdered sugar. This recipe is truly yours to make your own!
What Ingredients You Will Need
This recipe uses simple, wholesome ingredients to deliver the perfect festive treat without a lot of fuss. Here’s what you’ll need:
- Cream cheese (softened): Provides the creamy base for the peppermints and helps them hold their shape.
- Powdered sugar: The sweet foundation of the recipe. It also gives the peppermints their smooth texture.
- Peppermint extract: The star of the show! Adjust the amount to suit your taste—just a few drops will do the trick.
- Vanilla extract: Adds a warm, subtle sweetness that balances out the minty flavor.
- Food coloring: Optional, but perfect for creating festive red, green, or any color that matches your holiday theme.
- Granulated sugar: For rolling the peppermints and adding a light, sparkling crunch.
If you need substitutions, you can use vegan cream cheese and a plant-based powdered sugar for a dairy-free version. For a fun twist, try using other extracts like almond or orange to switch up the flavor profile. Let your creativity flow!
Equipment Needed
Creating these charming Christmas peppermints doesn’t require any fancy gadgets! Here’s what you’ll need:
- Mixing bowl: A medium-sized one will do the trick for combining the ingredients.
- Electric mixer: A handheld or stand mixer works best to achieve a smooth mixture.
- Measuring cups and spoons: Precision is key for the perfect texture and taste.
- Rubber spatula: For scraping down the sides of the bowl.
- Wax paper or parchment paper: Essential for rolling out your peppermints without them sticking.
- Rolling pin: A smooth rolling pin helps flatten the dough easily.
- Cookie cutters: Pick your favorite festive shapes—stars, trees, or candy canes!
If you don’t have cookie cutters, don’t sweat it! You can simply roll the dough into small balls and flatten them with your fingers or the bottom of a glass. A little creativity goes a long way!
Preparation Method
- In a medium mixing bowl, combine 8 ounces (225g) of softened cream cheese and 1 teaspoon of vanilla extract. Beat together using an electric mixer until smooth and creamy.
- Gradually add 4 cups (480g) of powdered sugar, one cup at a time, mixing thoroughly between each addition. The mixture should form a stiff dough that’s easy to handle.
- Stir in 1 teaspoon of peppermint extract. Taste the dough and adjust the peppermint flavor if desired, but be cautious—peppermint can be quite strong!
- Divide the dough into separate portions if you’re using food coloring. Knead a few drops of your chosen colors into each portion until evenly blended.
- Roll each portion into small balls (about 1-inch in diameter). If you prefer shaped peppermints, roll the dough into a thin sheet and use cookie cutters to create festive designs.
- Coat each piece lightly in granulated sugar for a subtle crunch and extra sparkle.
- Arrange the peppermints on a sheet of wax or parchment paper and let them sit at room temperature for 24 hours to firm up.
- Store the peppermints in an airtight container for up to two weeks—or package them up for gifting!
Note: If your dough feels too sticky, add a little more powdered sugar, one tablespoon at a time, until it’s easier to handle. If it’s too dry, mix in a teaspoon of cream cheese until it reaches the right consistency.
Cooking Tips & Techniques
Making homemade Christmas peppermints is easier than you think, but a few tips can take your treats to the next level:
- Room temperature ingredients: Make sure your cream cheese is fully softened for the smoothest dough.
- Don’t overdo the peppermint extract: A little goes a long way, so start small and taste as you go.
- Use high-quality food coloring: Gel food coloring works best for vibrant, festive colors without altering the texture of the dough.
- Prevent sticking: Dust your rolling pin and work surface with powdered sugar if you’re using cookie cutters to shape the dough.
- Plan ahead: These peppermints need a full day to dry, so make them a day or two before serving or gifting.
Remember, the key is to have fun while making them! This recipe is forgiving and perfect for experimenting.
Variations & Adaptations
Here are some fun ways to customize your festive homemade Christmas peppermints:
- Flavor Variations: Swap the peppermint extract for almond, lemon, or orange extract for a different flavor profile.
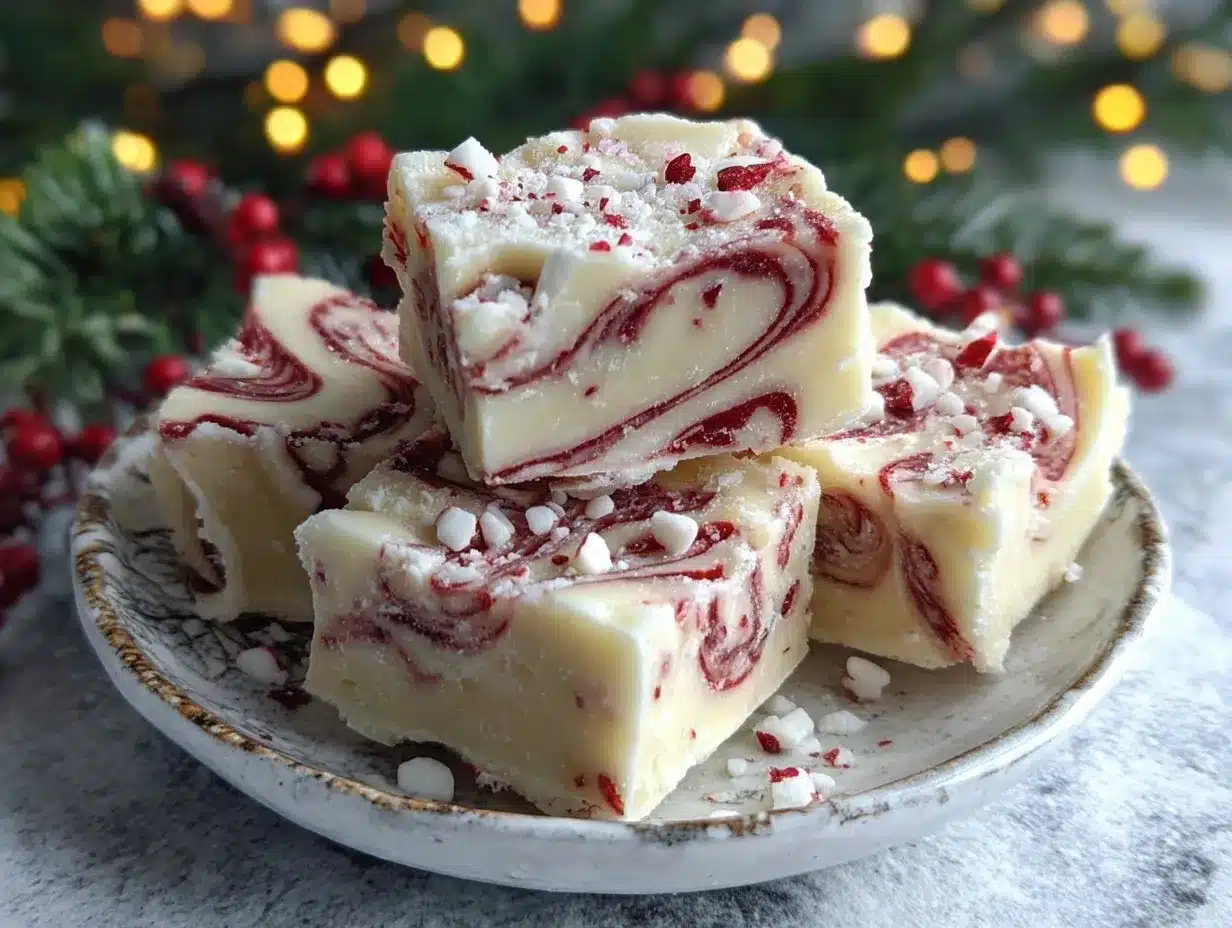
- Color Combinations: Create marbled designs by kneading two colors together lightly or stick to classic red and white for a candy cane look.
- Dietary Adaptations: Make these peppermints dairy-free by using vegan cream cheese and plant-based powdered sugar.
- Seasonal Twists: In summer, try pastel colors for baby showers or spring gatherings.
- Toppings: Add crushed candy cane pieces or festive sprinkles on top for extra flair.
One year, I added a dash of cocoa powder to create chocolate-mint candies, and they were an absolute hit. Don’t be afraid to experiment—you might just discover your new holiday tradition!
Serving & Storage Suggestions
These delightful little peppermints are incredibly versatile when it comes to serving and storing:
- Serving: Arrange them on a festive platter or in a decorative jar for your holiday dessert table. Pair them with hot cocoa or coffee for the perfect cozy treat.
- Storage: Keep them in an airtight container at room temperature for up to two weeks. If your home is warm, refrigerate them to prevent softening.
- Freezing: You can freeze the peppermints for up to three months. Just thaw them at room temperature before serving.
- Reheating: These don’t need reheating, but if they feel dry, a quick spritz of water can refresh their texture.
Pro tip: These candies actually taste even better after a day or two as the flavors meld together!
Nutritional Information & Benefits
If you’re wondering about the nutritional profile of these festive treats, here’s a quick overview:
- Calories: Approximately 60 per peppermint.
- Fat: Cream cheese provides a small amount of fat for a creamy texture.
- Sugar: These peppermints are sweet but can be made with sugar alternatives for a lower-carb option.
- Dietary Considerations: Gluten-free and easily adaptable for dairy-free diets.
While they’re definitely a treat, the small portion size makes them a manageable indulgence. Plus, the peppermint flavor can provide a refreshing burst to cleanse your palate after a big holiday meal!
Conclusion
These festive homemade Christmas peppermints are more than just a recipe—they’re a holiday tradition waiting to happen. From their melt-in-your-mouth texture to their customizable colors and flavors, they’re perfect for brightening up your holiday season. Whether you’re gifting them to loved ones, serving them at a party, or simply indulging with your family, these peppermints are guaranteed to bring smiles.
Honestly, I love this recipe because it feels like a little bit of magic every time I make it. Watching my kids roll the dough and pick out their favorite colors has become one of my favorite holiday memories. I hope you give this recipe a try and make your own festive memories!
If you try these peppermints, let me know in the comments below or tag me on social media—I’d love to see your creations! Happy holidays!
FAQs
Can I make these peppermints ahead of time?
Yes! These peppermints can be made up to two weeks ahead and stored in an airtight container.
Can I use a different flavor instead of peppermint?
Absolutely! Almond, orange, or lemon extracts work beautifully as alternatives.
How do I prevent the dough from sticking?
Dust your rolling pin and work surface with powdered sugar to keep the dough easy to handle.
Are these peppermints gluten-free?
Yes, this recipe is naturally gluten-free. Just ensure any extracts or food coloring you use are certified gluten-free.
Can I freeze these peppermints?
Yes! Place them in an airtight container and freeze for up to three months. Thaw at room temperature before serving.
Pin This Recipe!
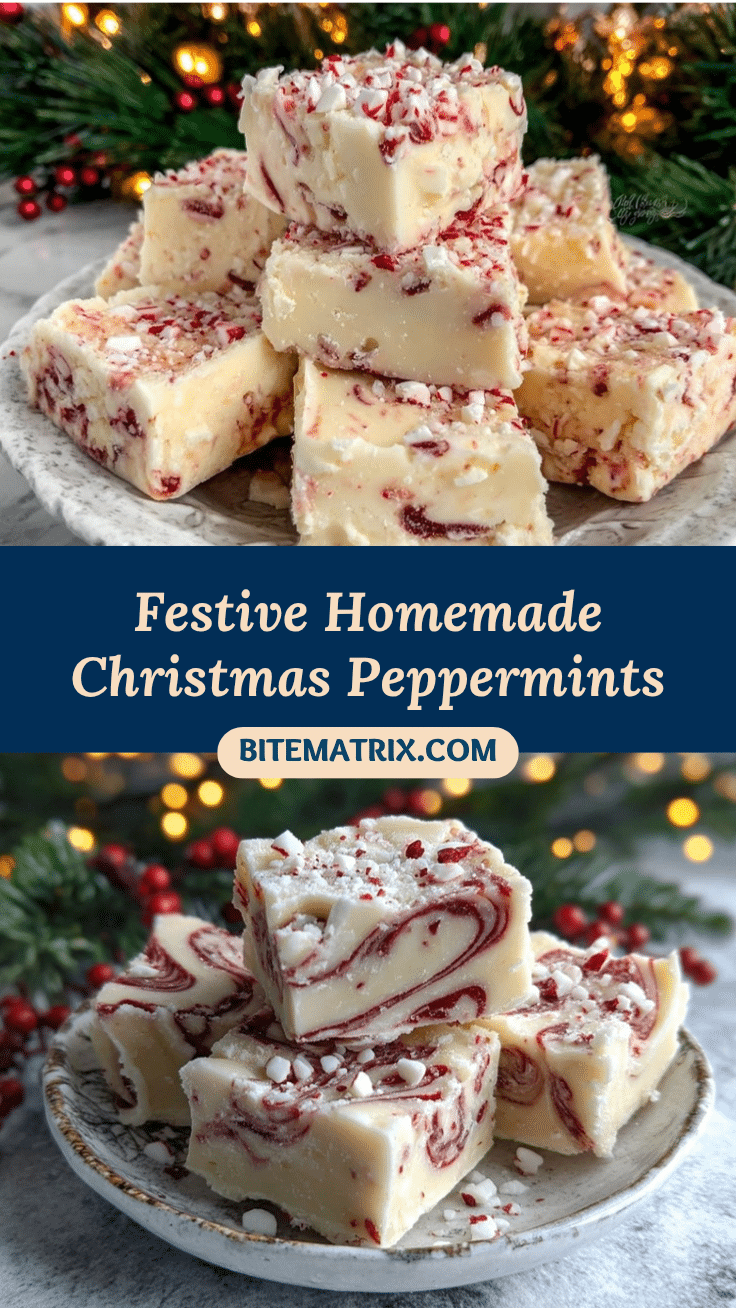
Festive Homemade Christmas Peppermints Recipe for the Holidays

These festive homemade Christmas peppermints are a melt-in-your-mouth holiday treat with a refreshing pop of peppermint, perfect for gifting or brightening up your holiday dessert table.
- Prep Time: 15 minutes
- Cook Time: 24 hours (drying time)
- Total Time: 24 hours 15 minutes
- Yield: Approximately 40 peppermints 1x
- Category: Dessert
- Cuisine: American
Ingredients
- 8 ounces (225g) cream cheese, softened
- 4 cups (480g) powdered sugar
- 1 teaspoon peppermint extract
- 1 teaspoon vanilla extract
- Food coloring (optional)
- Granulated sugar for rolling
Instructions
- In a medium mixing bowl, combine 8 ounces (225g) of softened cream cheese and 1 teaspoon of vanilla extract. Beat together using an electric mixer until smooth and creamy.
- Gradually add 4 cups (480g) of powdered sugar, one cup at a time, mixing thoroughly between each addition. The mixture should form a stiff dough that’s easy to handle.
- Stir in 1 teaspoon of peppermint extract. Taste the dough and adjust the peppermint flavor if desired.
- Divide the dough into separate portions if using food coloring. Knead a few drops of your chosen colors into each portion until evenly blended.
- Roll each portion into small balls (about 1-inch in diameter). Alternatively, roll the dough into a thin sheet and use cookie cutters to create festive designs.
- Coat each piece lightly in granulated sugar for a subtle crunch and extra sparkle.
- Arrange the peppermints on a sheet of wax or parchment paper and let them sit at room temperature for 24 hours to firm up.
- Store the peppermints in an airtight container for up to two weeks or package them for gifting.
Notes
Ensure cream cheese is fully softened for smooth dough. Use gel food coloring for vibrant colors. Plan ahead as the peppermints need a full day to dry.
Nutrition
- Serving Size: 1 peppermint
- Calories: 60
- Sugar: 9
- Sodium: 10
- Fat: 2
- Saturated Fat: 1
- Carbohydrates: 10
Keywords: Christmas, Peppermints, Holiday Treats, Homemade Candy, Gluten-Free, Dairy-Free Option


