“You know, I never really thought cookie bars could pull off that perfect s’mores magic—until that night last August. It was a rare weeknight, and I was half-watching a documentary while trying to whip up a quick dessert. Honestly, I was aiming for classic chocolate chip bars but somehow ended up with this gooey s’mores cookie bars recipe that had a crispy marshmallow topping that made the whole kitchen smell like a campfire treat. My neighbor, Julia, popped in right as I was pulling them from the oven, and she said, ‘Wow, what’s that smell? It’s like a campfire in here!’ I laughed, admitting it was a total happy accident.
Let me tell you, I’d forgotten to grab the usual ingredients for my go-to cookies and grabbed a bag of marshmallows instead of mini chocolate chips. Classic mix-up, right? But the way those marshmallows melted and crisped on top was something else—better than I expected. You might have been there, staring at your pantry, thinking you don’t have the right stuff for s’mores but craving that exact ooey-gooey feeling. This recipe captures that craving without needing a campfire or sticks. And yes, there was a tiny mess when the marshmallows started bubbling over, but isn’t that part of the fun?
Since that night, I’ve made these gooey s’mores cookie bars more times than I can count. They’re the kind of treat that makes you close your eyes after the first bite, and honestly, they’ve become a staple whenever I want quick comfort food that feels special. So, if you’re ready to bring a little campfire nostalgia right into your kitchen (without the smoke), stick around. These bars are about to become your new favorite.
Why You’ll Love This Recipe
Having tested this gooey s’mores cookie bars recipe countless times (and yes, tasted each batch with full dedication), I can say it really hits the spot on multiple levels. Here’s why you’ll want to keep this one handy:
- Quick & Easy: Come together in under 45 minutes, making it ideal for busy weeknights or last-minute cravings.
- Simple Ingredients: Uses pantry staples you likely already have—no fancy or hard-to-find items needed.
- Perfect for Any Occasion: Whether it’s a casual get-together, a cozy night in, or a potluck, these bars fit right in.
- Crowd-Pleaser: Kids and adults alike rave about the crispy marshmallow topping paired with the chewy cookie base.
- Unbelievably Delicious: The balance of gooey chocolate, toasted marshmallow, and a crunchy cookie base is a total flavor jackpot.
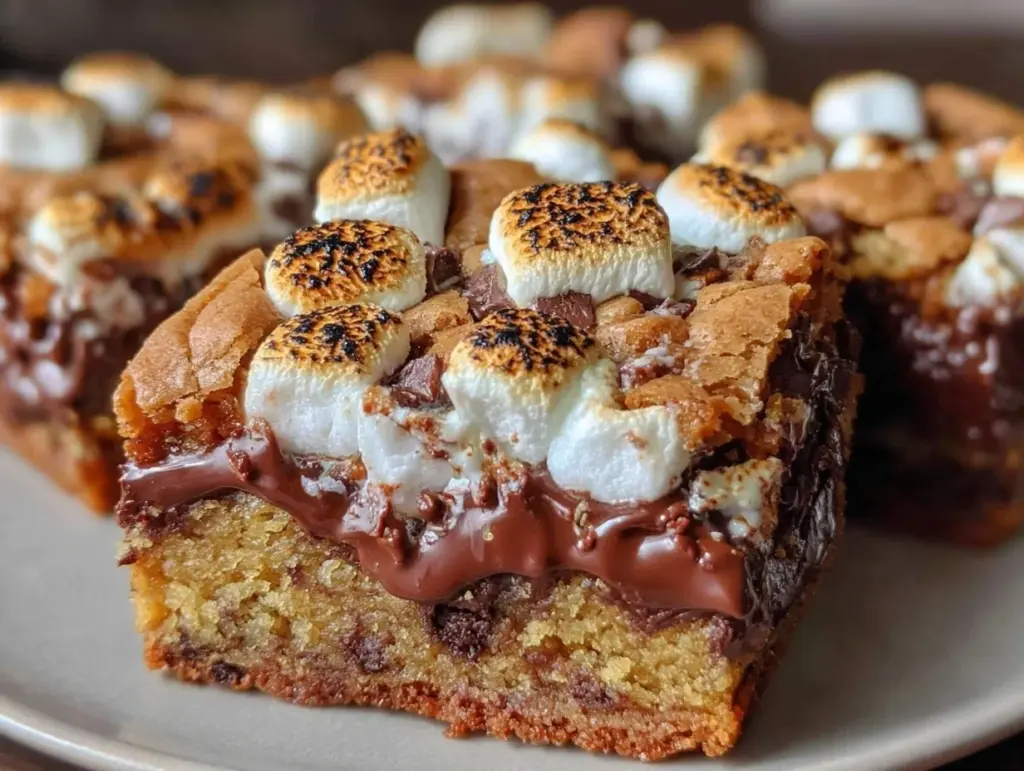
This recipe stands out because it combines a classic campfire treat with the ease of baking at home. The crispy marshmallow topping is the star here, not just thrown on but toasted to golden perfection so it’s not just sweet, but texturally exciting. Plus, I’ve tweaked the cookie base to be chewy rather than cakey, and the chocolate chunks melt just right without turning into a puddle. Honestly, it’s comfort food that feels a little indulgent without being overwhelming. You’re not just making cookie bars—you’re crafting a nostalgic experience.
What Ingredients You Will Need
This gooey s’mores cookie bars recipe uses straightforward ingredients to create bold flavors and satisfying textures with minimal fuss. Everything is easy to find, and most are probably sitting in your pantry or fridge right now.
- For the Cookie Base:
- All-purpose flour – 2 cups (240 g)
- Baking soda – 1 teaspoon
- Salt – ½ teaspoon
- Unsalted butter, softened – ¾ cup (170 g) (I like using Land O’Lakes for creaminess)
- Brown sugar, packed – ¾ cup (150 g)
- Granulated sugar – ¼ cup (50 g)
- Large eggs – 2, room temperature
- Pure vanilla extract – 2 teaspoons
- Milk chocolate chunks or chips – 1 cup (170 g) (Ghirardelli or Nestlé Toll House work great)
- For the Marshmallow Topping:
- Mini marshmallows – 2 cups (about 100 g) (use fresh ones for best puff and crisp)
Ingredient Tips: If you want a slightly richer cookie base, swapping half the butter for browned butter adds a lovely nutty note. For a gluten-free version, try a cup of almond flour with one cup of regular flour (results in a denser bar but still delicious). If dairy-free is your goal, substitute the butter with coconut oil and use dairy-free chocolate chips.
Equipment Needed
- 9×13 inch (23×33 cm) baking pan – essential for even baking and perfect bar shape.
- Mixing bowls – one large for dry ingredients, one medium for wet ingredients.
- Electric hand mixer or stand mixer – I’ve tried mixing by hand, but this really speeds things up and gets the texture right.
- Rubber spatula – to fold in chocolate chunks without breaking them up too much.
- Measuring cups and spoons – accuracy matters here, especially for the leavening.
- Oven mitts – because those marshmallows get hot and sticky fast!
If you don’t have a 9×13 pan, a similar-sized glass or metal pan works fine. For budget-friendly options, I recommend checking local thrift stores or kitchen outlets—the difference between a $10 and a $30 pan is minimal for this recipe. Also, a silicone spatula is a lifesaver for scraping sticky dough.
Preparation Method
- Preheat your oven to 350°F (175°C). Line your 9×13 inch baking pan with parchment paper, leaving an overhang on the sides to help lift the bars out later. This step saves so much cleanup.
- Mix dry ingredients: In a large bowl, whisk together 2 cups (240 g) all-purpose flour, 1 teaspoon baking soda, and ½ teaspoon salt. Set aside while you prepare the wet ingredients.
- Cream butter and sugars: In a separate bowl, use an electric mixer to beat ¾ cup (170 g) softened unsalted butter, ¾ cup (150 g) packed brown sugar, and ¼ cup (50 g) granulated sugar until light and fluffy. This usually takes about 3 minutes. The mixture should look pale and a little fluffy—that’s the secret to a chewy texture.
- Add eggs and vanilla: Beat in 2 large eggs, one at a time, followed by 2 teaspoons pure vanilla extract. Scrape down the sides to combine everything evenly.
- Combine wet and dry: Gradually add the flour mixture to the wet ingredients, mixing on low speed just until combined. Overmixing can make the bars tough, so stop as soon as you see no more flour.
- Fold in chocolate chunks: Gently fold in 1 cup (170 g) milk chocolate chunks with a spatula, making sure they’re distributed evenly without smashing them.
- Spread dough in pan: Transfer the dough to your prepared pan and press it evenly into the corners and edges. It’ll be thick and a bit sticky – that’s perfect.
- Bake the base: Bake for 18-20 minutes, or until the edges are golden but the center is still slightly soft. You want it just a touch underdone because it’ll finish cooking with the marshmallows on top.
- Add marshmallow topping: Remove the pan from the oven and immediately sprinkle 2 cups (100 g) mini marshmallows evenly over the warm cookie base.
- Toast topping: Return the pan to the oven and bake for another 5-7 minutes, watching closely. The marshmallows should puff up and turn golden brown on top (be careful – they can burn quickly!).
- Cool and cut: Let the bars cool completely in the pan on a wire rack. Use the parchment overhang to lift them out, then cut into squares or rectangles. Cooling helps the marshmallows set so you get that perfect gooey but not sticky bite.
Pro tip: If you notice marshmallows melting too fast or browning unevenly, try switching your oven to broil for just 30-60 seconds at the end, but keep a close eye! The first time I tried broiling, I turned away for a moment and ended up with a crispy black marshmallow mess. Lesson learned!
Cooking Tips & Techniques
Making gooey s’mores cookie bars isn’t rocket science, but there are a few tricks that make a big difference:
- Butter temperature matters: Using softened, not melted, butter helps create that chewy texture. Too warm and your dough spreads too thin; too cold and it won’t cream properly.
- Don’t overmix: Once you add flour, stir just until combined. Overworking develops gluten and makes for tough bars.
- Chocolate chunk size: I prefer chunks over chips because they melt unevenly and create pockets of gooey chocolate, but chips work too if that’s what you have.
- Marshmallow timing: Adding marshmallows right after the base comes out ensures they toast perfectly without melting into a puddle. Waiting too long cools the base and the marshmallows won’t stick.
- Oven quirks: Every oven is different—if yours tends to run hot, reduce baking time slightly to prevent burnt marshmallows.
- Multitasking tip: While the base bakes, clean up and prep your marshmallows to streamline the process.
- Cooling is key: Don’t rush cutting. Warm bars are too soft, and the marshmallows will stick to your knife. A serrated knife often works best here.
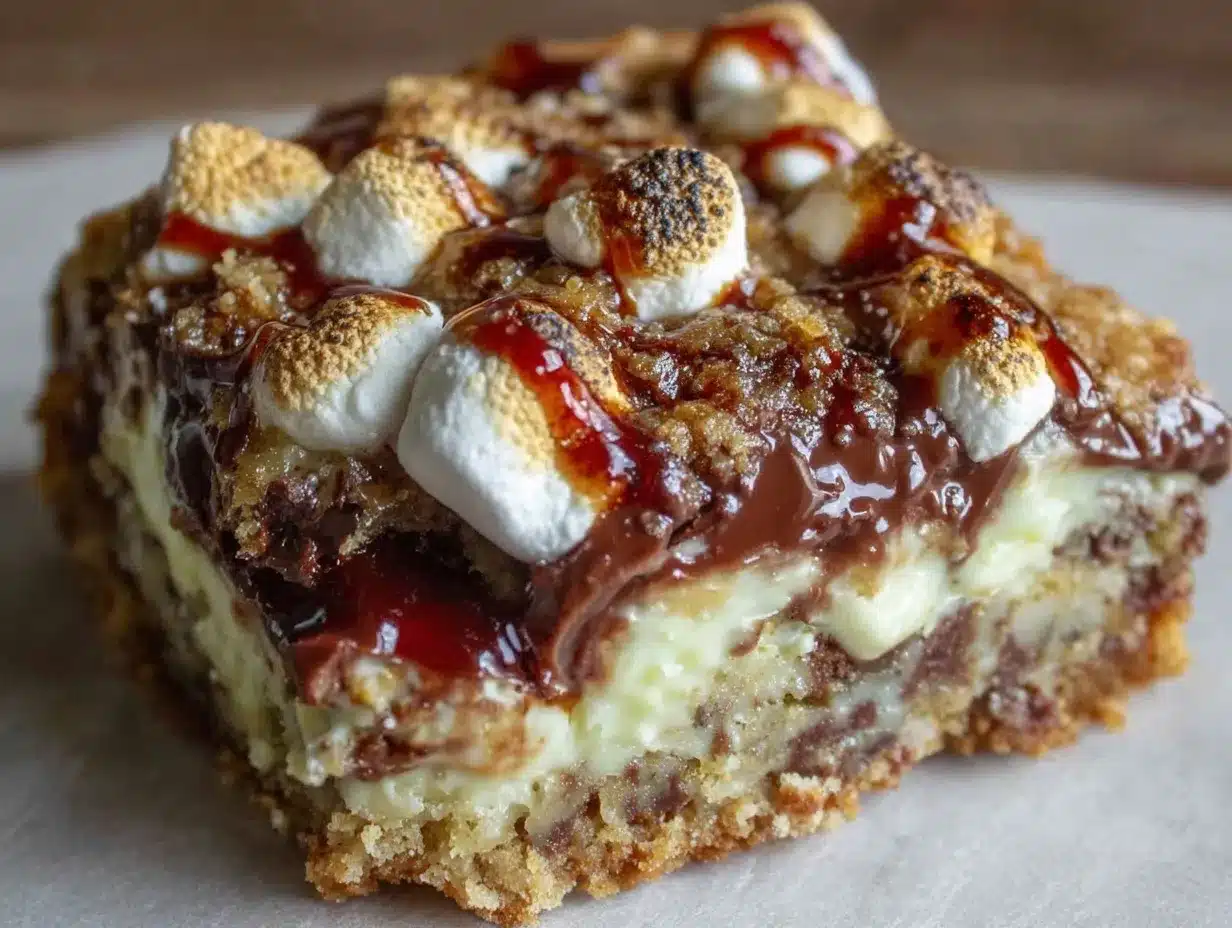
I remember my first batch was a little flat because I used melted butter—lesson learned quickly after a bite or two! Now, I swear by the creaming method. Also, if you want a little smoky flavor, a quick torching of the marshmallows after baking adds a neat touch, but it’s totally optional.
Variations & Adaptations
Want to put your own spin on these gooey s’mores cookie bars? Here are a few ideas I’ve tested or thought up:
- Peanut butter swirl: Add dollops of peanut butter before baking and swirl it through the dough for a nutty twist.
- Dark chocolate and sea salt: Swap milk chocolate chunks for dark chocolate and sprinkle a pinch of flaky sea salt on top just before adding marshmallows to balance sweetness.
- Gluten-free option: Use a 1:1 gluten-free baking flour blend. I’ve had success with Bob’s Red Mill gluten-free flour, though the texture is a bit more crumbly.
- Vegan adaptation: Replace butter with coconut oil, use a flax egg (1 tablespoon ground flaxseed + 3 tablespoons water), and dairy-free chocolate chips. For marshmallows, use a vegan brand like Dandies.
- Seasonal twist: In fall, add a teaspoon of pumpkin pie spice to the dough for a cozy seasonal vibe.
One time, I tried adding chopped toasted pecans on top of the marshmallows before the final bake. It gave a nice crunch contrast, though you might want to press them slightly into the marshmallows so they don’t fall off when cutting.
Serving & Storage Suggestions
These gooey s’mores cookie bars are best served at room temperature once fully cooled. The marshmallow topping will be crispy on the outside with a soft, melty center.
I like to serve them with a cold glass of milk or a hot cup of coffee for a sweet treat that feels indulgent but not too heavy. They also pair surprisingly well with a scoop of vanilla ice cream if you’re feeling extra decadent.
To store, keep the bars in an airtight container at room temperature for up to 3 days. For longer storage, wrap them tightly and freeze for up to 2 months. Thaw at room temperature before serving.
When reheating, a quick 10-second zap in the microwave revives the gooey texture, but watch out—the marshmallow topping can get sticky fast when warmed.
Over time, the marshmallow topping will soften and lose some crispiness, but the flavor stays delicious. If you want to refresh the crunch, a few minutes under a broiler or with a kitchen torch will crisp them back up nicely.
Nutritional Information & Benefits
Each serving of these gooey s’mores cookie bars (assuming 12 servings) contains approximately:
| Calories | 300-350 kcal |
|---|---|
| Fat | 15-18 g |
| Carbohydrates | 40-45 g |
| Protein | 3-4 g |
The recipe is rich in carbs and fats, mainly from butter, sugar, and chocolate, making it a treat best enjoyed in moderation. The all-purpose flour provides some energy-giving carbohydrates, while the chocolate chips contribute small amounts of iron and antioxidants. Marshmallows are mostly sugar but essential for that signature s’mores flavor.
Dietary considerations: This recipe contains gluten, dairy, and eggs. For allergies, refer to the vegan and gluten-free adaptations above. The bars are not low-carb but offer a nostalgic, comforting dessert option that’s straightforward and satisfying.
Conclusion
So, what makes these gooey s’mores cookie bars with crispy marshmallow topping worth your time? They’re a simple, nostalgic treat that feels like a mini celebration in every bite. Whether you’re craving a quick dessert after a hectic day or want to impress friends with something cozy and sweet, this recipe ticks all the boxes.
Feel free to customize the base or topping to suit your tastes, and don’t be shy about trying the variations. I love this recipe because it’s forgiving and fun—you can almost hear the crackle of the marshmallow topping as you bite in. Honestly, it’s become my go-to when I want that campfire feeling without leaving the kitchen.
If you try these bars, please drop a comment or share your own twists—I’d love to hear how you make this recipe your own. Happy baking, and may your kitchen always smell like a warm, gooey s’mores dream!
FAQs
Can I use jumbo marshmallows instead of mini marshmallows?
You can, but jumbo marshmallows may not toast evenly or stick as well. To get a similar effect, try cutting them into smaller pieces before topping the bars.
How do I prevent marshmallows from burning?
Keep a close eye during the final bake or broil step. It helps to use the oven’s middle rack and remove the bars as soon as the marshmallows turn golden brown.
Can I make these bars ahead of time?
Absolutely! They keep well at room temperature for a few days and freeze beautifully. Just thaw before serving and reheat briefly if you want the gooey texture back.
What’s the best way to cut these bars without sticking?
Use a sharp serrated knife and wait until the bars are fully cooled. You can also wipe the knife with a little warm water and dry it between cuts to reduce sticking.
Are these bars suitable for kids?
Yes, kids generally love the sweet, gooey marshmallow topping and chocolate. Just keep an eye on portion sizes since they’re quite rich and sugary.
Pin This Recipe!
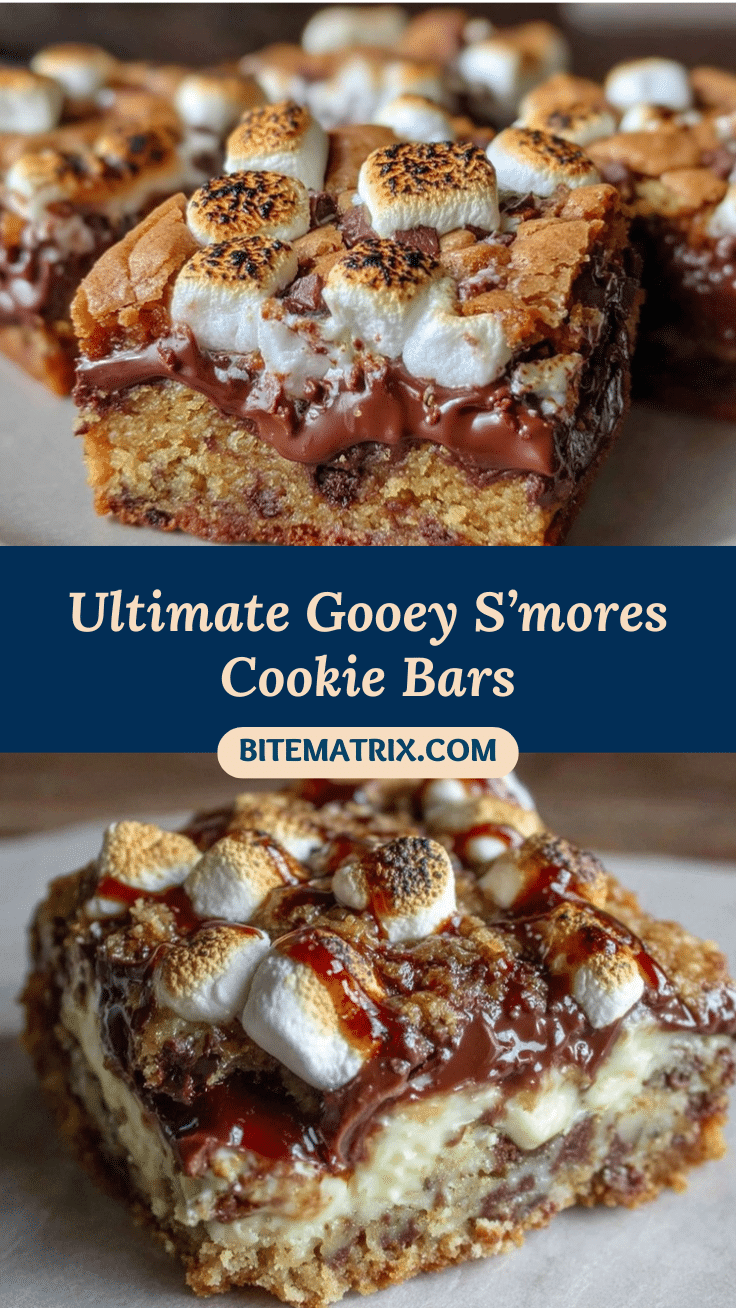
Gooey S’mores Cookie Bars Recipe Easy Crispy Marshmallow Topping

These gooey s’mores cookie bars feature a chewy cookie base topped with a crispy toasted marshmallow layer, capturing the nostalgic campfire treat experience without needing a campfire.
- Prep Time: 15 minutes
- Cook Time: 25 minutes
- Total Time: 40 minutes
- Yield: 12 servings 1x
- Category: Dessert
- Cuisine: American
Ingredients
- 2 cups (240 g) all-purpose flour
- 1 teaspoon baking soda
- ½ teaspoon salt
- ¾ cup (170 g) unsalted butter, softened
- ¾ cup (150 g) packed brown sugar
- ¼ cup (50 g) granulated sugar
- 2 large eggs, room temperature
- 2 teaspoons pure vanilla extract
- 1 cup (170 g) milk chocolate chunks or chips
- 2 cups (about 100 g) mini marshmallows
Instructions
- Preheat your oven to 350°F (175°C). Line a 9×13 inch baking pan with parchment paper, leaving an overhang on the sides.
- In a large bowl, whisk together the flour, baking soda, and salt. Set aside.
- In a separate bowl, beat the softened butter, brown sugar, and granulated sugar with an electric mixer until light and fluffy, about 3 minutes.
- Beat in the eggs one at a time, then add the vanilla extract. Scrape down the sides to combine evenly.
- Gradually add the dry ingredients to the wet ingredients, mixing on low speed just until combined. Avoid overmixing.
- Gently fold in the milk chocolate chunks with a spatula.
- Spread the dough evenly into the prepared pan, pressing into corners and edges.
- Bake for 18-20 minutes until edges are golden and center is slightly soft.
- Remove from oven and immediately sprinkle mini marshmallows evenly over the warm cookie base.
- Return to oven and bake for another 5-7 minutes until marshmallows puff up and turn golden brown. Watch closely to prevent burning.
- Let the bars cool completely in the pan on a wire rack. Use the parchment overhang to lift out and cut into squares or rectangles.
Notes
Use softened butter (not melted) for chewy texture. Avoid overmixing flour to prevent toughness. Add marshmallows immediately after base comes out to ensure they toast properly. Watch marshmallows closely during final bake or broil to prevent burning. Cooling completely before cutting helps marshmallows set and prevents sticking. Variations include peanut butter swirl, dark chocolate with sea salt, gluten-free and vegan adaptations, and seasonal spices.
Nutrition
- Serving Size: 1 bar (1/12 of recip
- Calories: 325
- Sugar: 28
- Sodium: 150
- Fat: 16.5
- Saturated Fat: 9
- Carbohydrates: 42.5
- Fiber: 1
- Protein: 3.5
Keywords: s’mores, cookie bars, marshmallow topping, gooey dessert, easy dessert, campfire treat, chocolate, marshmallows


