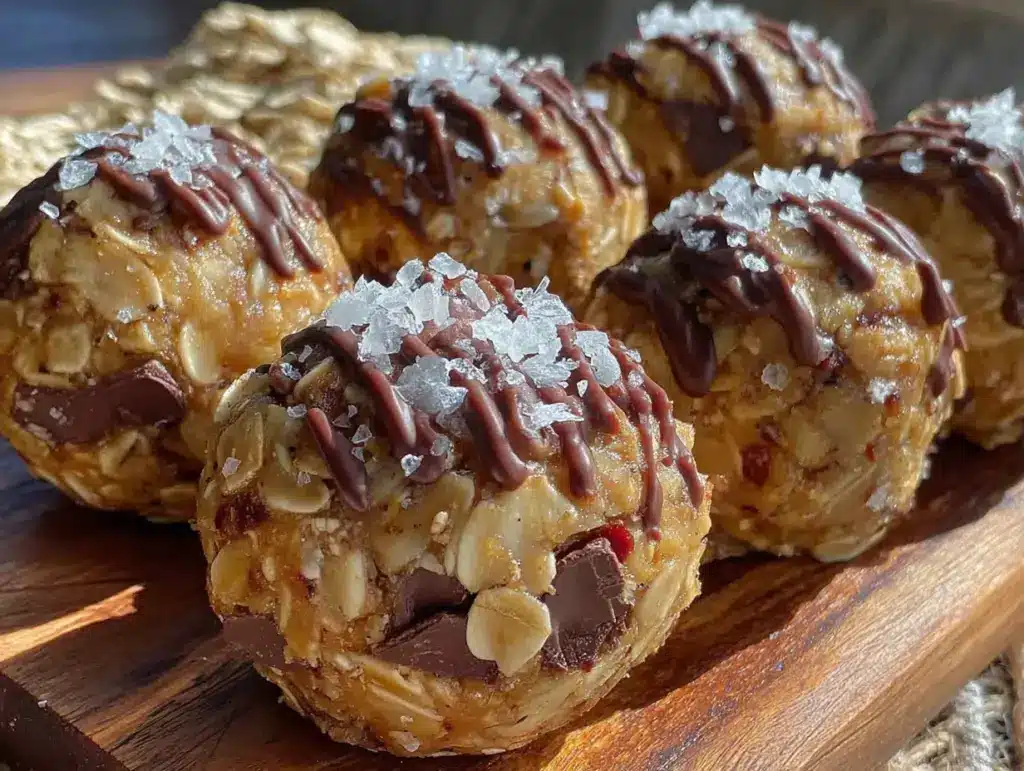
That sticky, honey-sweet smell of peanut butter and oats—the kind that hits you before you’ve even opened the fridge door—still takes me straight to my aunt’s cramped little kitchen in Austin. I was maybe twelve, sprawled on her linoleum floor, complaining about being hungry (as if that were news). She didn’t say a word. Just pulled out a bowl, a jar of peanut butter, and a bag of oats. No oven. No fuss. Ten minutes later, I was holding a messy, perfect little bite that somehow fixed everything.
That’s the thing about these Easy No-Bake Peanut Butter Granola Bar Bites. They aren’t just a snack. They’re a memory you can eat. And honestly? I’ve been chasing that exact feeling ever since. Over the years, I’ve tweaked the ratio, swapped the sweetener, and added a pinch of salt here and a handful of chocolate chips there. But the heart of it—the no-bake, no-stress, pure-peanut-butter bliss—has never changed.
This isn’t a recipe that demands precision or patience. It’s the one you make when you need something good, fast, and real. The one that proves you don’t need a pastry degree or a fancy mixer to create something that tastes like you spent hours on it. I’ve made these for road trips, for lunchboxes, for late-night cravings when the pantry was bare. And they’ve never let me down.
So if you’re looking for a snack that actually delivers—crunchy, chewy, sweet, salty, and completely homemade—you’ve found it. These bites are the kind of thing you’ll make once, then wonder why you ever bought granola bars in a box.
Why You’ll Love This Recipe
I’ve tested this recipe more times than I can count, and every batch has taught me something. What I love most is how forgiving it is. You don’t need to be a baker. You don’t need special equipment. You just need a bowl, a spoon, and a little faith in the power of peanut butter.
- Quick & Easy: Comes together in under 15 minutes. No oven, no mixer, no waiting for butter to soften.
- Simple Ingredients: You probably have everything in your pantry right now. Oats, peanut butter, honey, a few mix-ins.
- Perfect for Meal Prep: Make a batch on Sunday and grab them all week. They’re the ultimate grab-and-go snack.
- Crowd-Pleaser: Kids devour them. Adults sneak them. They’re the first thing to disappear at parties.
- Unbelievably Delicious: The texture is this perfect balance of chewy and crunchy. And the flavor? Pure comfort.
What makes this version different? It’s the ratio. I’ve dialed in the perfect amount of honey so the bites hold together without being sticky or crumbly. And I add a tiny pinch of sea salt—it makes the peanut butter taste even more, well, peanut buttery. This isn’t just another granola bar recipe. It’s the one I’ve made for years, the one my friends ask for, the one that actually works every single time.
Honestly, these bites are the kind of snack that makes you feel like you’ve got your life together. And let’s face it—we could all use a little more of that.
What Ingredients You Will Need
This recipe uses simple, wholesome ingredients to deliver bold flavor and satisfying texture without the fuss. Most are pantry staples, so you can whip up a batch anytime the craving hits.
- Rolled Oats (2 cups / 180g) – The backbone of these bites. I prefer old-fashioned rolled oats for the best texture. Quick oats work in a pinch, but the bites will be a bit softer. For a gluten-free version, use certified gluten-free oats.
- Creamy Peanut Butter (1 cup / 240g) – The star of the show. I recommend a natural peanut butter with no added sugar or oil, like Justin’s or Smucker’s Natural. Stir it well before measuring. If you use a commercial peanut butter (like Skippy or Jif), the bites will be a bit sweeter and firmer.
- Honey (1/2 cup / 170g) – The natural sweetener that holds everything together. Local honey adds a lovely floral note, but any honey works. For a vegan option, swap in maple syrup or agave nectar.
- Mini Chocolate Chips (1/2 cup / 90g) – Because everything is better with chocolate. I like semi-sweet, but dark or milk chocolate work too. If you’re not a chocolate fan (are you okay?), try dried cranberries or chopped dates instead.
- Chopped Almonds (1/4 cup / 30g) – Adds a lovely crunch. You can use any nut you like—walnuts, pecans, or even sunflower seeds for a nut-free version. Toast them lightly for extra flavor.
- Unsweetened Shredded Coconut (1/4 cup / 20g) – Optional, but I love the texture it adds. It gives the bites a little chewiness and a subtle tropical note. Leave it out if you’re not a coconut person.
- Sea Salt (1/4 teaspoon) – Don’t skip this. It balances the sweetness and makes the peanut butter taste richer. A flaky sea salt like Maldon is lovely here.
- Vanilla Extract (1 teaspoon) – Rounds out the flavors. Pure vanilla is best, but imitation works in a pinch.
Ingredient swap tip: If you’re out of honey, maple syrup is a perfect 1:1 substitute. It will change the flavor slightly (more caramel-like), but the texture stays the same. And if you need these to be nut-free, swap the peanut butter for sunflower seed butter and the almonds for pumpkin seeds.
Equipment Needed
You don’t need much for this recipe, which is part of its charm. Here’s what you’ll need:
- Large Mixing Bowl – Any bowl will do, but a wide one makes mixing easier.
- Measuring Cups and Spoons – For accuracy. I know some of us (me) like to eyeball it, but for these bites, precise measurements help them hold together.
- Rubber Spatula or Wooden Spoon – For mixing. A spatula is great for scraping the sides.
- 8×8 Inch Baking Dish or Loaf Pan – Line it with parchment paper for easy removal. I use an 8×8 dish for thinner bars, or a loaf pan for thicker, chunkier bites.
- Parchment Paper – Your best friend for no-stick baking. It makes lifting the bars out so much easier.
- Refrigerator – The only “appliance” you need. The bites need at least 30 minutes to set.
If you don’t have an 8×8 dish, you can press the mixture into a pie plate or even shape them into balls by hand. I’ve done that plenty of times when I didn’t feel like waiting for bars to set. Just roll them into 1-inch balls and refrigerate—they’re ready in 15 minutes.
Preparation Method
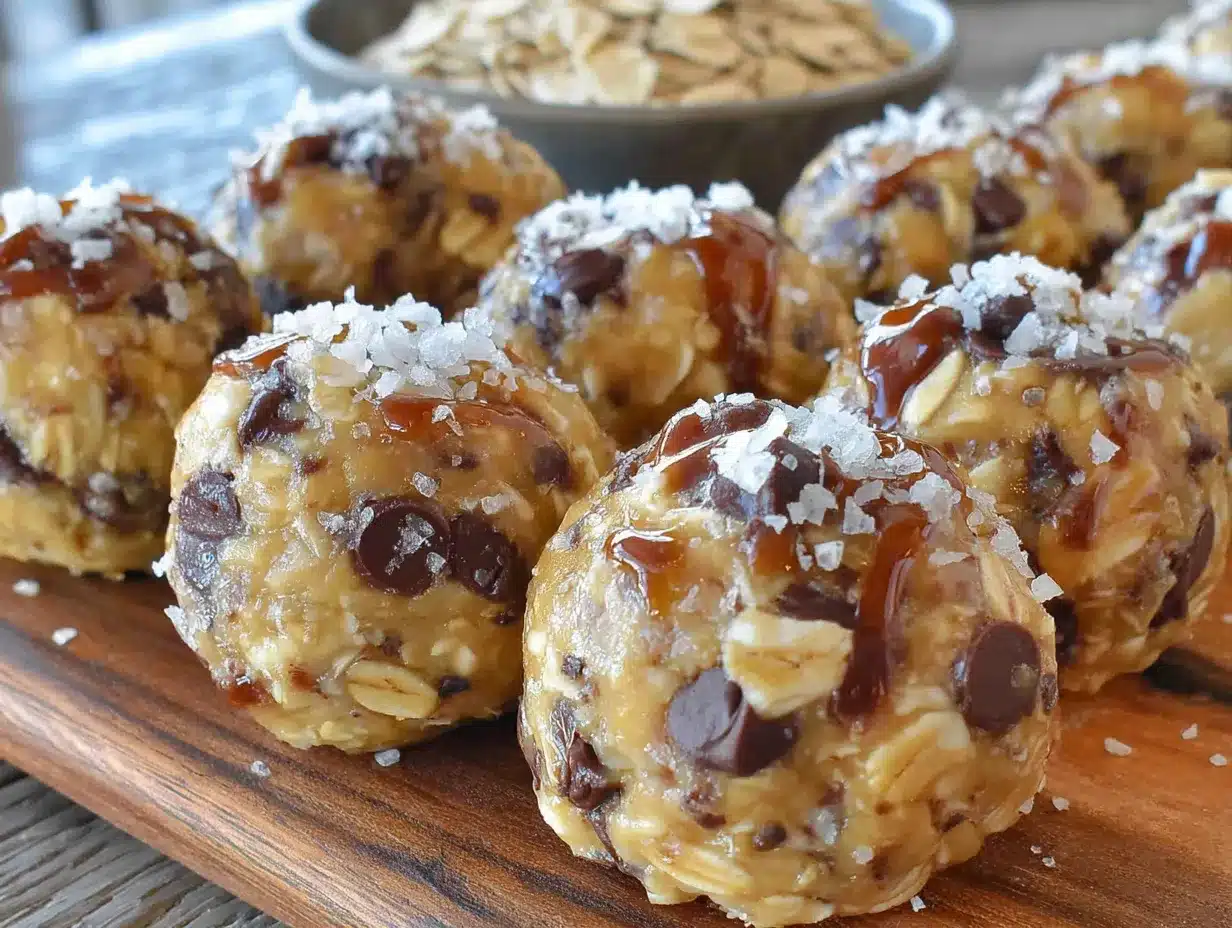
Alright, let’s get to it. This is the easy part. Follow these steps, and you’ll have a batch of perfect Easy No-Bake Peanut Butter Granola Bar Bites in no time.
- Prepare your pan. Line an 8×8 inch baking dish with parchment paper, leaving a little overhang on two sides. This makes it super easy to lift the bars out later. If you’re using a loaf pan, same deal.
- Mix the wet ingredients. In a large bowl, combine 1 cup creamy peanut butter and 1/2 cup honey. Microwave for 20-30 seconds if the peanut butter is stiff (it makes mixing easier). Stir until smooth and well combined. Add 1 teaspoon vanilla extract and 1/4 teaspoon sea salt. Stir again.
- Add the dry ingredients. Pour in 2 cups rolled oats, 1/2 cup mini chocolate chips, 1/4 cup chopped almonds, and 1/4 cup shredded coconut (if using). Stir everything together with a rubber spatula until the oats are evenly coated and the mix-ins are distributed. The mixture should be thick and sticky—like a chunky cookie dough.
- Press into the pan. Transfer the mixture to your prepared pan. Use the back of a spatula (or your hands, slightly dampened so they don’t stick) to press it down firmly and evenly. This is important—if you don’t press hard enough, the bars will be crumbly. Really pack it in.
- Chill. Place the pan in the refrigerator for at least 30 minutes, or up to 1 hour. The longer they chill, the cleaner the slices will be. If you’re in a hurry, 20 minutes in the freezer works too.
- Slice and serve. Once firm, lift the block out using the parchment paper overhang. Place it on a cutting board and slice into bars or squares. I usually get 12-16 bars, depending on how big I cut them. For bite-sized snacks, cut them smaller—perfect for lunchboxes.
Troubleshooting tip: If the mixture seems too dry and crumbly, add a tablespoon of honey or a splash of milk (dairy or plant-based) and mix again. If it’s too sticky, add a few more oats. The texture should be like a thick, slightly sticky dough that holds together when squeezed.
I’ll be honest—the first time I made these, I didn’t press them firmly enough, and they fell apart when I tried to slice them. Don’t be like me. Press hard. Your future self will thank you.
Cooking Tips & Techniques
After making these Easy No-Bake Peanut Butter Granola Bar Bites more times than I can remember, I’ve picked up a few tricks that make a real difference.
Toast your oats. This is optional, but it adds a nutty depth of flavor that takes these bites to another level. Spread the oats on a baking sheet and toast at 350°F for 8-10 minutes, stirring halfway. Let them cool completely before mixing. I do this when I have an extra five minutes, and it’s always worth it.
Warm your peanut butter. If your peanut butter is stiff or separated, give it a good stir, then microwave it for 10-15 seconds. It makes mixing so much easier, and the honey incorporates more smoothly.
Don’t overmix. Stir just until everything is combined. Overmixing can break down the oats and make the bites dense. You want some texture, not a paste.
Use a sharp knife. When slicing the chilled block, use a sharp chef’s knife and wipe it clean between cuts. This gives you clean edges and prevents the bars from crumbling. Trust me on this one—I’ve made a mess with a dull knife more times than I’d like to admit.
Let them rest at room temp. If you’re serving these straight from the fridge, let them sit for 5 minutes first. They soften slightly and become chewier, which I personally prefer. But if you like them firm, eat them cold.
One mistake I made early on? Using old oats. Fresh oats have more structure and hold together better. If your oats have been sitting in the pantry for a year, consider buying a new bag. It makes a difference.
Variations & Adaptations
This recipe is endlessly adaptable. Here are some of my favorite variations:
- Chocolate Peanut Butter Dream: Swap 1/4 cup of the oats for 1/4 cup unsweetened cocoa powder. The chocolate flavor intensifies, and it tastes like a fudgy brownie in bar form.
- Trail Mix Bites: Replace the chocolate chips and almonds with a mix of dried cranberries, pumpkin seeds, and chopped dried apricots. It’s like a trail mix you can eat with one hand.
- Vegan Version: Use maple syrup instead of honey, and make sure your chocolate chips are dairy-free. Everything else is already plant-based.
- Nut-Free Option: Swap the peanut butter for sunflower seed butter and the almonds for pumpkin seeds or sunflower seeds. The flavor changes slightly (sunflower butter has a distinct taste), but it’s still delicious.
- Protein-Packed: Add 2 tablespoons of vanilla or chocolate protein powder. You may need an extra tablespoon of honey to balance the dryness. This is my go-to post-workout snack.
I once made a batch with dried cherries and white chocolate chips for a holiday party. They disappeared in minutes. The beauty of this recipe is that you can make it your own. Don’t like coconut? Leave it out. Want more crunch? Add extra nuts. It’s hard to mess up.
Serving & Storage Suggestions
These Easy No-Bake Peanut Butter Granola Bar Bites are best served chilled or at room temperature. I love them straight from the fridge—firm, chewy, and satisfying. But if you prefer a softer texture, let them sit out for 5-10 minutes before eating.
They’re perfect for lunchboxes, road trips, hiking snacks, or a quick breakfast when you’re running late. Pair them with a glass of milk, a cup of coffee, or even a fresh strawberry basil lemonade for a refreshing summer treat. They also go great alongside a creamy cucumber dill salad for a light lunch combo.
Storage:
- Refrigerator: Store in an airtight container for up to 2 weeks. Layer them with parchment paper to prevent sticking.
- Freezer: These freeze beautifully. Wrap individually in plastic wrap, then place in a freezer-safe bag. They’ll keep for up to 3 months. Grab one straight from the freezer for a cold, chewy snack—or let it thaw for 10 minutes.
- Room Temperature: If you’re taking them on a picnic or to work, they’re fine at room temperature for a day or two. But they hold their shape better when chilled.
The flavors actually develop over time. Day-old bites taste even better, as the honey and peanut butter have had time to meld. So don’t be afraid to make a double batch—they’ll only get better.
Nutritional Information & Benefits
Each bar (based on 16 servings) contains approximately:
- Calories: 180
- Protein: 6g
- Carbohydrates: 20g
- Fiber: 3g
- Sugar: 10g
- Fat: 10g
- Saturated Fat: 2.5g
- Sodium: 95mg
These bites are packed with good-for-you ingredients. Oats provide soluble fiber, which supports heart health and keeps you full longer. Peanut butter offers protein and healthy monounsaturated fats. And the honey gives you a natural energy boost without the crash of refined sugar. Plus, the chia seeds (if you add them) are a great source of omega-3s.
If you’re watching your sugar intake, you can reduce the honey to 1/3 cup and add an extra tablespoon of peanut butter. The bars will be less sweet but still delicious. For a lower-carb option, use unsweetened peanut butter and skip the chocolate chips—add extra nuts and seeds instead.
I personally love that these bites give me sustained energy without the junk. They’re my go-to afternoon snack when I need something to get me through the last hour of work. And I feel good about feeding them to my family, too.
Conclusion
These Easy No-Bake Peanut Butter Granola Bar Bites are everything a snack should be: quick, delicious, and made with real ingredients. No oven required, no complicated steps, and no long ingredient lists. Just pure, honest food that tastes like comfort.
I love that this recipe is a blank canvas. You can make it your own—swap in your favorite nuts, change up the dried fruit, or add a sprinkle of cinnamon. The possibilities are endless, and that’s what makes it so fun. Every batch is a little different, and every batch is delicious.
So go ahead—give them a try. Make a batch for your family, your friends, or just for yourself. And when you do, come back and tell me how they turned out. I’d love to hear about your variations, your successes, and even your happy accidents. Drop a comment below or tag me in your photos on social media. Let’s make snack time a little more delicious, together.
Frequently Asked Questions
Can I use quick oats instead of rolled oats?
Yes, you can. Quick oats will produce a softer, more uniform texture. The bars won’t have as much chew, but they’ll still hold together well. If you only have quick oats, go for it—just know the texture will be slightly different.
How do I keep the bars from falling apart?
The key is pressing the mixture firmly into the pan. Use the back of a spatula or your hands (dampened slightly) to really pack it down. Also, make sure you chill the bars for at least 30 minutes before slicing. If they still seem crumbly, add an extra tablespoon of honey next time.
Can I make these without chocolate chips?
Absolutely. You can leave them out entirely, or swap them for dried fruit like raisins, cranberries, or chopped dates. White chocolate chips or butterscotch chips are also fun alternatives. The recipe is very forgiving.
How long do these last at room temperature?
They’re best stored in the fridge, but they’ll keep at room temperature for 1-2 days. If you’re packing them for a picnic or lunch, they’ll be fine for a few hours. Just don’t leave them in a hot car—the chocolate might melt, and the bars can get soft.
Can I double this recipe?
Yes! Double all the ingredients and press the mixture into a 9×13 inch pan. You may need to chill it a bit longer (45-60 minutes) to ensure it sets properly. This is perfect for parties, potlucks, or meal prepping for the whole family.
Pin This Recipe!
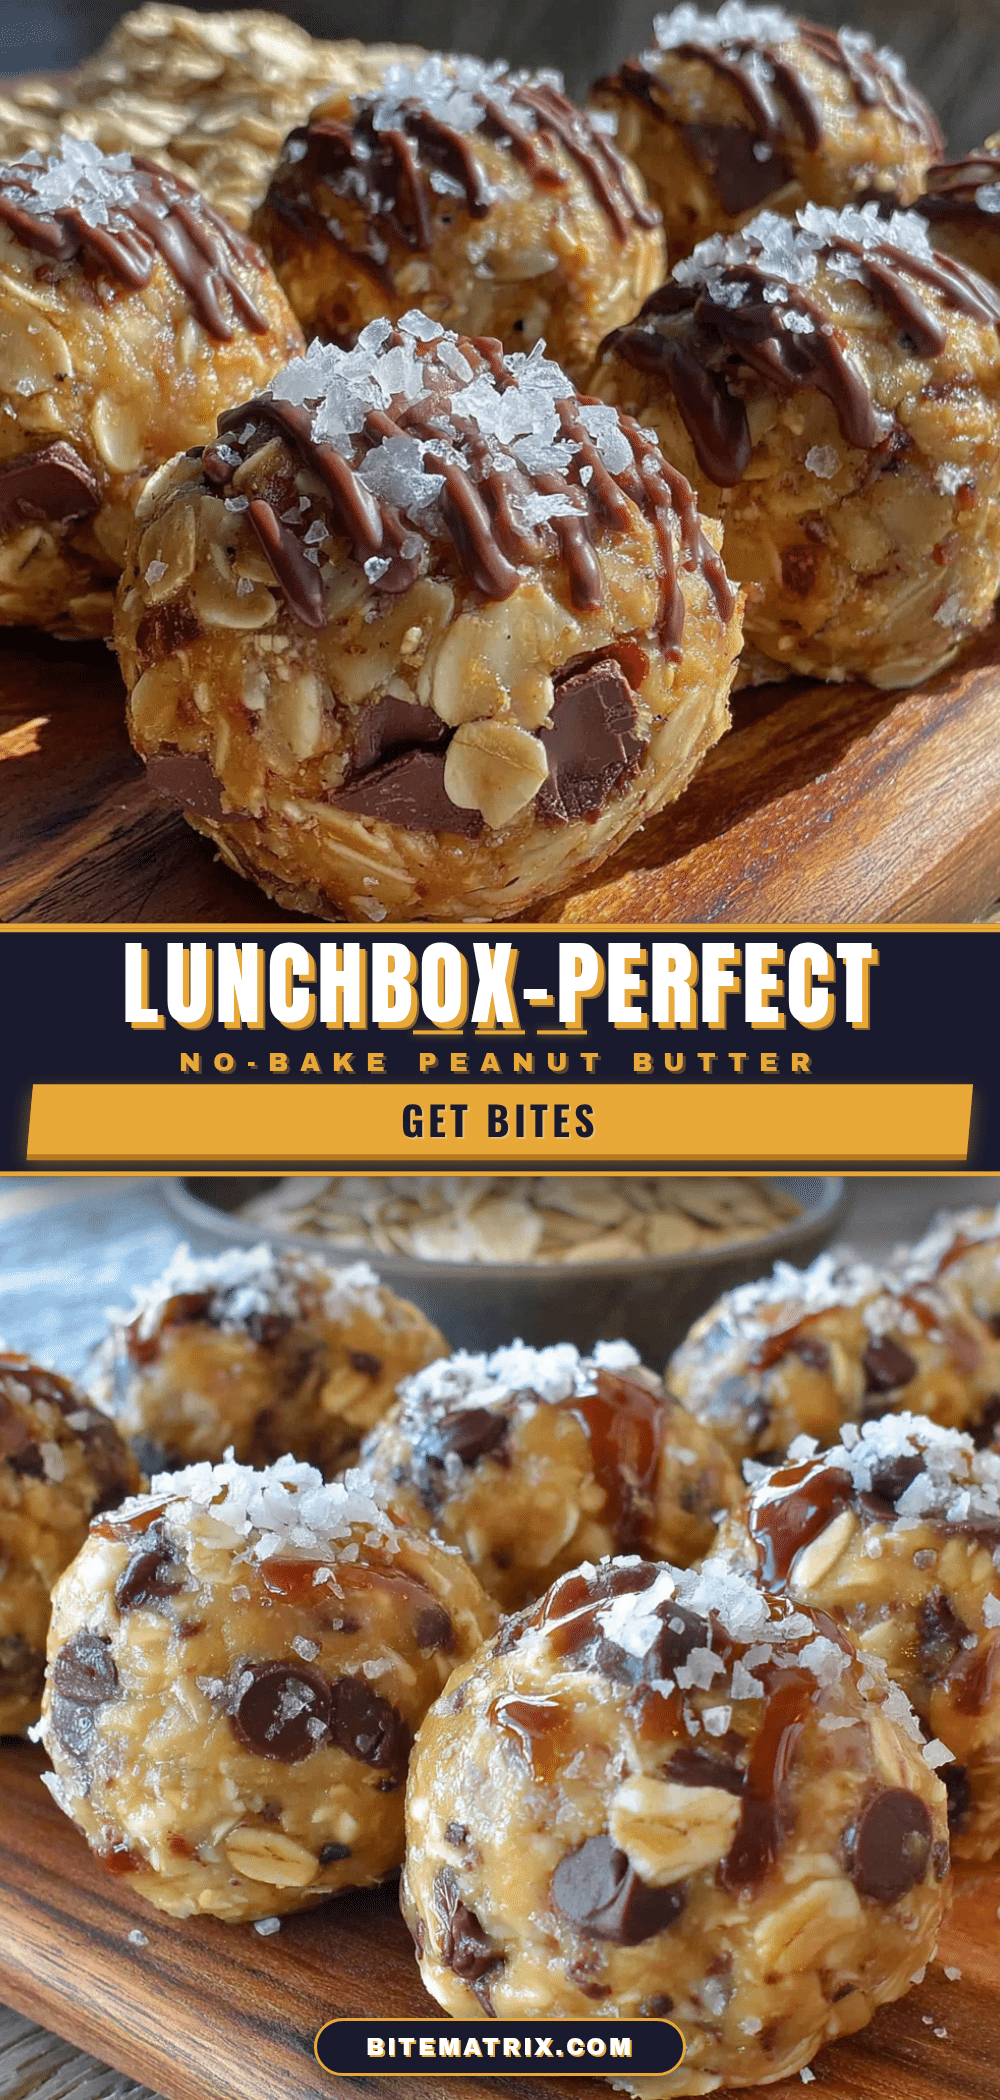
Easy No-Bake Peanut Butter Granola Bar Bites

These no-bake peanut butter granola bar bites are quick, easy, and made with simple pantry ingredients. They’re the perfect grab-and-go snack for lunchboxes, road trips, or late-night cravings.
- Prep Time: 15 minutes
- Cook Time: 0 minutes
- Total Time: 45 minutes
- Yield: 16 servings 1x
- Category: Snack
- Cuisine: American
Ingredients
- 2 cups (180g) rolled oats
- 1 cup (240g) creamy peanut butter
- 1/2 cup (170g) honey
- 1/2 cup (90g) mini chocolate chips
- 1/4 cup (30g) chopped almonds
- 1/4 cup (20g) unsweetened shredded coconut (optional)
- 1/4 teaspoon sea salt
- 1 teaspoon vanilla extract
Instructions
- Line an 8×8 inch baking dish with parchment paper, leaving overhang on two sides.
- In a large bowl, combine peanut butter and honey. Microwave for 20-30 seconds if needed. Stir until smooth. Add vanilla extract and sea salt; stir again.
- Add rolled oats, mini chocolate chips, chopped almonds, and shredded coconut (if using). Stir until evenly coated and mixture is thick and sticky.
- Transfer mixture to prepared pan. Press down firmly and evenly using the back of a spatula or damp hands.
- Refrigerate for at least 30 minutes, or up to 1 hour, until firm.
- Lift block out using parchment overhang, place on cutting board, and slice into bars or squares.
Notes
Press the mixture firmly into the pan to prevent crumbling. For cleaner slices, chill for at least 30 minutes. If mixture is too dry, add a tablespoon of honey or milk. If too sticky, add more oats.
Nutrition
- Serving Size: 1 bar
- Calories: 180
- Sugar: 10
- Sodium: 95
- Fat: 10
- Saturated Fat: 2.5
- Carbohydrates: 20
- Fiber: 3
- Protein: 6
Keywords: no-bake granola bars, peanut butter granola bars, easy snack, healthy snack, no-bake bites