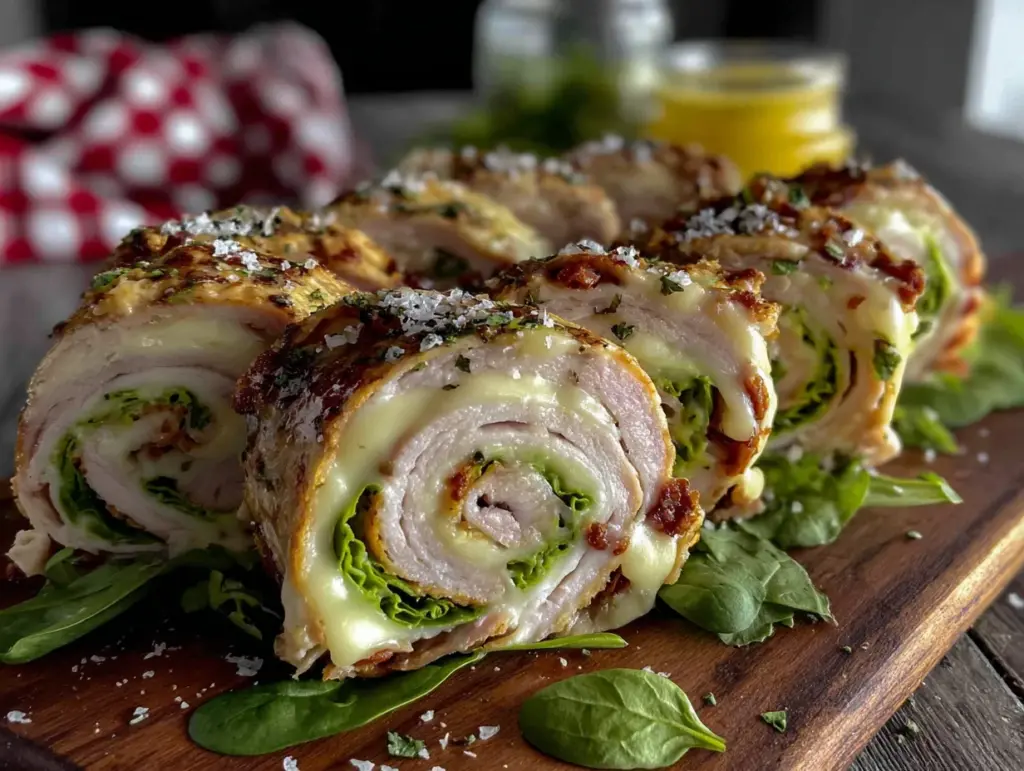
Staring into the fridge at 7:45 AM, lunch bags empty on the counter, and a kid who suddenly decided sandwiches are “boring.” Half a pack of turkey slices, a block of cream cheese, and a bag of shredded cheddar staring back at me. That’s when the idea hit—why not roll everything up and slice it into little spirals? No bread to get soggy, no complicated assembly, just a quick twist on the usual lunch routine.
Honestly, I was just trying to survive another weekday morning without a meltdown. But those first pinwheels? They disappeared before I could even pack them. My kid actually asked for them again the next day—which, if you’ve ever dealt with a picky eater, you know is basically a parenting win.
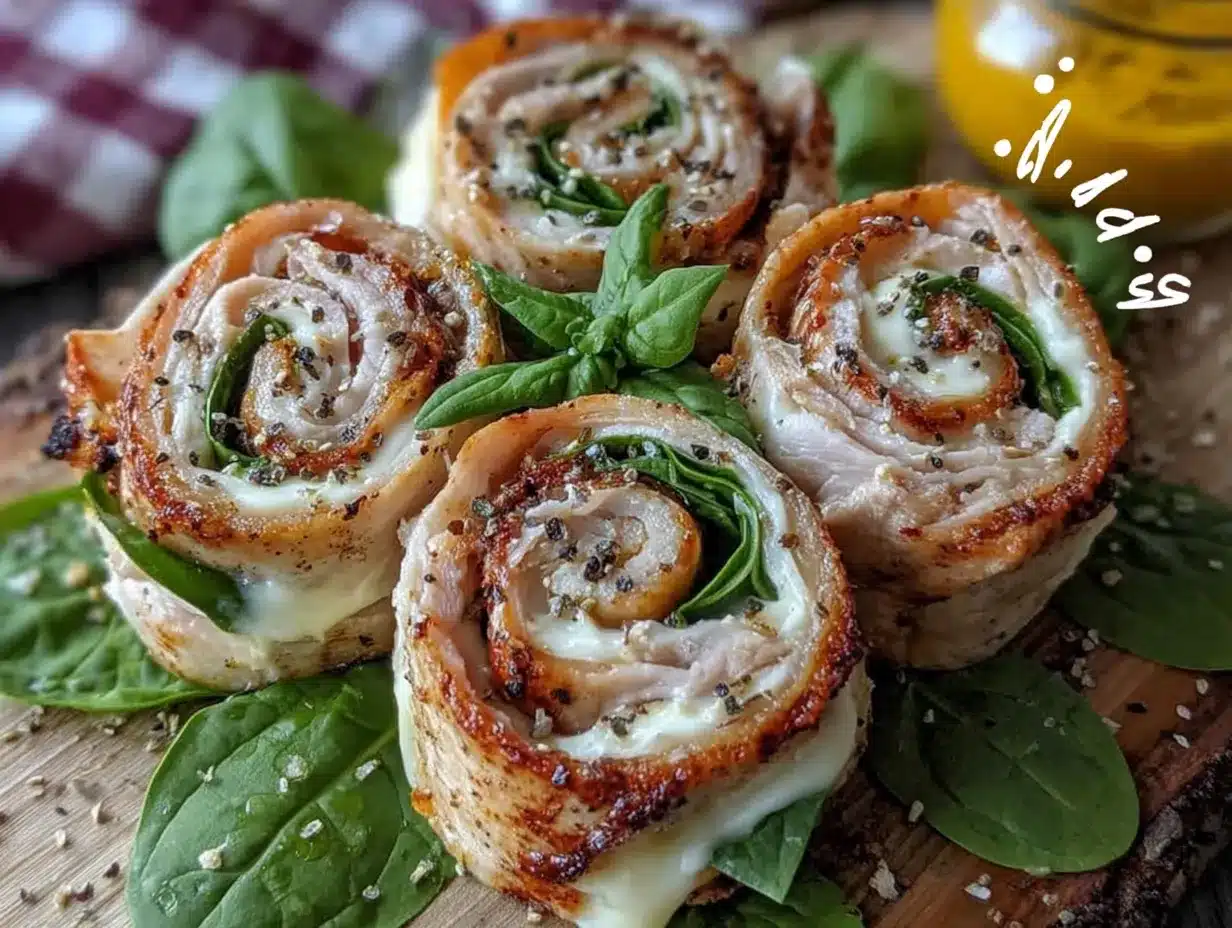
These turkey and cheese roll-ups have become our go-to for school lunches, afternoon snacks, and even quick party appetizers. They’re the kind of recipe that feels like you put in effort when really, you just rolled some stuff up and sliced it. No stress, no fuss, just good food that makes everyone happy.
Why You’ll Love This Recipe
Let me tell you why these little spirals have earned a permanent spot in my weekly meal prep rotation. After testing this recipe about a dozen times (and failing a few—more on that later), I’ve nailed down exactly what makes these work.
- Quick & Easy : Comes together in under 10 minutes, perfect for hectic mornings or last-minute lunch packing.
- Simple Ingredients : No fancy grocery trips needed. You probably have everything in your fridge right now.
- Perfect for Lunchboxes : They hold up beautifully in a lunch bag, no reheating required, and kids actually eat them.
- Crowd-Pleaser : Adults love them too—I’ve brought these to potlucks and watched them vanish in minutes.
- Endlessly Customizable : Swap the fillings based on what you have or what your family likes.
What makes these different from every other pinwheel recipe out there? It’s the cream cheese layer. Most recipes skip this step or use too little, and the result is dry, bland rolls that fall apart. I learned the hard way—my first batch looked like a crime scene in the lunchbox. The cream cheese acts as both glue and flavor carrier, keeping everything together while adding richness that complements the turkey and cheese perfectly.
This isn’t just another lunch idea. It’s the kind of recipe that makes you feel like you’ve got your act together, even on days when you’re running on three hours of sleep and cold coffee. One bite and you’ll understand why these spirals have saved my sanity more times than I can count.
What Ingredients You Will Need
This recipe uses simple, everyday ingredients to create something that tastes way more put-together than it actually is. Here’s what you’ll need:
For the Pinwheels
- Large flour tortillas (10-inch size works best) – Burrito-sized tortillas give you the perfect ratio of filling to wrap. I prefer flour over corn for flexibility, but whole wheat works great too.
- 8 ounces cream cheese, softened to room temperature – This is non-negotiable for easy spreading. Cold cream cheese will tear your tortillas every time.
- 1/4 cup mayonnaise – Adds creaminess and prevents the pinwheels from drying out in the fridge.
- 1 teaspoon garlic powder – Optional but highly recommended for extra flavor depth.
- 1/2 teaspoon onion powder – Balances the savory notes nicely.
- Salt and black pepper to taste
- 8-10 slices deli turkey breast – I prefer oven-roasted turkey from the deli counter rather than pre-packaged slices. The texture holds up better when rolled.
- 1 cup shredded cheddar cheese – Sharp cheddar adds the most flavor, but mild works if your kids are sensitive to strong cheeses.
- 1/2 cup shredded mozzarella – This gives you that perfect stretchy texture when you bite into them.
- Fresh spinach leaves (optional) – A handful adds color and nutrients without changing the flavor much.
For the Spread (Optional Variation)
- 2 tablespoons Dijon mustard – Adds tanginess if your family likes a little kick.
- 1 tablespoon honey – Balances the mustard beautifully for a sweet-savory combo.
I’ve tested this with different cream cheese brands, and honestly, Philadelphia gives the smoothest results. The generic store brands tend to be a bit grainy, which affects the texture of the spread. If you’re using a dairy-free cream cheese alternative, make sure it’s softened thoroughly—some brands don’t soften as well and can leave lumps.
For the turkey, I recommend asking for thick-sliced at the deli counter rather than shaved. Thicker slices hold up better during rolling and slicing. Thin-shaved turkey tends to tear and create gaps in your pinwheels.
If you’re looking for more quick lunch ideas that hold up well, you might enjoy these easy Italian sub sandwich skewers—they’re another no-cook option that travels beautifully.
Equipment Needed
You don’t need fancy gadgets for this recipe, which is part of why I love it. Here’s what you’ll actually use:
- Large cutting board – Give yourself space to work. A small board makes rolling awkward.
- Sharp chef’s knife – A dull knife will squish your pinwheels instead of slicing them cleanly. Trust me on this one.
- Rubber spatula – For spreading the cream cheese mixture evenly. A butter knife works in a pinch but won’t give you as smooth a layer.
- Plastic wrap – Essential for keeping the rolls tight while they chill. Parchment paper works too, but plastic wrap seals better.
- Baking sheet or large plate – To hold the wrapped rolls in the fridge.
- Small mixing bowl – For combining the cream cheese spread.
If you don’t have plastic wrap, you can use reusable beeswax wraps or even a damp paper towel, but the seal won’t be as tight. I’ve also used gallon-sized zip-top bags in a pinch—just cut them open and lay them flat over the rolls.
For the knife, I recommend a serrated bread knife if you have one. The serrated edge cuts through the tortilla without compressing the filling. A straight-edge chef’s knife works too, just make sure it’s sharp and use a gentle sawing motion rather than pressing straight down.
Preparation Method
This is where the magic happens. Follow these steps carefully, and you’ll have perfect pinwheels every time.
-
Soften the cream cheese – Take your cream cheese out of the fridge at least 30 minutes before starting. If you forgot (I do this all the time), microwave it for 10-15 seconds on low power. Don’t overdo it—melted cream cheese is a disaster for rolling.
-
Make the spread – In a small bowl, combine the softened cream cheese, mayonnaise, garlic powder, onion powder, salt, and pepper. Mix until smooth and completely combined. Taste it—this is your flavor base, so adjust seasoning now.
-
Prepare your work surface – Lay a large tortilla flat on your cutting board. If your tortillas are stiff, warm them in the microwave for 10 seconds wrapped in a damp paper towel. This makes them more pliable and less likely to crack.
-
Spread the cream cheese mixture – Using your rubber spatula, spread a thin, even layer of the mixture over the entire tortilla, leaving a 1-inch border around the edges. Don’t skimp on the edges—the cream cheese is what seals the roll.
-
Layer the turkey – Place 2-3 slices of turkey over the cream cheese, overlapping slightly to cover the surface. If you’re using spinach, lay a few leaves on top of the turkey.
-
Add the cheese – Sprinkle a generous handful of the shredded cheddar and mozzarella mixture evenly over the turkey. Don’t pile it too thick in the center—you want even distribution for consistent pinwheels.
-
Roll it up tight – Starting from one edge, roll the tortilla as tightly as you can without tearing it. Use your fingers to tuck and compress as you go. Think of it like rolling a sleeping bag—firm but gentle.
-
Wrap and chill – Place the rolled tortilla seam-side down on a piece of plastic wrap. Wrap it tightly, twisting the ends like a candy wrapper to keep the roll compressed. Refrigerate for at least 30 minutes. One hour is better. This step is crucial—chilling sets the cream cheese and makes slicing clean.
-
Slice into pinwheels – Unwrap the chilled roll and place it on your cutting board. Using a sharp knife, slice into 1-inch rounds. Use a gentle sawing motion rather than pressing straight down. You should get about 8-10 pinwheels per tortilla.
-
Arrange and serve – Place the pinwheels cut-side up on a plate or in a lunchbox. They’re ready to eat immediately or can be stored for later.
A few things I learned the hard way: Don’t overfill your tortillas. I know it’s tempting to pile on the good stuff, but too much filling makes rolling impossible and everything squishes out the sides. Also, if your cream cheese mixture seems too thick to spread easily, add a teaspoon of milk or water to loosen it up.
For a fun party presentation, try serving these alongside some juicy classic burger sliders with secret sauce—the combination is always a hit at gatherings.
Cooking Tips & Techniques
After making these pinwheels more times than I can count, I’ve picked up some tricks that make a real difference.
The biggest mistake people make is skipping the chilling step. I know, you’re in a hurry—I’ve been there. But slicing a warm, soft tortilla roll is like trying to cut a marshmallow with a butter knife. Everything squishes, the filling oozes out, and you end up with a sad pile of ingredients instead of beautiful spirals. Give it the full 30 minutes minimum. Your future self will thank you.
Another common failure is using too much cream cheese. A thin layer is all you need. Think of it as glue, not a filling. If you slather it on thick, the pinwheels become goopy and the tortilla gets soggy. Less really is more here.
For the cleanest slices, wipe your knife between cuts. The cream cheese builds up on the blade and makes subsequent cuts messy. A quick wipe with a damp paper towel between each slice keeps things tidy.
If your tortillas keep cracking as you roll, they’re either too cold or too dry. A quick 10-second microwave zap wrapped in a damp paper towel solves both problems. I learned this after ruining three tortillas in a row during a particularly stressful morning.
For meal prep, I make a batch of these on Sunday and keep them wrapped in the fridge. They actually taste better on day two—the flavors meld together and the cream cheese sets perfectly. Just slice them right before packing to keep them fresh.
Pro tip: If you’re packing these for school lunches, place a small ice pack next to them in the lunchbox. The cream cheese stays firm and the pinwheels hold their shape better throughout the morning.
Variations & Adaptations
One of the best things about this recipe is how flexible it is. Here are some variations I’ve tried and loved:
Low-Carb Version – Swap the flour tortillas for large lettuce leaves or low-carb tortillas. Butter lettuce works best because the leaves are flexible and cup-shaped. Just be aware that lettuce-wrapped pinwheels don’t hold up as long in the fridge—eat them within a few hours.
Veggie-Packed Version – Add thin strips of bell pepper, cucumber, or shredded carrots along with the turkey. My kids don’t even notice the extra veggies because they’re hidden inside the roll. I’ve also spread a thin layer of hummus under the cream cheese for extra fiber and flavor.
Spicy Southwest Version – Swap the cheddar for pepper jack cheese, add a few slices of jalapeño, and spread a thin layer of chipotle mayo instead of plain mayo. This version is fantastic for game day snacks or adult parties.
Breakfast Pinwheels – Use scrambled eggs, breakfast sausage or bacon, and cheddar cheese instead of turkey. Spread a thin layer of cream cheese mixed with a little maple syrup for a sweet-savory breakfast treat that’s perfect for on-the-go mornings.
Gluten-Free Option – Use gluten-free tortillas or large collard green leaves. Collard greens need to be blanched first to make them pliable, but they hold up surprisingly well. Just pat them dry before spreading the cream cheese.
Dairy-Free Adaptation – Use dairy-free cream cheese and vegan shredded cheese. The texture will be slightly different, but the flavor is still great. I’ve tested this with Kite Hill brand cream cheese and it worked beautifully.
If you’re looking for more handheld snacks that travel well, these crispy air fryer chicken taquitos with fresh salsa verde are another fantastic option for lunchboxes or party platters.
Serving & Storage Suggestions
Serving Temperature – These pinwheels are best served cold or at room temperature. If you’re serving them at a party, arrange them on a platter cut-side up so the colorful spirals are visible. A sprinkle of fresh herbs on top makes them look fancy with zero extra effort.
What to Serve With Them – For lunches, I pack these with fresh fruit, veggie sticks, and a small container of ranch dressing for dipping. For parties, they pair beautifully with a fresh creamy cucumber dill salad or a simple fruit platter. The cool, creamy pinwheels balance perfectly with crunchy sides.
Storage Instructions – Keep assembled (unsliced) rolls wrapped tightly in plastic wrap in the refrigerator for up to 3 days. Once sliced, the pinwheels are best eaten within 24 hours because the tortilla starts to dry out at the cut edges.
Freezing – You can freeze the unsliced rolls! Wrap them tightly in plastic wrap, then aluminum foil, and freeze for up to 2 months. Thaw in the refrigerator overnight before slicing. The texture is slightly softer after freezing, but still delicious. I do this all the time for emergency lunch prep.
Reheating – Honestly, these are meant to be eaten cold. If you want them warm, pop them in the microwave for 10-15 seconds, but the tortilla will soften and the cream cheese will get a bit melty. I prefer them straight from the fridge.
Flavor Development – These pinwheels actually taste better the next day. The flavors meld together overnight, and the cream cheese sets into a firmer, creamier texture. If you’re serving them for a party, make them a day ahead for the best results.
Nutritional Information & Benefits
Here’s an estimated nutritional breakdown per pinwheel (based on 8 pinwheels per tortilla):
| Nutrient | Amount per Pinwheel |
|---|---|
| Calories | 145 |
| Protein | 9g |
| Fat | 9g |
| Carbohydrates | 8g |
| Fiber | 1g |
| Sugar | 2g |
| Sodium | 380mg |
These values will vary based on your specific ingredients and portion sizes. The low-carb tortilla version cuts the carbs to about 3g per pinwheel.
Health Benefits – Turkey breast is a lean protein source that keeps you full and satisfied. Cream cheese provides calcium and vitamin A, while the optional spinach adds iron and fiber. Compared to a traditional sandwich, these pinwheels offer better portion control and less processed bread.
Dietary Considerations – This recipe is naturally low-carb if you use low-carb tortillas. For a gluten-free version, use gluten-free tortillas or lettuce wraps. For dairy-free, use plant-based cream cheese and cheese alternatives. This recipe is not suitable for vegan diets unless you substitute the turkey with plant-based deli slices and use vegan cream cheese.
Allergen Note – This recipe contains dairy (cream cheese, cheddar, mozzarella) and gluten (tortillas). It may also contain traces of soy and other allergens depending on your ingredient brands. Always check labels if cooking for someone with allergies.
Conclusion
These turkey and cheese pinwheel roll-ups have genuinely made my mornings easier and my lunches more interesting. They’re one of those rare recipes that checks every box—quick, delicious, kid-friendly, and adaptable to whatever you have on hand.
What I love most about this recipe is how forgiving it is. You can swap ingredients, adjust the seasonings, or experiment with different fillings, and it almost always works. It’s the kind of recipe that builds confidence in the kitchen, even if you’re just starting out.
I’d love to hear how these turn out for you. Did you try a fun variation? Did your kids actually eat them without complaint? Drop a comment below and share your experience—I read every single one and I’m always looking for new ideas to try. And if you found this helpful, share it with a friend who’s tired of making the same old sandwiches every day. Happy rolling!
Frequently Asked Questions
Can I make these pinwheels ahead of time?
Absolutely! These are perfect for meal prep. Assemble and wrap the rolls tightly in plastic wrap, then refrigerate for up to 3 days. Slice them right before serving for the freshest look and texture.
Why are my pinwheels falling apart?
This usually happens for one of three reasons: not enough cream cheese spread (it acts as glue), not chilling the rolls long enough before slicing, or using a dull knife that squishes instead of cuts. Give them a full 30 minutes in the fridge and use a sharp serrated knife.
Can I use different types of meat or cheese?
Definitely! Ham, roast beef, or even salami work great. For cheese, try provolone, Swiss, or pepper jack. Just keep the total amount of filling similar to what’s listed so the rolls are easy to slice.
How do I keep pinwheels from getting soggy in a lunchbox?
Pack them in a container with a paper towel at the bottom to absorb any moisture. Keep them separate from wet foods like fruit or yogurt. If you’re adding veggies like tomatoes or cucumbers, pat them dry first.
Can I make these without cream cheese?
You can use hummus, pesto, or even avocado as a spread instead. The texture will be different, and they might not hold together as well, but the flavor will still be delicious. Just be extra gentle when rolling and slicing.
Pin This Recipe!
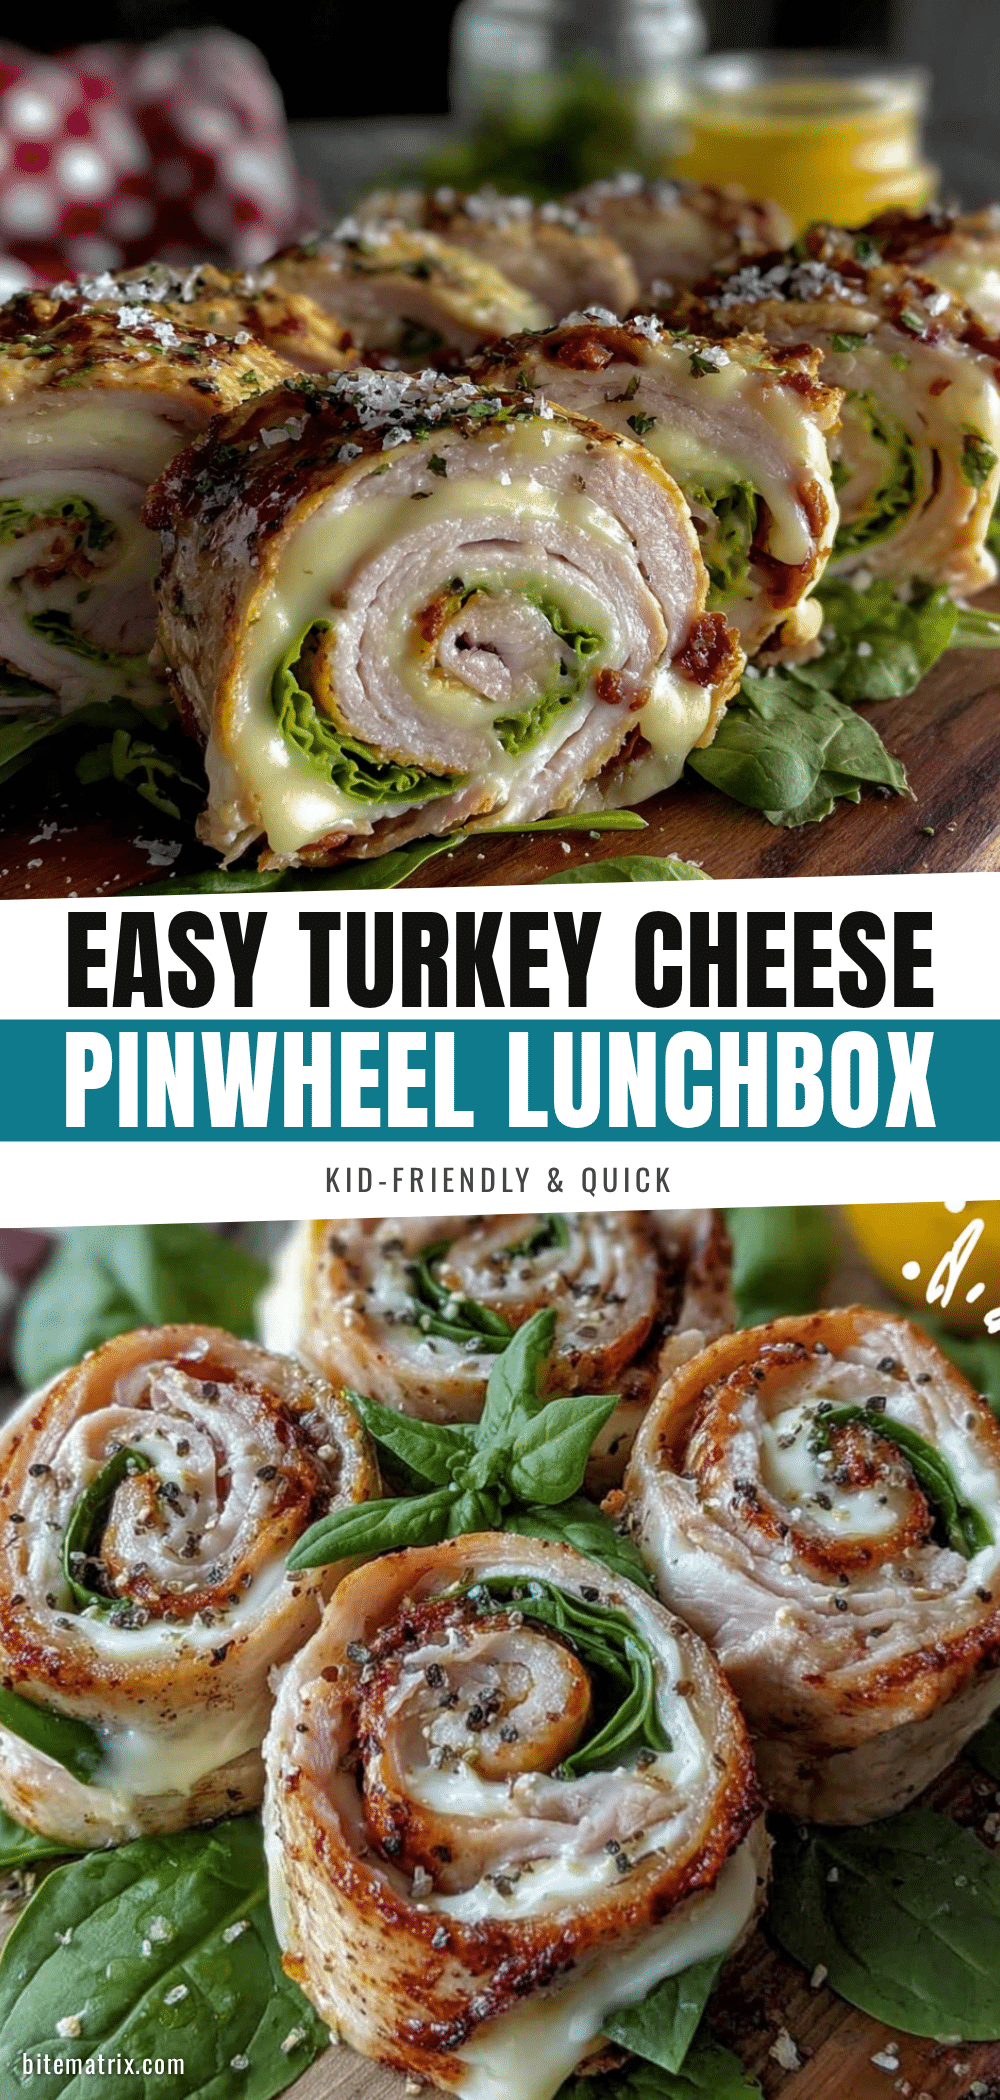
Easy Turkey and Cheese Pinwheel Recipe: Perfect Lunchbox Idea

These turkey and cheese pinwheels are a quick, no-cook lunchbox solution that kids and adults love. Made with cream cheese, deli turkey, and shredded cheese rolled in flour tortillas, they’re perfect for school lunches, snacks, or party appetizers.
- Prep Time: 10 minutes
- Cook Time: 0 minutes
- Total Time: 40 minutes (includes 30 minutes chilling)
- Yield: 4 servings (about 32 pinwheels) 1x
- Category: Appetizer, Lunch
- Cuisine: American
Ingredients
- 4 large flour tortillas (10-inch size)
- 8 ounces cream cheese, softened
- 1/4 cup mayonnaise
- 1 teaspoon garlic powder
- 1/2 teaspoon onion powder
- Salt and black pepper to taste
- 8–10 slices deli turkey breast
- 1 cup shredded cheddar cheese
- 1/2 cup shredded mozzarella cheese
- Fresh spinach leaves (optional)
- 2 tablespoons Dijon mustard (optional)
- 1 tablespoon honey (optional)
Instructions
- Soften the cream cheese by leaving it at room temperature for 30 minutes or microwaving for 10-15 seconds on low power.
- In a small bowl, combine softened cream cheese, mayonnaise, garlic powder, onion powder, salt, and pepper. Mix until smooth.
- Lay a large tortilla flat on a cutting board. If stiff, warm in microwave for 10 seconds wrapped in a damp paper towel.
- Spread a thin, even layer of the cream cheese mixture over the entire tortilla, leaving a 1-inch border around the edges.
- Place 2-3 slices of turkey over the cream cheese, overlapping slightly. Add spinach leaves if using.
- Sprinkle a generous handful of shredded cheddar and mozzarella evenly over the turkey.
- Starting from one edge, roll the tortilla tightly without tearing, using fingers to tuck and compress as you go.
- Place the rolled tortilla seam-side down on plastic wrap, wrap tightly, twisting the ends like a candy wrapper. Refrigerate for at least 30 minutes (1 hour is better).
- Unwrap the chilled roll and slice into 1-inch rounds using a sharp knife with a gentle sawing motion.
- Arrange pinwheels cut-side up on a plate or in a lunchbox. Serve immediately or store for later.
Notes
Chilling is crucial for clean slicing. Use a sharp serrated knife for best results. Wipe knife between cuts to prevent cream cheese buildup. For meal prep, assemble rolls up to 3 days ahead and slice before serving. These taste even better the next day as flavors meld.
Nutrition
- Serving Size: 8 pinwheels
- Calories: 1160
- Sugar: 16
- Sodium: 3040
- Fat: 72
- Saturated Fat: 32
- Carbohydrates: 64
- Fiber: 8
- Protein: 72
Keywords: turkey pinwheels, cheese pinwheels, lunchbox ideas, easy lunch recipe, no-cook lunch, kid-friendly lunch, party appetizer, turkey and cheese roll-ups